Ever wonder how a needle and thread can make a blank canvas beautiful? Welcome to the world of DIY embroidery. It’s a place where you can let your creativity run wild. No matter if you’re just starting or if you have lots of experience, embroidery for beginners is a great way to create cool designs on stuff you use every day. Jessica Anderson has a YouTube channel where she’s taught thousands. She will help you with a 30-day challenge in her book, “30-Day Challenge: Embroidery,” out on January 30th, 2024, from Quarry Books.
This book will show you 30 embroidery stitches and give you 30 cool projects to do. Each project takes only an hour or two. It’s perfect for anyone who wants to start embroidery tutorials. With just a few tools and some tips, you can learn the basics fast. You’ll soon be able to add your designs to T-shirts and tote bags. Join the fun and start a journey to improve your craft. Plus, crafting is a great way to enjoy being creative.
Key Takeaways
- Embroidery is a timeless and accessible craft suitable for all skill levels.
- Jessica Anderson’s “30-Day Challenge: Embroidery” covers 30 stitches and modern designs.
- The book includes tips for embroidering T-shirts and tote bags.
- The Everything Embroidery Market is a must-attend event for crafters.
- Embroidery enhances creativity and turns ordinary items into unique pieces of art.
Getting Started with Embroidery for Beginners
Starting your embroidery journey is full of creativity and self-expression. All you need is a handful of essential supplies to begin. This includes stunning custom designs and free patterns. Let’s dive into the world of modern embroidery.
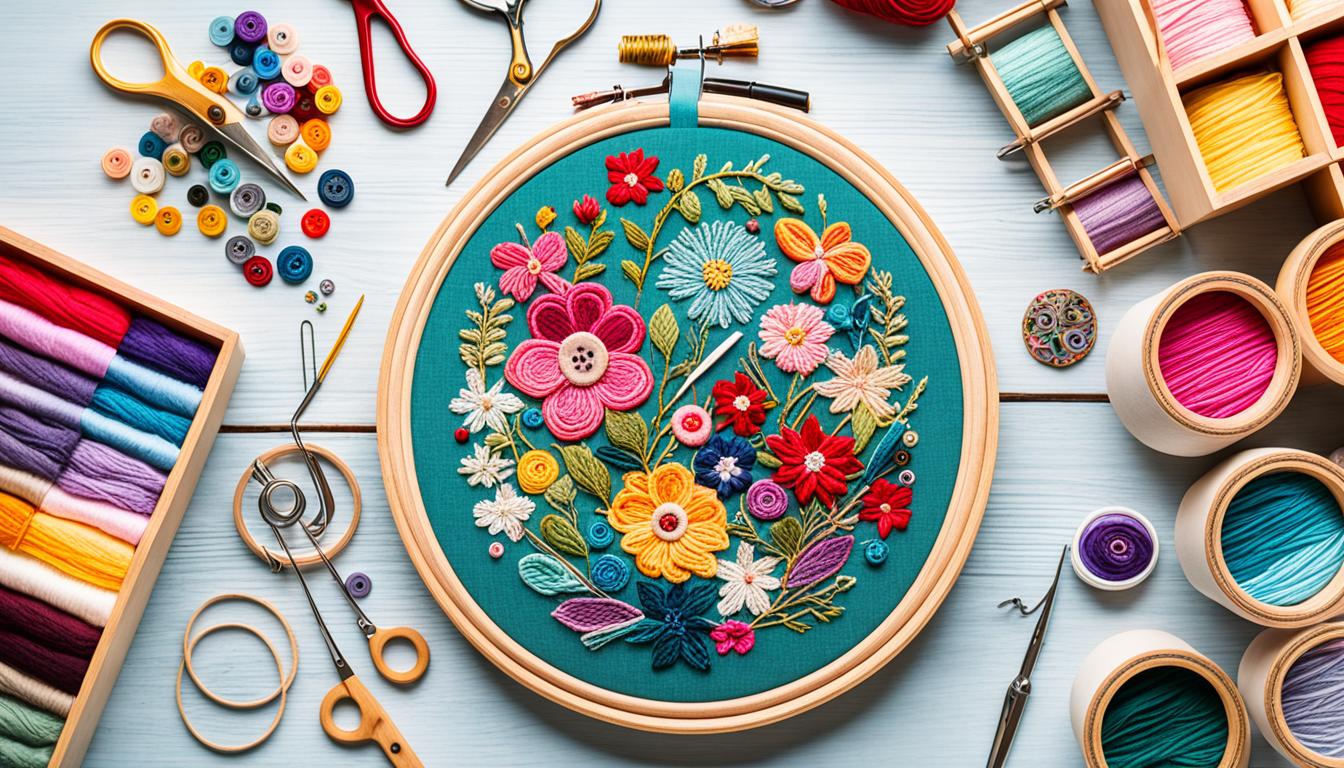
Essential Embroidery Supplies
To start your journey in embroidery, grab a hold of a few key items:
- Fabric: You’ll need about 1/4 yard for your first project. This is enough for a few different projects.
- Embroidery Floss: Look for DMC brand for quality and a good price.
- Embroidery Hoop: Start with a 6-inch hoop; it suits many project types. Hoops come in all sorts of designs.
- Needles: Get size 7 and 9 needles if you’re starting. Penguin & Fish has needles that are easy to thread.
- Other Tools: You’ll also need a water-soluble pen for patterns, small sharp scissors, and basic patterns.
Choosing the Right Fabric and Thread
Choosing the right fabric and thread is key for your project’s success. For newbies, it’s best to go with cotton muslin or linen. They stop stitches from hiding. Avoid Aida cloth for now. For floss, use stranded cotton. You can adjust its thickness by using 2-3 strands.
| Fabric Type | Characteristics |
|---|---|
| Cotton Muslin | Loose weave, beginner-friendly |
| Linens | Closely woven, ideal texture |
| DMC Stranded Cotton | Common, customizable strands |
Basic Embroidery Stitches to Learn
It’s important to learn basic stitches in embroidery. Here are some stitches to kick you off:
- Running Stitch: Sew regular stitches with equal space for a neat look.
- Lazy Daisy Stitch: These are great for flower petals or any decorative parts.
- Satin Stitch: Use this for filling shapes with even stitches.
- Colonial Knot: Perfect for raised knots in circles.
- Stem Stitch: Good for lines, like plant stems or outlines.
- Backstitch: This can outline shapes or make precise patterns.

Learning these stitches first will make you more confident. There are many free patterns online to help you practice and spark your creativity. Remember, with the right supplies, practice, and patience, you can master modern embroidery and make beautiful designs.
Exploring Different Embroidery Techniques
Embroidery is an exciting craft with many techniques to try. You can choose between the tradition of hand embroidery or the detail of machine work. Both ways offer unique results. For more special effects, try applique or 3D puff embroidery. These methods add texture to your designs. Others like freestanding lace and photo-stitch let you create detailed, custom pieces.
Hand Embroidery vs. Machine Embroidery
Hand embroidery has been around for centuries. It includes styles like blackwork from the 16th century and cross-stitch from AD 850. Everyone loves these for their simple beauty and history. Machine embroidery, on the other hand, is known for its speed and precision. It’s great for bigger projects. You can pick what’s best for your needs.
Applique and 3D Puff Embroidery
Applique and 3D puff embroidery make your projects pop. Applique means sewing layers of fabric on a base fabric. This adds color and texture. 3D puff embroidery gives designs a raised, 3D look. It’s popular in making caps and clothes more unique.
Freestanding Lace and Photo-Stitch Techniques
Freestanding lace lets you make delicate designs. You stitch on special stabilizer that later dissolves. The result is beautiful lace. Photo-stitch uses many colored threads to create lifelike designs. This technique adds your personal touch, making your projects look professional.
Embroidery Kits and Patterns to Inspire Your Projects
Embroidery is an old craft that still thrives today. It captures the hearts of people at any skill level. With its detailed art and endless creative options, it’s no surprise why. If you’re new to embroidery or an expert, there are many ways to spark your imagination. You can start with embroidery kits, find free patterns online, or make your own designs.
Top Recommended Embroidery Kits for Beginners
Starting out with embroidery is easy with the right supplies. That’s where embroidery kits come in handy. They have all you need to begin your project. This makes the start so much smoother:
- The Pendant Necklace Embroidery Kit: $18.00
- The Flower, Leaf, and Twig Embroidery Project Pendant Necklace Embroidery Kit: $15.00
- The Leaf Pouch Embroidery Kit (with Sewing Kit Option): starting from $32.00
Customers love these kits and think they’re great for learning:
“Amazing starter kit, I’m buying another one!” – Elizabeth T
“Stunning patterns and colors. It brings peace during the process.” – M Baker
“Love the materials, directions, and videos.” – Lorna H

What’s really cool about these embroidery kits is they come with QR codes. These codes link to instructions and tutorial videos on YouTube. This makes them perfect for beginners and experts alike. You’ll finish your embroidery projects with ease and confidence.
Finding Free Embroidery Patterns Online
Looking online provides a goldmine of free embroidery patterns. Websites like embroiderydesigns.com offer a huge variety. It’s a great way to find something new and inspiring for your projects:
- Mandalas and geometric shapes
- Floral designs (50% of kits mentioned)
- Themed collections from various designers
These websites have everything from classic to modern patterns. You’re sure to find something you’ll love for your next creation.
Creating Custom Embroidery Designs
If you want to make something unique, custom embroidery designs are the way to go. You can start from the ground up or use online templates. This lets you make pieces that are truly one-of-a-kind. They’ll show off your personal artistic style.
| Kit Name | Price | Features |
|---|---|---|
| Pendant Necklace Kit | $18.00 | Includes all necessary materials, beginner-friendly |
| Flower, Leaf, Twig Necklace Kit | $15.00 | Beautiful floral designs, clear instructions |
| Leaf Pouch Kit | $32.00 | Sewing kit option, comprehensive for beginners |
By using free patterns online, kits, and creating your own designs, you can make amazing projects. These will reflect your unique style and skills. Enjoy the challenge and fun of trying new techniques and patterns in embroidery!
Embroidery Software: Boost Your Design Skills

Embroidery software takes your crafting to the next level. It makes both creating and customizing intricate designs easier. Whether you’re just starting or already a pro, the right software is a game changer. It makes digitizing and tweaking designs a breeze.
Introduction to Embroidery Software
These software options simplify design work, even for newbies. StitchArtist and Hatch stand out. StitchArtist Level 1 supports basic use for hobbyists, while StitchArtist Level 3 has more for pros. Hatch is known for tools like the Fabric Assist and custom fonts, adding a pro touch to your designs.
Best Software for Beginners and Professionals
Choosing the best software means looking at your skills and needs. Let’s compare options:
- StitchArtist Level 1: Great for hobbyists, it has basic stitch types for simple designs.
- StitchArtist Level 2: A step up for more complex and professional-looking designs.
- StitchArtist Level 3: Made for commercial work, it’s rich in features like Styles and advanced vector support.
- Hatch: It’s versatile, offering trials and features like the Auto-Branching Tool for distinct designs.
- Design Doodler: Easy for beginners and children, it simplifies drawing and tracing for custom designs.
Look at this handy table for prices and features on each software:
| Software | Price | Key Features | Audience |
|---|---|---|---|
| StitchArtist Level 1 | $199.00 | Basic stitch types, Advanced Text Tools | Hobbyists |
| StitchArtist Level 2 | $429.00 | Advanced stitch types, SVG import, advanced satin stitch options | Advanced Hobbyists |
| StitchArtist Level 3 | $649.00 | Professional tools, Styles, QuickStyles, custom font creation | Commercial Use |
| Hatch | Varies (Free 30-day trial) | Fabric Assist Tool, Auto-Branching Tool, customizable ESA Fonts | All Levels |
| Design Doodler | $69.00 | User-friendly, custom drawing and tracing tools | Beginners, Children |
Tips for Digitizing Your Own Designs
Making your own embroidery designs is rewarding. Here are steps to guide you:
- Start Small: Begin with simpler designs to understand the software better.
- Practice: Regular practice with tools and settings sharpens your digitizing skills.
- Experiment with Fonts: Changing text with embroidery fonts makes designs special and unique.
- Utilize Bundles: Software bundles like The Essential Bundle offer a variety of tools at a discount.
- Try Free Trials: Test different software with free trials to find what fits your needs best.
By using these tools and tricks, your embroidery will sparkle, no matter your expertise level.
Turning Your Hobby into an Embroidery Business
Converting your embroidery hobby into a successful business is more than sewing. You need to know about marketing, keeping customers happy, and finding your place in the industry. A balanced strategy leads to steady growth and success over time.
Marketing Your Embroidery Creations
Start by creating a strong online presence for your embroidery creations. Build a great website with help from platforms like Wix or Squarespace. Having a big collection of embroidery designs online can attract more customers. Investing in software that makes work faster helps you earn more. Think about having affiliate programs and using social media to grow your business.
Customer Satisfaction and Loyalty Programs
Keeping clients coming back is key. Set up loyalty programs or offer discounts to those who return. Using top-notch embroidery machines ensures your work is always great. Making your customers feel special and solving problems quickly keeps them happy.
Niche Markets and Custom Services
Choosing to focus on specific areas like sports, weddings, or hobbies can make your brand shine. Serving a unique market helps you stand out. Machines like ZSK’s multi-needle models make work efficient and precise. This special focus meets your customers’ exact needs.
| Business Aspect | Actionable Steps |
|---|---|
| Online Presence | Build a website with tools like Wix or Squarespace |
| Marketing Embroidery | Showcase nearly 30,000 designs with credit required. Engage on social media. |
| Customer Satisfaction | Invest in reliable embroidery machines and offer loyalty programs. |
| Niche Markets | Target specific markets like sports apparel or wedding accessories. |
Advanced Embroidary Techniques
As you get better at embroidery, learning advanced techniques will make your work fancy. Mix different stitches to make your designs interesting. For example, try a backstitch with a French knot for cool patterns.
Combining Multiple Stitches in One Design
Try using a mix of stitches to add flavor to your work. A running stitch paired with a satin stitch can make your project pop. Or, use a feather stitch and woven wheel stitch for fun movement in your designs.
Don’t forget the bullion knot. It’s great for tiny roses and adding special touches to your work.
Working with Tricky Fabrics and Prints
Sometimes, picking the right stitch for tough fabric is key. A couching stitch can help blend threads on difficult fabrics. The detached chain stitch is wonderful for making pretty flowers and leaves. The fly stitch also works well, making your project look better overall.
Tips for Finishing and Showcasing Your Projects
Make sure your embroidery looks professional. Use the split stitch for neat outlines and the blanket stitch for borders.
Look at Jessica Anderson’s advice for hanging your work. These steps will make your projects perfect for sharing or selling, showing off your hard work in every piece.
