Learning to do cross stitch backstitching can turn a simple design into a detailed work of art. This guide is perfect for both beginners and those looking to improve their skills. With top-notch backstitching, every piece becomes a detailed artwork, making each detail stand out.
Cross stitch backstitching has gained over 871 shares from crafters around the world. This shows its growing popularity and importance in the crafting world. Some people frame their cross stitch to hide the back, while others want it to be seen from all sides. No matter how you display it, think about how the threads will look.
Key Takeaways
- Comprehensive guide to enhancing cross stitch projects with high-quality backstitching.
- Importance of considering thread visibility based on the display method.
- Insight into industry practices like framing and hanging cross stitch pieces.
- Personal and community perspectives on the significance of backstitch in cross stitch techniques.
- Trending patterns and monthly recommendations in the cross stitch market.
Introduction to Cross Stitch Backstitching
Backstitching in cross stitch adds depth and definition to any piece. It’s key for both beginners and advanced stitchers to master. Knowing the cross stitch basics can make your projects look amazing, turning simple designs into detailed masterpieces. This guide will teach you the basics of backstitching, showing its importance and how to use it in your projects.
Backstitching is known for its thick line, often black but can be any color. The technique can be adjusted for each project. For example, using two strands of thread can make the line thicker, creating more defined outlines.
| Key Element | Details |
|---|---|
| Represented by | Thick line, often black |
| Thread usage | Single or double strands |
| Technique | Loop back to ensure solid line |
To backstitch correctly, knowing its methods is crucial. Some stitchers prefer not to go more than one square at a time. Others cross 3-5 holes. The official method loops back to make the line solid on both sides of the fabric, making it secure and durable.
The double running stitch method creates a dashed line by alternating direction. This method gives a unique look and can be used in different ways. For diagonal lines, you might need to stitch across two or more holes, which involves consistent backstitching.
In conclusion, mastering backstitching is a valuable skill for both beginners and experienced stitchers. With many techniques to try, adding backstitching to your skills will make your cross stitch designs more detailed and appealing. Looking at cross stitch tutorials can help you learn more, ensuring your projects are detailed and beautiful.
Essential Supplies for Backstitching
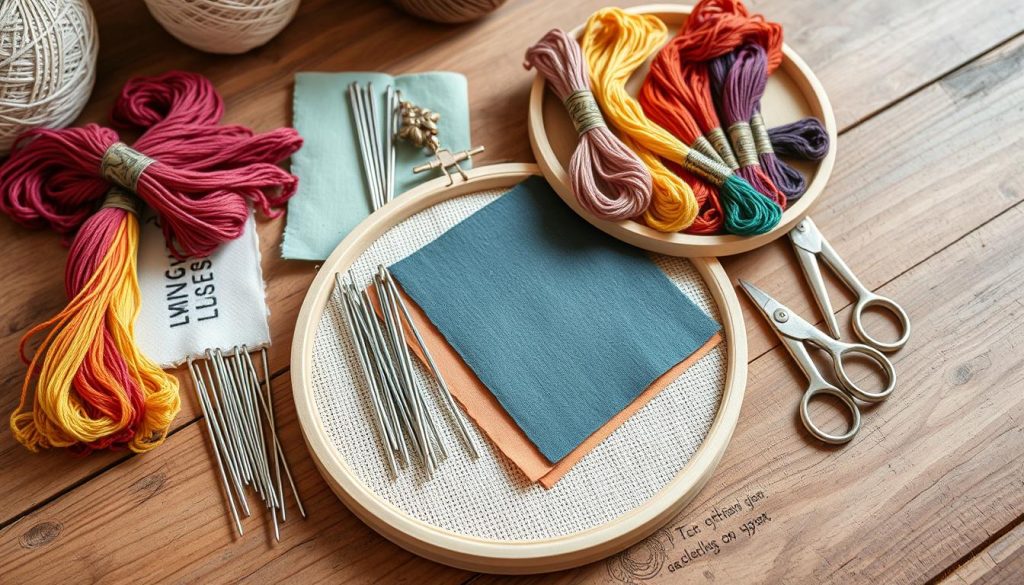
To get the best results in backstitching, picking the right supplies is key. This makes your stitches accurate and your designs last longer. Here are the must-haves:
Choosing the Right Needles
For cross stitch, sizes 24 and 26 needles are popular. But sizes 20, 22, 24, 26, and 28 are also good. A size 28 needle with one strand of cotton can break easily, making it hard for detailed work.
Gold-plated needles are a favorite because they go through fabric well. They’re great for French or bullion knots. Always use small, sharp scissors for embroidery to keep your stitches neat.
Best Types of Threads
Embroidery threads usually have six strands twisted together. Brands like DMC and Anchor offer quality and lots of colors. For most designs, two strands of floss work best, giving good coverage and detail.
It’s best to cut thread to 10-12 inches to avoid tangles. Letting the thread unwind a bit helps keep your stitches smooth.

Fabrics for Backstitching
Choosing the right fabric is key for clear and lasting designs. Aida and linen are top picks, each with its own texture and weave. Beginners often start with 14-count Aida cloth for its simplicity and clear grid.
As you get better, try different fabrics for different looks and textures. With the right supplies, you’ll make stunning backstitching projects that last. Take your time choosing needles, threads, and fabric, and enjoy making your designs come to life.
Techniques for Crisp and Defined Backstitching
Learning backstitching techniques is key to making precise cross stitch designs. Knowing the basics and moving to more complex methods will improve your work. This ensures every stitch adds to a polished final piece.
The Basic Backstitch
The basic backstitch is a must in cross stitch. It’s done with one strand of thread on 14-count Aida fabric. It helps define edges and add details. For a thicker line, use two strands.
- 14-count Aida: 2 strands of embroidery floss
- 16-count Aida: 2 strands of embroidery floss
- 18-count Aida: 1 or 2 strands, depending on the desired line thickness
Keep your stitches even for a neat backstitch. To secure the thread, weave it under several stitches on the fabric’s backside. This avoids knots.
Advanced Backstitch Methods
Once you know the basic backstitch, try advanced methods. These add outlines and details, making your work crisp. These techniques will improve your stitching:
- English Method
- Danish Technique
- Oblique Cross Stitch
- Spaced Cross Stitch
Consistency is crucial in backstitching. Each stitch should be the same length for a clean finish. Don’t let thread carry get too long. Secure your thread well to keep your work looking great on both sides.
Fixing Common Backstitching Mistakes
Mistakes in backstitching can ruin your project’s quality. Here are tips to fix these errors:
“Working in small, even stitches and closely following the pattern is crucial for keeping backstitch lines neat and consistent.”
- Keep stitch length uniform to avoid uneven lines.
- Ensure proper thread tension to prevent loose or tight stitches.
- Avoid skipping backstitch lines as it results in an undefined final piece.
By using these techniques and methods, you’ll make your projects more detailed and precise. This ensures each piece is polished and professional.
How to Enhance Cross Stitch Details with Backstitching
Adding backstitching to your cross stitch projects can make a big difference. It brings your designs to life. By using cross stitch enhancements, you can highlight certain parts and make your artwork pop.

- 30% of respondents preferred outlining each element in a darker shade of its color.
- A substantial 70% favored outlining all elements in black for a cartoony look.
- 8% enjoyed both subtle and bold outlining effects.
- No respondents chose designs with no outlining.
These insights show how important outlining is in backstitching. For example, a cute puppy design was shown in three ways. One had no backstitch, one had selective backstitching, and one had full outlining. The most liked version was the one with full outlining, showing how backstitching can really make a difference in cross stitch details.
Also, when it comes to thread thickness for backstitching:
| Thread Thickness | Effect on Design |
|---|---|
| Thin Thread | Subtle and delicate outlining, best for small details |
| Thick Thread | Bold, prominent outlines, ideal for larger design elements |
| Layered Thickness | Creates depth and hierarchy in the design |
The choice of thread thickness is key in cross stitch enhancements. Thicker threads make bold outlines that add definition. Thinner threads are great for detailed work. Layering threads adds depth and hierarchy, making your artwork more engaging.
Trying single stitches or split threads can also add complexity. It gives your cross stitch a polished look, showing your dedication to detail.
Tips and Tricks for Perfect Backstitching Every Time
Getting your backstitches right is key to making your designs look top-notch. Here are some great cross stitch tips to help you keep your stitches even and precise. This will make your projects look amazing with their fine details.
Keeping Your Stitches Even
One key tip for even backstitching is to keep your stitches consistent. You can stitch over one square or up to five squares at once. The goal is to keep the size and spacing the same. Using six-stranded skeins of embroidery floss, like DMC thread, lets you adjust the thickness for your project.
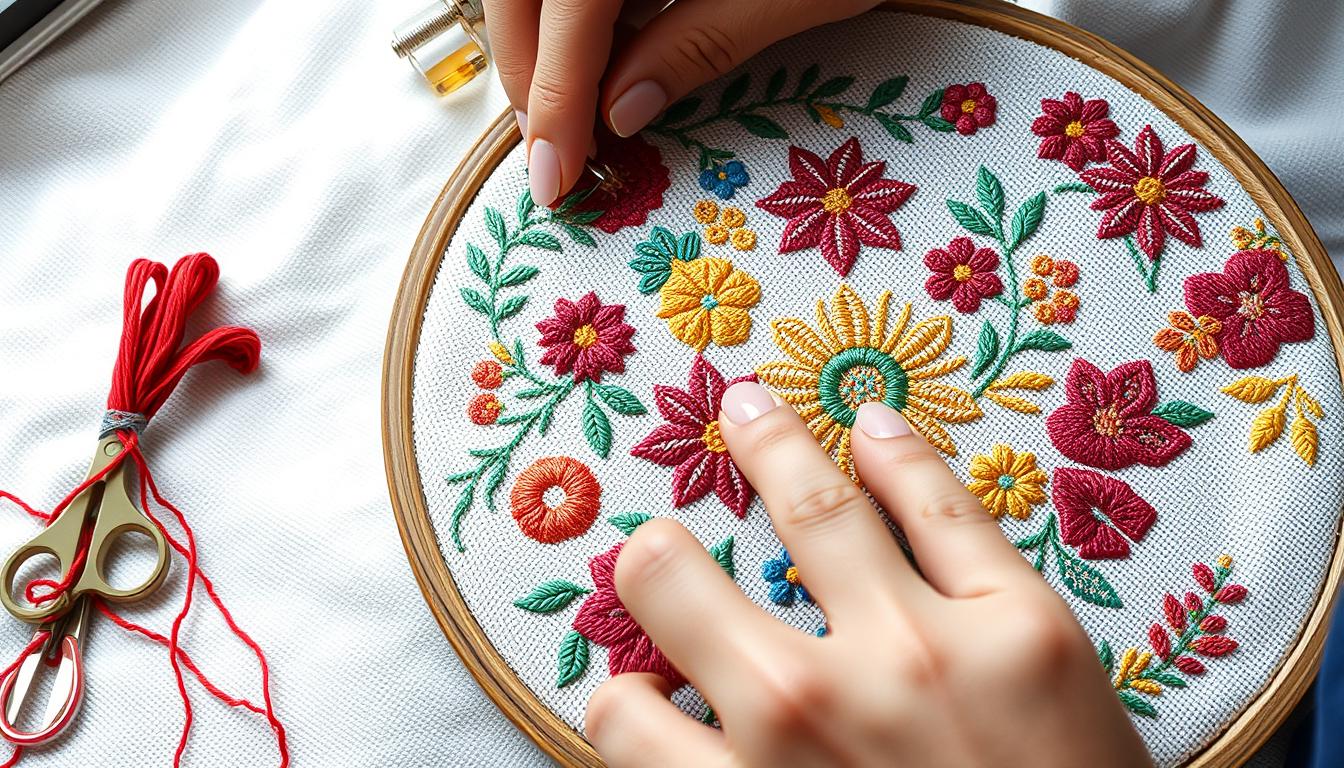
Guidelines or grids can really help. Many stitchers use wooden embroidery hoops to keep the fabric tight and stitches even. Also, preparing your fabric edges with overlocking or masking tape helps prevent fraying and makes stitching smoother.
Maintaining Thread Tension
Keeping the thread tension right is as important as even stitches for backstitching. Good thread tension makes your stitches lie flat and smooth on the fabric. A good starting length for embroidery floss is between 15 to 20 inches. This helps avoid rethreading and tangling that can mess up the tension.
Here are some thread tension techniques to try:
- Using an embroidery hoop to keep your fabric taut
- Adjusting the number of strands of floss based on your project’s needs
- Securing thread ends properly at the back to prevent unraveling
Adding iron-on interfacing to your fabric can make it easier to keep the tension steady. Transferring your design accurately onto the fabric helps you stitch more smoothly.
| Technique | Benefits |
|---|---|
| Using Wooden Hoops | Consistent fabric tension |
| Adjusting Floss Strands | Matches project requirements |
| Iron-On Interfacing | Adds weight, making stitching easier |
Remember, practice and patience are key. Using these tips will help you improve your backstitching. Whether you follow tutorials or tips from other stitchers, each step brings you closer to mastering the art of backstitching.
Cross Stitch Design Ideas Incorporating Backstitching
Adding backstitching to your cross stitch designs can make them look and feel better. It’s great for both new and experienced crafters. Here are some ideas to inspire your next project.
1. Outline Embroidery: Use backstitching to draw clear outlines around shapes. This makes flowers, animals, or abstract designs pop.
2. Alphabet and Numbers: Add personal touches with backstitch alphabets or numbers. They’re perfect for names, dates, or short messages. You’ll find step-by-step guides for each letter and number.
3. Seasonal Themes: Make your holiday patterns more detailed with backstitching. Add intricate touches to Christmas trees, Easter eggs, or Halloween pumpkins.
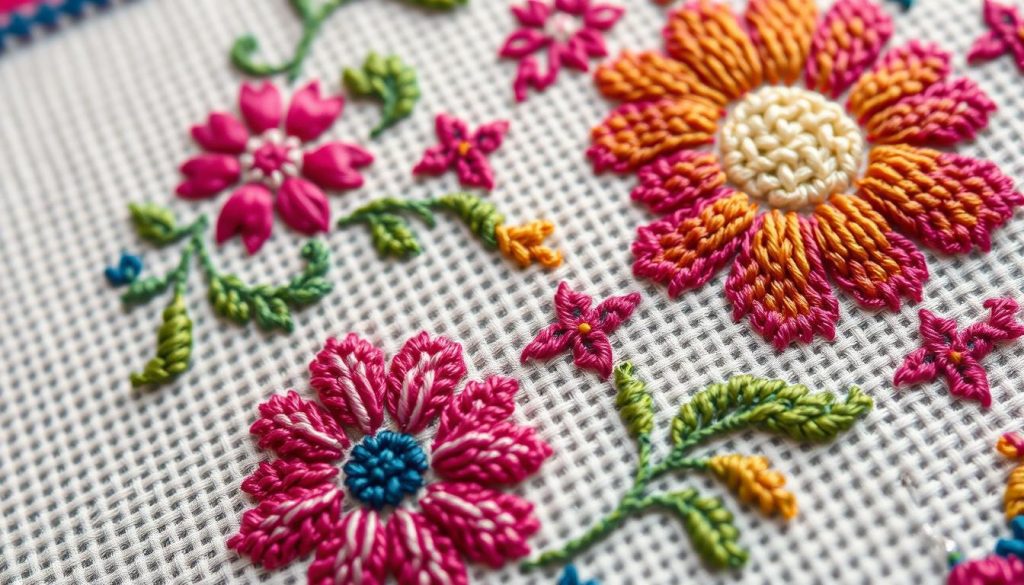
4. Floral Designs: Highlight petals and leaves in flowers with backstitching. It adds depth and dimension to your work.
5. Animal Silhouettes: Use backstitching to define animal features. It brings your designs to life with clear outlines and fine details.
6. Metropolitan Scenes: Bring cityscapes to life with backstitching. Create precise details of landmarks like the Eiffel Tower or Statue of Liberty.
7. Geometric Patterns: Add a modern touch to your designs with backstitching. It’s great for clean lines and intricate shapes.
8. Crochet Projects: Backstitching isn’t just for fabric. Use it in crochet projects too. Add letters, borders, or shapes to scarves, cowls, blankets, and pillows.
Here’s a table showing different backstitch designs and their uses:
| Design Type | Application | Example |
|---|---|---|
| Outline Embroidery | Adding definition to shapes | Flowers, Animals |
| Alphabet and Numbers | Personalization | Names, Dates |
| Seasonal Themes | Festive Decorations | Christmas Trees, Easter Eggs |
| Floral Designs | Adding depth | Petals, Leaves |
| Animal Silhouettes | Defining features | Detailed Outlines |
| Metropolitan Scenes | Capturing landmarks | Eiffel Tower, Big Ben |
| Geometric Patterns | Modern Abstract Art | Clean Lines, Intricate Shapes |
| Crochet Projects | Enhanced Textiles | Scarves, Blankets |
These ideas show how backstitching can change your cross stitch patterns. Try these methods to make your projects more dynamic and engaging!
Conclusion
Mastering cross stitch backstitching can really make your projects stand out. It turns simple designs into beautiful, detailed pieces. We’ve covered everything from picking the right supplies to getting your technique just right.
Learning backstitching comes with its challenges. You might make mistakes like stitching in the wrong direction or missing spots. But these mistakes are great for learning. Spending time practicing shows how rewarding this skill can be.
It’s also important to pay close attention to instructions. Even reading them over and over can lead to mistakes. This shows how precise cross stitch can be.
Conserving materials is another key point. It might mean you have extra thread, but it’s all about planning. Even with small mistakes, the joy of finishing a project is huge. It shows how proud you can feel about your DIY cross stitch.
Choosing the right materials is crucial for great results. Whether you’re new or experienced, these tips can help you improve. Keep practicing, and you’ll get better with each stitch.
