Wondering how to safely remove embroidery from your favorite clothes? You might have an unwanted logo on a shirt. Or maybe it’s an old design on a jacket. It seems tough to keep your clothes looking good while taking out these stitches. But, using the right methods and tools can really help keep your items safe.
Key Takeaways
- Knowing the right tools, such as scissors and stitch erasers, is key to removing embroidery safely.
- Each tool does a specific task to help take out stitches carefully.
- Stitch erasers work well and do less harm to the fabric.
- Starting from the back of the fabric is essential to prevent damage.
- Take your time and be careful to keep your clothes looking good after removing embroidery.
Understanding the Basics of Embroidery Removal
Embroidery removal might seem tough, especially for beginners in DIY. Luckily, with the right tools and steps, it’s not too hard. You could be removing a complicated pattern or simple custom work. Understanding the basics is key.

What Tools You Will Need
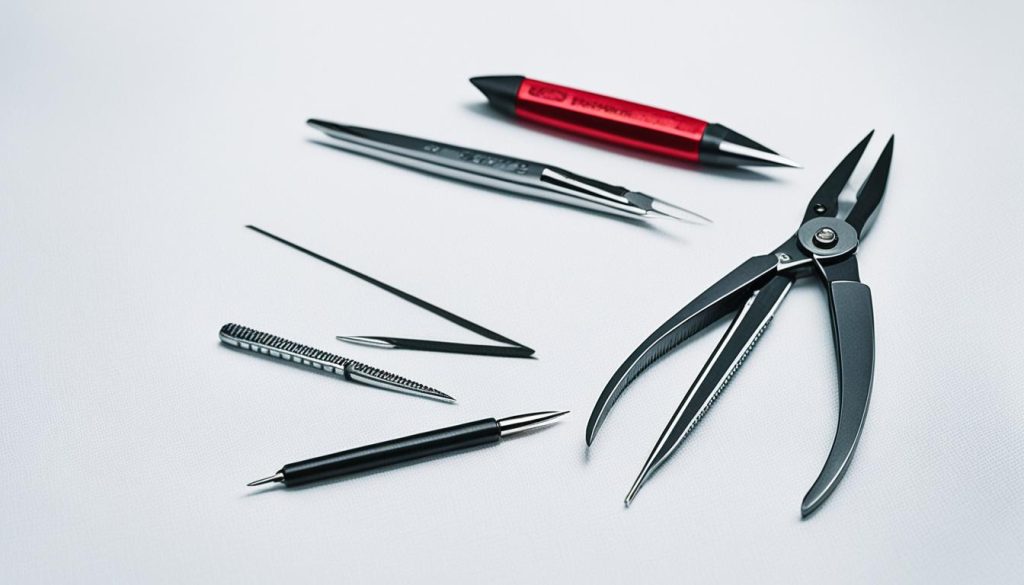
You’ll need several tools for removing embroidery well. A seam ripper is a basic tool. You can get one for as low as $5. For better results with custom embroidery, you might want to get a stitch eraser. It’s more expensive, ranging from $80 to $170. You’ll also need tweezers, small scissors, and a lint roller for cleaning up.
Here’s a closer look at the essential tools and their pricing:
| Tool | Approximate Cost |
|---|---|
| Seam Ripper | $5 |
| Stitch Eraser | $80-$170 |
| Tweezers | Varies |
| Small Fabric Scissors | Varies |
| Lint Roller | Varies |
Different Types of Embroidery and How They Affect Removal
Knowing the type of embroidery helps with its efficient removal. If it’s hand embroidery, simple designs may take 15 minutes. But fancier patterns could take over an hour. The approach changes if it’s machine embroidery. These are often easier to remove, which is good news for DIYers or beginners.
Custom embroidery on different fabrics needs different removal methods. Shirts, for example, might benefit from backside cutting. The key is to remove the embroidery without harming the fabric. This keeps the fabric’s quality intact.
These tips will help you manage embroidery removal well, no matter the pattern or kit.
Preparing Your Clothing for Embroidery Removal
Before you start removing embroidery, preparing your clothes is key. This step helps avoid damaging your garment. You’ll set the stage for a smooth removal process. This way, you won’t hurt the fabric underneath the embroidery.
Turning Your Garment Inside Out
First, turn your clothes inside out. This step shows the back of the embroidery. It’s crucial for easier work. You’ll be able to remove the embroidery without cutting the fabric beneath.

Identifying the Embroidery Threads
Now, find the embroidery threads. You must tell them apart from the original stitches. Knowing which thread is which helps you cut carefully. With many stitches in each design, precise cutting is a must to protect the garment.
Many suggest using Peggy’s Stitch Eraser because it’s efficient and lasts long. It’s also wise to work on removing the embroidery in parts for better control. This method reduces the chance of damaging the fabric.
After removing the stitches, use a lint roller. It helps get rid of any remaining thread dust. Cleaning your garment up ensures it’s ready for reworking or a final touch. Your clothes will look new again after the embroidery is gone.
Using a Seam Ripper for Embroidery Removal
Many embroidery fans prefer a seam ripper for removal, with 25% backing this choice. This guide will show you how to use it right, keeping your clothes in top shape.
Step-by-Step Guide
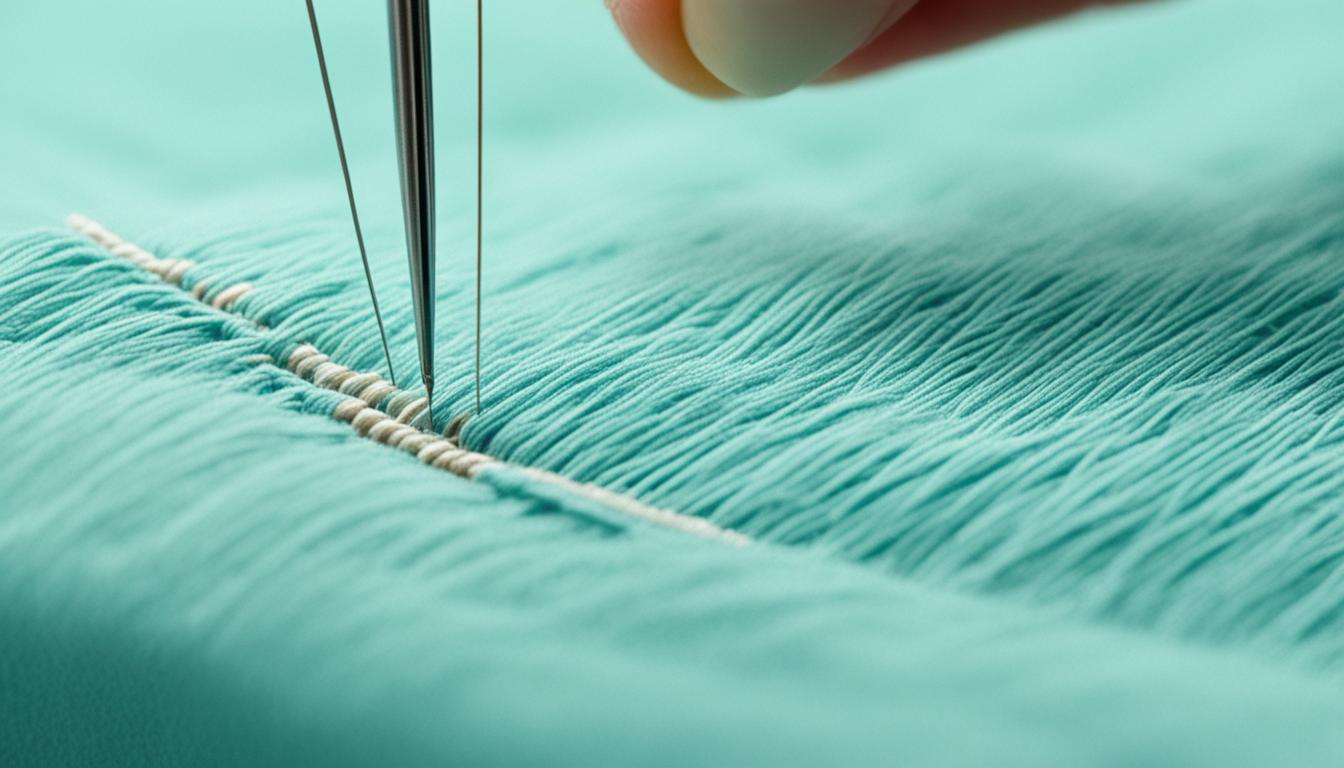
First, turn your clothing inside out. This step lets you reach the embroidery stitches easily. Next, gently hold the embroidery and slip the seam ripper under the stitches. Begin to unstitch them precisely. Then, a pair of tweezers can help you remove the threads. This approach is a top pick in many embroidery tutorials.
| Tool | Function |
|---|---|
| Seam Ripper | To cut embroidery stitches |
| Tweezers | To pull out thread remnants |
| Lint Roller | To clean up loose threads |
| Magnifying Glass | To closely examine tiny stitches |
Precautions to Take
Being patient is key when using a seam ripper. Avoid cutting too quickly or roughly, as it could harm the fabric. Take your time and use a magnifying glass if needed. This prevents cutting any material underneath. Stick to modern embroidery guidelines for a smooth removal process.
Remember, it’s harder to remove hand-stitched designs because they are often thicker. Proceed with caution. Besides a seam ripper, other tools like tweezers and special scissors might come in handy. This shows the variety of methods available for removing embroidery.
Using a seam ripper the right way is very useful. By following these embroidery techniques, you’ll make the job easier. This ensures you can wear your clothes again or use the fabric for something new without any damage.
Using a Stitch Eraser for Quick Removal
Keeping the fabric safe is crucial in embroidery. That’s why the Stitch Eraser is a game-changer. It quickly and safely undoes stitches without harm.

For quilters and embroidery fans, Peggy’s Stitch Eraser is a must-have. It takes out stitches without ruining the fabric below. Its light and easy-to-carry design is perfect for any project.
How to Use a Stitch Eraser
First, make the area you’re working on smooth and tight. Then, smoothly move the Stitch Eraser along the stitches. It cuts through threads without a hitch if you do it right.
Using Mag-Eyes for a close look and bright light helps a lot. They ensure you’re seeing clearly, which is key to not making mistakes.
Alternative to Stitch Eraser: Hair Trimmer
Some use a Wahl mustache trimmer if they don’t have a Stitch Eraser. It’s a cost-effective option. This trimmer is fast and accurate for removing threads.
Just like with a Stitch Eraser, work in a well-lit area with tight fabric. A steady hand with the trimmer is important. It can be a great backup in your embroidery kit.
- 40% of forum members recommend a seam ripper for removing embroidery stitches.
- 30% prefer Peggy’s Stitch Eraser or similar tools.
- 20% favor an electric hair clipper for the task.
- 15% opt for specific tools like Wahl trimmers.
- 10% emphasize caution when using sharp tools like tweezers or razors.
- 25% stress the importance of not damaging the garment during stitch removal.
Handy Tips to Avoid Damaging the Fabric
When you work on an embroidery project, keeping the fabric safe is key. So, here are some easy-to-follow tips to make your embroidery last long:
Every type of fabric, like leather, velvet, silk, and textured ones, needs special care for embroidery. It’s important to pick the right stabilizers and needles for each fabric type.
For leather, set your machine to 500 stitches per minute. Use a medium-weight cutaway stabilizer and a temporary adhesive spray. For sewing, use 75/11 or 80/12 light ballpoint needles. Designs with light and long stitches work best to keep the fabric safe. Magnetic hoops can prevent marks on the leather.
Velvet should be laid over the hoop and backed with a medium to heavy water-soluble stabilizer. This method keeps the thread from sinking into the fabric. It also helps keep the surface smooth while stitching.
With fabrics like terry cloth and corduroy, use bigger satin stitches and water-soluble stabilizers. This stops threads from sinking in and makes designs clear. Try using the embossing technique for nice satin stitch borders around designs.
For satin and silk fabrics, go for 75/11 sharp point needles and silk thread. It’s gentle on these smooth materials. Use tear-away stabilizers carefully to avoid hurting the fabric. Hoops like 8-in-1 or magnetic ones are good to prevent marks.
The right stabilizer is key for long-lasting embroidery. Sulky Tender Touch is a good choice for light, thin fabrics. It stays soft after washing. Yet, Cloud Cover Stitch is better for sensitive skin but might not last through many washes.
Keep your embroidery safe by storing it right. Most yellowing in stored fabrics comes from contact with acid, often in wood or tissue paper. Always use acid-free materials for storage. Keep items out of the sun to keep their colors and fabric strong.
Roll, don’t fold, large items like tablecloths to avoid creases. Don’t starch embroidered items before storing. It can make fibers stiff and attract bugs. Following these care tips will keep your embroidery beautiful for longer.
Cleaning Up: Removing Leftover Threads
After taking out the embroidery stitches, cleaning up the leftover threads is crucial. It needs attention to detail. Any leftover threads can spoil the look of a restored garment.
Using Tweezers or Small Scissors
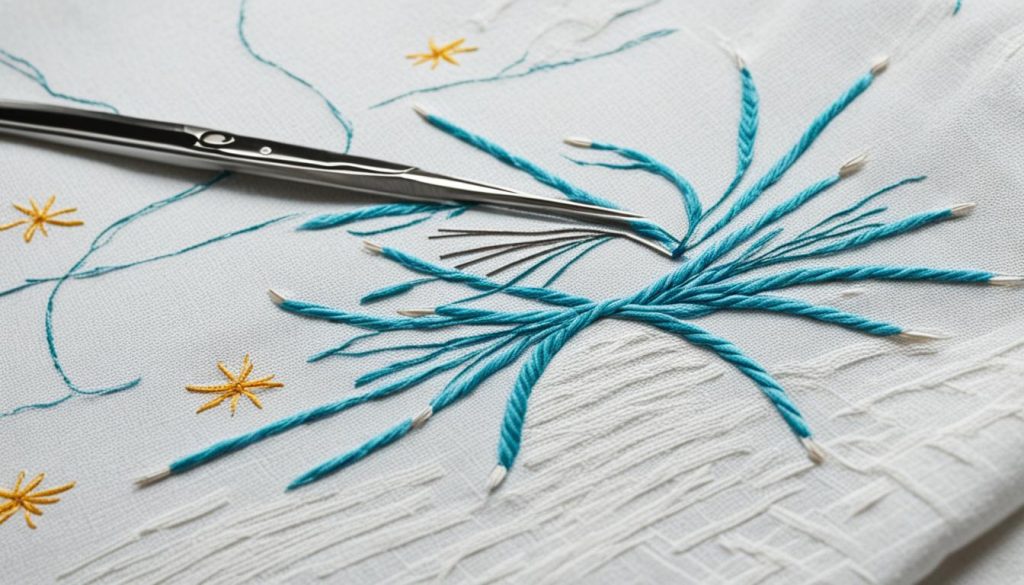
First, pick out threads with tweezers or scissors. It’s important to work carefully. This avoids harming the fabric, whether it’s a new or old piece.
Practical tips:
- Inspect the area thoroughly, ensuring all threads are visible.
- Use the tweezers to pick up and gently pull out the remaining threads.
- If some threads are too small to grasp, use small scissors to snip them off without cutting into the fabric.
Final Touches with Lint Roller or Brush
After removing visible threads, use a lint roller or brush. This step catches any small, unseen fibers. It makes sure your garment shine again after the embroidery is gone.
An Ort Bin can be useful. Many needleworkers keep one. Threads they collect over time can grow large, showing they play a big role in keeping pieces tidy.
“In the 1700s, the term ‘orts’ referred to these thread remnants—which offers a fascinating glimpse into the long history of embroidery stitches and their cleanup strategies.”
So, cleaning up well after removing embroidery brings back the original look. By taking these small, necessary steps, you can make your clothes new again. They’ll be rid of any leftover threads, looking fresh once more.
Embroidery: Making Your Clothing Look As Good As New
After removing embroidery from clothes, making them look new is key. Use the right techniques so the fabric stays in good shape. This lets you add new embroidery without any problems. Fabrics like cotton poplin are perfect for this. They provide a strong base for embroideries, both modern and traditional. This way, you’re making your clothes look fresh again.
Start new designs with stitches that are ⅛” to ¼” long. This keeps the fabric from getting too stiff. It also helps avoid damage. Watch out for fragile stitches like the spider wheel rose. They can get ruined in the wash. Make loopy stitches small to prevent tangles. Always secure your thread well to avoid it coming loose.
After the embroidery, it’s vital to wash your clothes gently. Use cold water, especially for delicate stitches. A delicates bag will protect the embroidery from other clothes. This keeps your embroidery looking great for a long time. You can also use embroidery software to perfect your designs. And try free patterns to make your work unique.
Embroidery is a great, low-cost hobby. You only need a needle, thread, and fabric to get started. Start with embroidery kits if you’re new, like those from Cozy Blue. Learn basic stitches like the back stitch. As you get better, try new fonts and more advanced techniques. This will keep your projects looking impressive.
