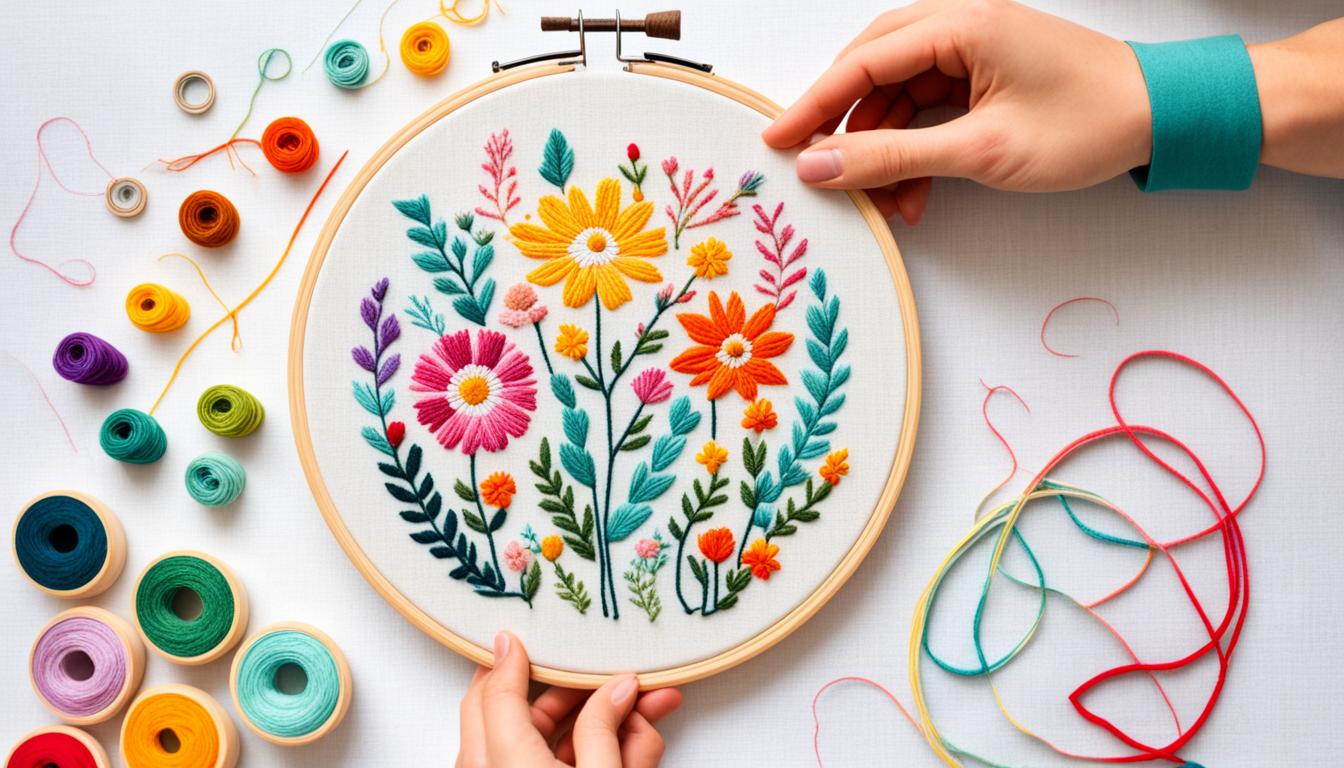
Ever looked at a fancy embroidered piece and wondered, “Can I make that?” Yes, you can! DIY embroidery is much easier than it seems. You can design beautiful patterns with just a needle and some basic stitches. With simple patterns and knowing a few easy stitches, you can start your journey into embroidery.
Embroidery is not just for experts. It’s about stitching a beautiful piece, step by step, using a needle and thread. You can quickly learn basic stitches like the back stitch and French knots. It’s made even easier with affordable tools and colorful threads. This craft is a fun start for anyone, from beginners to those with some crafting background, offering a path of creativity and satisfaction.
Key Takeaways
- Embroidery is fundamentally about guiding a needle and thread through the fabric.
- Begin with basic stitches like back stitch, lazy daisy, and French knots.
- Organized materials and affordable tools can simplify your start.
- No prior experience is needed; cross-stitching knowledge can be beneficial.
- Embrace the creative process and experiment with different designs and textiles.
Understanding the Basics of Embroidery
Embroidery is an art that’s been around for ages but keeps changing. From detailed hand designs to intricate machine patterns, it’s always interesting. If you’re starting or want to get better, it’s key to know the basics first.
What is Embroidery?
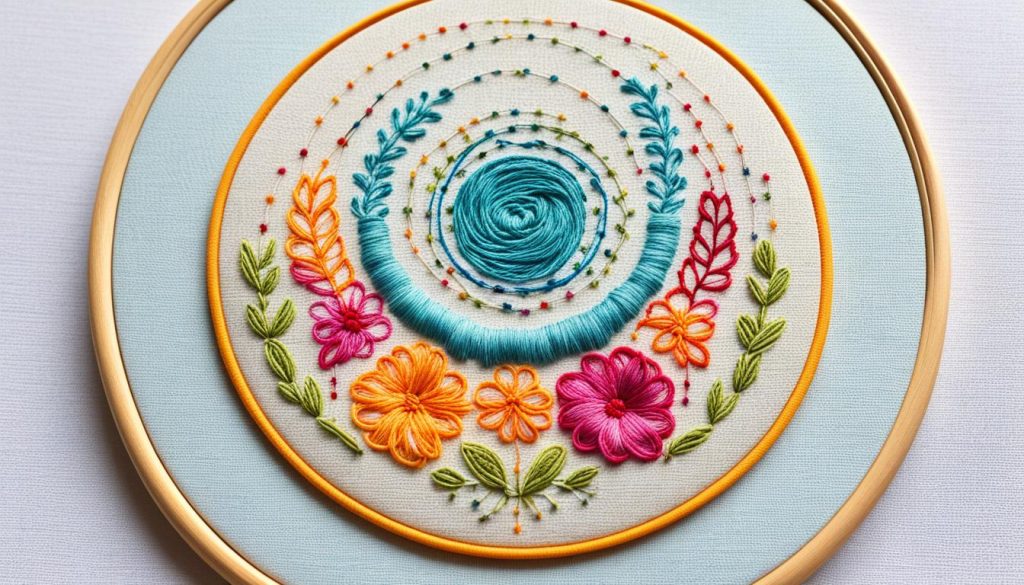
Embroidery beautifies fabric using a needle and thread. You can use many stitches like backstitch and French knots. These turn simple pieces into beautiful works of art.
A water-soluble marker helps beginners draw their designs. It washes out, so no worries. You can also separate embroidery floss into thinner strands. Backstitch is great for text, making your design clear and neat.
Each stitch has its role. French knots make cool dots when you wrap thread around your needle. Satin stitch, great for big areas, lets you add more color. Knowing these helps make your embroidery stand out.
Types of Embroidery: Hand vs. Machine
Embroidery falls into two groups: by hand or machine. They each have their own style and use.
- Hand Embroidery: This way is for intricate, personal designs. Using tools like hoops and different needles lets you make special pieces. Stitches like stem stitch or seed stitches add unique textures.
- Machine Embroidery: It’s known for being quick and making many items at once. Though less personal than handwork, it’s great for big projects. Machines can do complex designs perfectly thanks to advanced tech.
Both methods have benefits. Handwork shows your creativity and detail, but machines are faster and consistent. Picking the right one depends on your project. Whether personal or for business, knowing about both is important.
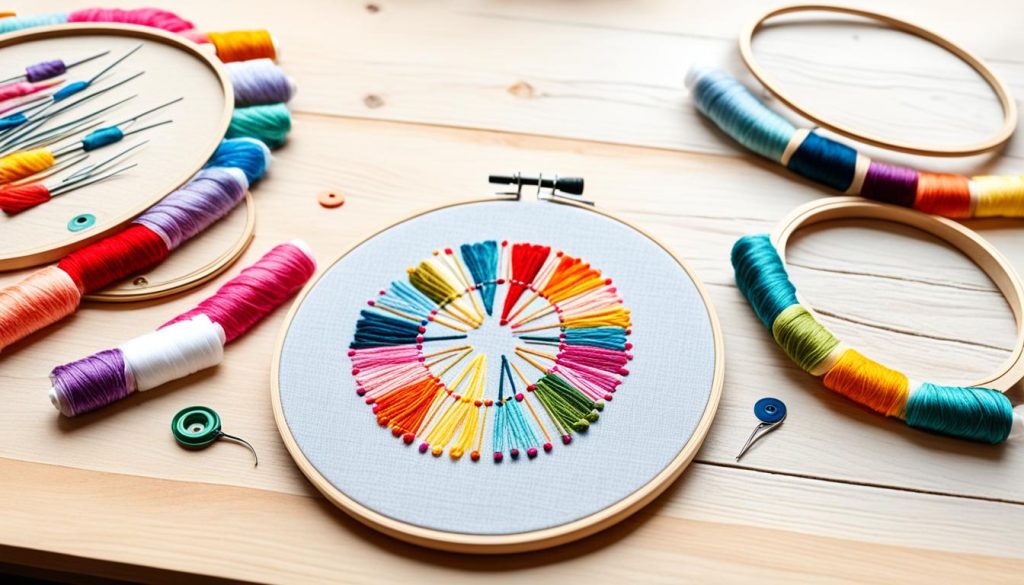
Hoops are useful for keeping fabric steady, and special scissors cut threads cleanly. Kits with everything you need are perfect for starting out.
Choosing Your First Embroidery Project
Your first project is really important. It sets the tone for your whole embroidery journey. Start small with simple patterns. This helps you get the hang of basic skills. For beginners, go for designs with less complexity. This means small hoops or simple images are a great choice. You’ll start small and grow your skills over time.
Simple Embroidery Patterns to Start With
If you’re new, start with free patterns. They are perfect for beginners. Look for line drawings or shapes, as they’re easy to follow. An iron-on transfer pattern can make things even simpler. It helps get your design onto fabric with ease.
Beginner-Friendly Embroidery Designs
Choose beginner designs that use easy stitches. Back stitch and running stitch heavy patterns are good for starters. Also, go for designs that are modern and simple. Less intricate work is easier for beginners.
For a first project, use 6-strand floss but split it when needed. Pick cotton muslin for fabric. It’s easier to stitch on. A small hoop, 4 to 6 inches, is perfect. It keeps your work tight and well-stretched.
| Essential Measurements | Recommended Length |
|---|---|
| Floss for stitching | 18-20 inches |
| Fabric around hoop | 2 inches wider than design |
| Securing stitches | At least 3/8 inch on back |
| Trim end thread below knot | About 3/8 inch |
| Thread separation | 2 or 3 strands |
These measurements are key for a good start in embroidery. They give clear steps and goals.
Essential Embroidery Supplies
Starting your embroidery journey means gathering some key supplies. These include embroidery hoops and the right threads. Each item is important for your projects’ success.

Embroidery Hoops and Why They’re Important
The embroidery hoop is vital in stitching. Wooden hoops are best, found in many sizes to fit your projects. They hold fabric tight, keeping your stitches neat. A set of beechwood hoops (4in, 6in, and 8in) costs around $24.99.
Choosing the Right Embroidery Thread
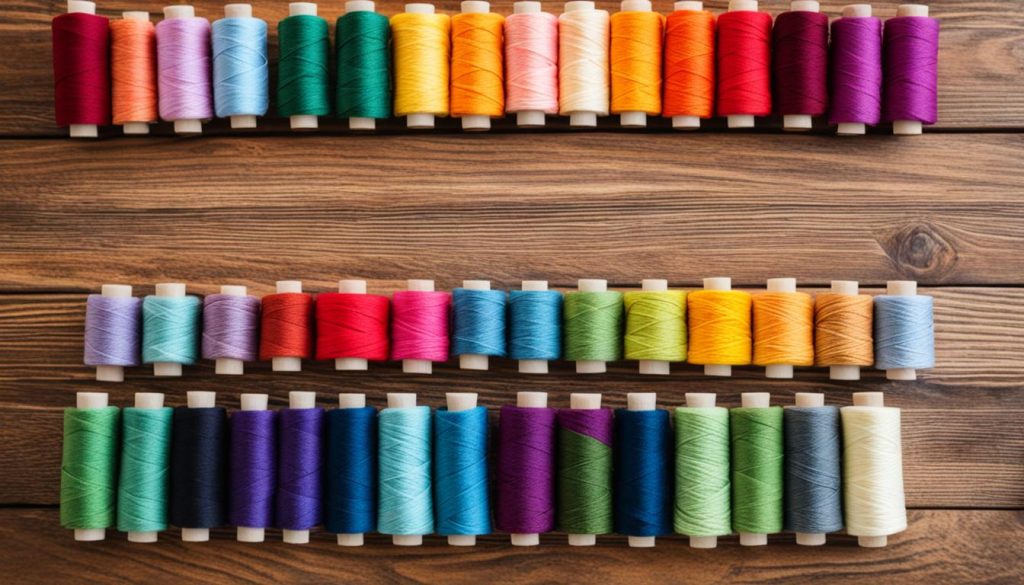
Finding the right threads is key for your projects. DMC threads, known for quality, come in many colors. It’s wise to pick threads that work well and are easy to find.
A pack of 36 DMC skeins is about $23.84. This gives you lots of colors. For beginners, there’s a Paintbox Crafts set with 16 skeins for $13.09.
| Embroidery Supply | Details | Price |
|---|---|---|
| Embroidery Hoops (Set of 3) | Beechwood, Sizes 4in, 6in, 8in | $24.99 |
| DMC Floss (36 Colors Pack) | 6 Strand, Various Colors | $23.84 |
| Paintbox Crafts Beginner Set | 16 Skeins, 6 Strand | $13.09 |
| DMC 28ct Monaco Fabric | 20in x 24in | $6.29 |
| Hemline Embroidery Scissors | 90mm | $8.99 |
You’ll also need fabric and special scissors. Good fabric lasts longer. And sharp scissors help with cutting thread.
Don’t forget good lighting. Either natural or sewing lights can reduce eye strain. These are key for crafting details.
With these supplies, you’re all set for fun and successful projects. Whether you’re doing complex designs or simple art, you’re ready.
Basic Embroidery Stitches for Beginners
Beginning your hand embroidery journey is fun and fulfilling, especially with some simple stitches. These essential stitches prepare you for many embroidery projects and help to improve your skills. We’ll focus on three key embroidery techniques: the Back Stitch, the Lazy Daisy Stitch, and the French Knot.
Mastering the Back Stitch
The Back Stitch is key for drawing outlines and adding fine details to your work. It’s simple and versatile, making it an easy technique to pick up. Follow these steps to make a Back Stitch:
- Start by bringing your needle up at point A on the fabric.
- Put the needle down at point B, then bring it up again at point C, which should be a little way from B.
- Next, pull the needle through. Insert it back at point A to create a backstitch.
This stitch is great for outlining shapes and is very compatible with other basic stitches. It’s often used for small details, such as outlining windows in pieces like “On The Canal.”
Learning the Lazy Daisy Stitch
The Lazy Daisy Stitch is fantastic for making looped petals, ideal for flowers. Its unique look is great for enhancing floral designs. To do a Lazy Daisy Stitch:
- Bring your needle up at the petal’s base.
- Make a loop by putting the needle down close to where you started and pulling it up at the loop’s end.
- Secure the loop by stitching over it, anchoring it to the fabric.
Mastering the Lazy Daisy Stitch gives your embroidery projects a lovely, handmade touch. It quickly becomes one of your favorite techniques.

How to Perfect the French Knot
The French Knot adds interesting texture to your patterns. Initially, it might seem hard, but with practice, it’s very rewarding. This stitch is great for creating small, textured areas, seen in detailed embroidery works. To sew a French Knot:
- Start by inserting the needle up through the fabric where you want the knot.
- Wrap the thread around the needle twice.
- Then, hold the thread tight and insert the needle back into the fabric near where you began.
- Finally, gently pull the thread to make a secure, small knot on the fabric.
Although mastering French Knots may require some time and effort, they’re crucial for adding special details to your work.
Learning these basic stitches sets a strong foundation for your embroidery skills. Enjoy the learning process. With every stitch, you grow more skilled and confident. This opens up doors to explore more advanced embroidery techniques and creative patterns.
Below is a comparative look at different basic and advanced embroidery stitches:
| Embroidery Stitch | Usage | Difficulty Level | Example Project |
|---|---|---|---|
| Running Stitch | Basic outlining, seams | Easy | N/A |
| Back Stitch | Outlining, detailing | Easy | On The Canal |
| Lazy Daisy Stitch | Flower petals, greenery | Easy | Formal Garden |
| French Knot | Textured fills, small details | Intermediate | N/A |
| Wagon Wheel Stitch | Leaves, flowers | Intermediate | No Place Like Home |
| Bullion Knot | Roses, decorative fills | Advanced | N/A |
Using Embroidery Kits to Your Advantage
Embroidery kits are a great start for anyone keen on DIY embroidering. You’ll get everything needed, like fabric, thread, and design outlines, in one pack. This takes away the hassle of finding items separately, saving a lot of time and making things easier.

A study by University College London in 2020 revealed that activities like embroidery cut down on stress and inflammation. Simple kits not only let you be creative but also boost your health. They come with structured patterns, which improve focus. This makes them perfect for kids and grown-ups alike.
Embroidery is for everyone, and the kits make it easy to join in. Since the kits have everything needed, chosen by skilled designers, you don’t have to worry about missing items. This mostly eliminates the need for last-minute shopping, making the hobby more inviting. This hands-on craft is known to relax the mind, helping many find peace through creating.
Embroidery’s appeal has grown during the pandemic, offering a much-needed break. Besides getting to be creative, finishing a project brings a big confidence boost. Doctors recognize it as a valuable relaxation method. It not only calms the mind but also relaxes the body, showing a high satisfaction level with the final work.
Embroidery kits are both friendly for your wallet and beneficial for your health. Thus, they’ve become a hit among those looking for a thrifty pastime. The activity’s mix of art and focus is a great stress-buster. It’s good for your heart too, with a high report of happiness from finished projects.
Having all you need in a kit lowers the stress of deciding and boosts project kick-offs. They support both beginners and skilled crafters. Newbies pick up new skills quickly, and pros get to polish their creativity with the kits. This shows how effective and inclusive the kits really are.
| Benefit | Percentage |
|---|---|
| Decrease in sourcing difficulties | 80% |
| Increase in project promptness | 70% |
| Mastering new techniques (new stitchers) | 95% |
| Enhancing personal embellishments (experienced stitchers) | 80% |
Learning Through Embroidery Tutorials
Embarking on an embroidery journey is easier now with many online tutorials at your fingertips. From quick tips to full classes, you can learn a lot. These online classes make learning stitches and designs simple. You can quickly move from basic to advanced techniques.
Online Embroidery Tutorial Resources
Platforms like YouTube and special embroidery websites have LOTS of tutorials. They’re good for beginners and pros. Subscribing lets you watch detailed tutorials for free. Needle ‘n Thread has many stitch tutorials and tips to help you learn. You can replay parts until you understand fully, making difficult techniques easier.
Step-by-Step Embroidery Instructions
Learning embroidery starts with following step-by-step guides. They often have six steps, including fabric preparation and design marking. These steps teach you how to make your projects look professional. When you follow these steps, working with different fabrics becomes easy. Even if you use an embroidery machine, you’ll know what to do.
Being part of online embroidery groups is very helpful. They’re a great place to ask questions, show your work, and cheer others on. Joining these groups improves your skills. It makes creating beautiful embroidery more fun and rewarding.
