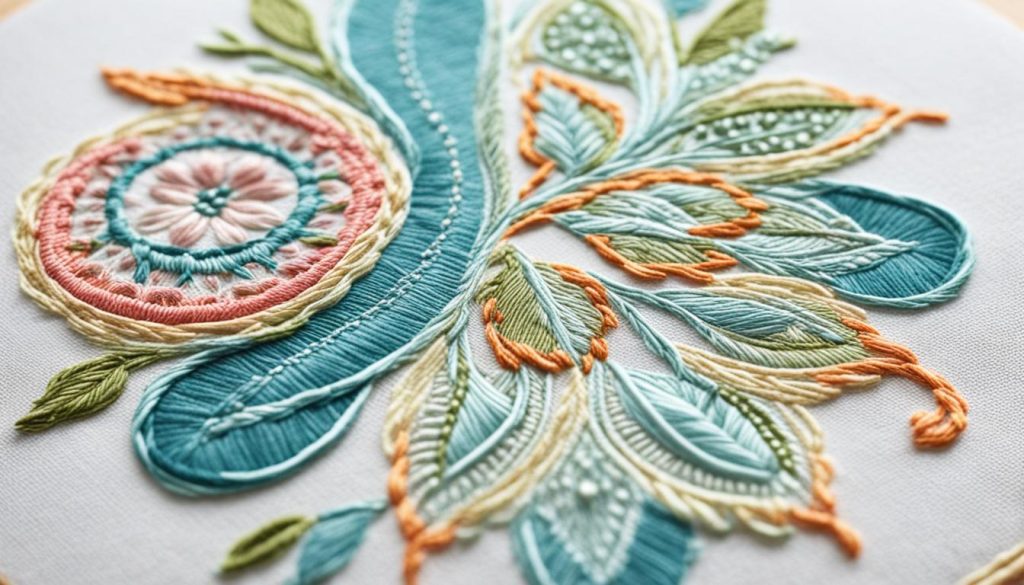
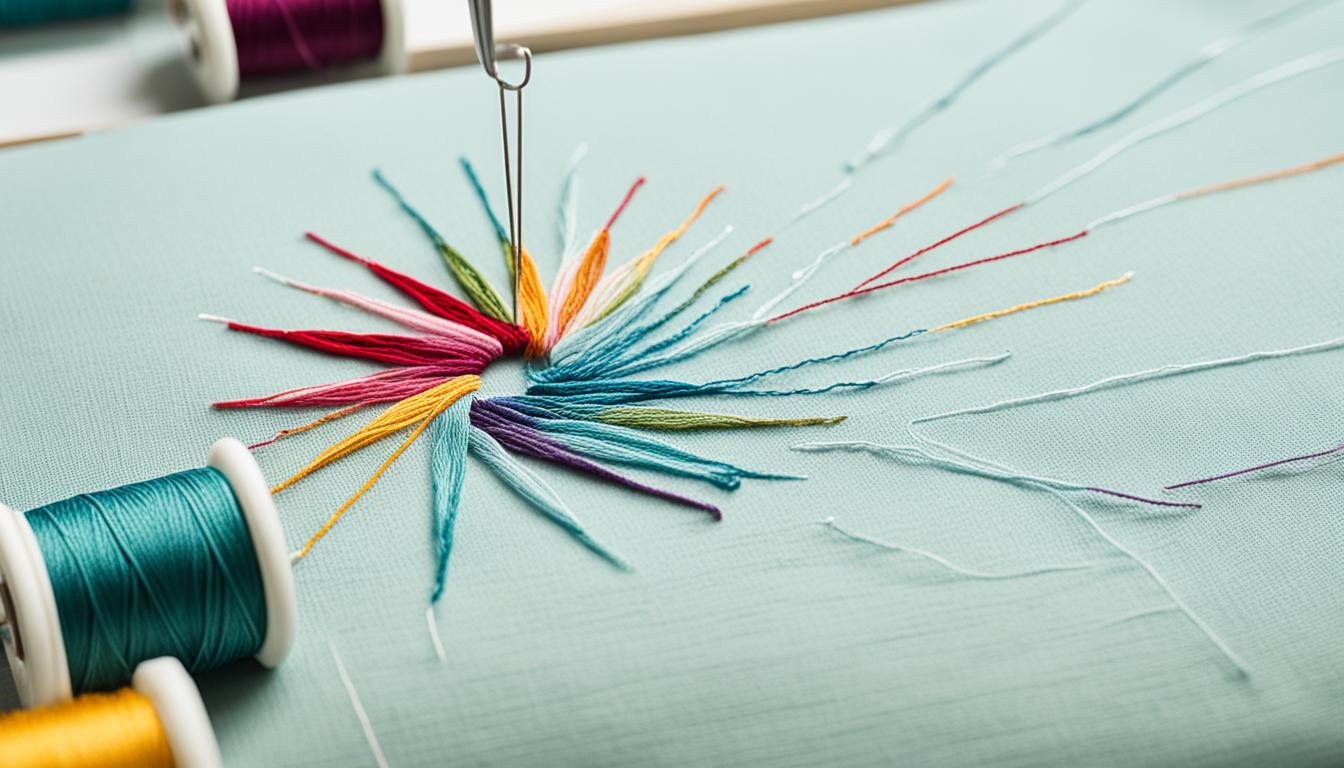
Have you ever thought about how a needle and thread can change a fabric into a masterpiece? Get ready to explore the art of hand embroidery. This timeless craft is not just a hobby but also a way to unleash your creativity. We will guide you from the first steps to advanced techniques.
Our guide is perfect for those wanting to spruce up their clothes or create detailed art. With our embroidery tutorials, you’ll be making beautiful crafts in no time.
Key Takeaways
- Embroidery for beginners starts with understanding the basics and embracing imperfections.
- Select cotton or linen fabrics for ease of stitching and durability.
- Size 7 and 9 needles are ideal for hand sewing.
- An embroidery hoop is essential to keep fabric taut and prevent puckering.
- Start with simple stitches like the running stitch and backstitch.
- Beginner-friendly patterns and video tutorials can accelerate your learning.
Why Embroidery? Understanding the Basics
Embroidery is like painting but with thread. It lets you be endlessly creative. You start with drawing on fabric and then stitch over it. This brings your design to life. It’s a great hobby for beginners and is affordable too.
Embroidery has a long history, but it’s becoming popular again. This means you can easily find support and resources. Doing your own embroidery is relaxing. You also get to create unique things. Since the materials are cheap, everyone can try it.
There are many embroidery hoops of different sizes in stores. They help make your projects more varied. For starters, use 100% cotton fabric and thread. Brands like DMC and Anchor are good choices. You’ll need different sized needles for different threads. Needle sets with various sizes are easy to find.
This craft is not just about making things. It helps you relax and destress. You can do it anywhere – on a bus or at home. Its portability means you can enjoy it in all kinds of places.
Online embroidery classes are great for all levels of expertise. They help you get better. Embroidery boosts your mental well-being. It’s relaxing and helps you express yourself creatively. This hobby can last a lifetime.
Essential Supplies for Embroidery
Starting to embroider means you need to know the basic supplies. These tools make your work better and your experience more enjoyable. They ensure your work looks great too.
Embroidery Hoop
An embroidery hoop is key for keeping your fabric tight. Pick a 6″ or 8″ size. This depends on how big your project is. A tight fabric lets you stitch neatly and accurately.
Needles
Needles are crucial for any embroiderer. Choose the right one based on your thread and fabric. A size 80 needle is usually good for most work. A needle with a long eye is easier to thread, especially with thicker thread.
Fabric
The fabric you choose really affects how your work turns out. Look for cotton or linen with a tight weave. Light fabrics are common but can show shadows. Always prepare your fabric to avoid fraying and increase its life.
Thread
Use good quality thread, like Isacord Polyester, for its strength and color. For handwork, DMC cotton floss is a top choice. Use two or three strands for most projects.

Additional Tools
Adding extra tools can make your embroidery even better:
- Small scissors or snips: Handy for snipping thread close.
- Bobbins: Use a lighter weight underthread for a clean finish.
- Fabric stabilizers: Help your fabric stay smooth during and after stitching.
- Temporary adhesive spray: It sticks stabilizer to your fabric while you work.
- Marking tools: Pens or markers that wash out, for tracing patterns.
- Embroidery software: Lets you tweak designs before you stitch.
Many choose full embroidery kits to keep everything together. This is great for beginners. Having the right tools will help you get the best from your embroidery.
Basic Embroidery Stitches You Need to Know
Embroidery stitches are the foundation of any project, whether new or old. They range from basic lines to complex patterns. With the help of YouTube, many have taken up embroidery, sharing their works widely.

Running Stitch
The running stitch is great for simple dashed lines. It’s easy to pick up, especially for those new to embroidery. You simply make small, even stitches along a straight or curved path.
Backstitch
The backstitch is versatile, offering strength and neatness. It’s often used for outlining and writing. Learning this stitch can really step up your embroidery game.
Split Stitch
The split stitch is best for bold, textured lines. This stitch gives a braided effect by splitting the thread as you work. It’s good for outlining or adding detail.
Stem Stitch
The stem stitch creates a smooth, flowing line. It’s great for organic shapes and adding elegance. You often see it used for stems or simple outlines.
Satin Stitch
The satin stitch is perfect for solid colors. It gives a shiny, polished look to your projects. Both hand and machine embroidery use this stitch for filling in areas.
French Knot
The French knot is a bit tricky but very useful. It adds texture and detail. When done well, it can look like little flowers or eyes.
There’s a whole world of stitches beyond these basics. Over 300 stitches exist, each with its unique look. Beginners might find embroidery kits a great way to start. These kits offer a practical approach to learning the craft.
How to Transfer Patterns to Fabric
Before starting to stitch, it’s important to transfer your chosen pattern to the fabric. The way you choose to do this will affect how clear and well-done your embroidery turns out. Here are some ways to make sure your custom embroidery projects look great.
Tracing
Tracing is a simple way to transfer embroidery patterns. To do this, use a bright window or a lightbox. Make sure your fabric is tightly stretched within an embroidery hoop. Then, carefully trace the design. Water erasable pens work well because they are cheap and easy to get rid of. Yet, they can be hard to see on dark or thick fabrics. Erasing them off might also take a few tries.

Printable dissolvable stabilizer paper is great for detailed or dark patterns. Although it may cost more, it offers precise lines that vanish when soaked. Frixion pens are another good choice. But, remember, their lines can come back in cold weather. And ironing might mess up your stitches.
| Method | Pros | Cons |
|---|---|---|
| Water Erasable Pen | Simple, inexpensive, non-permanent, suitable for light fabrics | Requires bright light, challenging for heavy or dark fabrics |
| Printable Stabilizer Paper | Precise, great for dark or thick fabrics | Expensive, requires thorough rinsing |
| Frixion Pens | Easy, inexpensive | Lines reappear in cold, ironing may flatten stitches |
Iron-On Transfers
If you have free embroidery patterns and want a quick way to use them, try iron-on transfers. They work best on dark fabrics. Just place the pattern face down on the fabric and iron on top. It’s quick and easier than manual tracing. But, it’s important to get the heat and pressure right. Plus, it’s better for light, smooth fabrics.
For a more fixed option, iron-on transfer pens are a good choice. They leave a mark that won’t wash away. Still, make sure your embroidery covers these lines well.
Heat transfer pens with tracing paper are great too. They allow for multiple uses and are simple to use. They’re best on woven cottons, which are excellent for embroidery work.
| Method | Pros | Cons |
|---|---|---|
| Iron-On Transfers | Quick, good for dark fabrics | Heat and pressure-dependent |
| Heat Transfer Pens | Clear, permanent | Marks must be covered |
| Heat Transfer with Tracing Paper | Reusable, easy to apply | Best on light, smooth fabrics |
Remember, picking the right method to transfer patterns sets a strong base for your embroidery work. Whether you go with tracing or iron-on, make sure it fits the fabric and design complexity. This ensures the best outcome for your project.
Free Embroidery Patterns for Beginners
Starting your first embroidery projects is exciting yet could feel like a lot to handle. Thankfully, lots of free embroidery designs exist for beginners. This makes your entry into machine embroidery easy and fun. You’ll find these designs include simple stitches and motifs. They help you grow your skills step by step.
Sampler Patterns
Sampler patterns are a great start for learning different stitching techniques. Many include:
- Modern flowers
- Word art
- State outlines
- Dachshunds
These designs use stitches like the split stitch, back stitch, and satin stitch. They are perfect for those just beginning. As you make your way through these patterns, your embroidery skills and confidence will grow.
Simple Designs
Simple designs make learning embroidery easy. They focus on basic shapes and motifs that are simple to do. Some examples are:
- Butterflies
- Pincushions
- Sashiko technique
- Cats
These designs use only a few stitches. This makes them perfect for someone new to stitching. Starting with simple designs helps you learn skills that are important for more advanced projects.
| Pattern Category | Number of Designs Offered | Popular Examples |
|---|---|---|
| Floral Motifs | Approximately 25% | Modern Flowers |
| Animal Motifs | 4 out of 20 | Cats, Dachshunds |
| Nature-Inspired Themes | 6 out of 20 | Butterflies, Rooster Weathervanes |
| Geometric Designs | Around 15% | Simple Shapes, Sashiko Technique |
The key is to start with a few basic stitches. This leads to creating great embroidery works. With over 15,000 free designs at Ann The Gran in formats like ART and DST, you have a lot available. So, start stitching and enjoy the journey!
Finishing Your Embroidery Project
When you’re done with your embroidery, how you finish it is really important. You can put it in a hoop, on canvas, or add an iron-on backing. Each choice helps your *embroidery hoop art* look better and last longer. Don’t forget to wash and iron your piece well. This keeps it bright and beautiful.
Framing in a Hoop
Putting your work in an embroidery hoop is easy and looks great. This way, everyone can see your *embroidery techniques*. Just cut the fabric an inch past the hoop after stitching. You can stitch the fabric around the back or leave the edges open. This gives it a unique, crafty feel.
Mounting on Canvas
Mounting on canvas gives your piece a pro look. It involves stitching your work to the canvas through the board. This way, it stays smooth without bunching. You can use foam to keep everything in place. Trish Burr and Tanja Berlin have guides on how to do this.
Iron-On Backing
For clothes like T-shirts, iron-on backing is a good idea. Mollie Johanson suggests this for adding strength to your stitches. It’s perfect for attaching embroidery to clothes. This fits well with the trend of personalized clothing and the rise of *embroidery business* today.
Washing and Ironing
Wash and iron your piece before framing. Use lukewarm water and soap to clean it gently. Rinse well and then lay it on a towel. Press it while damp with a white cloth underneath. This takes out wrinkles and makes your stitches look perfect.
Conclusion
Embroidery is more than a craft, it’s a gateway to endless creativity. It’s easy to start with the right tools like hoops, needles, and fabric. Learning basic stitches like running and satin stitch can be really fun and fulfilling.
Social media shows how many people love embroidery worldwide. It’s not just a hobby but a form of self-expression and relaxation too. This is seen in the rise of #handembroidery posts on Instagram.
Today, you can even find embroidery workshops at events and as a way to relax. As reported by the Financial Times, it’s moving fashion towards sustainability. It’s also good for your pocket since it uses cheap, natural materials.
As you get better, you can try more complex designs or even start a business. You can choose from traditional to modern patterns, making your work unique. Whether it’s for fun or to make a living, embroidery lets you be part of a tradition of creativity.
Start stitching today and turn simple threads into amazing works of art!
