Ever wondered why some embroidery looks flawless while others fall flat? The secret is in small details. From the materials you choose to the techniques you use, everything matters. For centuries, embroidery has enhanced fabrics. Learning this craft can boost your creative skills, whether on DIY projects or through meticulous hand embroidery.
This article is your guide to perfect embroidery on fabric. We’ll show you everything, from basic patterns to advanced art. It doesn’t matter if you’re starting or if you’re already experienced; you’ll learn tricks to make beautiful work with ease.
Key Takeaways
- Proper hooping is crucial for high-quality embroidery results.
- Using the smallest hoop that fits your design minimizes fabric movement.
- Magnetic embroidery hoops are ideal for ease and versatility with various machine types.
- Choosing the correct stabilizer is vital for proper support and stability.
- Testing designs on scrap material ensures optimal results before starting your main project.
Choosing the Right Supplies for Embroidery
Choosing the right supplies for embroidery makes your work beautiful and strong. The right materials are a big part of making perfect designs. Here are some essentials to get you started.
Embroidery Hoops
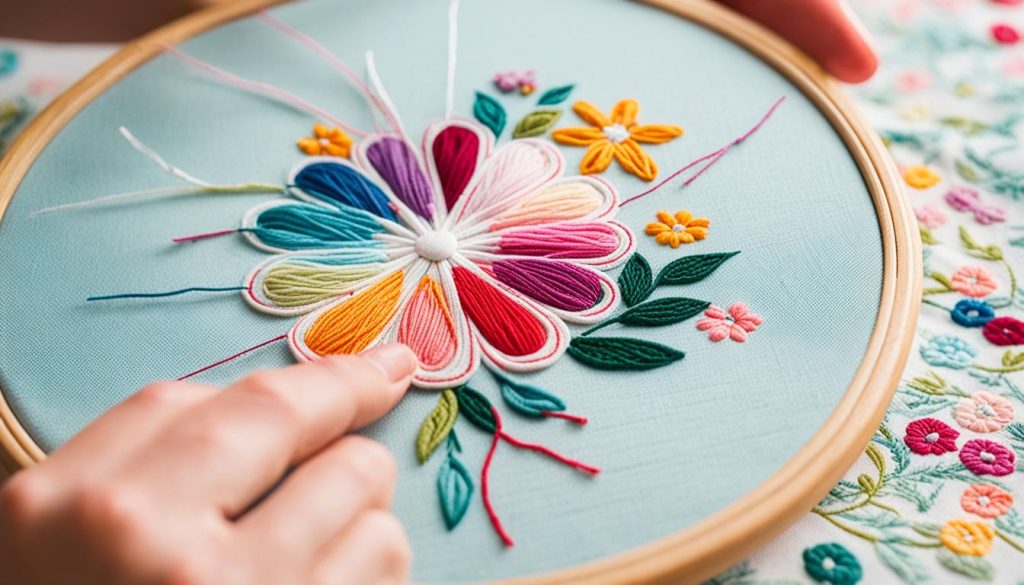
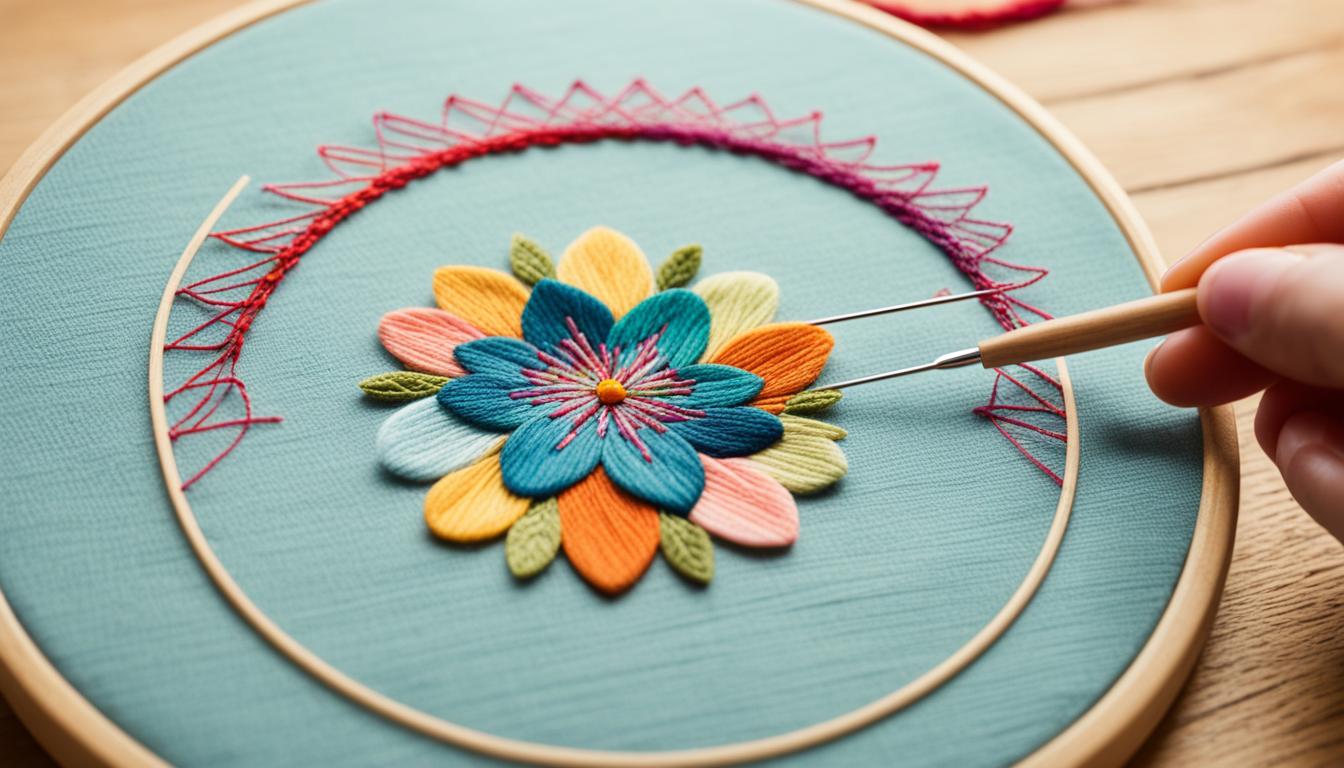
Embroidery hoops help keep the fabric tight when you sew. They vary in size and shape, but wood hoops are common. Tight fabric means your stitches can be exact, letting you make really detailed designs. It’s good to have a few different hoops for various projects.
Needles and Threads
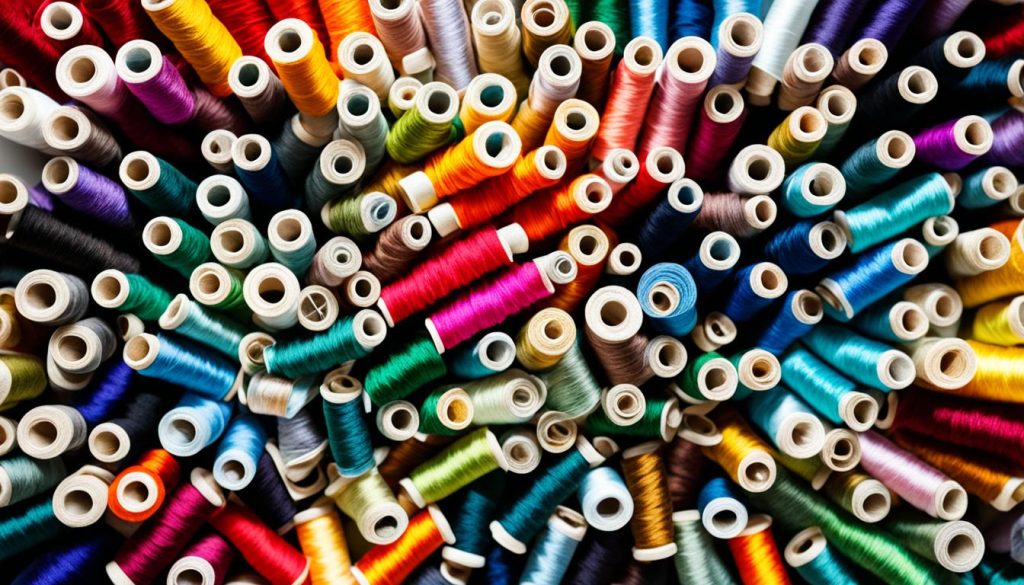
Picking the correct needles and thread is key for great results. Needles range from size 1 to 12, with smaller ones best for delicate fabrics. They make sure the thread doesn’t break and your stitches are neat.  DMC stranded cotton floss is a top pick for thread, coming in lots of colors for any design. For machine embroidery, use threads made for it to work well.
Choosing the Best Fabric
The fabric you choose is very important. Cotton and silk are great because they are smooth. This makes your designs look better. Pick fabric based on how it feels and how heavy it is, matching it with your embroidery style.
Stabilizers and Backings
Stabilizers and backings are like a secret weapon. They keep your fabric strong and stop it from puckering. This makes your embroidery last longer and look better, especially in machine embroidery. Support is very important here.
Selecting your supplies wisely, such as hoops, fabrics, and adding stabilizers, ensures your embroidery projects are both beautiful and tough. Embroidery kits are great for all levels, giving you a complete set of tools designed for success.
Transferring Embroidery Designs to Fabric
Transferring embroidery designs right is key for a perfect design. Your method matters a lot in how clear and correct your design turns out. I’ll show you how to do this for light and dark fabrics, and for projects that won’t be washed.
Light Fabric Transfer Techniques
Light fabrics need careful handling. You can trace with HB pencils on tracing paper over a lightbox for accuracy. Heat transfer pencils or pens are another good choice. They come in different colors and get sealed in with an iron. This makes the design last. You can also use hot iron transfers. These let you transfer black, blue, or gray outlines with a hot iron.
Transferring on Dark or Heavy Fabrics
Working with dark or heavy fabrics is challenging. The prick and pounce method is a good pick. You prick the pattern onto paper, then dust it with a transfer powder. This powder leaves the design behind. You can also try carbon or wax transfer paper. It comes out in the wash, keeping your fabric clean. For complex designs, water-soluble stabilizer dissolves in warm water.

Embroidery that Will Not Be Washed
If your project won’t be washed, moisture-proof methods are a must. Use micron art pens or fine watercolor brushes. They keep your design looking good. Waterproof markers can also be a great choice for more delicate fabrics.
Always test your method on a small fabric piece first, no matter what fabric or method you’re using. This small test can save your final project from mistakes.
Embroidery Digitization Mastery
Learning embroidery digitization can greatly improve your work, especially in machine embroidery. With the right software, you can control every stitch. This turns your designs into precise machine commands, resulting in beautiful embroidery stitches.

Understanding Digitizing Software
Embroidery software is essential for making detailed machine embroidery designs. Programs like Embird, My Editor, Ink/Stitch, and others are great for both beginners and experts. They let you master every stitch, making sure your designs look perfect on fabric.
Simplifying Complex Designs
When you face a complex design, simplify it by breaking it into parts. Use features like stitch editing to make this easier. For small designs, remember to keep the details simple. Begin with basic shapes and then add more complex features, ensuring your embroidery remains clear and readable.
Optimizing Stitch Types and Densities
To achieve professional results, it’s vital to choose the right stitch types and densities. Think about how thread and fabric interact. Use underlay stitches to stabilize your work. Pick the correct thread and needles to get the look you want. Techniques like push-pull and playing with stitch lengths can make your work stand out.
Digitizing a file for embroidery can cost between $0.08 and $0.15. It’s a smart investment to improve your skills. The right software can turn any design into beautiful stitches, using your embroidery fonts perfectly. This ensures every project is done to a high standard.
| Embroidery Software | Key Features |
|---|---|
| Embird | Comprehensive editing tools |
| My Editor | User-friendly interface |
| Ink/Stitch | Free, open-source option |
| SophieSew | Great for beginners |
| Hatch | Advanced features |
| Bernina Artlink | Professional-grade tools |
| Brother Embroidery Software | Brand-specific compatibility |
| TrueSizer | Vector resizing capabilities |
Embroidery Techniques for Flawless Designs
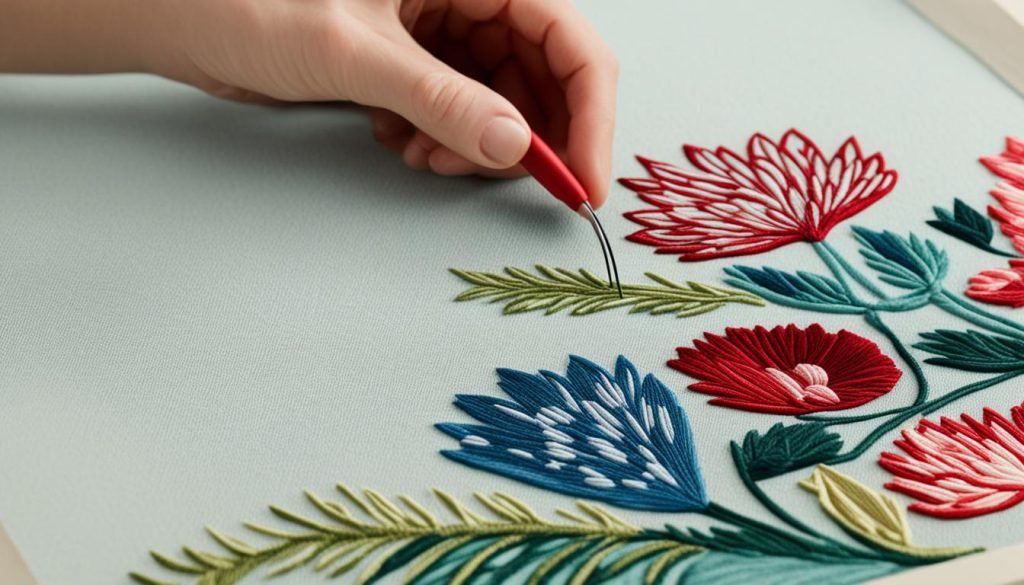
Creating flawless designs in your embroidery work requires knowing various embroidery techniques. First, learn basic embroidery stitches like back, chain, and running stitches. They each serve a unique role in different designs.
Modern embroidery uses advanced methods. Adding shading, texture, and 3D effects is common. You can make your work rich and detailed by using beads, sequins, and padding. Mastering these techniques improves your art.
Learning how to layer effectively improves your designs. Using shading techniques, like changing stitch directions, can add depth and realism. Also, using underlay stitches like center walk and zigzag stabilizes your work.
Choosing the right needles and threads is key. They must match your fabric and the look you want. Different needles and stitches affect how your design appears and functions. Adjusting stitch density is vital for sharp and flexible details.
Practicing embroidery techniques, such as push-pull and underlay stitching, is crucial. This minimizes fabric distortion and ensures smooth outlines. Dedication to these skills makes your work standout with professionalism and creativity.
Maintaining Quality in Embroidery Projects
Keeping your embroidery projects top-notch is key for a thriving embroidery business.
Conducting Test Runs
Testing your design on fabric with the right threads and needles is smart. It helps find and fix issues early.
Key things to check during these test runs are:
- Thread Tension: This can stop the thread from breaking and loops from forming.
- Color Accuracy: It checks if your colors are spot on, especially for logos.
- Alignment: It ensures your design is straight on the fabric.
Quality Control Measures
Having strict quality checks is vital. It catches and solves problems like thread breaks on time.
Here’s what to focus on:
- Using High-Quality, Sharp Needles: They’re a must for fine details.
- Correct Thread Tension: It keeps the stitching smooth and even.
- Proper Framing Tightness: This stops the fabric from puckering, making your details stand out.
- State-of-the-Art Technology: Can make copying logos and art more exact.
- High-Quality Machines and Regular Maintenance: They ensure you get great results every time.
Troubleshooting Common Issues
It’s important to regularly check for common problems and fix them. Here’s how:
- Calibration of Stitch Settings: Adjust these settings to avoid thread breaks and puckering.
- Appropriate Stabilizers: Use the right stabilizers for the fabric and project.
- Text Digitization: Improving your digitizing of embroidery texts can make your designs better.
To have a successful embroidery business, remember to do everything from testing to troubleshooting. High standards need continuous effort.
| Quality Control Measure | Importance |
|---|---|
| Using High-Quality, Sharp Needles | Captures intricate details |
| Correct Thread Tension | Prevents thread breakages and loops |
| Proper Framing Tightness | Avoids puckering |
| State-of-the-Art Technology | Replicates logos with higher accuracy |
| High-Quality Machines and Regular Maintenance | Ensures consistent, high-quality results |
Conclusion
Embroidery art has many sides, both by hand and with machines. You’ve seen how to use the right tools and materials. This means you can make beautiful designs easily. You’ve also discovered how to turn digital images into embroidery. This opens up new chances for creative and precise work.
Embroidery is not just a craft; it’s connected to people for centuries. This ranges from ancient kings to today’s fans of slow fashion. Now, almost 4.5 million posts are tagged #handembroidery on Instagram, showing its huge appeal. Famous sources, like The Financial Times, have also noted this trend. Whether you’re at a workshop, stitching for peace of mind, or learning online, there’s a lot you can do.
Embroidery is very flexible. It can make things look beautiful, keep a brand’s image strong, or make something special for someone. Experts and those who stitch by hand put their own stories into their work. By getting better and mixing old and new methods, your art can touch many hearts and last a long time. Keep trying new things, get inspired, and every stitch you make will add to your success in embroidery.
