Ever thought about the magic a needle and thread hold? They can turn a boring piece of fabric into a piece of beauty. Embroidery is a haven for creative minds. It teaches you how to turn threads and fabrics into pieces of art. We start with simple stitches and move onto more complex ones. Through clear guidance and pictures, you’ll learn to master this craft. This journey is perfect for beginners or those looking to improve. The lessons aim to boost your skills and inspire your creativity. Embark on this journey in hand embroidery and join the millions already creating beautiful stitches!
Key Takeaways
- Hand embroidery tutorials have garnered millions of views worldwide.
- Beginners can start with six fundamental stitches including the Running Stitch and Backstitch.
- Essential supplies include fabric, thread, needles, a hoop, and tracing supplies.
- Various methods to transfer patterns onto fabric have distinct pros and cons.
- Hand washing and line drying are recommended to preserve your embroidery.
Introduction to Embroidery: Getting Started
Starting in embroidery needs just a few supplies. You’ll want fabric, threads, needles, hoops, and tracing tools. The fabric lets you begin, and some types make stitching easier. With patterns, beginners will find free ones perfect for starting. Advanced artists have unique, detailed patterns to try. Various transfer methods let you choose what’s best for your project.
Gather Your Supplies
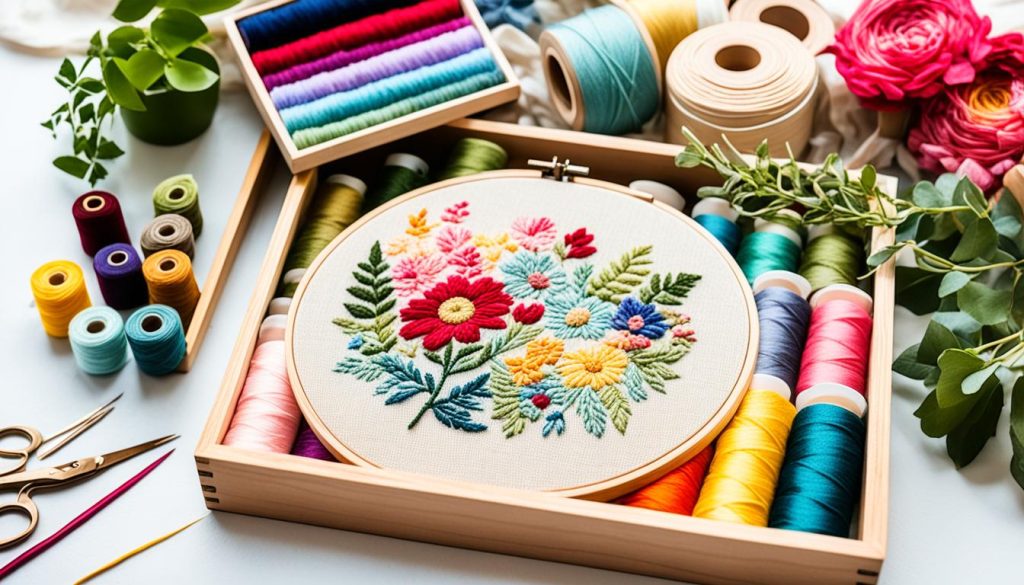
Begin your creative path by getting your supplies together. An embroidery hoop is the first thing to add, a 6-inch size is great for many projects. You’ll also need embroidery floss in different colors. DMC is a top brand known for quality. Make sure to have embroidery scissors handy; they’re made for these jobs. For needles, sizes 7 to 9 will do for most projects.

Quality supplies make your embroidery more enjoyable and your work more beautiful. For stitching, start with basic stitches like straight and back stitches. After you’re comfortable with these, you can try your hand at French knots and more complex stitches.
Choosing the Right Fabric
The fabric you choose is key. Cotton and linen are the best for most projects. Cotton muslin is great if you’re just starting; its looser weave makes sewing easier. If you want a challenge, quilter’s cotton is a good option. It has a tighter weave that might be harder to stitch through evenly.
Picking the right fabric is like choosing the perfect canvas. A quarter yard should be enough to start several projects, helping you learn and improve.
Selecting Patterns and Designs
Choosing patterns and designs is fun and personal. Start with free patterns if you’re new. They’re simple and pretty, making learning enjoyable. For those seeking a challenge, custom designs are a great choice. Tools like iron-on transfers or pre-printed fabrics can make starting easier. Or, try Sulky Stick’n Stitch. It’s an embroidery stabilizer that dissolves in warm water after you stitch through it.
Here is a quick summary to get you started with essential embroidery tools and fabric:
| Embroidery Supplies | Description |
|---|---|
| Embroidery Hoops | Round, typically from 4 to 12 inches; 6-inch hoop recommended |
| Embroidery Floss | DMC brand, cotton floss, 6-strand divisible |
| Needles | Sizes 7 to 9, versatile for most projects |
| Scissors | Made for different embroidery tasks |
| Fabric Types | Cotton and linen recommended, cotton muslin favored for beginners |
| Transfer Methods | Iron-on transfers, pre-printed fabric, Sulky Stick’n Stitch |
Basic Embroidery Stitches for Beginners
Learning a few basic embroidery stitches opens up a world of creativity. These techniques have tutorials with millions of views, attracting new enthusiasts every day. Start with six essential stitches and watch how-to videos to boost your confidence.

Running Stitch
The running stitch is simple and very useful. It’s like sewing in-and-out. You can use it to outline or add details to your designs. It’s perfect for making your fabric look neat.
Backstitch
The backstitch is also easy to pick up. It’s great for drawing outlines and adding details. This stitch makes your work sturdy and adds a clear, sharp line. You’ve probably seen it in various pieces, like details in “On The Canal”.
Stem Stitch
The stem stitch creates beautiful, curved lines. It’s used for things like flower stems. Especially on light fabrics, it gives your work a smooth, flowing look. This stitch brings your work to life, offering texture and shape.
French Knot
The French knot is more challenging but worth it. It gives your work a raised, 3D texture. This makes your embroidery look rich and intricate. Practice makes perfect with this stitch, seen in designs like “To The Woods”.
A table summarizes key details, serving as a handy reference:
| Stitch | Features | Usage |
|---|---|---|
| Running Stitch | Simple, versatile | Outlining, detailing |
| Backstitch | Continuous, durable | Outlining, defining |
| Stem Stitch | Curvaceous, textured | Stems, blossoms |
| French Knot | Dimensional, intricate | Embellishing, adding texture |
Advanced Embroidery Techniques
After learning the basic stitches, it’s exciting to try advanced techniques. These methods make your embroidery intricate and deep, turning simple designs into beautiful, complex artworks.

We’re going to look at three stitches that can take your projects to the next level.
Satin Stitch
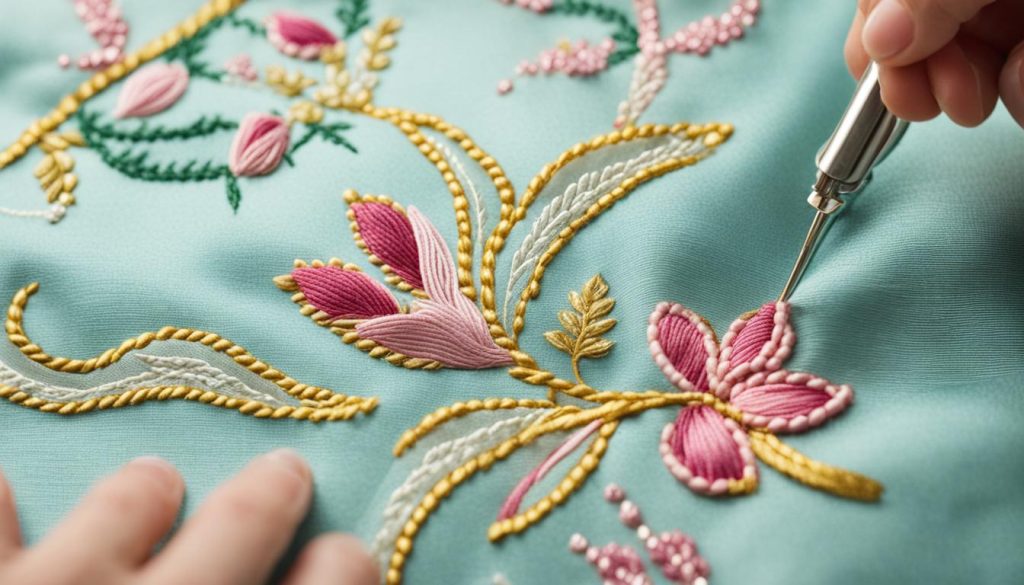
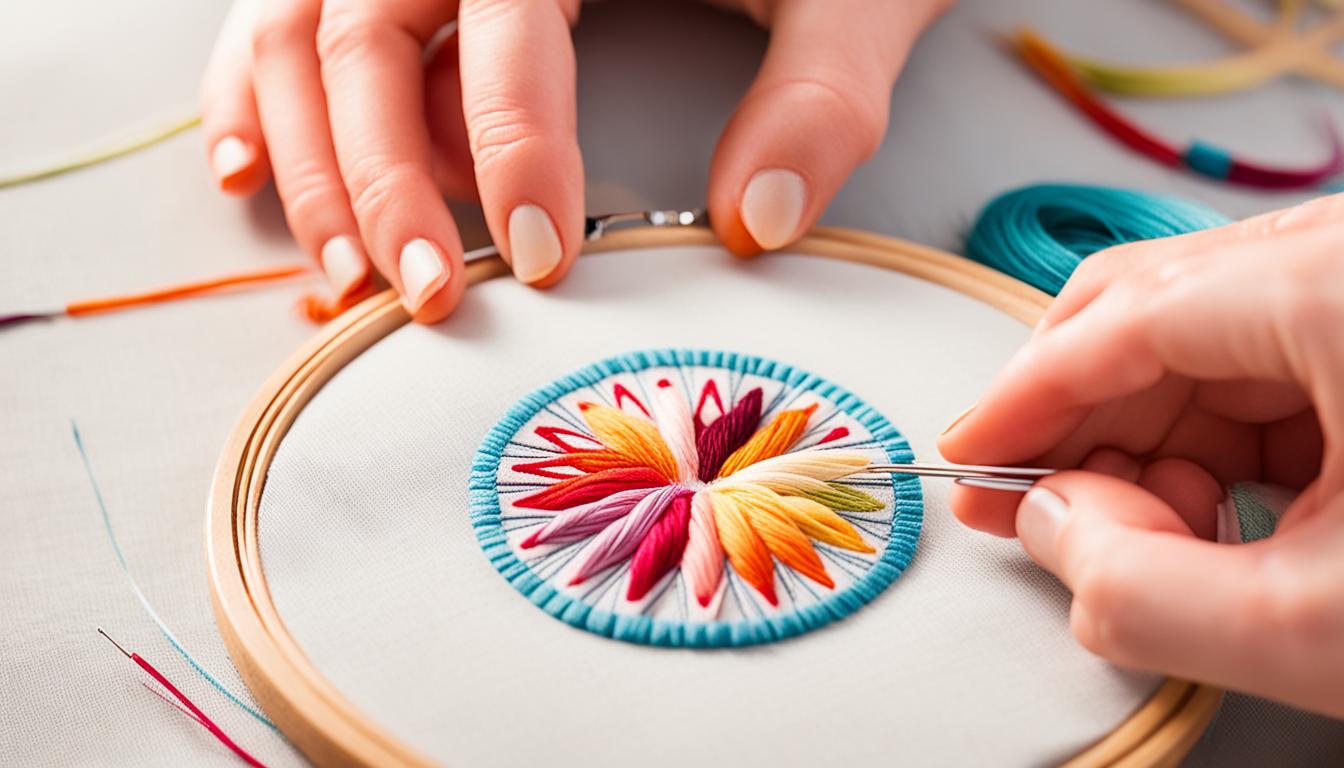
The satin stitch is key in advanced embroidery work. It makes a shiny, smooth finish for filling shapes. This stitch is great for flowers, leaves, and initials. It’s important to keep the stitch length and spacing even.
Chain Stitch
The chain stitch creates bold, flexible lines. It’s an upgrade from basic stitches and has many ways you can do it. You can use it to outline and create texture in your designs. The connected loops make it perfect for complex patterns.
Feather Stitch
The feather stitch looks like delicate, natural patterns. It’s great for borders and detailed designs. The open, light structure adds elegance to your project. Learning this stitch lets you bring a unique, whimsical touch.
Diverse thread colors, like Delft Blue and Light Salmon, add flair to advanced work. Quality tools, including Aurifil threads and PVC frames, make your stitches stand out. Don’t forget, practicing these stitches with patience is crucial for success.
Keep learning by joining workshops and connecting with embroidery groups. This will help you refine your skills in advanced techniques. It’s a great way to keep getting better and create standout pieces.
Embroidery Patterns and Designs
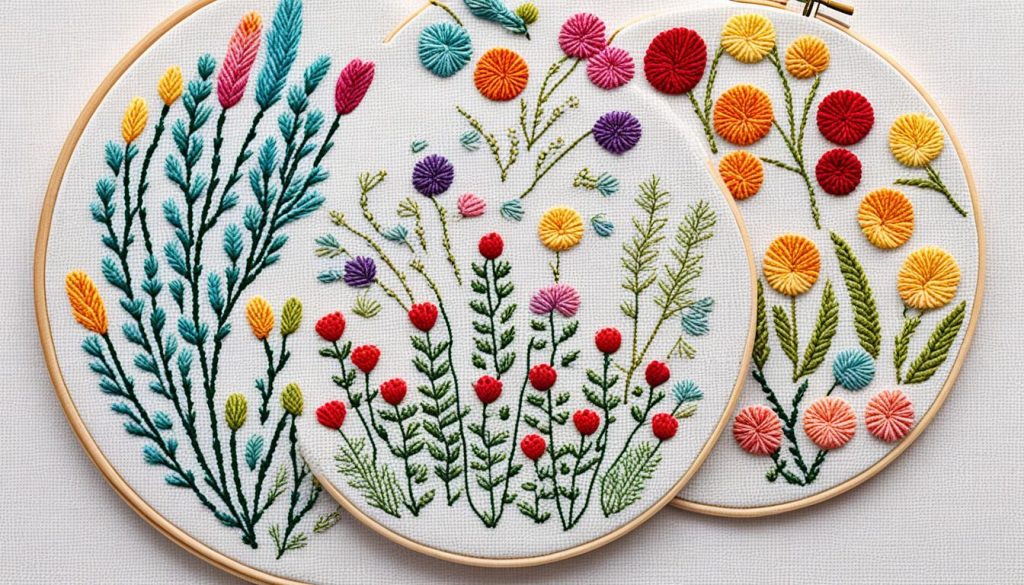
The world of embroidery offers endless creativity. It ranges from detailed flowers to bold abstract art. You can start your project for free. Many designs are available without any cost. This lets you get creative with low expenses.
Free Embroidery Patterns
You’ll find many free embroidery patterns for any taste or skill level. Each week, there are three designs you can get without buying anything. If you spend over $35, you unlock more designs for free. This makes it simple to grow your pattern library.
Snowbird includes sewing patterns with fabric buys over $15. They also give a Quilting Design Pack valued at $89.99 with any fabric purchase. These extras are a great way to enhance your creations for less.
Custom Embroidery
Custom embroidery tells your unique story through stitches. There are over 150,000 designs to choose from. You can save money, from 10% to 60%, on custom packs.
Machine embroidery speeds up the process for personal and business projects. When you buy a machine, you get a free Embroidery Bundle worth over $500. This bundle includes popular designs and more. With free shipping on certain machines, your next project is closer than ever.
Whether you prefer hand-stitched or machine-created pieces, there’s something for everyone. You can create both classic and modern designs. Each project reflects your personal touch beautifully.
