Ever thought about making cool embroidery with simple stitches? It’s a craft that lets you be creative with just a needle and threads on fabrics. As DIY gets more popular, many want to try embroidery but are unsure where to start.
Embroidery for newbies is wonderfully easy. To begin, you don’t need a lot of tools or skills. Just learn basic stitches like the running and backstitch. You’ll be surprised at how pretty your pieces can turn out.
Online, there’s a ton of tutorials and free patterns to help you. So, starting has never been simpler. Hand embroidery is not just fun but also calming. It’s a way to make unique and stunning crafts.
Key Takeaways
- Embroidery lets you express yourself creatively with just a needle and thread.
- Begin with easy stitches to craft beautiful work as a beginner.
- There are plenty of online tutorials and pattern resources for free.
- It’s a hobby that relaxes and rewards you at the same time.
- You don’t need much to start making your designs.
Gathering Your Embroidery Supplies
To start embroidering, you’ll need a few key supplies. These include fabric, thread, and needles. You also need an embroidery hoop and tracing tools for patterns. For those new to embroidery, these tools are basic and easy to find.
Essential Tools and Materials
Getting into embroidery requires some must-have supplies. Many embroidery kits have all you need to start. The essentials are:
- Needles: Size ranges between 3 to 9.
- Embroidery thread: Six-stranded cotton floss is widely used.
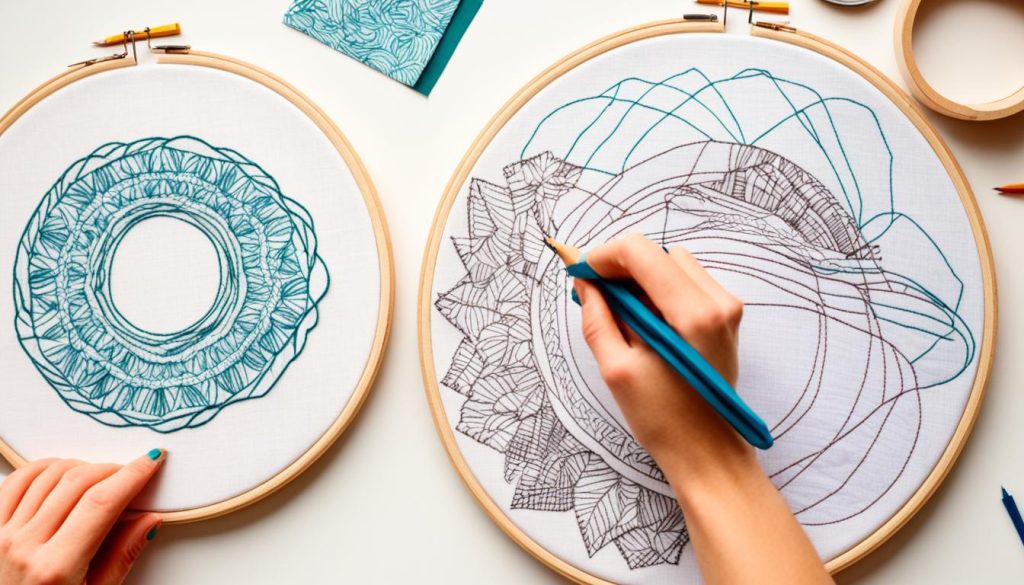
- Tracing supplies: Specialty pens or pencils for transferring designs.
- Needle minder and leather thimble pad.
- Stabilizers: Ensure a smooth finish on your embroidery fabric.

Choosing the Right Fabric
Picking the right embroidery fabric is key for your project’s success. Most fabrics work well, but choose non-elastic cotton or linen for easier stitching. Be wary of shadowing on light fabrics, where colored threads may show through from the back.
| Fabric Type | Benefits |
|---|---|
| Cotton | Easy to stitch, widely available |
| Linen | Durable, provides a classic look |
| Quilting Weight Cotton | Ideal for detailed work |
Selecting the Best Threads
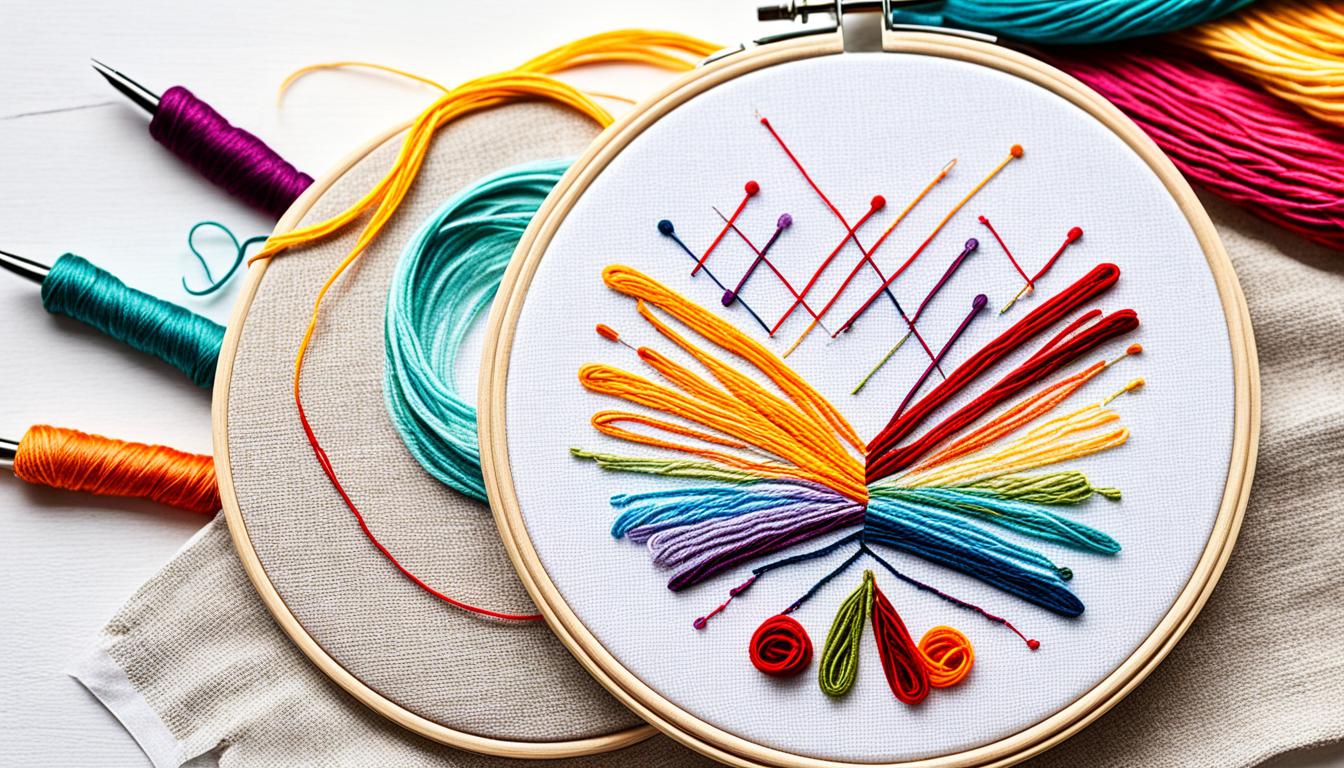
Choosing the right embroidery thread is crucial for your project’s look. Most embroiderers use six-stranded cotton floss. You usually sew with two or three strands. DMC alone offers over 500 colors of floss. Other thread options include perle, tapestry wool, and silk.
Using an Embroidery Hoop
Embroidery hoops are great for keeping your fabric tight and flat. Hoops come in various sizes, often made of wood. A 6 to 8 inch hoop is good for smaller projects. You can even hang your finished work directly in the hoop.
With these embroidery supplies, you’re ready for your crafting journey. Start making your own embroidery hoop art today, and enjoy every stitch.
Basic Embroidery Stitches to Learn First
Learning basic embroidery stitches is key to later complex designs. They help you understand hand embroidery better and make diverse patterns. Let’s start with the fundamental stitches for your journey.
Running Stitch
The running stitch is the first step. It goes in and out of the fabric, forming a dashed line. This stitch is easy and great for starting projects or connecting fabric pieces quickly.
Backstitch
The backstitch is strong and good for outlining. It’s tougher than the running stitch. It gives your patterns solid lines, perfect for adding detail and dimension to your piece.
Satin Stitch
The satin stitch fills areas with color smoothly. It’s done by making parallel stitches. This stitch adds depth and a lustrous look to your designs.
French Knot
The French knot gives your embroidery a raised look. It’s a bit tricky but adds excitement to patterns. Wrapping the thread around the needle creates these textured knots.
A quick guide to key embroidery techniques:
| Stitch | Usage | Difficulty |
|---|---|---|
| Running Stitch | Creating dashed lines; joining fabrics | Easy |
| Backstitch | Robust outlining; detailing | Medium |
| Satin Stitch | Filling areas; adding texture | Medium |
| French Knot | Adding decorative knots | Challenging |
| Stem Stitch | Creating smooth outlines, curves | Medium |
| Chain Stitch | Bold embroidery lines | Medium |
Starting Your First Embroidery Project
Starting your first embroidery project is both exciting and rewarding. There are a few steps to ensure your embroidery looks great. Let’s look at what you need to get started.
Transferring Patterns to Fabric
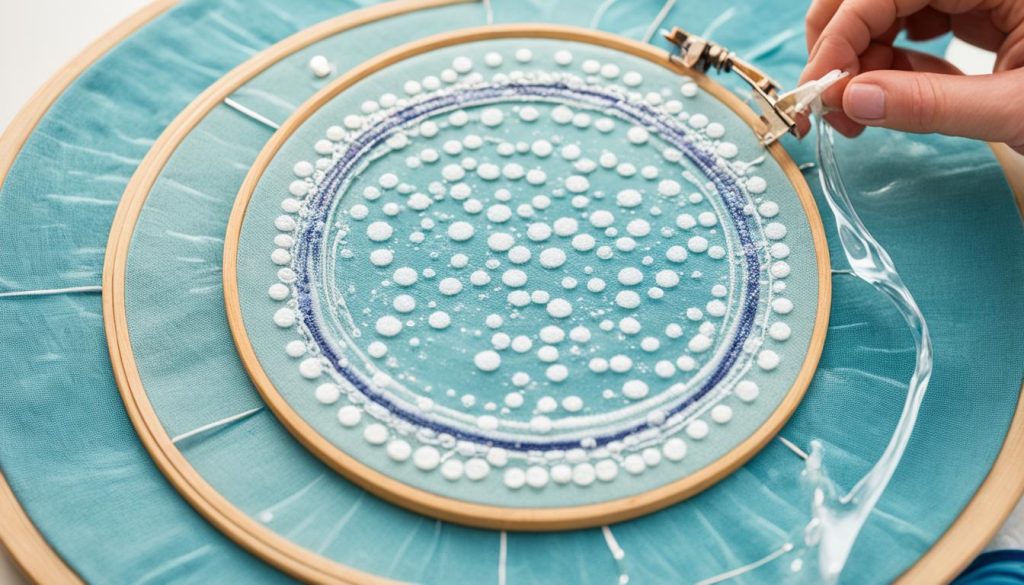
First, you need to get your design onto the fabric. For this, you can use iron-on transfers, transfer paper, or tracing. Iron-on transfers are easy for beginners. They stick to your fabric, and after the stitching, simply wash away. If you feel like trying something new, Sulky Stick’n Stitch is a water-soluble option. It washes away easily after you’re done stitching.

Preparing Your Fabric
Getting your fabric ready is key. For starters, it’s best to use cotton muslin. It has a looser weave, which makes it easier to stitch on. Make sure your fabric is clean, flat, and cut properly to stop it from fraying. A good rule is to keep at least a 2-inch border around your design, with another 4 inches for the hoop. Iron your fabric flat before you start. This makes your embroidery look neater.
Creating an Even Tension
To keep your stitches looking smooth, you’ll need an embroidery hoop. They help keep the fabric tight and steady. Embroidery hoops come in different sizes, but the most common are round. They range from 4 to 12 inches in diameter. Pick a hoop size that fits your design. A well-used hoop can make your stitching easier and better.
Follow these steps, and your first embroidery project will go smoothly. You’ll love the beautiful results you achieve.
Embroidery Techniques and Tips
As you keep moving forward with embroidery, taking care of your work is key. Learn the necessary techniques to not just handle your projects better, but also make your work last longer.
Maintaining Your Embroidery
To keep your finished projects looking bright, take care in how you clean them. It’s best to wash them by hand. Use mild soap and cold water to protect the threads and fabric. Let your piece dry on a line to keep its shape.

When ironing, do it with care. Always have a cloth between the iron and your work. This stops the heat from harming the delicate stitches and keeps your embroidery new.
Advanced Stitches
After you know the basics, try advanced stitches to make your work more beautiful. Stitches like the bullion knot or colonial knot can make your designs stand out. Try using different numbers of thread strands for unique looks. Overlapping stitches work well for adding texture and detail.
Embroidery tutorials are very helpful for learning new stitches. They break down the steps to make complex techniques easier. Don’t be afraid to play with thread colors and types. It can lead to fresh creative ideas and beat any artist’s block.
Common Mistakes and How to Avoid Them
Everyone makes mistakes sometimes. A big one is stitching too tightly, which can make the fabric pucker. Make sure your stitches are secure but not overly tight. Using a strong, non-stretch fabric like Kona Cotton is a smart choice.
Choosing the right fabric is vital. Cotton is great for starters, but there are other fabrics to try too. Always pre-wash to prevent later issues with your design’s shape.
Don’t forget your tools. Keep your threads safe from sunlight to avoid damage. Separate scissors for fabric and paper to keep them sharp. It all helps your work go smoothly and protects your equipment.
Follow these tips to have a better, smoother time with your embroidery. Whether you’re doing tutorials or your own designs, these hints will make your work more fun and successful.
Conclusion
Embroidery is a timeless craft that sparks creativity and self-expression. The surge in the #handembroidery hashtag on Instagram, growing to 4.5 million posts, shows its popularity. Starting with simple stitches and the right tools is key.
Taking embroidery classes or joining workshops can enhance your skills. This slow, mindful craft allows you to make sustainable and distinct items. Machine embroidery is another option, making precise designs quickly. Both methods offer endless ways to be creative.
Embroidery can become more than just a hobby as you improve. You might explore machine embroidery or open your own business. This blend of old and new in embroidery is a journey full of learning. It connects the past with current creativity, offering a rewarding activity for all.
