Ever thought about how a simple needle and thread can make something plain become extraordinary? Embroidery is a timeless craft. With its origins in China and the Near East, it gives a touch that machines just can’t match.
This ancient skill lets you make pieces that are uniquely yours, like detailed portraits or stunning home linens. Rebecca Ringquist’s course on Creativebug and Heidi Sternberg’s lessons on Skillshare dive into the essentials. They’ll teach you everything from simple stitches to more complex ones.
Want a deep dive into embroidery? Head to Medellin for a workshop that spans five days. You’ll learn traditional methods for 30 hours. If you prefer something more modern, Gimena Romero’s Domestika class focuses on Mexican styles like Tenango and Chamula.
Key Takeaways
- Embroidery is a unique craft that’s been around for ages and beats machine work hands down.
- Experts like Rebecca Ringquist and Sara Kay Hartmann offer classes for beginners and pros alike.
- Specialized workshops, such as those by Gimena Romero, can immerse you in culture through needlework.
- Classes and workshops come in various lengths and prices, making them accessible for many.
- Learning embroidery can be both a calming and deeply satisfying experience.
Introduction to Hand Embroidery
Hand embroidery is more than a craft; it’s an art form. It helps with fine motor skills, focus, and coordination. In the past, it was a key lesson in school, but now it’s a popular hobby. Artisans use colorful threads, beads, sequins, and more to make beautiful quilts and clothing. Millions enjoy learning about it online through blogs and videos.
If you’re just starting out, there are great beginner lessons available. These cover basic stitches like running and backstitch. They’re easy to learn, even for someone just beginning in embroidery. These lessons make embroidery simple and fun, no matter your skill level.

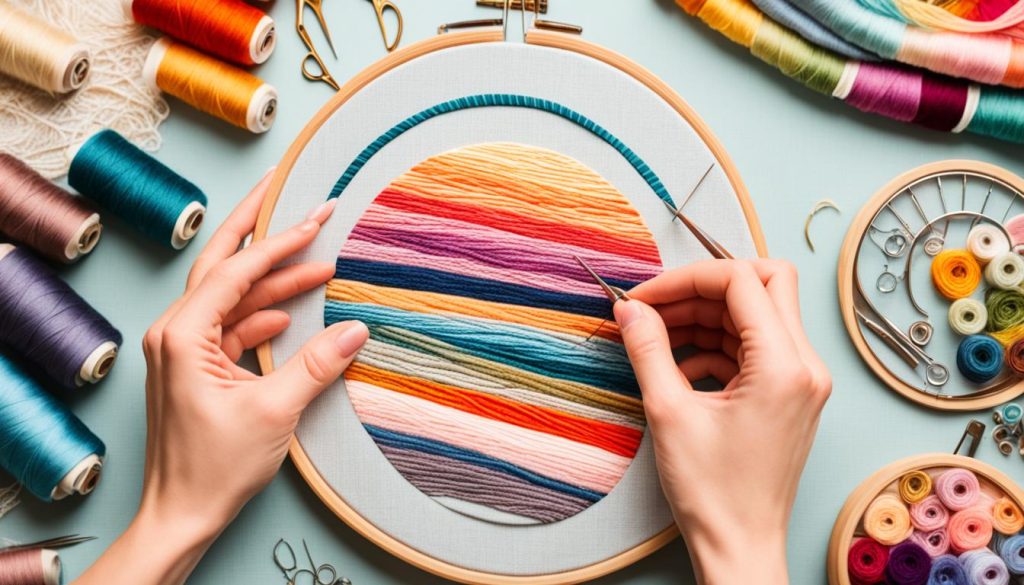
To start, you’ll need fabric, threads, needles, a hoop, and something to trace patterns with. There are many ways to transfer patterns onto fabric, and these tutorials explain them all. They also give tips on threading needles and working with embroidery floss. This makes learning embroidery easier.
| Embroidery Techniques | Description |
|---|---|
| Running Stitch | Simple, straight stitches that run along the fabric. |
| Backstitch | Used for outlining and creating strong, continuous lines. |
| Split Stitch | Offers texture and is great for outlining and filling shapes. |
| Stem Stitch | Ideal for creating outlines, vines, and branches with a slightly raised texture. |
| Satin Stitch | Effective for filling in shapes and adding bold splashes of color. |
| French Knot | Creates small, decorative knots ideal for floral centers and accents. |
Embroidery is not just a skill; it’s also relaxing. It brings personal joy as you improve. Being a part of many world cultures, it’s more than just a hobby. It’s part of our global heritage.
There are tutorials for everyone in the embroidery world. With these resources, you can dive into the exciting journey of hand embroidery. It offers a chance for personal growth and creativity.
Essential Embroidery Techniques
Embroidery is full of diverse techniques, each with its own story and charm. You’ll get to know Blackwork, Goldwork, and Silk Shading. These methods are classic, inspiring lots of today’s designs and projects.
Blackwork
Blackwork uses bold, geometric patterns in one color – usually black. It started in the Tudor times, appearing on both clothes and at home. Since about 40% of its stitches are for outlining, Blackwork is great for clear designs. It’s still popular for both traditional and modern projects.
Goldwork
Goldwork adds a touch of luxury with actual metal threads. This technique often shows up in royal outfits and church clothes. About 26.67% of its detailed stitches use wrapping to keep the metal thread shiny and strong. For an elegant look, Goldwork reigns supreme in custom embroidery.
Silk Shading
Silk Shading is like painting with threads to show real-life scenes, mostly of nature. It’s for those who love blending colors just right. This style is known for making designs look 3D. Perfect for natural scenes in embroidery.
| Technique | Historical Significance | Best Use | Key Stitches |
|---|---|---|---|
| Blackwork | Tudor-era clothing and home decor | Creating defined patterns | Back Stitch, Outline Stitch |
| Goldwork | Royal and ecclesiastical garments | Regal and elegant designs | Wrapping Techniques |
| Silk Shading | Naturalistic art | Realistic nature imagery | Texture-Creating Stitches |
Knowing these core embroidery styles helps you love their history more and improve your work. Whether you prefer the precise look of Blackwork, the luxury of Goldwork, or the natural beauty of Silk Shading, they are all essential for great embroidery.
Embroidery for Beginners
Starting embroidery can feel scary but it’s actually fun and rewarding. Learn basic stitches first like the running stitch, chain stitch, and satin stitch. They’re great for starting and help with more complicated designs later on.
Choose cotton or linen fabrics for their ease of stitching and less stretch. Patchwork/quilting cotton and plain muslin are also good picks. Avoid tough fabrics like satin, jersey, velvet, and gauze for now.
Beginners need size 7 and 9 embroidery needles for easy threading. Use an embroidery hoop to keep your fabric tight while stitching. A 6 to 8-inch diameter hoop is best for newbies. Don’t forget sharp embroidery scissors for cutting threads.
For threads, many use stranded cotton from brands like DMC. Consider using 6 stranded embroidery floss for its versatility. Pearl cotton is good too, especially since it doesn’t split into strands.

Embroidery kits are great for those who want step-by-step help. They often include pre-printed fabrics and instructions. Tutorials can also help improve your skills over time.
| Material | Recommended For Beginners |
|---|---|
| Cotton | Yes |
| Linen | Yes |
| Satin | No |
| Jersey | No |
Stick to the basics and use all the help you can find. This will boost your confidence and make you better at embroidery. Try different projects and stitches to have a fun and worthwhile creative experience.
Choosing the Right Embroidery Supplies
Starting an embroidery project means picking the right items and pieces. This part offers advice on needles, threads, fabric, and hoops. It also checks out embroidery kits for different skills and projects.
Needles and Threads
The needle you use is very important in embroidery. There are crewel, tapestry, chenille, and milliner needles. They come in various sizes for different stitches. Crewel needles size 1-12 work with many thread types. Tapestry needles size 13-28 are great for counted thread embroidery.
There are many thread types for embroidery. You can find cotton floss and shiny metallic threads. Picking the right needle and thread combo makes your work look better.
Fabric and Hoops
Your choice of fabric really affects your project’s look. You can use cotton, linen, or evenweave. Each one gives a different texture and visual style.
Using an embroidery hoop makes stitching easier. Almost everyone who embroiders likes using hoops or frames. Hoops that are 6, 8, and 10 inches are good for different projects. For longer sessions, try a seat frame. It helps hold the fabric in place and is more comfortable.
Embroidery Kits
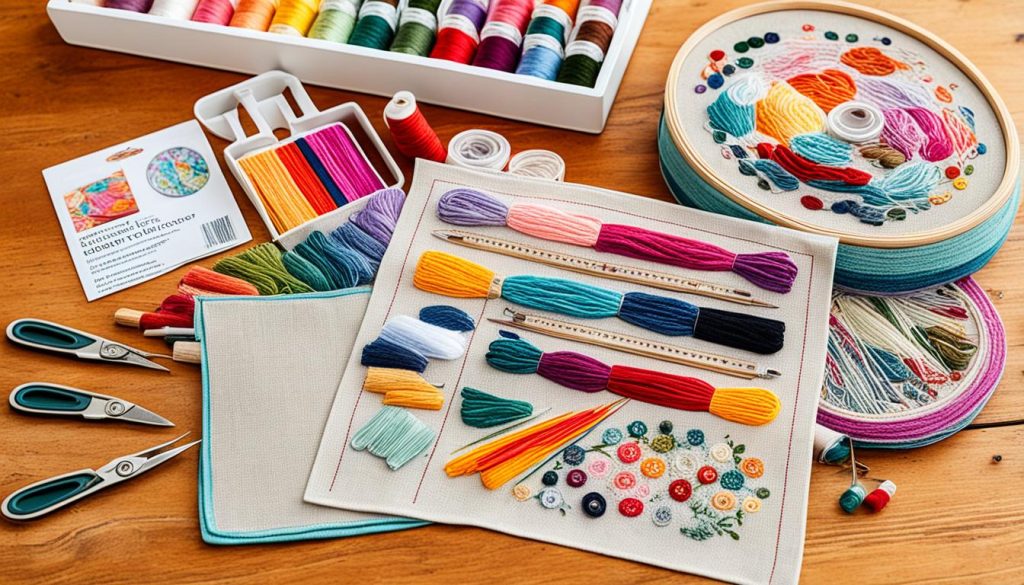
Embroidery kits are great for beginners or anyone who wants everything in one package. A Google search for “embroidery kits” shows their popularity. These kits often have pre-printed designs and full skeins of floss, among other tools.
Embroidery kits come with instructions to help you step by step. They might also include bonus items, like needle threaders. It’s important to choose a kit carefully. Ensure it matches your skill level and budget.

| Embroidery Element | Available Options |
|---|---|
| Needles | Crewel, Tapestry, Chenille, Milliner |
| Thread | Cotton Floss, Metallic Threads |
| Fabric | Cotton, Linen, Evenweave |
| Hoops | 6-inch, 8-inch, 10-inch |
| Kits | Pre-printed Designs, Floss, Fabric, Tools |
Remember these tips to find the right supplies for your embroidery. This ensures you have a fun and successful crafting time. Whether you go for single items or kits, the right tools will make your designs come alive.
Conclusion
The journey into hand embroidery has shown us a world full of color and creativity. We’ve learned about Blackwork, Goldwork, and Silk Shading. These techniques bring out unique styles for everyone. Starting this craft is quite affordable, which means it’s open to all who want to create.
Engaging in hand embroidery links you to a tradition and supports slow fashion. This lining up with the idea of buying things thoughtfully. Hand embroidery is not just a hobby. It’s also becoming a trend, especially on Instagram. There, posts using #handembroidery have grown a lot. This craft is making its way into special occasions like baby showers through workshops.
Thinking about starting hand embroidery is exciting. It opens the door to a world full of chances. With social media and the desire for unique items growing, it’s a good time to get involved. Remember, in embroidery, the little flaws are what make your work stand out. This guide should motivate you to try this ancient art, whether just for fun or as a career.
