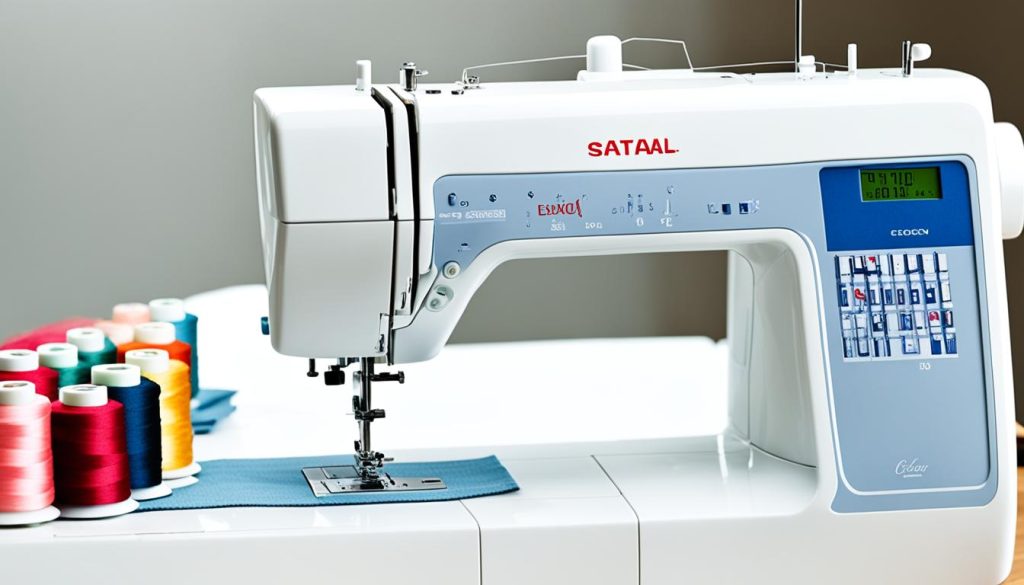
Have you ever thought about how beautiful embroidery patterns start from a simple drawing? Embroidery digitizing changes those drawings into digital designs for machines. This guide shows you key steps to become great at digitizing. It’s a mix of creativity and accuracy that can make your embroidery really stand out.
The first step is to learn about different embroidery methods and special software. Even if you’re just starting out, many software companies let you try their programs for free for 30 days. It’s important to know which digital file types work with your embroidery machine. This helps you get going smoothly.
Key Takeaways:
- Embroidery digitizing turns drawings into formats machines can understand.
- There are many embroidery methods, which means endless ways to be creative.
- Plenty of software companies let you test their products for free.
- Online, there are great places to learn more, no matter your skill level.
- .dst, .emb, and .pes files are some common types used in embroidery digitizing.
If you love DIY embroidery or want to perfect your skills, learning digitizing is vital. This guide will get you making impressive designs ready for machine embroidery in no time.
Introduction to Embroidery Digitizing
Embroidery digitizing has brought a new level of craft to life with technology. It changes art or a logo into a form machines understand, so they can create exact stitches.
What is Embroidery Digitizing?
Embroidery digitizing turns art into a language embroidery machines can speak. It tells the machine how to stitch by showing it where, how, and how dense each stitch should be. This way, the final embroidered piece looks just like the original design. The need for this service rises by 25% each year as it makes embroidery more polished and professional.

The Importance of Digitizing in Modern Embroidery
Digitizing is a must in modern embroidery for top-tier results fast. By using digitizing software, embroidery work has become 30% more productive than before. This means less errors and happier customers with the final work. Around 60% of embroidery businesses now rely on digitizing tools like Wilcom or Brother PE-Design for creating or changing designs quickly.
| Aspect | Manual Digitizing | Software-Based Digitizing |
|---|---|---|
| Cost | Higher in labor | Lower with software |
| Time Efficiency | Time-consuming | Quick turnaround |
| Accuracy | Prone to errors | High precision |
| Versatility | Limited to hand techniques | Multiple stitch types |
Thanks to digitizing, businesses cut costs and make more money, becoming vital in the world of embroidery.
Choosing the Right Embroidery Digitizing Software
Choosing the right embroidery software is key for hobbyists and pros in the custom decoration business. Many options are out there, so it’s important to pick carefully based on different factors.
Popular Software Options
Various embroidery digitizing software can meet diverse needs. Wilcom, Embird, and Generations offer different features and allow for free trials to try them out.
- Wilcom: It’s known for its high-level features and tools, making it a top choice in the industry.
- Embird: It’s praised for its easy-to-use design and the ability to add features as you go.
- Generations Software: It provides many functions for all users, ensuring accurate stitch counts for your projects.

Remember, some software hasn’t been updated since the 1990s. Always go for programs that keep up with today’s technology.
Features to Look For
When you check out embroidery software, make sure it has what you need. Look for these key features:
- Design Editing and Lettering: Pick software with strong tools for fine-tuning designs and text.
- Stitch Count Accuracy: This is crucial for setting the right prices and managing expenses well.
- Compatibility: The software must support the file formats your embroidery machine uses, like DST, PES, or EXP.
- Management Functions: Choose software that helps with tasks like invoicing, quoting, and tracking workflow. For example, consider using Printavo Shop Management Software.
- Free Trials: Use 30-day trials to get a feel for the software’s capabilities and how easy it is to use.
- User-Friendliness: Aim for software that’s easy to learn, so you can be more productive without lots of training.
- Customer Support: Make sure there’s good support and check what other users say about it.
- Scalability: Think about the future and if the software can grow with your business.
Start by listing what functions you need. Then, look at different features and pricing. Software like Wilcom, Embird, and Generations can really step up your digitizing game, offering control and flexibility. Choosing the right software means you can turn your creative ideas into beautiful embroidered pieces easily. This way, you satisfy customers and make your business more profitable.
Preparing Your Artwork for Digitizing
Getting your artwork ready for digitizing is more than picking an image. You must think carefully to get good results in your embroidery. First, pick designs that are simple and clear, then get them ready for digitizing.

Selecting Suitable Designs
When picking designs for embroidery, go with ones that are not too detailed. Simple designs work best for turning into patterns. Look for designs with clean lines and clear shapes. This makes it easier for the embroidery software to do its job.
Remember, each stitch type has its own effect. Satin stitches make smooth borders, fill stitches add depth, and running stitches outline. Finding the right mix of these stitches is key to how your embroidery will look and feel.
File Formats and Conversion Tips
Choosing the right file format is really important. Formats like .dst, .emb, and .pes are usually best for embroidery software. They keep all the detail needed for precise stitching.
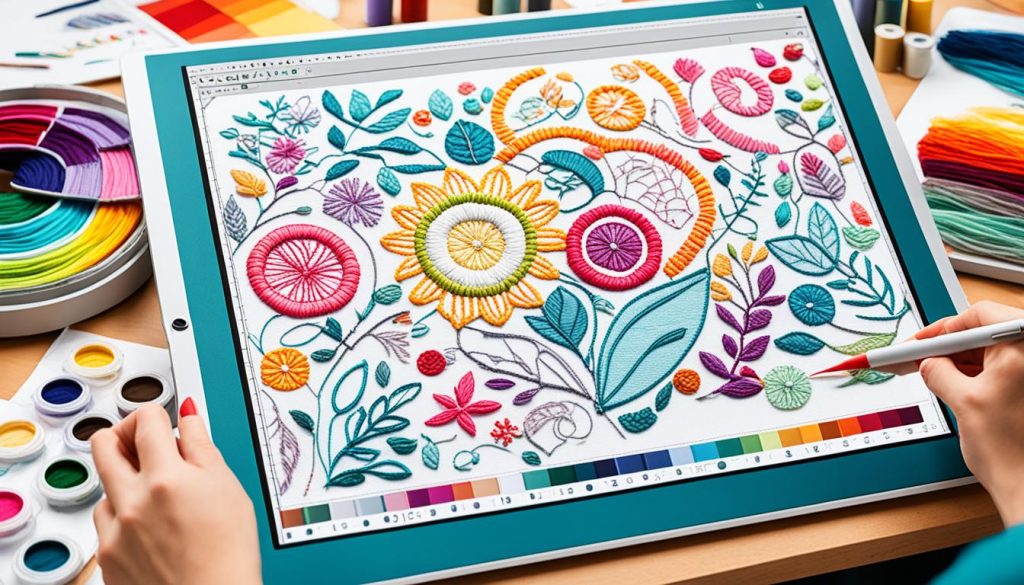
Converting artwork is a big step. Always use high-resolution images. Vector graphics software is great for making designs that you can change in size without quality loss. This is very helpful for digitizing. Tools like digitizing tablets are also great for detail work, perfect for designers and illustrators.
Know how to use different file formats to make your work easier. Also, think about the fabric you’ll use. Not all designs look good on every fabric. Choosing the right fabric and design combo is crucial for the best outcome.
To sum up, choose your designs with care. Know how to convert your artwork well and pick the right file formats. This will make your embroidery digitizing projects a success.
Steps to Digitize Your Design
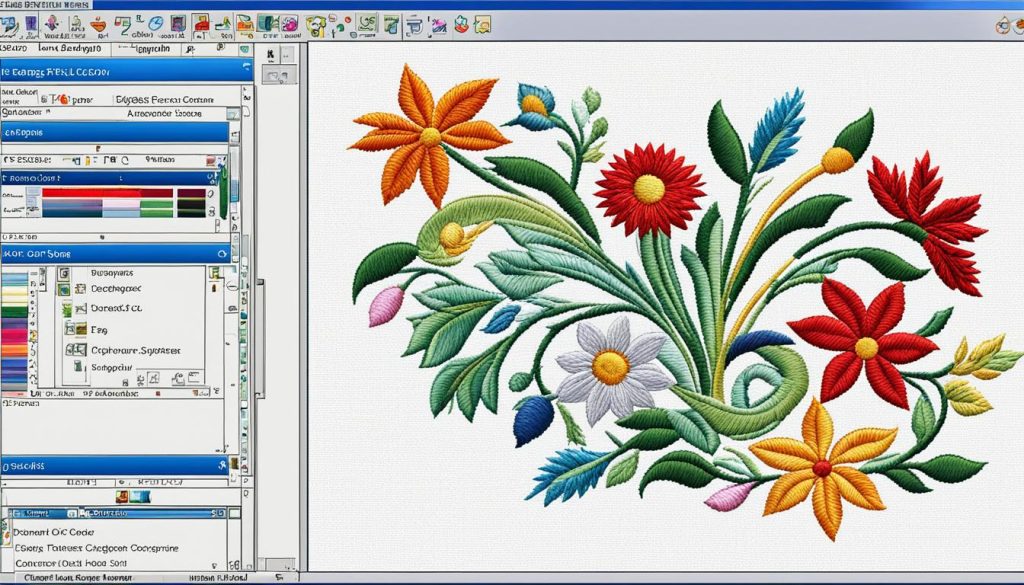
Turning artwork into a custom embroidery design has key steps for top results. You start by importing the art into your embroidery software. Then, you define important points and pick settings to make your work shine.
Importing Artwork into the Software
Start by bringing your design into the embroidery software. Software like Brother PE-Design, Embird, and Hatch Embroidery is helpful. They let you accurately adjust the size and dimensions of your design.
It’s very important, as embroidery digitizing needs the right stitch types and directions. Knowing how Satin Stitch, Fill Stitch, and others work together is key. This knowledge boosts your results, especially on embroidery fabric.
Creating Stitches and Outlines
Next, it’s time to create stitches and outlines from your design. Getting good at it means tracing the stitch paths well. This ensures your design is clear, even with smaller intricacies.
Understanding underlay stitches and compensations is crucial. It helps you build a strong base for your design. This knowledge is essential for the embroidery thread to follow rightly.
Adding Colors and Textures
Finally, you add colors and textures to your embroidery. Using a pen tablet in digitizing can boost creativity. It makes adding patterns and textures easier and faster. This step allows for experimentation with different fabrics and settings.
Modern embroidery machines use formats like .PES, .DST, and .EXP. This means your design can be easily translated into stitched art. Remember, creating custom embroidery takes both technical skills and creativity. But, the joy of seeing your design come to life is very rewarding.
Keep practicing, follow embroidery tutorials, and use top-notch software to refine your skills. It’s an ongoing process that is well worth the effort.
