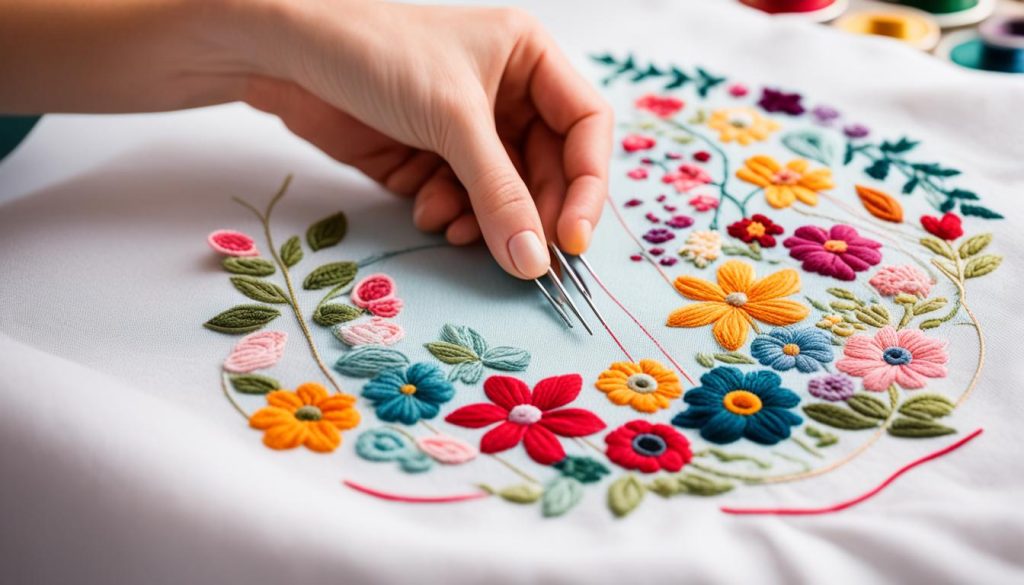
Creating beautiful embroidery by hand doesn’t have to be hard or expensive. This DIY craft makes it easy for anyone, whether you’re new or experienced, to add personal touches to your clothes. You’ll find that basic stitches, like the Running Stitch or Back Stitch, are simple to learn.
We will show you how to start your hand embroidery adventure step by step. First, gather the supplies you need. Then, learn the basic techniques. You’ll see how this traditional craft can be fun and budget-friendly. By the end, you’ll make your own wearable art. And we’ll give you a free design to start.
Key Takeaways
- Hand embroidery is much easier to learn than most people expect.
- Only a few inexpensive supplies are needed to get started, making it an affordable hobby.
- Beginners should start with basic stitches like Running Stitch, Back Stitch, and Split Stitch.
- Woven fabrics are the easiest type of fabric to embroider on.
- Hand washing embroidered clothing in cold water with mild detergent is recommended for longevity.
Introduction to Hand Embroidery without a Sewing Machine
Hand embroidery is making a comeback, recently popular among many. This is because it’s simple to start and doesn’t cost much. Many have watched embroidery tutorials, showing its wide appeal. You can learn it for fun or to do modern projects easily.

For those new, it’s good to have lessons to follow. These often start with simple stitches, like the running stitch. Then, you might learn the backstitch for clear lines in text or patterns. Having step-by-step guidance is really helpful to start.
You don’t need a lot to start embroidering by hand. Just fabric, threads, needles, a hoop, and something to trace your design on the fabric. This small investment lets you create unique pieces from the beginning.
If you want to try different things, there are free patterns. These include samplers and more, for all skill levels. It’s a great way to keep learning and stay interested in the craft.
The kind of fabric you choose can really change your embroidery. Knowing what fabric is best helps your projects look better. Also, taking care of your finished pieces ensures they look good for a long time.
There are many tutorials to help you get better at embroidery. You can learn to embroider letters, do appliqué, and tie knots, among other things. Remember, the little mistakes in your work can make it unique and interesting.
Essential Supplies for Hand Embroidery
Starting your hand embroidery journey means gathering a few key items. These make the process smooth and fun. You’ll need things like embroidery thread, stabilizers, and more to get going.
Embroidery Thread and Needles
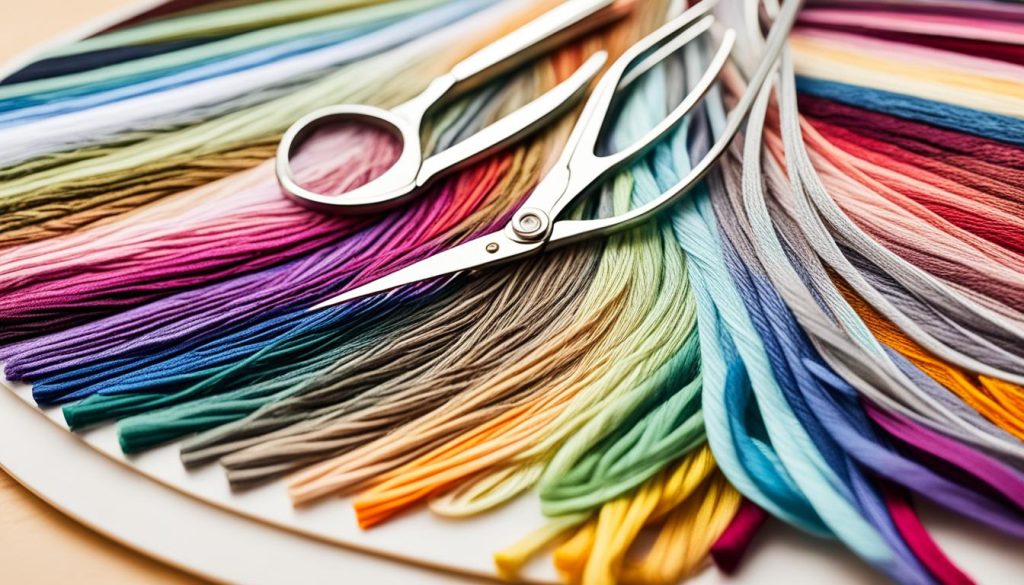
The go-to choice for embroidery thread is stranded cotton floss. It’s used with two to three strands. You’ll find lots of colors from brands such as DMC and Anchor. Each color has a unique number. There’s also pearl cotton floss which is thicker and shinier.
For the needles, you want ones that are sharp and have a big enough eye for the floss. They need to be strong too. These needles range in sizes 1 to 12 to suit different threads and fabrics.
Fabric and Stabilizers
Choosing the right fabric for embroidery is key for great results. Fabric like quilting weight cottons or linens work well because they’re stable. But, be careful with light-colored fabrics. Colored threads can sometimes be seen on the other side, which creates shadows. To stop your fabric from puckering or having tension issues, add a fusible interfacing stabilizer.
Embroidery Hoops
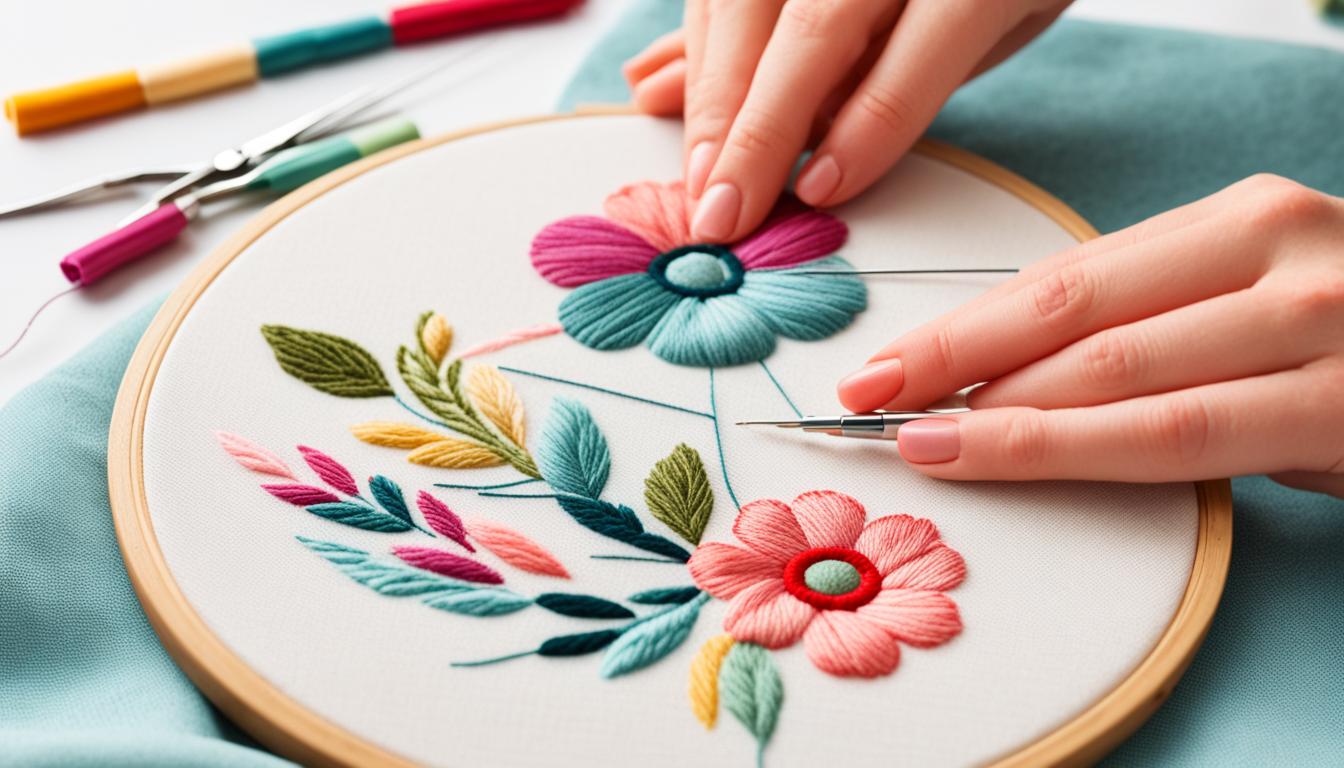
Embroidery hoops are must-haves for keeping your fabric tight while you stitch. This prevents puckering. They come in different sizes and are usually made of wood. Picking the right size that fits your project is crucial. Make sure it’s also comfortable for you to hold.

- Embroidery Thread: Choose between stranded cotton floss and pearl cotton floss for varied textures and sheen.
- Embroidery Needles: Ensure you have sharp needles with strong shanks and adequate eye size.
- Embroidery Fabric: Woven cottons or linens are preferred for their stability and ease of use.
- Stabilizers: Use fusible interfacing stabilizers to prevent fabric puckering and tension problems.
- Embroidery Hoops: Essential for maintaining fabric tension, available in multiple sizes and materials.
Having the correct supplies is the first step to making stunning embroideries. The right thread, needles, fabric, and hoops will boost your projects. With these essentials, embroidering becomes easier and more enjoyable.
Step-by-Step Guide to Embroiding Designs
Have you ever wanted to make your ideas real with embroidery? This step-by-step embroidering guide is a great start. It shows you how to pick the best design and learn basic embroidery stitches. Make beautiful handmade items with these tips.
Choosing a Pattern
Embroidery patterns should match your skill and taste. If you’re just starting, choose simple designs like flowers. Those with more skills can try complex patterns. An example is using a purple DMC52 thread to create a wisteria. It’s perfect and looks great.
Transferring the Design
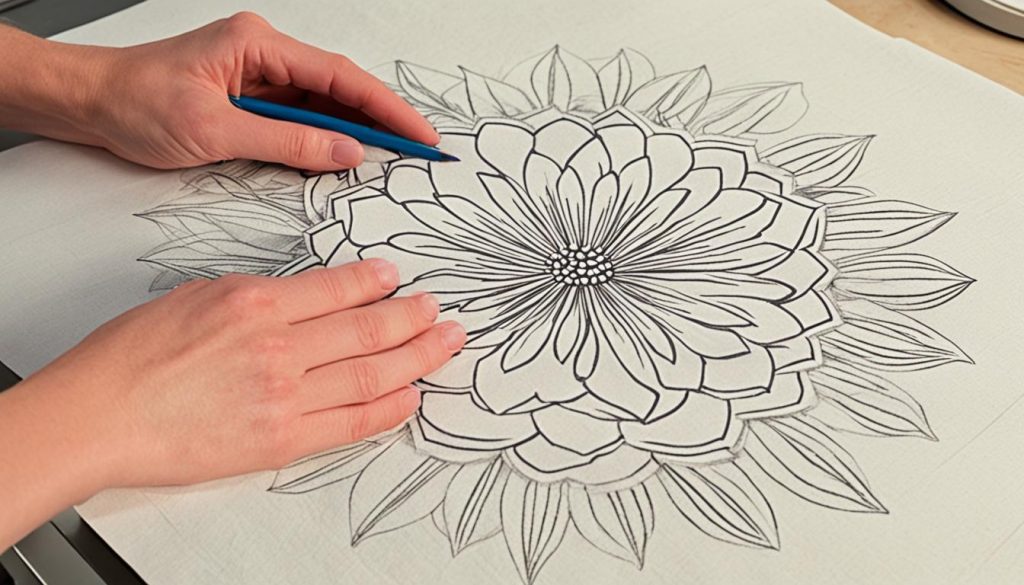
Before you stitch, transfer the design accurately. You can do this by:
- Tracing over designs secured with masking tape.
- Using a window or lightbox for better visibility.
Embroidery kits for beginners often have pre-printed fabric. This skips the transferring step. But you can also trace with fabric pens or pencils. This ensures a perfect start.

Using size 7 or 9 needles works best for hand sewing. They help with details but are easy to handle.
Basic Embroidery Stitches
Learning some basic embroidery stitches is key. For beginners, mastering these stitches is important:
- Running Stitch: Good for making dashed lines.
- Back Stitch: Ideal for neat outlines, easy for beginners.
- Split Stitch: Adds texture, often in floral designs.
Using just one strand of black DMC floss can make designs look like sketches. A two-strand backstitch makes great flower stems. These tricks make your work versatile and more appealing.
Embroidering Clothing the Easy Way
Embroidering clothes makes them one-of-a-kind. It’s a fun way to add your unique touch to any outfit. This guide will show you how to start and finish your project successfully.
Preparation and Placement
To set up, pick the right fabric. Fabrics like cotton or denim are great for beginners. They are less stretchy and easier to work with than t-shirts. Also, pick where you want to put your design. This could be on the hems, cuffs, or pockets.
Keep your stitches secure and not too close. Use a ½” tail for your knots. Stay away from complex stitches that might not withstand washing.
Starting Your Embroidery
Now, let’s start with the basics of hand embroidery. You’ll need embroidery needles and pearl cotton thread. Good tension is key. It stops the fabric from bunching or your stitches from being too loose. Try back stitches or other line stitches for a tidy look.
- Thread your needle with a ½” tail for knots at the start and end of your stitching.
- Use a hoop to keep your fabric tight and stitch without wrinkles.
- Stick to your design and keep your stitches even and tight.
Finishing Touches
Finalize your work by securing your threads and trimming any excess. After you embroider, be kind to your garment. Wash it gently in cold water. For delicate designs, use a laundry bag to protect them.
For long-lasting embroidery, choose gentle detergents and handwashing. Before wearing, press your piece with a cloth. This simple step will make your work really stand out.
| Fabric Type | Recommended Use |
|---|---|
| Cotton Poplin | Easy for stitching, suitable for detailed designs |
| Cotton Lawn | Lightweight, perfect for intricate patterns |
| Denim | Ideal for bold, long-lasting embellishments |
| Linen | Strong fabric, great for large areas |
Conclusion
Starting hand embroidery lets you creatively express yourself. It’s becoming very popular, with many people sharing their projects on Instagram using #handembroidery. This craft has grabbed the hearts of people everywhere. You can use it to decorate clothes, make special items, or just relax and focus.
This craft is very affordable to start. You just need a few basic things like a needle, thread, and some fabric. It’s also good for the planet because you’re using materials like cotton or silk. This means you can reduce waste and make your clothes last longer with beautiful, hand-sewn touches.
Hand embroidery is not just good for your wallet and the earth. It’s also great for your mental health. Making things with your hands can calm you down, make you feel less worried, and give you a real sense of achievement. You can take it with you wherever you go, and it makes excellent personal gifts.
So, why not try hand embroidery? It’s a fun, creative way to keep yourself happy and busy. Plus, you can make amazing things with a personal touch.
