Have you wondered how to create bright, personal embroidery quickly? Traditional methods can take forever. Yarn embroidery, known as “cheaters embroidery,” uses thick yarn for a fast, fun craft. You can finish a beautiful tote bag project in just an afternoon, full of spring colors.
This guide is great for both DIY fans and beginners. It shows how to embroider with yarn for light, beautiful designs. You’ll learn to use fabric, needles, and a tracing tool to make your own striking embroidery. No more endless threading tiny floss.
Key Takeaways
- Embroidery with yarn is quicker than traditional thread methods, making it perfect for an afternoon project.
- A heavy canvas or duck cloth is recommended due to the thickness of the yarn.
- Crafters can experiment with different items like pillowcases, coin purses, and cosmetic bags.
- Using a needle with a larger hole is essential to accommodate the thicker yarn.
- Yarn embroidery is highly adaptable and customizable, making it ideal for personalizing gifts.
Choosing the Right Yarn and Supplies
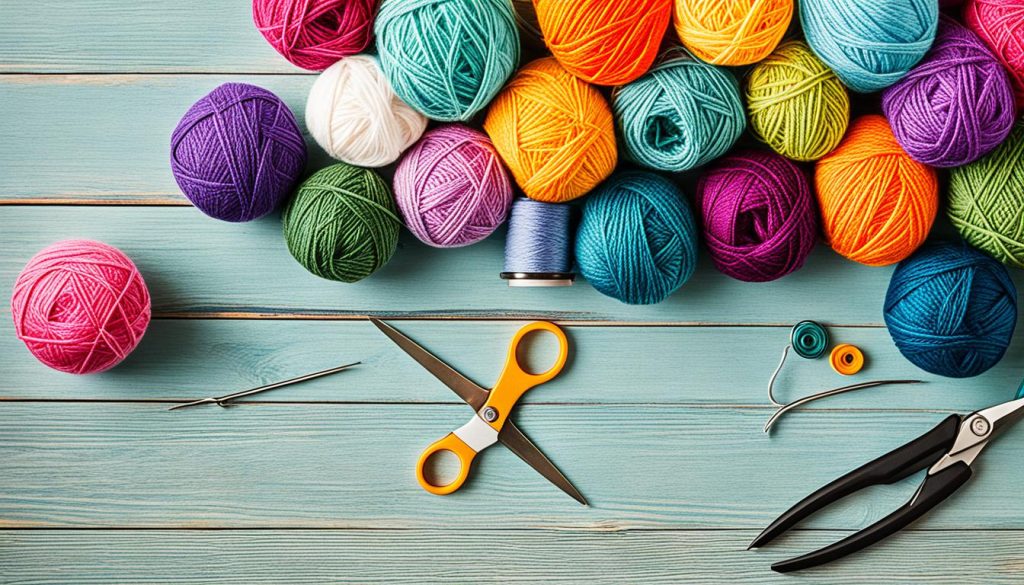
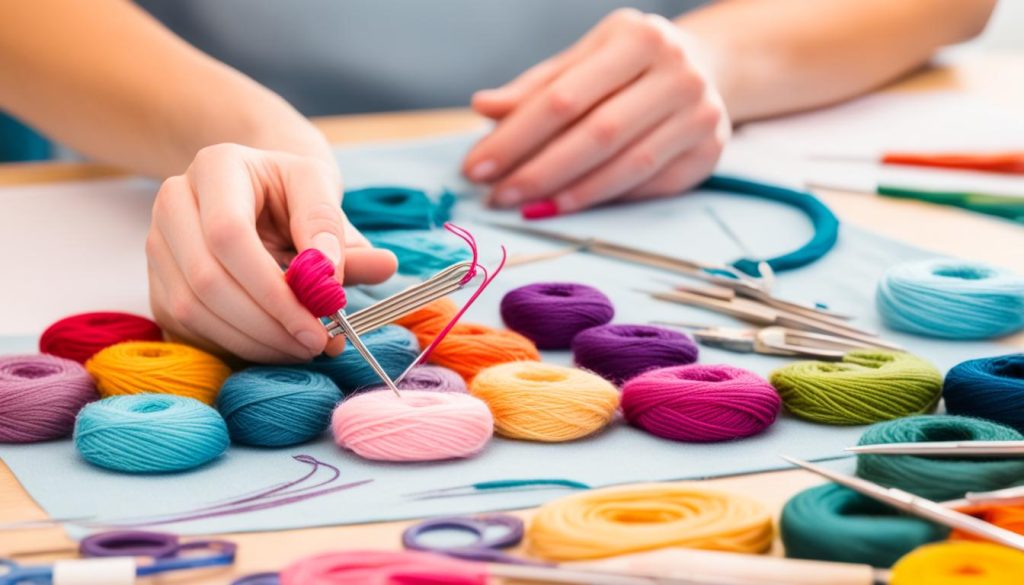
Getting into embroidery means picking the right yarn and tools first. You’ll see what kind of yarn works for different projects and the must-have items. You’ll also learn how to prep everything for easy crafting.
Types of Yarn for Embroidery
It’s key to know about the yarn’s texture, weight, and color before you start. Cotton and silk make sharp stitches, while wool gives a unique look. Your choice in yarn weight can either highlight details or bold lines in your work.
- Pearl Cotton: Ranges from size 3 (thickest) to 16 (thinnest).
- Sashiko Thread: Sizes include 20/4 (thinner) and 20/6 (thicker).
- Crochet Cotton: Comes in sizes 3 (thicker), 10, and 20 (finer).
- Embroidery Thread: Consists of 6 strands that can be separated for use.
The Craft Yarn Council organizes yarn into 7 sizes, from Lace (0) to Jumbo (7). These sizes affect how your project looks and how long it takes to finish. If you use variegated threads, you can add depth to your work easily.
Essential Tools and Materials

Yarn is just the start. You also need these tools to do embroidery right:
- Embroidery fabric: Good quality canvas or burlap works well.
- Embroidery hoop art: Keeps your fabric taut.
- Tapestry needles: Choose ones with large eyes for ease of threading.
- Scissors: Sharp scissors ensure clean cuts.
- Erasable fabric marker: Useful for tracing designs on your fabric.
Preparing Your Materials
Getting your materials ready is crucial for a good crafting experience. Pick an embroidery fabric that suits your project. Make sure your embroidery hoop keeps the fabric tight and in place. Thread your needle, and start your project right. Good preparation leads to a better final result.
Choosing the right yarn and tools is a big step towards success in embroidery. Preparing your fabric and materials well ensures you’ll enjoy the craft.
Basic Embroidery Stitches with Yarn
Mastering basic embroidery stitches is key to creating awesome patterns with yarn. These stitches are the building blocks for advanced designs. Let’s learn about Running Stitch, Back Stitch, and Stem Stitch for lettering.

Running Stitch
Running stitch is easy and widely used. You pull the needle through the fabric in and out, like a dashed line. It’s great for outlining, adding texture, or creating designs.
- Thread the needle with yarn.
- Start from under the fabric.
- Make the first stitch back in close.
- Keep going, making more even stitches.
Back Stitch
Back Stitch is a bit more complex but tidy and strong. It’s used for bold outlines and fine details in embroidery.
- Thread your needle and start from under the fabric.
- Go back down a bit from the start.
- Continue, finishing each stitch where the last one started.
This stitch is excellent for strong, continuous lines in embroideries.
Stem Stitch for Lettering
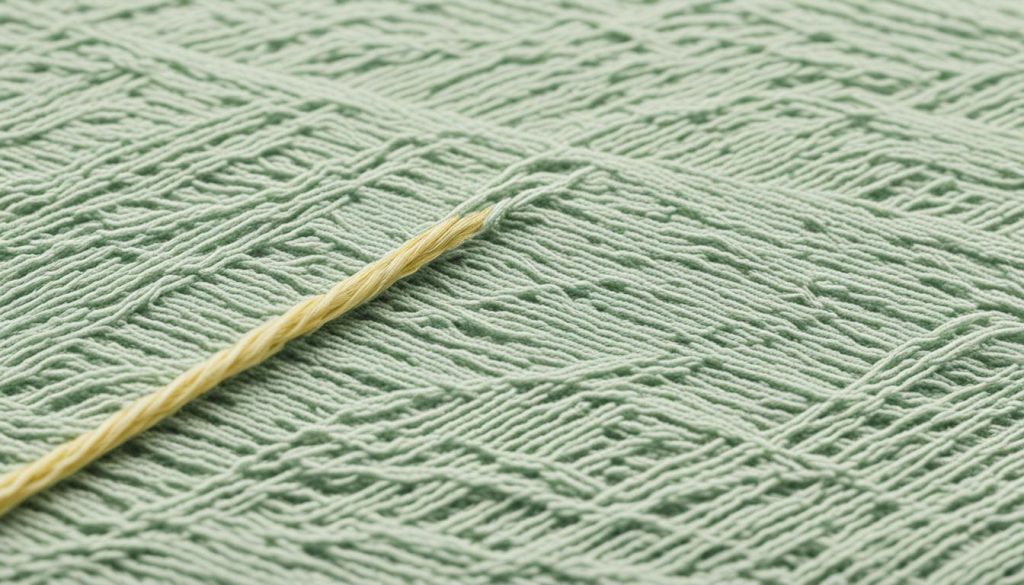
Stem stitch is perfect for curvy outlines, like letters or flowers. It looks like a twisted rope, adding a unique touch to your work.
- Begin by coming up through the fabric.
- Loop the thread under the needle and go back down next to where you started.
- Keep going, making smooth curves with each stitch.
Regular practice with these stitches will make you a pro. Remember, keep your stitches even and neat for the best results.
Step-by-Step Embroidery Instructions
Starting your embroidery journey means learning each step well. Here is a guide to help you learn the key steps for making beautiful designs.
Transferring Your Design onto Fabric
Begin by transferring your designs to the fabric. Use a stencil and a pencil for this. Make sure the design is clear. This makes stitching easier. For those new to embroidery, pick simple designs. This helps you learn before moving on to more complex ones.
Setting Up Your Embroidery Hoop
Next, prepare your embroidery hoop. This tool is vital for keeping your fabric tight. It makes your stitches tidy and even. Put your fabric in the hoop and tighten it well.

Stitching Techniques for a Clean Finish
The right stitching methods can make your work look professional. Thread your needle with doubled yarn to start. Use stitches like backstitch and stem stitch for clear outlines and text. They make your work look neat. Here’s a quick guide:
- Backstitch: Used for text, it looks clear and even.
- Stem stitch: Good for outlining plants, with a fluid shape.
- Satin stitch: For filling big areas, it looks solid and bright.
Always fasten your stitches well to avoid them coming loose. Learning these methods from tutorials will make you better. It improves the quality of what you create.
Remember, practicing is crucial. Start with easy projects, then move to harder ones. This method helps you gain skills and creativity in this art form.
Advanced Embroidery Techniques and Tips
Exploring advanced embroidery techniques can take your projects to new heights. We will share methods to add depth, color, and a polished finish to your work.
Using Multicolored Yarn
Multicolored yarn can change how your embroidery looks. By twisting different yarn colors together, you get more colors and textures. This makes standard stitches look more vibrant and sophisticated.
Adding Texture and Dimension to Your Design
Texture and dimension make your projects more interesting. Stitches like the Padded Satin Stitch and Overcast Satin Stitch add depth. The Closed Herringbone Stitch can make things like leaves look textured.
The Feather Stitch stands out with its graphic appeal. Its varying widths keep your design interesting.
Final Touches and Presentation
After finishing your embroidery, the last steps are crucial. Use an embroidery hoop to frame your work. This keeps your design looking neat and the fabric tight. It also makes your project’s final look better.
Conclusion
Hand embroidering with yarn can change your fabric crafts. It adds texture, depth, and makes them unique. This can be a great choice, whether it’s for a business or a hobby, because it’s not too costly. You can learn on sites like Udemy, Craftsy, and Domestica. They offer classes for beginners and experts in many different styles. This means there are always new things to try.
The Financial Times says embroidery is super popular now. #handembroidery on Instagram keeps growing. But, it’s not just about trends. Embroidery is also good for calming your mind, relieving stress, and teaching patience and focus. This guide will help anyone, from beginners to pros, make their projects better. For a more professional look, think about using embroidery software with fancy fonts for your handmade items.
Hand embroidery needs just a little space and a few materials, so it’s a green hobby. If you like machine embroidery, the tech today is amazing. Computerized machines and special software are changing the game. You can make designs that are unique to you. So, whether you like hand or machine work, you’re in for a rewarding and creative experience.
