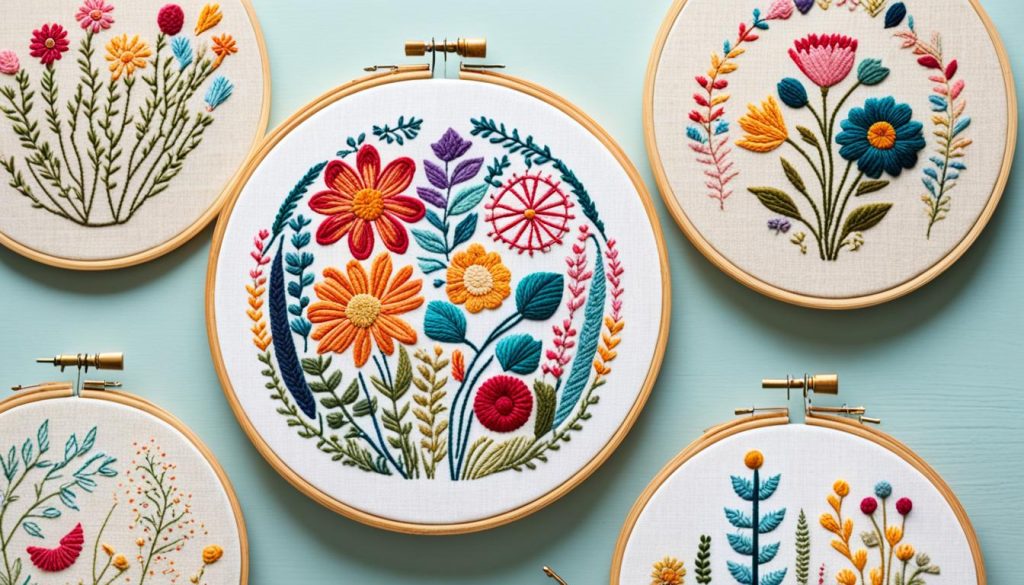
Have you ever thought about how a simple embroidery pattern can make your DIY projects great? Embroidery adds a personal touch and style. This makes it a must-learn skill for anyone who loves DIY.
Starting your own embroidery project is all about being creative and precise. It’s a good idea to begin with light-colored woven cottons. This makes transferring patterns easier, especially for newcomers. Tools like the Sewline Duo pen system help keep your designs on track. They make sure your work looks right and is easy to make changes to.
If you’re looking for a great starting point, check out MollyandMama.com.au. Lauren Wright there offers free embroidery patterns when you subscribe to her newsletter. Properly preparing your fabric and using the right method to transfer your design is key. It helps ensure your finished piece looks like a pro did it.
Key Takeaways
- Light-colored woven cottons are recommended for beginners in DIY embroidery.
- Various design transfer methods include tracing, prick and pounce, and dressmaker’s carbon method.
- Utilizing tools like Sewline Duo pen system or heat erasable markers can simplify the embroidery process.
- Lauren Wright provides free embroidery patterns upon newsletter subscription.
- Stabilizing fabric before stitching ensures a polished finish.
Choosing the Right Embroidery Patterns
Picking the right embroidery patterns is key for your DIY work. This is important whether you’re starting out or already skilled. Choosing the fitting patterns for different projects can boost your work’s quality.
Understanding Different Types of Embroidery
There are various kinds of embroidery, like hand and machine. Hand embroidery lets you add a personal flair to your work. It’s great for special items or detailed designs. Machine embroidery, on the other hand, is precise and fast. This makes it good for many identical patterns quickly.

Selecting Patterns Based on Project Type
The kind of project guides your pattern selection. Casual projects give you the chance to be bold with colors and designs. But for important or traditional pieces, sticking to specific designs might be better. The fabric type also matters. For embroidering quilts, many prefer Kona cotton. It’s light and stays tight in a hoop.
Matching Patterns with Fabric Choices
Choosing the right fabric and design mix is crucial. Use fabrics like muslin, cotton, or Osnaburg with less than 150 thread count. Their airy weave lets the needle and thread pass easily. Osnaburg’s neutral color works well with different floss shades. When using colored linen, heat erasable markers, such as Pilot Frixion Pens, can help with design precision. Always pre-wash your fabric to tighten the weave and guarantee even stitching.
| Fabric Type | Recommended Use | Thread Count |
|---|---|---|
| Muslin | General embroidery | 120 |
| Aida | Cross-stitch | 100 |
| Osnaburg | Versatile projects | 150 |
| Kona Cotton | Hand embroidering quilts | 120 |
It’s smart to do test stitches on sample fabrics. This ensures your embroidery is not just beautiful but durable as well.
Tools and Supplies for Embroidery Projects
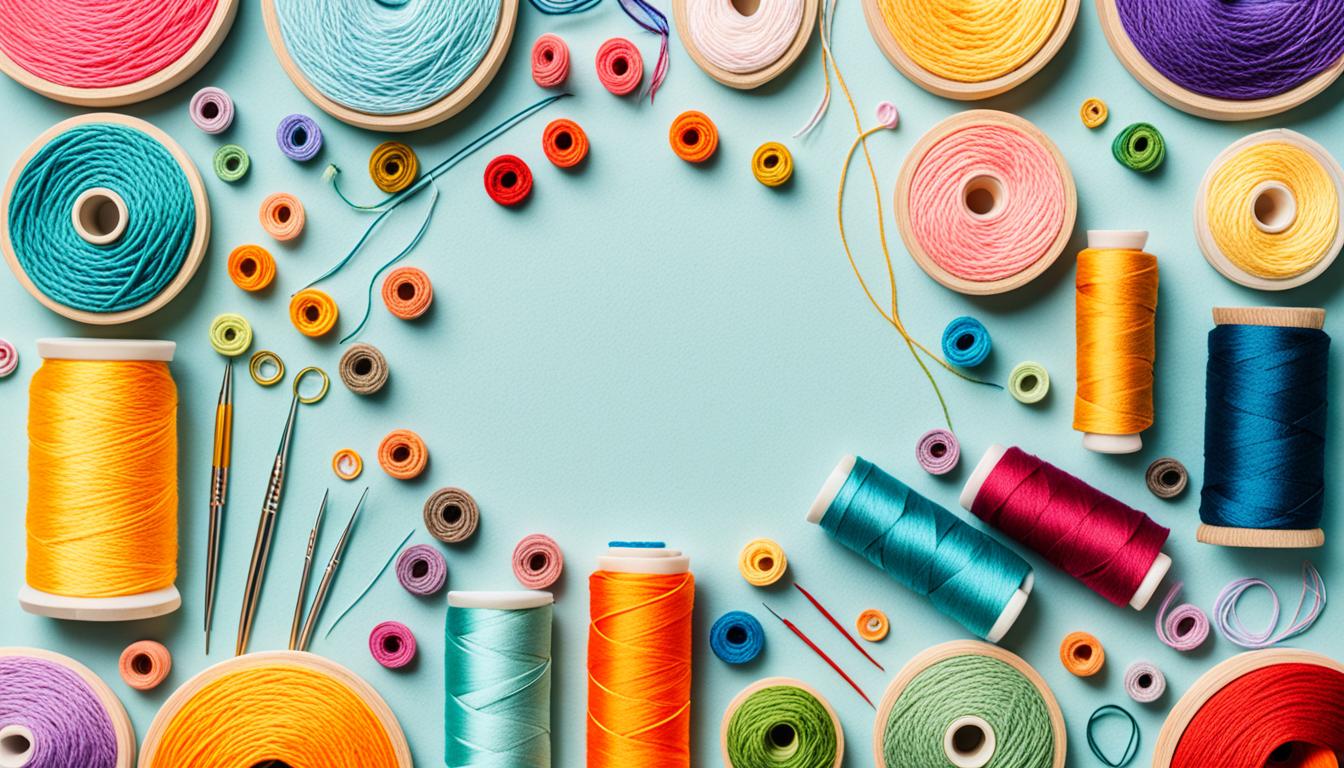
Starting an embroidery project? You’ll need a good set of tools and supplies for a fun experience. If you’re just starting or you’re an expert, the right tools really do make a big difference. Let’s look into must-have tools, the benefits of embroidery hoops, and more for your projects.
Essential Tools for Beginners and Experts
Embroidery, whether new or seasoned, requires some basic tools. Good fabric is key, with cotton and linens being popular choices. Threads such as six-stranded cotton or perle thread are critical for varied embroidery stitches.
Every embroiderer needs a good needle. Different needles meet different stitching needs. Loops & Threads Embroidery Needles, ranging from sizes 1 to 12, cost about $2.69.

Don’t forget sharp pinking shears to stop fraying. A specialty pen, like the Sewline Duo Pen, is great for design transfer. Pressing cloths and sharp embroidery scissors, around $50, are key for fine cuts in detailed embroidery hoop art.
Using an Embroidery Hoop for Best Results
For even stitches and clear patterns, using an embroidery hoop is a good idea. It keeps the fabric tight and smooth, preventing issues like puckering. Hoops can be found starting at $7, with different sizes available, like the Round Wooden Embroidery Hoop.
An embroidery hoop gives your project structure and makes stitching easier. Starting with a medium-sized hoop is a good idea for beginners. Experts may choose different sizes depending on the project, from small embroidery kits to large quilts.
Choosing the right tools—from fabrics to needles and hoops—is crucial for your project’s success. Using high-quality supplies and understanding how to use them well can turn your work into stunning embroidery hoop art.
Exploring Embroidry Techniques
Embroidery is a treasured craft that brings fabric to life with needle and thread. This art form adds beauty and value to clothes, home decor, and more. It can take a lot of time but is very fulfilling, especially with detailed designs.
Mastering embroidery is all about learning different embroidery stitches and techniques.
Embroidery tutorials are great for beginners and pros. They cover everything from basic to advanced embroidery stitches. Learning how to combine these stitches is key to making beautiful patterns.
Embroidery has a rich global history. For example, the Anundsjösöm stitch comes from northern Sweden. This stitch uses red thread on white fabric. The Kuba textiles from the Democratic Republic of the Congo are known for their intricate linear embroidery.
The technique of Broderie anglaise from 19th-century England still captures hearts with its beauty.
Embroidery digitization is another interesting aspect. It’s about turning designs into digital files for machines. Software like Wilcom helps with this process. It makes it easier to create intricate and flawless designs.
Adding monogramming and unique embroidery fonts can make your projects special. Choosing the right font enhances your work’s appeal.
| Technique | Description |
|---|---|
| Anundsjösöm | Red double thread on white cloth from Angermanland, Sweden |
| Kuba Textiles | Elaborate designs in linear embroidery, from Democratic Republic of the Congo |
| Broderie Anglaise | 19th-century whitework needlework technique from England |
| Rafoogari | Darning technique to repair and restore clothes, popular in India |
| Skåne Wool Embroidery | Unique embroidery style from southern Sweden |
As you learn more about embroidery, remember practice makes perfect. Tutorials are key to mastering embroidery stitches and embroidery fonts. They help both new and seasoned stitchers improve their craft.
The Role of Color in Embroidery Designs
Color is key to changing your embroidery art. The color choices can really change how your design looks. Knowing about color theory lets you pick the best colors, making your projects look great.
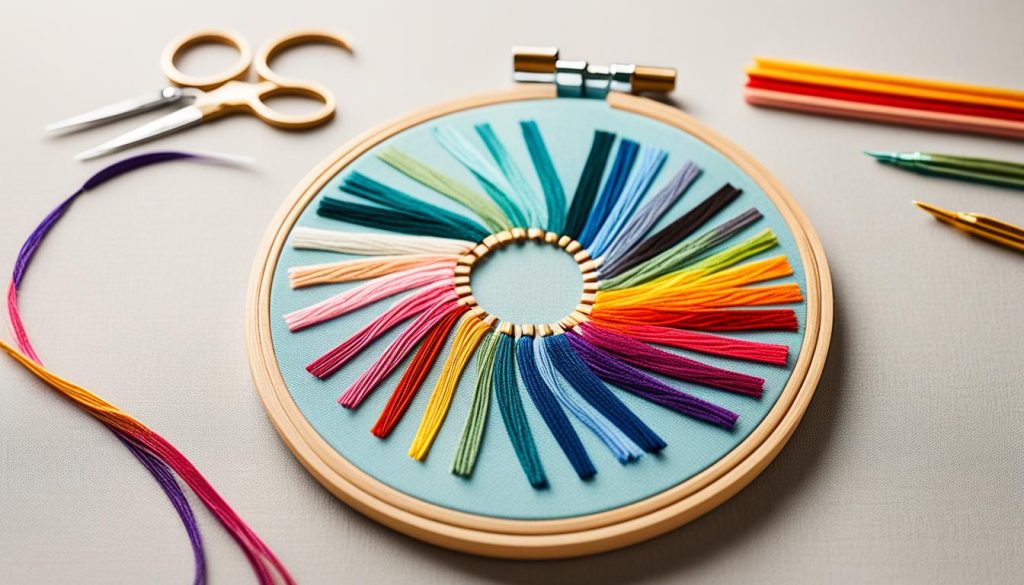
Choosing the Right Thread Colors
Think about how colors work together when choosing thread. Knowing color theory means you can pick colors that look good next to each other. This makes your pieces stand out.

Primary colors are red, blue, and yellow. All other colors come from mixing these. Mixing primary colors makes secondary colors like purple and orange. Adding a primary color to a secondary color creates tertiary colors.
- Monochromatic palette: This uses many shades of just one color.
- Harmonious palette: Colors that are similar and sit next to each other on the color wheel.
- Complementary colors: Colors that are opposite each other on the color wheel and give a bold contrast.
- Triadic palette: Uses three colors spaced evenly apart on the color wheel.
Aristotle started explaining colors around 632 BCE, Isaac Newton made the color wheel in 1704. Over time, color guides like the Pantone chart helped make colors consistent. This was good for making and printing things, including embroidery threads.
Understanding Color Theory in Embroidery
Embroidery color theory is more than just choosing colors. Saturation is about a color’s brightness. A color’s hue is where it sits on the color wheel. Mixing in white makes a tint, and black makes a shade.
“Color harmony is crucial in embroidery art. The color wheel divides colors into warm and cool, and finding the right balance between them can elevate your design’s impact,” according to MollyandMama.com.au experts.
Knowing color theory lets you change colors in ways that look good. For example, you can use highlights and lowlights to make your work pop. Trying different color schemes can make your embroidery more vibrant and balanced.
Also, look to your own life for color ideas. Memories, places, and feelings can all inspire great color choices. Don’t be scared to try new color combos. Sometimes, those are the most stunning and unique.
Customization: Personalizing Your DIY Projects with Embroidery
Adding custom embroidery helps you make your DIY projects stand out. You can transform plain fabrics into something that truly reflects your style. Sites like MollyandMama.com.au and penguinandfish.com show how customization makes your work unique.
Adding Initials and Monograms
Initials and monograms bring a touch of class to everyday items. They make bedding feel more personal or kitchen items more fun. Materials like cotton and silk work well for this, but they need careful handling.
For easy projects, try stenciling initials or using fabric pens. Make sure the style matches your home’s look. These personalized items are great as gifts or for starting a small biz in embroidery.
Creating Custom Designs with Embroidery Software
Embroidery software is key to advanced customization. It offers tons of fonts and tools for your designs. MollyandMama.com.au recommends software that lets you tweak designs just the way you want.
To get the best results, use quality fabric paints. Make sure to pick the right stabilizers for different fabrics. The Bernina B790 PLUS is a top choice for embroidery, especially for larger designs or complex creations.
Working on a detailed project, like embroidering an elephant, can take 4-5 hours. It shows how much enthusiasts love their craft. With the best tools and knowledge, your creations will last through many washes and stay bright for years.
Embroidery: Combining Modern and Classic Methods
Modern and classic ways join in embroidery, blending old times with new trends. Big fashion names like Gucci and Kenzo use high-quality embroidered designs today. This mix of the new with the old keeps embroidery fresh. It always catches our eyes.
Embroidery comes from way back, around 30,000 B.C. You can see really old hand-stitched clothes and shoes. In the Victorian times, over 14,000 special embroidery patterns came to Britain by 1840 and everyone loved them. Even today, places like China do silk embroidery in special ways, each with its own look and story.
By blending old stitches with new designs, anyone can make something unforgettable today. New tools like heat erasable markers make it easy to be precise. Things like light pad transfer and iron-on transfers, you can find on sites like Molly and Mama or Needle ‘n Thread, show how embroidery keeps getting better.
- Crewelwork, over 1,000 years old, was popular in 17th-century England for furnishing decorations.
- Cross-stitch, dating back to AD 850, remains a widely used technique for its historical and educational significance.
- Kogin embroidery from Japan saw a revival in the early 20th century for household and fashion items.
- Blackwork embroidery, known for its monochrome geometric or floral designs, was favored in Europe during the 16th and 17th centuries.
Modern embroidery is big again in fashion and home decor. Mixing old and new techniques keeps embroidery exciting and loved by all.
Conclusion
Embroidery projects have changed DIY crafts a lot. Starting with the right patterns, tools, and techniques turns simple items into beautiful embroidery hoop art. There are many stitches like running stitch and satin stitch to be creative and unique.
In today’s fast world, hand embroidery is getting popular again. It’s seen a lot on platforms like Instagram, showing its link to slow fashion and being sustainable. The hashtag #handembroidery has grown from 1 million to almost 4.5 million posts, with a big community forming around it. A Financial Times article explains that the craft is becoming more popular, pointing to a positive future for it.
The path into embroidery is not just fun but also has many benefits. Websites like Craftsy, Domestica, and Udemy show that there is a bigger interest in learning embroidery. You can use embroidery to show off your creativity and remember special times. This craft makes people happy and turns common objects into something special.
