Have you wondered if embroidery can come off fabric without a trace? Maybe you want to update clothes or reuse old materials. Removing embroidery might seem hard, but it’s not if you know how.
Yes, you can take off embroidery. It’s a careful process that needs time. This is especially true for big areas of embroidery, like on shirts. You’ll need a seam ripper, a needle, or even an embroidery eraser. These tools help you pull the stitches out without damaging the fabric. We will show you the best ways to do this, so keep reading!
Key Takeaways
- Embroidery removal is a delicate but achievable task with the right tools and techniques.
- Common tools include seam rippers, embroidery erasers, and sometimes even electric shavers.
- Prewash treatments and careful handling are essential to ensure fabric care during the removal process.
- Time and precision are key factors, especially for large or complex designs.
- Damp stretching or blocking can help smooth out the fabric post-removal, maintaining its quality.
- Understanding the type of fabric and stitches used will guide you in the embroidery removal process.
Understanding the Process of Removing Embroidery
Removing embroidery is like untangling a puzzle, but with threads. You carefully cut or pick the threads off the fabric with tools. It takes patience to avoid fabric damage, especially with materials like wool or silk.
Removing hand and machine embroidery is different. For modern embroidery, use tweezers, seam rippers, or specialized scissors for accuracy. For machine work, an embroidery machine and special software does the job. It ensures the fabric stays safe by removing threads stitch by stitch.

Choosing professional embroidery removal means looking at precision, safety, and the fabric’s condition. The fabric type and design complexity affects which tools and methods to use. Synthetic materials might hold up better than natural fibers, like cotton.
The time it takes to remove embroidery can vary a lot. Simple designs might only take 15 minutes, but detailed ones can take over an hour. Widely recommended tools include razor blades, scissors, and even electric mustache trimmers for tough jobs.
Cleaning up after removal is key. This step involves clearing away any leftover threads and making sure the fabric is okay. Professionals do this step better, leading to a fabric in better shape than DIY efforts.
Here’s a quick look at hand vs. machine embroidery removal:
| Removal Method | Tools Used | Time Required | Preferred For |
|---|---|---|---|
| Hand Embroidery | Tweezers, Seam Rippers, Scissors | 15 minutes to over an hour | Modern Embroidery, Delicate Fabrics |
| Machine Embroidery | Embroidery Machine, Thread Extraction Software | More efficient but varies by design complexity | Large-Scale Embroidery Patterns |
Essential Tools Needed for Removing Embroidery
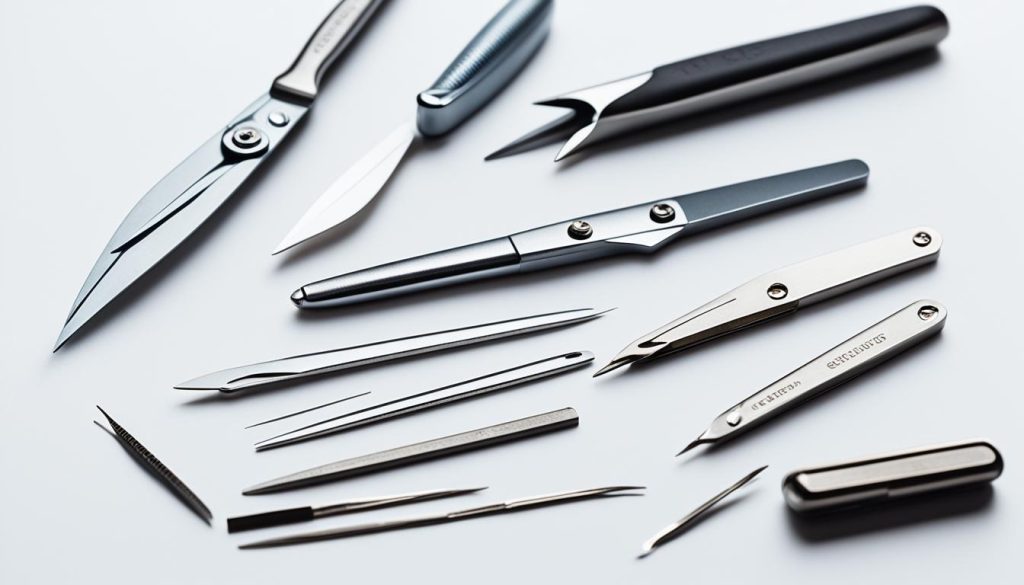
Removing embroidery doesn’t have to be hard. With the right tools, it’s easier and more precise. Tools like a seam ripper and specialized devices make sure you don’t damage the fabric. They help take out unwanted stitches without harming the cloth.
Seam Ripper
In many embroidery kits, you’ll find a seam ripper. This tool is small but very effective. It’s made for cutting threads cleanly, without harming the fabric. A seam ripper is great for techniques like cross-stitch. It helps separate and remove stitches effortlessly, making your work look its best.
Tweezers
Embroidery tweezers are important too. They help pull out threads that a seam ripper can’t fully cut. This is crucial for delicate fabrics. Good tweezers are a must for every serious embroiderer.

Embroidery Eraser
A stitch eraser is another great tool for removing threads. It can scrub away stitches gently, without harming the fabric. This tool is cheap and should be in every embroidery kit. It’s perfect for fixing mistakes or removing old designs.
Other Tools
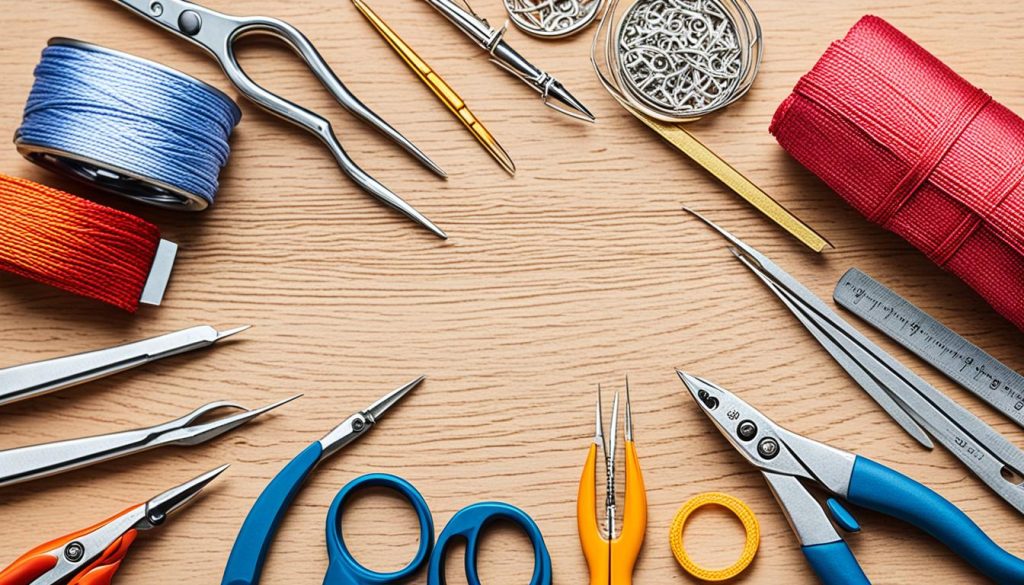
There are more tools that can help with embroidery removal:
- Electric Shaver: It’s great for removing a lot of embroidery quickly, especially from the back of the fabric.
- Sewing or Embroidery Scissors: These are essential for precise cutting, like cutting small threads.
- Disposable Razors: They’re a budget-friendly option. But, you need to be careful not to cut the fabric when using them.
- Lint Brush: It keeps your workspace clean by picking up loose threads.
- Magnifying Glass: It makes detailed embroidery removal easier by improving visibility and accuracy.
Each tool is important for keeping the fabric in good shape while fixing mistakes. With these tools, you’re ready to correct any errors. This way, you can start anew whenever you need to.
Factors Affecting the Ability to Remove Embroidery
Several factors affect how easy or hard it is to remove embroidery from fabric. Knowing these variables will make tackling embroidery projects easier. This knowledge helps in making projects go smoothly.
Type of Fabric
The fabric type is a big player in how embroidery can be removed. Light fabrics like silk tear easily. Strong ones like denim or canvas hold up better. The way the fabric is woven matters too. If it’s a loose weave, you might see holes left behind. Tight weaves come out looking cleaner.
Type of Stitch
Each embroidery stitch has its own rule for being pulled out. For instance, running stitches and cross stitches come out easier. Satin stitches, being denser, are harder to remove. Machine stitches are usually compact. This makes them tougher to take out than hand stitches. Knowing the stitch type helps in choosing the right removal approach.
Size and Complexity of the Design
The size and details of the design change how hard it is to take out. Bigger, more complex designs, especially with lots of colors and styles, take more time and care. To remove them without damage, you need to be extra cautious. Sometimes, special tools are needed.

| Factor | Impact on Embroidery Removal |
|---|---|
| Type of Fabric | Delicate fabrics are prone to damage; sturdy fabrics withstand removal better |
| Type of Stitch | Requires specific techniques; machine stitches are tighter and more uniform |
| Size and Complexity of Design | Increases time and effort required; more intricate designs need careful attention |
Steps to Remove Embroidery Without Damaging Fabric
Removing embroidery is delicate. It needs patience and the right steps to keep the fabric safe. Here’s how you can do it right, just like a pro, without any damage.
- Prewash Treatment: Start by washing the fabric. This helps loosen the embroidery, making it easier to remove. This is very important for at-home embroidery projects.
- Gather Your Tools: You’ll need a seam ripper, embroidery eraser, tweezers, and precise scissors. A good choice is the Seam-Fix seam ripper ($5) and stitch erasers (priced between $80 to $170). They make the job much easier.
- Stabilize Your Fabric: Make sure the fabric is tight and flat. This avoids any accidental cuts or tears when removing the stitches.
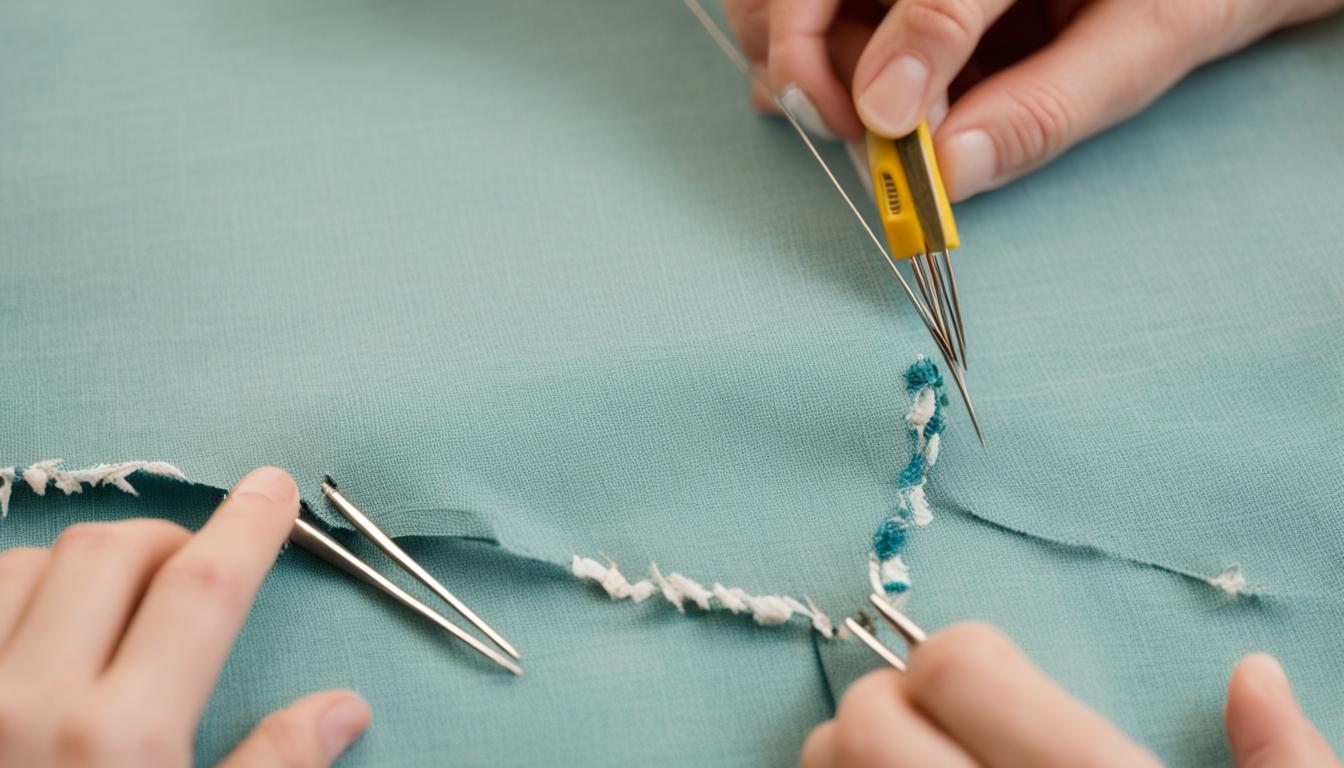
Process of Removal: Use the seam ripper carefully. Slide it under the stitches and lift them up. Madeira scissors work well for delicate threads without harming the fabric. Beaditive tweezers are excellent for removing small strands.
If the embroidery is tougher, like logo work on jackets or hats, a stitch eraser is your friend. Place the fabric face down to prevent it from looking fuzzy. Move the eraser in small sections, about an inch at a time. If a stitch eraser isn’t available, an electric hair trimmer can work in its place.
- Ironing: After the stitches are out, iron your fabric at the right setting. Rub your fingernails over the stitch spots to help them disappear.
- Lint Roller: Lastly, roll a lint roller over the fabric. This picks up any thread particles left behind. It makes your fabric cleaning complete and thorough.
With the right steps and tools, you can safely remove embroidery. This practice is great for both beginners and passionate hobbyists in the world of embroidery.
Common Challenges in Removing Embroidery
Removing embroidery isn’t easy. It can be tough, especially when the embroidered piece is very detailed. Each project has its own set of problems. By knowing these, you can prepare better. This helps you get the best results without ruining your fabric.
Damage to Fabric
Taking out embroidery could harm the fabric. The designs might leave holes or stress marks, which can tear the fabric. Different materials like cotton, silk, or blends react in their own way. So, you must think about the fabric’s needs and adjust your plan to match.
Residual Marks and Threads
After removing the stitches, you might still see faint marks and threads. This is a big issue with complex or thick embroidery. You might need to do extra work to clean the fabric. This ensures it looks as good as new.
Time-Consuming Nature
This task usually takes a lot of time. The intricacy of the designs, along with different threads, makes it longer. You need to be patient and careful. This helps prevent damage to the fabric as you work.
| Challenge | Details | Solution |
|---|---|---|
| Damage to Fabric | Fabric can tear or get punctured during the removal. | Use proper tools like seam ripper and protective gloves. Tailor your approach based on the fabric type. |
| Residual Marks and Threads | Remaining marks may affect the fabric’s appearance. | Remove loose threads with care. Steam and solvents might be needed for a clean look. |
| Time-Consuming Nature | It takes time and care to remove intricate designs. | Plan your work, have good lighting, and keep your tools organized for an efficient process. |
Embroidery Tips and Tricks for Beginners
Starting embroidery for beginners is thrilling and rewarding. You should know basic stitches, fabrics, and tools first. For the best start, get high-quality materials. Grace from Sunshine & Grace Handcrafts advises investing in good needles, fabric, and thread for top results.
Choose fabric wisely. Start with high-quality, non-stretchy cotton, like Kona Cotton. Later, try different fabrics for variety, such as linen, denim, or thick canvas. Buy your materials from trusted sources like Amazon, Joann’s, or local thrift stores.
Using a good hoop is key. According to Sila from Jolly Hoops, a hoop stand makes two-handed work easier, especially for fine designs. Corinne from The Grumpy Crafter stresses that the right fabric tension is crucial. It helps avoid puckering and keeps your stitches neat.
Try different strands of embroidery floss for unique looks. Cut your thread to an arm’s length every week to prevent tangles. Always fasten stitches well and keep the thread from twisting. This ensures your project lasts and looks clean.
Mistakes are okay; they’re part of learning. Kirsty from Lucky Stitch Club shows that understanding fabric tension and thread use comes through practice. Rachel Edwards recommends pilot frixion pens for designing on fabric. Use a hairdryer or iron to erase marks after stitching.
Make your projects fun by checking out all the free embroidery patterns and embroidery tutorials online. Trying new floss colors boosts inspiration and creativity. For a bigger challenge, Georgina from That Embroidery Girl suggests advanced techniques like goldwork or ribbon embroidery.
But most importantly, enjoy the journey. Following these tips will make your DIY embroidery experience rewarding and smooth.
Conclusion
The journey to master embroidery art is very enriching and rewarding. You might find taking designs off cloth hard. But with tools like a seam ripper and tweezers, you can manage well. It’s key to think about the fabric, the stitch, and how complex the design is. This helps tackle common problems carefully.
Embroidery has become more popular, especially through social media with tags like #handembroidery. It’s called “the essence of slow fashion” by The Financial Times. Plus, it’s used in workshops for relaxation and making baby shower items. From repairing clothes to making special gifts, hand embroidery is practical and eco-friendly.
Classes on Craftsy, Domestica, and Udemy make learning embroidery easy. Both beginners and advanced crafters find these helpful. While machine embroidery is fast, handmade designs are still very special. Embroidery combines creative work with tradition, making it affordable and calming. Try out various techniques and watch your arts and crafts world grow. Whether for a business or beautifying your home, the joy of embroidery is limitless.
