Working on a cross stitch project means you need to be precise for a stunning result. Visual planning is a key step that boosts your work’s accuracy.
Before you start stitching, making a detailed plan is crucial. It helps you avoid mistakes and ensures your project looks just right. You need to know how many stitches and fabric pieces you’ll use, and how big your finished project will be.
Effective visual planning lets you adjust patterns to fit your project size. This is a must for mastering cross stitch techniques.
Key Takeaways
- Visual planning enhances cross stitch accuracy.
- A detailed plan helps avoid common mistakes.
- Understanding stitch count and fabric count is crucial.
- Scaling patterns allows for flexibility in project size.
- Effective planning is key to successful cross stitch projects.
The Importance of Visual Planning in CROSS STITCH Projects
To avoid common cross stitch mistakes, it’s key to plan visually. Counted cross stitch needs a blank canvas and a pattern to guide you. This way, you create the design as you count the threads.
Common Accuracy Problems for Beginners
Beginners often struggle with counting threads wrong or losing their place. These issues can make you want to give up on the project.
How Visual Planning Prevents Counting Mistakes
Visual planning helps you track your progress and avoid errors. Break the pattern into smaller parts. Use tools like grids or color-coding to stay organized.
The Connection Between Planning and Project Enjoyment
Good visual planning boosts your accuracy and makes the project more fun. When you’re sure of your stitching, you can enjoy the calming process of making your cross stitch piece.
Essential Tools for Cross Stitch Visual Planning
Good visual planning is key for great cross stitch projects. The right tools can really help. We’ll look at the must-have tools for better planning.
Digital Planning Applications and Software
Digital tools have changed cross stitch planning. Programs like PCStitch and Pattern Keeper have cool features. They help you scale patterns right and manage colors, making complex designs easier.
Physical Planning Materials and Organizers
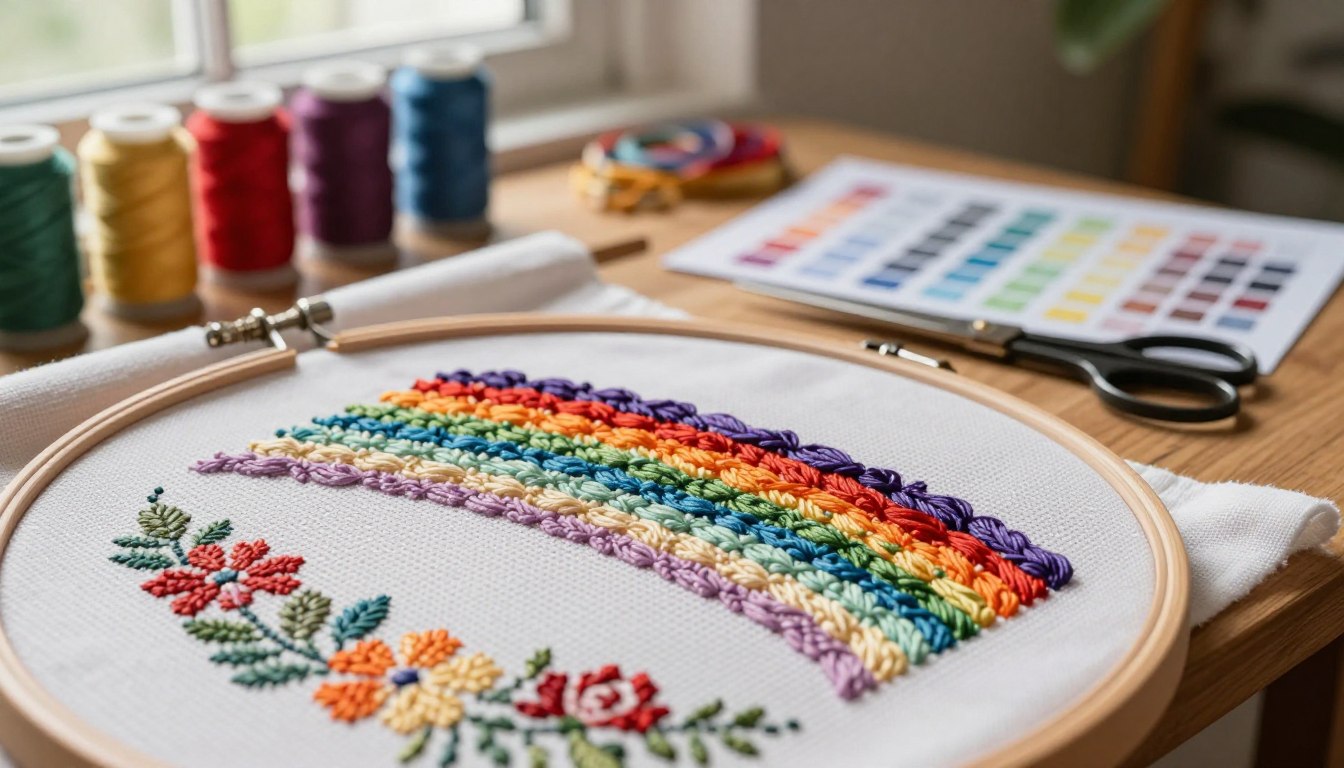
Even with digital tools, physical stuff is still important. Color cards, samples, and organizers help manage threads and see your project. They make it easier to get the color and texture right.
DMC Floss Organization Systems
DMC floss systems are a hit with stitchers. They include:
- Color cards for easy reference
- Thread organizers for keeping floss tidy
- Physical samples for texture and color comparison
Color Cards and Physical Samples
Color cards and samples are key for true color understanding. They let you compare colors side by side, ensuring your stitching is accurate. Many find physical samples help with color choices.
Digital Color Management
Digital color tools add to physical samples. They let you play with colors digitally. This is great for complex patterns or design tweaks.
| Tool Type | Description | Benefit |
|---|---|---|
| Digital Software | PCStitch, Pattern Keeper | Precise pattern scaling and color management |
| Physical Organizers | Color cards, thread organizers | Improved thread management and color visualization |
| DMC Floss Systems | Color cards, physical samples | Accurate color representation and texture comparison |

Using these tools together can really boost your cross stitch planning. Whether you’re new or experienced, the right tools make projects more fun and precise.
Step-by-Step Guide to Creating a Visual Plan
Creating a visual plan is key to making your cross stitch projects accurate and fun. It involves several important steps. These steps help you get ready and organize your work well.
Analyzing Your Pattern Before Threading a Needle
Before stitching, it’s crucial to really look at your cross stitch pattern. You need to understand the design, spot different parts, and see any challenges. For beginner cross stitch fans, this step is super important. It helps avoid mistakes and makes stitching easier.
Color Coding and Symbol Organization Techniques
Color coding and symbol organization are essential for a good visual plan. By using specific colors or symbols for different parts of your pattern, you make stitching simpler and cut down on mistakes. This method is great for cross stitch patterns with lots of colors and detailed designs.
Creating Section-by-Section Work Plans
Dividing your project into smaller sections is a big part of visual planning. You can do this in a few ways, like:
- Parking Method Planning
- Cross Country Method Planning
Parking Method Planning
The Parking Method means finishing certain sections before moving to the next. This keeps things organized and lets you “park” your work in a logical spot. It makes it easier to pick up where you left off.
Cross Country Method Planning
The Cross Country Method, however, means stitching across the whole pattern in a set way. This method helps keep things consistent and ensures your project moves smoothly.
By following these steps and making a detailed visual plan, you can greatly improve your cross stitch for beginners experience. The secret to success is careful planning and organization.
“A good plan is like a roadmap to success in cross stitch. It guides you through the process, helping you avoid mistakes and enjoy the journey.”
Gridding Techniques to Enhance Accuracy
Gridding is a simple yet powerful technique to boost your cross stitch precision. By applying a grid to your fabric, you can ensure accurate stitch placement and avoid costly mistakes.

Traditional Gridding Methods for Different Fabrics
Different fabrics may require different gridding methods. For instance, Aida cloth is relatively easy to grid due to its visible holes, while Evenweave linen may require a more precise gridding technique.
You can use a ruler and a pencil to create a grid on your fabric. For more delicate fabrics, consider using a washable marker or a thread grid.
Washable Marker and Pencil Techniques
Washable markers and pencils are excellent tools for creating a grid on your fabric. They are easy to use and can be easily removed after completion.
- Use a ruler to draw straight lines
- Choose a washable marker or pencil that contrasts with your fabric
- Test the marker or pencil on a scrap piece of fabric before applying it to your project
Thread Gridding for Complex Patterns
Thread gridding is particularly useful for complex patterns or when you want to avoid marking your fabric. This technique involves stitching a grid using a contrasting thread.
Easy Grid Installation
To install a thread grid, start by stitching a horizontal line across the center of your fabric. Then, stitch a vertical line, ensuring it’s perpendicular to the horizontal line.
Removing Grid Threads After Completion
Once you’ve completed your project, you can remove the grid threads by carefully cutting and pulling them out.
| Gridding Method | Fabric Type | Complexity Level |
|---|---|---|
| Pencil Gridding | Aida Cloth | Easy |
| Washable Marker Gridding | Evenweave Linen | Moderate |
| Thread Gridding | Complex Patterns | Challenging |
Backstitching and Detail Work Planning
Backstitching is key in cross stitch, needing careful planning for a pro finish. Think about when and how to add backstitching to your design.
When to Plan Backstitching – Before or After Main Stitching
Choosing when to do backstitching depends on your style and project complexity. Some stitchers do main stitching first, then backstitch. Others plan and stitch both at once. Try both ways to find what suits you best.
Color-Coding Backstitch Elements
Color-coding backstitch parts can keep your work organized and clear. It makes sure your backstitching is precise and consistent.
Planning French Knots and Specialty Stitches
French knots and special stitches add texture and interest. When planning, pick thread colors and types that fit your design.
| Stitch Type | Thread Color | Recommended Needle |
|---|---|---|
| Backstitch | Contrasting color | Tapestry needle |
| French Knots | Matching or contrasting | Sharp embroidery needle |
Troubleshooting Common Visual Planning Mistakes
When your cross stitch project isn’t going as planned, knowing how to fix common mistakes is key. Errors can happen even with careful planning. But, with the right steps, you can get your project back on track.
Identifying and Fixing Counting Errors
Counting errors are a common issue in cross stitch. To spot these, regularly check your work against the pattern. If you find a mistake, stop right away to prevent it from getting worse. Fixing these errors usually means ripping out stitches and restitching the wrong part.
Adjusting Plans for Pattern Modifications
At times, you might want to change a pattern to fit your taste or fix a problem. Update your visual plan if you do. This could mean recalculating stitches or changing colors. Always document your changes to avoid confusion later.
Recovering from Off-Center Work
Off-center work can be a big problem, especially with complex patterns. If your work is off-center, take a close look. Emergency fixes might be possible, depending on how bad the misalignment is.
Emergency Fixes for Misaligned Projects
For small misalignments, you might adjust your stitching to fix it. This could mean skipping or adding stitches to get it back on track. But, do this carefully to avoid making things worse.
When to Start Over vs. When to Adapt
Deciding whether to start over or adapt depends on the mistake’s severity. If it’s small and can be fixed easily, adapting might be best. But, if the error is big and changes the project’s look, starting over might be better.
Conclusion: Elevating Your Cross Stitch Through Better Planning
Good visual planning is key to a successful cross stitch project. It turns a hobby into a fun experience. By using the techniques shared, you can make beautiful pieces that show off your talent and creativity.
Whether you use DMC floss or other materials, planning well lets you enjoy stitching more. You won’t get bogged down by mistakes.
As you get better at cross stitch, think about how planning can improve your experience. Choosing the right frames and organizing threads can make a big difference. Visual planning not only makes your work more accurate but also more satisfying. It lets you enjoy the benefits of cross stitch therapy.