When you’re working on a cross stitch project, getting your stitches balanced is key. It makes your design look great. The way you place your stitches really matters.
Having balanced stitches makes your project look neat and professional. If you’re new to cross stitching, learning about balanced stitches is important. It helps you make beautiful projects.
By focusing on where you put your stitches, you can steer clear of mistakes. This way, you’ll get a professional-looking finish.
Key Takeaways
- Balanced stitch placement is crucial for a visually appealing cross stitch project.
- Proper stitch placement ensures a neat and professional finish.
- Understanding balanced stitches is key for beginners.
- Paying attention to stitch placement helps avoid common mistakes.
- A well-executed cross stitch project enhances the overall aesthetic.
The Hidden Impact of Stitch Placement
Stitch placement is key in cross stitch, affecting your project’s look. When working on cross stitch patterns, how you place stitches changes the visual impact.
How Uneven Stitches Affect Your Final Project
Uneven stitches can cause distortions and mess up your project’s look. For example, in detailed patterns, uneven stitches can make the design fuzzy. Here, embroidery hacks help spot and fix these problems.
The Visual Harmony of Well-Balanced Designs
Well-balanced designs, on the other hand, look great and feel right. Keeping your stitches even ensures your project looks polished. It’s all about the tension of your stitches and the fabric count.
Knowing how stitch placement affects your work can take your cross stitch to new heights. You’ll create stunning, detailed designs that show off your talent.
Understanding the Fundamentals of CROSS STITCH Placement
Learning cross stitch starts with knowing how to place stitches. This is key to a great project. The way you put stitches on fabric changes how your cross stitch looks.
The Anatomy of a Perfect Cross Stitch
A perfect cross stitch is two diagonal stitches that meet in the middle, forming an “X”. Knowing this is important for even and balanced designs. It makes sure your pattern looks right.
How Fabric Count Influences Placement
The fabric count is how many threads are in an inch. It affects how detailed your design can be. More threads mean more detail but need more careful stitching. Fewer threads mean bigger stitches and less detail.

The Relationship Between Tension and Balance
Tension is how tight or loose your stitches are. Getting it right is crucial for a balanced design. Too tight can make the fabric pucker, too loose can make it sloppy. Finding the perfect balance is essential.
| Factor | Impact on Stitch Placement |
|---|---|
| Fabric Count | Affects detail level and stitch size |
| Tension | Influences the overall balance and appearance |
| Stitch Uniformity | Ensures a professional and polished finish |
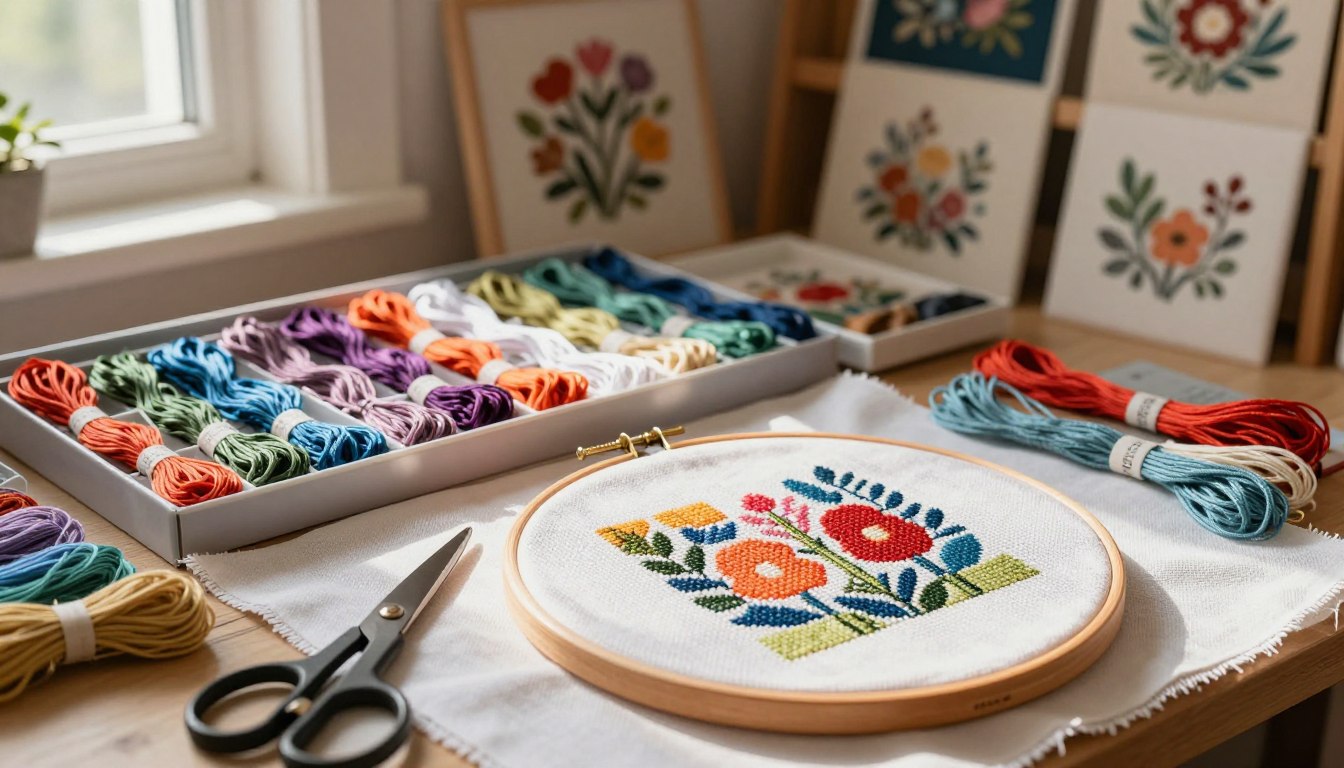
Essential Tools for Achieving Balanced Placement
With the right tools and knowledge, you can make your cross-stitch projects look better. It’s not just about following a pattern. It’s about using the right tools to make your stitching more accurate and fun.
Selecting the Right Needle and Hoop
Choosing the right needle and hoop is key to balanced placement. A sharp, large-eyed needle is best for your thread. For bigger projects, use a lap hoop or a standing hoop. They help with tension and control.
Lighting and Magnification Solutions
Good lighting is essential for seeing your stitches. A daylight lamp or a magnifying glass can help. They reduce eye strain and keep your stitches even.
Gridding Tools and Techniques
Gridding is a basic technique for balanced placement. There are two main ways to do it:
Pre-gridded Fabrics
Pre-gridded fabrics like Aida or evenweave linen make it easier. They have visible grids to guide your stitches.
DIY Gridding Methods
For fabrics without a grid, you can draw one. Use a water-soluble pen or a grid overlay. This keeps your stitches in place.
| Tool | Purpose | Benefit |
|---|---|---|
| Sharp Needle | Eases thread passage | Reduces thread wear |
| Lap Hoop/Standing Hoop | Provides better tension control | Improves stitch evenness |
| Daylight Lamp | Illuminates work area | Reduces eye strain |
Experienced stitchers say the right tools make a big difference. They make stitching more enjoyable and the results look professional. By using these tools and techniques, you’ll get better at balanced placement and make beautiful projects.
Step-by-Step Guide to Perfect Stitch Placement
Getting your stitches right is key to making your cross stitch ideas come to life. It takes a careful plan, the right tools, and patience. Here, we’ll show you how to place your stitches perfectly every time.
Finding Your Center Point Accurately
Finding the center of your design and fabric is the first step. Count the squares on your chart and divide by two to find the center stitch. Then, count the threads on your fabric and find the middle. Use a ruler or a center-finding tool to help.
Working Outward Methodically
After finding your center, start stitching. You can use the quarter-by-quarter or spiral techniques to work outward.
Quarter-by-Quarter Technique
The quarter-by-quarter method divides your design into four sections. Stitch one section at a time. This keeps your tension even and prevents mistakes.
Spiral Method for Complex Patterns
The spiral method is great for complex patterns. Stitch in a continuous spiral from the center outward. It keeps your stitches consistent and your design balanced.
Maintaining Consistent Stitch Direction
Stitching in the same direction is important for a professional look. Always stitch from top to bottom or left to right. This keeps your design uniform.
| Technique | Description | Best For |
|---|---|---|
| Quarter-by-Quarter | Divide design into quarters and complete one at a time | Simple to moderate designs |
| Spiral Method | Stitch in a continuous spiral from center outward | Complex patterns and large designs |
By following these steps and techniques, you can achieve perfect stitch placement in your cross stitch projects. This brings your creative visions to life with precision and beauty.
Common Placement Mistakes and How to Fix Them
Mastering cross stitch is not just about skill. It also involves knowing common mistakes that can ruin your work. Whether you’re a beginner or have lots of experience, you might face issues that affect your project’s quality.
One big problem is inconsistent tension. This can make your fabric pucker or become loose. To fix this, keep your stitching tension the same throughout. If your fabric starts to distort, adjust your tension.
Inconsistent Tension Problems
Inconsistent tension can happen for many reasons. It might be because of the wrong needle or hoop. To solve this, try using a different hoop or needle that feels better for you. Remember, even tension comes from paying attention to your stitches and making changes when needed.
Pattern Misalignment Issues
Pattern misalignment is another common mistake. It happens when your design isn’t centered or aligned with the fabric’s threads. To avoid this, count your stitches carefully and check your work against the pattern.
Dealing with Fabric Distortion
Fabric distortion can be really frustrating. But, it’s often avoidable. Use high-quality fabric for cross stitch and don’t pull the thread too tight as you stitch.
Knowing these common mistakes and how to prevent them will help your cross stitch projects look great and professional.
Advanced Techniques for Complex Designs
To take your cross-stitch embroidery to the next level, you need to learn advanced techniques. These are key for intricate designs. They help balance elements and manage multiple parts.
Balancing Color Distribution
Creating a visually appealing cross-stitch piece means balancing colors well. You need to plan and execute color placement for harmony and contrast. DMC floss offers a wide range of colors for smooth transitions.

Managing Multiple Thread Colors
Handling multiple thread colors is crucial for complex designs. You must organize threads, avoid tangles, and switch colors smoothly. This keeps your focus and ensures a cohesive look.
Backstitching for Definition and Balance
Backstitching adds definition and balance to your designs. It involves stitching over existing stitches to outline and detail your work.
Strategic Backstitching Placement
Where you place backstitches greatly affects your design’s balance. Careful backstitching draws attention to important parts and adds depth.
How Outlining Enhances Overall Balance
Outlining with backstitches not only defines your design but also balances it. It’s especially useful in complex designs with many colors and patterns.
Using these advanced techniques in your cross-stitch projects will make your cross stitch frames stand out. They showcase your skill and creativity.
Conclusion: Transforming Your Projects Through Balanced Stitching
Mastering balanced stitching can turn your cross stitch projects into stunning art. This art brings joy and calm. Good cross stitch gridding and organization are key to achieving this balance.
Techniques like keeping stitch direction consistent and handling thread colors well are important. These help create beautiful designs. By using these techniques, you can improve your craft and enjoy the peace of cross stitch therapy.
With practice and patience, you’ll get better at making beautiful pieces. These pieces will show off your skill and creativity. So, keep working on your skills, and you’ll feel proud of your finished project.