Creating a beautiful cross stitch project requires attention to detail. The key to a well-crafted project is consistent top stitches. When all top stitches face the same direction, the project looks clean and professional.
To achieve a polished look, follow best practices and pay attention to details. Consistent top stitches make the project more visually appealing. This article will explore what makes a cross stitch project polished and share cross stitch tips for a professional finish.
Key Takeaways
- Consistent top stitches are essential for a polished finish.
- Paying attention to detail is crucial for a professional-looking project.
- Following best practices can enhance the visual appeal of your project.
- A well-crafted project is more enjoyable to look at.
- Using the right techniques can make a significant difference in the outcome.
The Foundation of Polished CROSS STITCH Projects
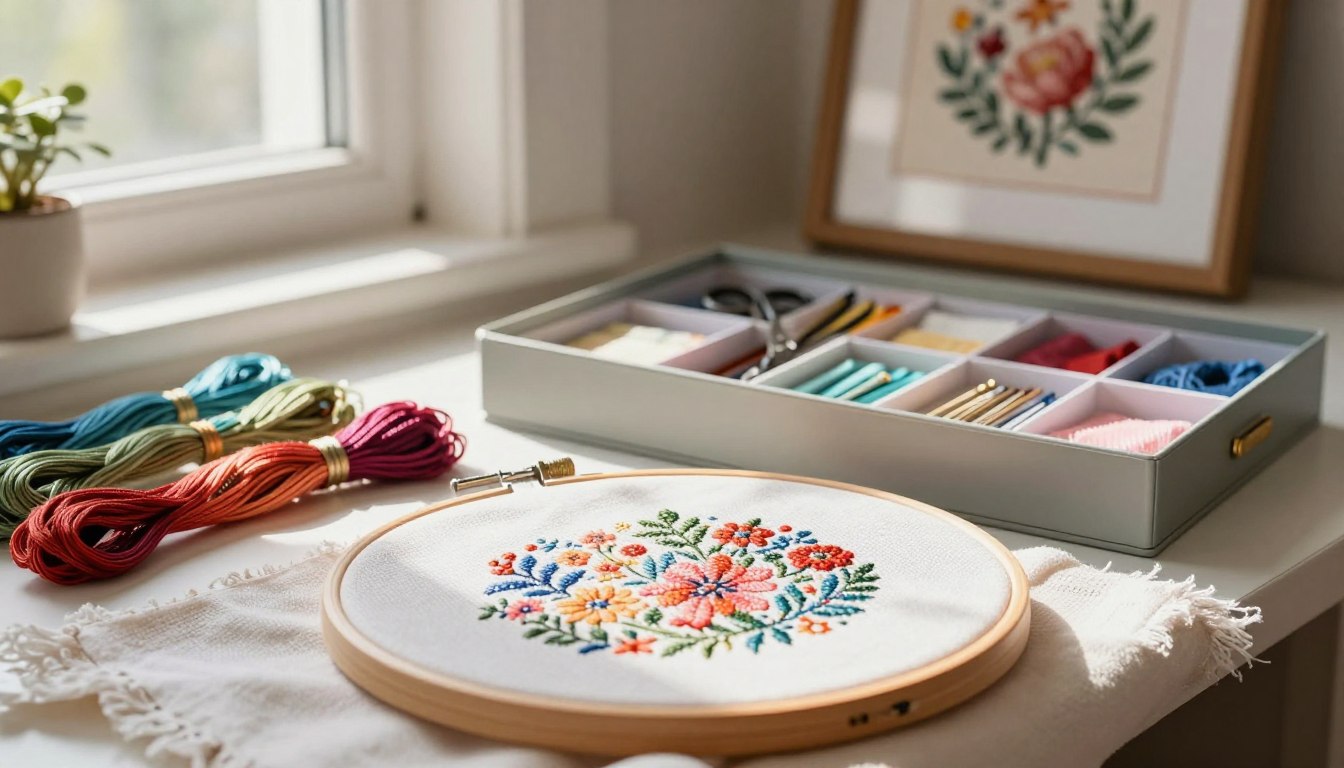
To get a professional look in your cross-stitch projects, start with the best materials. The quality of your cross stitch fabric and threads really matters. They can make a big difference in how your project looks.
Selecting Quality Materials
Choosing the right materials is key for a polished cross-stitch project. You need to pick the right cross stitch fabric and threads for your project.
Choosing the Right Fabric Count
The fabric count is important for the detail in your counted cross stitch project. A higher count means more detailed designs. A lower count is better for simpler patterns.
Investing in Quality Threads
Quality threads, like DMC floss, are essential for a professional finish. They come in many colors and weights. This lets you control the texture and look of your cross stitch patterns.
Mastering Even Tension and Consistent Stitches
Getting a polished finish in your cross-stitch projects starts with even tension and consistent stitches. This skill is key for making your work look good and professional. By keeping your stitches even and consistent, your project will look better.
Techniques for Uniform Stitch Direction
Using a consistent stitching method is a key technique for uniform stitches. There are two main methods: the Danish and the English. Choosing the right method can greatly affect your stitch uniformity.
The Danish Method vs. English Method
The Danish method focuses on stitching in one direction for uniformity. The English method offers more flexibility in stitch direction. Knowing the differences can help you pick the best method for your project.
Creating a Stitching Rhythm
Developing a stitching rhythm is also important for even tension. A consistent pace ensures your stitches are even and your project lies flat.
| Stitching Method | Description | Best For |
|---|---|---|
| Danish Method | Stitching in a consistent direction | Projects requiring high uniformity |
| English Method | Flexible stitch direction | Projects with varied stitch patterns |
The Impact of Proper Fabric Preparation
To get a professional look, start with the right fabric prep. Proper preparation is key for a polished cross-stitch. It helps avoid mistakes and ensures your work is accurate. Gridding is a crucial part of this prep, creating a grid on the fabric to guide your stitches.
Gridding Methods for Accuracy
There are several gridding methods to choose from. Each has its own benefits. Your choice depends on what you prefer and the project’s needs.
Thread Gridding vs. Washable Markers
Thread gridding and using washable markers are two common methods. Thread gridding takes more time but gives a clear guide. Washable markers are quicker but might not be as precise.
Setting Up a Grid System
To set up a grid, use a ruler or a gridding tool. The grid size varies based on the project and fabric type.
| Gridding Method | Accuracy | Time Required |
|---|---|---|
| Thread Gridding | High | High |
| Washable Markers | Medium | Low |
Choosing the right gridding method and setting up a grid ensures accuracy. This way, you can achieve a professional finish in your cross-stitch project.
Backstitching: The Detail That Makes the Difference
Backstitching adds a special touch to your cross stitch ideas, turning them into detailed art. You’ve put your heart into every stitch. Backstitching is what makes your designs stand out.
Backstitching is key to making your cross-stitch project look great. It adds definition and fine details, making your work more appealing.
When to Use Backstitching
Backstitching has many uses in cross-stitch projects. It adds texture, creates detailed designs, and highlights important parts of the pattern.
Adding Definition to Designs
Backstitching helps define your designs. It outlines important parts, making your image clearer and more attractive. For example, in a flower pattern, it outlines petals and leaves, making them pop against the background.
Creating Text and Fine Details
Backstitching is crucial for text and fine details in your projects. It lets you add personal messages or highlight small details, improving your design’s precision.

| Feature | Without Backstitching | With Backstitching |
|---|---|---|
| Definition | Lack of clarity | Clear outlines |
| Fine Details | Difficult to discern | Clearly visible |
| Visual Appeal | Flat and less engaging | Enhanced and more engaging |
Adding backstitching to your cross-stitch projects boosts their appeal. It helps create detailed designs that show off your embroidery skills.
Color Management and Blending Techniques
To get a professional look, knowing color management is crucial. Good color management and blending are key for a beautiful cross-stitch. As a beginner, learning these skills can make your work shine.
Working with DMC Floss Color Families
DMC floss is loved for its many colors and quality. Using DMC floss color families helps you pick colors that go well together. This makes your project look cohesive and beautiful.
Understanding Color Theory in Embroidery
Knowing color theory can really help your cross-stitch. Color theory is about how colors work together. It includes contrast, harmony, and the color wheel. Using these, you can make designs that grab attention.
Substituting Colors Successfully
Sometimes, you need to swap colors in your project. It’s important to know how colors mix. You can use online tools or color charts to find good substitutes.
Mastering color management and blending can elevate your cross-stitch. Whether you’re new or experienced, knowing color work is key for a pro finish.
Finishing Touches That Elevate Your Work
As you near the end of your cross-stitch project, the finishing touches are key. You’ve put your heart into every stitch. Now, it’s time to give it the final polish it deserves.
One important step is blocking. This process makes sure the fabric lies flat and even. It removes any distortions or wrinkles that may have appeared during stitching.
Professional Blocking Methods
There are several ways to block your cross-stitch project. The right method depends on your project.
Wet Blocking vs. Pinning
Wet blocking involves dampening the fabric to relax the fibers. This allows you to stretch and shape it. Pinning uses pins to hold the fabric in place while it dries. Both methods work well, depending on the fabric and distortions.
Using Blocking Boards
Blocking boards offer a sturdy surface for pinning your work. They help keep it taut and even. These boards are great for larger projects or those with big distortions.
Proper blocking offers several benefits:
- A smoother, more even finish
- Reduced distortion and wrinkling
- A more professional appearance
By blocking and finishing your cross-stitch project well, you can make it truly stunning. Whether you’re framing it or enjoying the cross stitch therapy, a well-finished project brings joy.

When displaying your finished project, use high-quality cross stitch frames. The right frame enhances your piece’s appearance. It highlights the intricate details and colors.
Mastering the art of finishing your cross-stitch projects unlocks needlework secrets. With patience and practice, you’ll create beautiful, professional-looking pieces. These will be treasured for years.
Common Mistakes That Diminish Polish
A polished cross-stitch project is within reach when you understand and avoid common mistakes. Even with careful planning and execution, certain errors can detract from the overall quality of your work. By being aware of these potential pitfalls, you can take steps to prevent them and ensure your project looks its best.
Thread Carrying and Knot Management
Effective thread carrying and knot management are crucial for a professional finish. Poor handling of threads can lead to visible carries and unsightly knots, detracting from the project’s overall appearance.
Hiding Thread Ends Properly
To maintain a clean and polished look, it’s essential to hide thread ends properly. This involves weaving them into the existing stitches to prevent them from being visible. Using a tapestry needle can make this process easier and more effective.
Preventing Visible Carries
Carrying threads over long distances can sometimes result in visible carries on the front of the work. To minimize this, you can use a technique known as “carrying on the line” or break the thread and rejoin it where necessary. Being mindful of thread tension is also crucial to prevent visible carries.
| Common Mistake | Solution |
|---|---|
| Visible Thread Ends | Weave ends into existing stitches |
| Visible Carries | Carry on the line or rejoin thread |
By following these cross stitch tips and being aware of common cross stitch mistakes, you can improve your cross stitch techniques and achieve a more polished finish.
Conclusion
Keep focusing on details and using quality materials as you stitch. This will help you achieve a beautiful finish. By mastering techniques like even tension and consistent stitches, you’ll make stunning pieces. These will show off your skill and creativity, inspiring others.
Whether you’re new to cross stitch or have been doing it for a while, these tips can improve your work. With practice and patience, your projects will become truly amazing. They will last for many years.
Using these principles will make your stitching experience better. You’ll also create pieces you’ll love for a long time. So, take your time, be careful, and enjoy making something special with your cross stitch.