Framing your crossstitching work makes it look even more beautiful. It lets you show off your piece with pride. Whether you’re a pro or just starting, the right framing techniques can really change how your work looks.
Methods like pinning or lacing give your cross stitch a professional finish. It’s key to mount your finished piece right to keep the design looking great. This way, you can display it without a frame or inside one for extra safety.
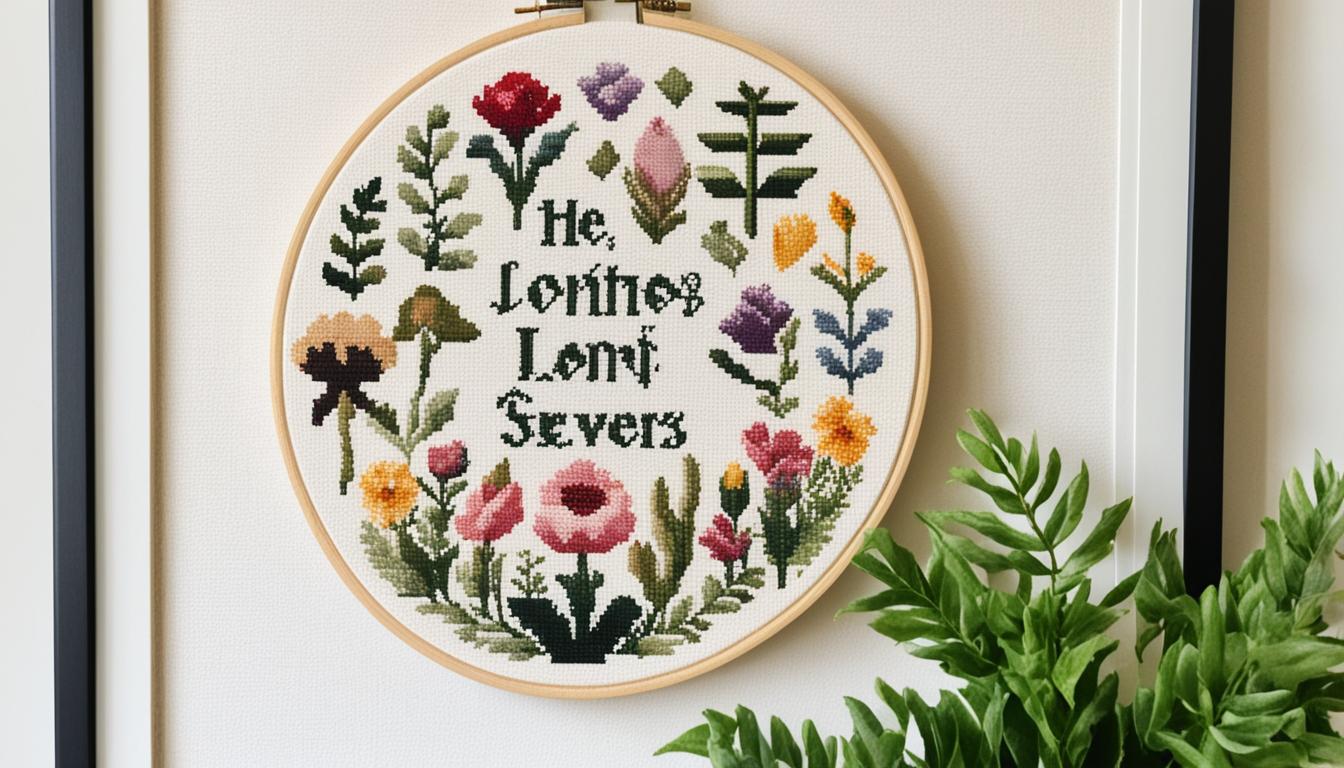
A well-framed crossstitching turns into a true piece of art. It shows off the hard work and skill you put into it. Plus, it can make any room in your home look amazing.
Key Takeaways
- The Pinning Technique uses small pins, craft paper, and double-sided sticky tape or a hot glue gun for framing.
- The Lacing Method needs heavy thread, a needle, and clips for a secure frame.
- Wash cross-stitch pieces in lukewarm water with a mild detergent to get rid of oils, dust, and particles.
- Iron cross-stitch pieces face down on a fluffy towel with low to medium heat to keep stitches from flattening.
- Wooden frames give a classic look, while metal frames offer a modern style for your DIY crossstitching projects.
The Importance of Preparing Your Cross Stitch
Showing off your crossstitching designs requires careful preparation before framing. This ensures your artwork stays in top shape. Cross stitching is great for reducing stress and offering a break from digital life. So, getting it ready right is key to keeping these benefits.
Cleaning Your Cross Stitch
Cleaning your crossstitching is crucial for keeping it looking great. Use a mild detergent and lukewarm water for cleaning. Soak the stitching gently, without stretching the fabric. This prevents damage to the threads.
After cleaning, dry the piece well, but avoid sunlight to stop colors from fading. Cleaning removes oils and dirt that built up while stitching.
Ironing for a Flawless Finish

Ironing your crossstitching on a low-medium heat setting is next. Put the stitching face down on a soft towel to protect it. Ironing smooths out wrinkles, making your design look perfect for framing.
Handling Your Piece Carefully
Be gentle with your crossstitching until it’s framed. Keep your hands clean to prevent oils and dirt from getting on the fabric. Try to touch the stitching as little as possible to keep it looking great. Using high-quality supplies helps keep your work beautiful and intact.
Choosing the Perfect Frame for Your Cross Stitch
Finding the right frame for your crossstitching project is key to showing off your art. A good frame protects your work and makes it look better. With over 21,000 search results for “how to frame cross stitch” on Google, many people are looking for the best way to frame their work.
Considering Frame Materials: Wood vs. Metal
Choosing between wood and metal frames depends on the look you want. Wood frames give a classic, warm feel that goes well with traditional and rustic designs. Brands like Anchor and DMC threads look great in wood frames. Metal frames, on the other hand, add a modern touch to your crossstitching gifts or decor.

Finding the Right Frame Size
Getting the right frame size is important for all crossstitching fans. You want a frame that leaves about 1-2 inches of extra fabric around your project for matting. A well-sized frame makes your artwork stand out without looking too big or too small. Using foam board or cardboard to support your stitch keeps it centered in the frame.
Matching the Frame to Your Home Decor
Your frame should match your home’s style. Whether your crossstitching has a vintage or modern look, the frame should fit in. Custom frames let you choose what you like best. Talking to an expert or visiting a frame shop can help you find a frame that makes your artwork pop and matches your room’s style.
| Frame Type | Occurrence Rate | Pros | Cons |
|---|---|---|---|
| Embroidery Hoops | Often the first choice | Varied sizes available | Clunky for medium/large pieces |
| Spring Tension Hoops | Fairly common | Easy set-up | Issues with grip for large projects |
| Scroll Frames | Common for large pieces | Ideal for large projects | Expensive and heavy |
| Easy Clip Frames | Preferred by serious cross-stitchers | Best investment for large pieces | Heavy to handle |
| Bar Frames | Less common | Cost-effective | Not ideal for large projects |
| Grip-or-Clip Frames | Gaining traction | Mix of different frame types | Time-consuming to set up |
| Universal Craft Frame | Seen as a DIY option | Affordable and lightweight | Requires readjustment for each session |
In conclusion, picking the perfect frame for your cross stitch means thinking about materials, size, and how it fits with your decor. This way, your custom cross stitch will look great and last for years.
All About Matting in Cross Stitch Framing
Matting is key for making your crossstitching look better and keeping it safe. Picking the right mat color and texture changes how people see your work. It adds depth and a professional touch. Let’s explore how cross stitch matting can boost and protect your needlework.

Color and Texture Choices
Picking the right mat color and texture is important. Your artwork should stand out but not get lost. You can choose from smooth or detailed textures. Trying different colors and textures helps you find the best match for your piece.
Standard vs. Thick Mats
Choosing between standard and thick mats changes how your crossstitching looks. Thick mats give a luxurious look, while standard mats offer a simpler style. Here’s a quick look at the differences:
| Mat Type | Attributes | Best Use |
|---|---|---|
| Standard Mat | Subtle depth, cost-effective | Everyday framing |
| Thick Mat | Professional look, added depth | Special projects |
Preservation Quality and Conservation Matting
For valuable cross stitch pieces, keeping them safe is crucial. Using acid-free materials for preservation quality protects against damage. It’s important to choose mats with UV protection, like conservation glass, to keep your artwork safe.
Layering Multiple Mats
Layering mats can make your crossstitching framing stand out. Mixing colors and thicknesses lets you focus on different parts of your artwork. This method adds creativity and flexibility to your framing.
Methods for Mounting Your Cross Stitch
Mounting your cross stitch right is key to making it look great and last long. We’ll look at different ways to do this, each with its own benefits for various project sizes. Let’s check out the methods hobbyists and professional framers use. These techniques can turn your cross stitch patterns into stunning pieces.
The Lacing Technique
The lacing technique is great for a smooth front look on your cross stitch. It uses a strong thread pulled tight across the fabric’s back edges. This method helps you keep the fabric even and smooth. Here’s what you’ll need:
- Finished stitchery
- Strong thread
- Tapestry needle
- Acid-free foam board or stiff cardboard
The Pinning Technique
The pinning technique is simple and flexible, using stainless steel pins on a backing board. It’s good for fixing mistakes without harming the fabric. Pinning every inch along the edges keeps your fabric secure and even. You’ll need:
| Equipment | Availability |
|---|---|
| Stainless steel straight pins (half-inch or one inch) | Common at fabric, hobby, and craft stores |
| White acid-free foam core (⅜” thick) | Available at professional framing shops |
| Embroidery scissors, fabric scissors | Easily found in craft stores |
Using Adhesive and Foam Boards
Adhesive and foam boards are a strong choice for mounting smaller pieces quickly. An acid-free adhesive spray lets you make your own sticky boards. Hot glue is best for attaching the fabric to the board. This method is easy and budget-friendly, perfect for smaller projects.

Expert Tips for a Professional Finish
For a pro finish, keep these tips in mind. Make sure your cross stitch is clean and ready before mounting. Choose the right mounting method for your project’s size and complexity. Using the correct tools, like rustproof silk pins and acid-free boards, helps your work last longer. By following these tips and techniques, you can show off your needlework beautifully and keep it in great shape.
Conclusion
Framing your cross stitch masterpiece is a journey full of steps that show the true beauty of cross stitch art. You start with cleaning and ironing your work. Then, picking the right frame and matting is key to making it look great.
Learning various crossstitching finishing techniques is important. It keeps your artwork safe and makes it look its best. This way, your work is not just protected but also looks amazing.
Joining cross stitch workshops and communities gives you great advice and stories from others. It helps improve your skills. Cross stitching is also good for your mind, lowering stress and helping you focus better.
It lets you express yourself through different patterns and designs. Being part of the cross stitch history makes you appreciate this art more. It also makes you feel like you belong.
Using these tips and methods, your cross stitch can become a beautiful piece that everyone notices. It can be a decoration, a gift, or something to show off your talent. The mix of tradition and creativity in cross stitching is good for your mind and makes you happy.