Deciding to wash your cross stitch project before adding backstitch details is up to you. Oils from your hands can transfer to the fabric, possibly causing discoloration or stains later. It’s about cleaning to remove these oils versus cleaning up spills or dirt.
About 90% of stitchers skip washing their cross stitch before backstitching. Yet, there are times when it’s a must. For instance, if you’re using stiff Aida cloth, hoop rings, or Q-snap curls. Also, threads like DMC cotton and Kreinik need special care to avoid color bleeding.
Knowing when to wash your cross stitch can greatly improve your finished piece. Using the right techniques and preparation leads to a beautiful, lasting craft.
Key Takeaways
- Washing cross stitch projects before backstitching is a personal choice, influenced by factors like fabric type and visible marks.
- Using products like DMC cotton and certain Kreinik threads, generally ensures colorfastness, reducing the risk of color bleeding.
- It’s recommended to test colorfastness of dyed fabrics and some threads to prevent potential bleeding during washing.
- Washing can help remove hoop rings and Q-snap curls but may make locating stitching holes on stiff Aida cloth more challenging.
- Proper washing techniques include using lukewarm, soapy water, and air-drying to maintain the cross stitch’s quality.
Understanding Cross Stitch Preparation
Before starting your cross stitch project, it’s key to know how to prepare. Whether you’re new to stitching or have been doing it for years, getting your fabric and threads ready right can change your stitching experience. It also affects how your finished piece looks.
Importance of Fabric Preparation
Choosing the right cross stitch fabric is crucial. Pre-washing the fabric removes any leftover starch and makes the fibers softer for stitching. Aida fabric with clear holes is great for beginners because it’s easy to count stitches on. After stitching, washing it makes the fabric softer, perfect for framing.
Marking the fabric’s center is also important. Fold it in half both ways and mark the middle. This helps keep your stitching straight and makes sure your design fits the fabric well. Aida cloth, especially the 14 count type, is great for beginners because of its easy-to-count holes. Adding edge binding before you start helps prevent the fabric from fraying, making stitching smoother.
Choosing the Right Threads and Materials
Choosing the right cross stitch threads is key. Use high-quality threads like DMC or Kreinik to keep colors from fading. Most embroidery floss is made of six strands, but you usually use one or two for stitching. For a 14 count Aida fabric, using two strands of floss works best.
When starting a new color, cut about 18 inches of thread to avoid knots. Don’t tie knots at the thread end to avoid lumps in your work. It’s smart to buy all your supplies at once because thread colors can vary slightly. Using the right needle, like a round-end tapestry needle, makes stitching easier.
Knowing how to stitch is important. Start from left to right and top to bottom. Use back stitches for borders or details after all cross stitches are done. This way, you stitch more efficiently and your design looks great.
Here’s a quick overview of key preparation points:
| Preparation Task | Recommendation |
|---|---|
| Finding Center | Fold fabric both ways and mark center point |
| Thread Length | Cut 18-inch lengths to prevent knotting |
| Fabric Choice | 14 count Aida for beginners |
| Needle Type | Round-end tapestry needle |
| Edge Binding | Bind edges to prevent fraying |
Pros and Cons of Washing Before Backstitch
Washing your crossstitching before backstitching can change how it looks and lasts. It’s important to know these effects to choose the best for your project.
Advantages: Cleaner and Smoother Finish
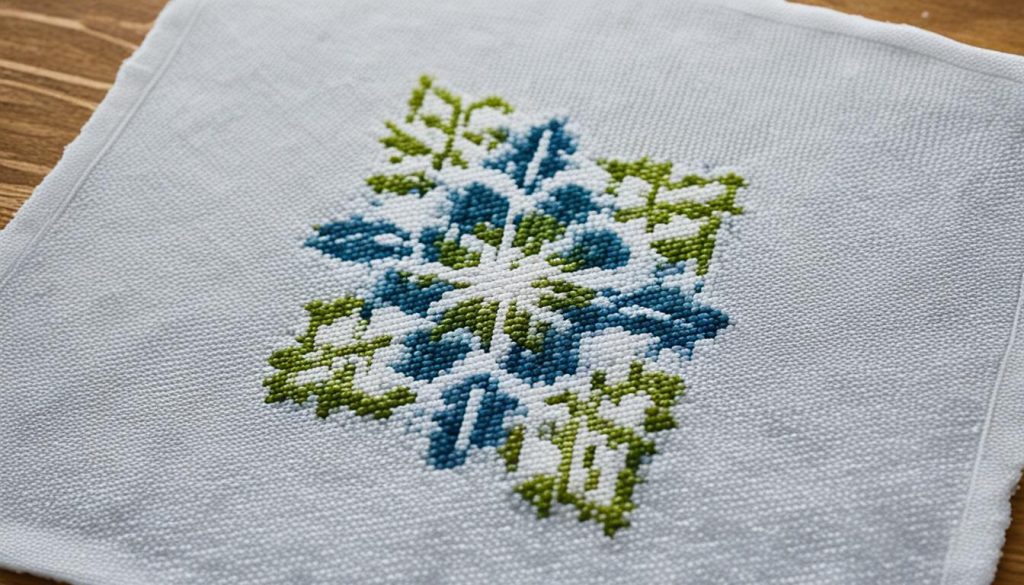
Washing your cross stitch before backstitching makes it look cleaner and smoother. It gets rid of creases, hoop marks, and dirt. This makes your crossstitching gifts look perfect.
Washing also removes dust, oils, and grime from the fabric. This is key for modern crossstitching projects. It helps show off the patterns and colors clearly.
Disadvantages: Color Bleeding Risks
But, washing before backstitching has risks too. The biggest one is color bleeding. This is a big problem with hand-dyed, overdyed threads, or unknown brands. If the colors bleed, your work could be ruined.
There’s also the worry about colorfastness. Making sure your threads and materials can handle washing is crucial. Without this, the risks might be too high, especially for special gifts or heirlooms.
When You Should NOT Wash Your Cross Stitch
Deciding when not to wash your crossstitching is key to keeping them looking great. It’s especially true for hand-dyed cross stitch fabric and delicate materials. Washing them can harm their quality.
Colorfastness of Materials
Not all crossstitching materials are the same when it comes to color staying put. DMC cotton threads are usually safe, but test them first to be sure. Some threads, like Kreinik’s 003L and 006HL, might bleed, so wash them before using or test them with soapy water first.
Pre-treated or Delicate Fabrics
Hand-dyed fabrics and other delicate items need extra care. Washing them can remove special treatments, changing their look and color. Luxury threads and metallic parts are also sensitive to water and heat. So, use cross stitch tips and tricks to keep them looking good.
| Material Type | Colorfastness Testing | Washing Recommendation |
|---|---|---|
| DMC Cotton Threads | Test small sections in warm, soapy water | Generally safe, but test first |
| Hand-dyed Cross Stitch Fabric | Confirm with manufacturer | Avoid washing to prevent damage |
| Metallic Threads (e.g., Kreinik) | Spot test for colorfastness | Use low heat; avoid steam |
By knowing these tips and following crossstitching care advice, you can keep your cross stitch projects looking beautiful for a long time.
Why Washing Cross Stitch is Sometimes Necessary
Washing your crossstitching project is key to keeping it looking great and lasting longer. Dirt, dust, and oils from your hands can stain or change the color of the fabric. This can ruin the look of your work, whether it’s from a kit or your own design. So, cleaning your cross stitch is a must to keep it looking new.
Removing Dirt and Oils
When you stitch, oils from your hands can get on the fabric and threads. These oils can make the project look dull over time, especially if you handle it a lot. Washing removes these oils and dirt, keeping your work looking bright and new.
This is especially true for stitchers with oily skin. Keeping your crossstitching clean means it will always look its best.
Addressing Hoop Rings and Creases
Using embroidery hoops or Q-snaps for a long time can leave marks on the fabric. Washing the project can smooth out these marks, making the fabric soft again. This step removes the marks and gets the fabric ready for a professional look.
This is very important if you’re making the project for someone else or to display. When washing, be careful not to damage the fabric or cause colors to bleed.
How to Properly Wash Your Cross Stitch
Keeping your cross stitch projects looking great requires following the right cross stitch care instructions. Knowing how to wash your work right helps keep it beautiful for a long time. We’ll cover the materials and tools you need, and how to wash your DIY cross stitch safely.
Necessary Materials and Tools
Before washing your DIY crossstitching, make sure you have these items:
- Large bowl or basin
- Mild, unscented soap (such as Dawn Original Dish Soap or Baby Shampoo)
- Lint-free cotton towels
- Cool, clean water
Step-by-Step Washing Instructions
Here’s how to wash your cross stitch techniques project safely:
- Fill a large bowl or basin with lukewarm water and add a bit of mild, unscented soap. Make sure the soap mixes well with the water.
- Put your crossstitching piece in the soapy water and let it soak for about 15 minutes. Don’t scrub it to avoid damage.
- Swish the fabric in the water to clean it more. This helps get rid of dirt stuck in the stitches.
- Rinse the piece with cool water at least three times to get rid of all soap. If needed, rinse again.
- Press the fabric on a clean lint-free towel to get rid of extra water. Don’t wring or twist it to keep the stitches even.
- Roll the fabric in the towel to dry it more, then lay it flat on another dry towel or a drying rack to air dry.
By following these cross stitch care instructions, you’ll keep your free cross stitch patterns looking great. They’ll be ready for framing or giving as gifts.
Testing Colorfastness Before Washing
Keeping your cross stitch project’s colors bright and intact is key. Before you wash it, make sure to test how the colors will hold up. This way, you avoid dye runs or fading.
Fabric Testing Methods
To check your fabric, stitch some white crossstitching threads on a scrap piece of fabric. Then, soak it in warm, then cold water. This will show if there’s a chance of dye running. Testing early helps keep your cross stitch samplers looking great.
For extra safety, agitate and soak the sample for a long time. If it doesn’t bleed, like with DMC threads, you’re good to go with your project. But, colors like reds and yellows might bleed more easily.
Thread Testing Techniques
Testing threads for custom cross stitch projects works the same way. Stitch the thread on a small fabric piece and soak it. Exposing it to heat and moisture, like ironing or steaming, will check if the colors stay put.
Threads like DMC perle cotton #8 and coton a broder #25, especially in color 321, stay stable. They don’t bleed, even after soaking for a long time.
| Test Method | Result |
|---|---|
| Soaking in Warm-Almost-Hot Water | 0% Color Run Observed |
| Agitation and Prolonged Soaking | No Color Running |
| Ironing While Wet | No Color Bleeding |
| Steaming the Sample | No Color Run |
| Repeated Heat and Moisture Exposure | No Issues Detected |
Always use cold or lukewarm water for the mason jar test to check color fastness. Adding citric acid, like vinegar, can also help set dyes in hand-dyed yarns.
Ironing Your Cross Stitch After Washing
After washing and drying your crossstitching, ironing is the next step. It makes your artwork smooth and ready for framing or display. Always iron the piece face down on a towel to protect the stitches and threads.
Use a warm iron and move it constantly to avoid damage. For synthetic threads, iron without steam to prevent shrinkage or melting. This keeps your artwork looking great during finishing.
Some stitchers use a damp cotton tea towel under the cross stitch for steam ironing. Letting it rest overnight can keep it smooth. Always test the iron on a small part first to be safe.
Ironing well is great for gifts or storing your cross stitch. It makes the piece look professional. Use low heat and move the iron fast to protect the threads. This way, your cross stitch will look good for years to come.
Conclusion
Deciding to wash a cross stitch project before adding backstitching depends on the project’s condition and materials. Washing can make the finish clean and smooth. But, it also has risks, especially with materials that might bleed color.
Testing for colorfastness is key to avoid color bleeding. This step is crucial before washing.
The washing process is detailed but keeps your cross stitch looking great. It’s important to be patient and careful. You need to remove dirt, oils, hoop rings, and creases.
Ironing your cross stitch after washing makes it look even better. This step is important for a professional finish.
Being part of the cross stitch community is very helpful. You can learn a lot from cross stitch blogs and YouTube channels. These resources offer tips, personal stories, and expert advice.
The history of cross stitch shows its long history and how it has changed over time. By following the right fabric care tips, your cross stitch will look beautiful and last long.
