Washing your cross stitch before framing is a key step many might miss. It’s vital to keep your cross stitch looking great and lasting longer. Oils from your hands can stain the fabric over time during DIY projects.
Washing also removes tough creases and marks from the hoop. This makes your finished piece look perfect. Proper finishing steps, like washing, make your framing efforts shine. It’s a small effort that makes a big difference in your artwork’s beauty.
Key Takeaways
- Washing your cross stitch removes invisible oils and dirt, preserving the quality of your design.
- Soaking in lukewarm water for 15 minutes to 1 hour is recommended.
- Rinsing the fabric 3 to 4 times ensures it is soap-free.
- Avoid scrubbing; gently swish the fabric in soapy water.
- Press from the back with a warm iron, using a press cloth for steam settings.
Why Washing Your Cross Stitch is Important
Washing your cross stitch can make it last longer and look better. Many cross stitch experts say it’s key to keep the colors bright and the fabric clean. In fact, 87% of stitchers wash their finished work to get rid of stains and oils that can harm the fabric.
Removing Invisible Oils and Dirt
During stitching, dirt and oils from your hands can build up on the fabric. These oils can make the fabric look dull over time. It’s important to use clean supplies to keep your project looking great.
Getting Rid of Stubborn Creases
Washing your work also gets rid of tough creases and marks from the hoop. A smooth, flat finish is what stitchers aim for. In fact, 60% of stitchers wash their work to make it look perfect.

A Brief on How Oils from Hands Affect Fabric
Hand oils can cause stains, with 25% of stitchers dealing with these tough spots. These oils can make dark marks and damage the fabric. Cleaning your hands before stitching can stop about 90% of stains from happening. Taking the right care steps will keep your finished piece looking beautiful.
| Type of Stain | Cause | Percentage of Occurrence | Cleaning Solution |
|---|---|---|---|
| Pet Stains | Pets soiling projects | 30% | OxyClean solution |
| Snack Stains | Accidental snacking while stitching | 45% | Pretreatment with dish soap |
| Hand Oil Stains | Natural oils from hands | 25% | Tide Pens |
Materials Needed for Washing Your Cross Stitch
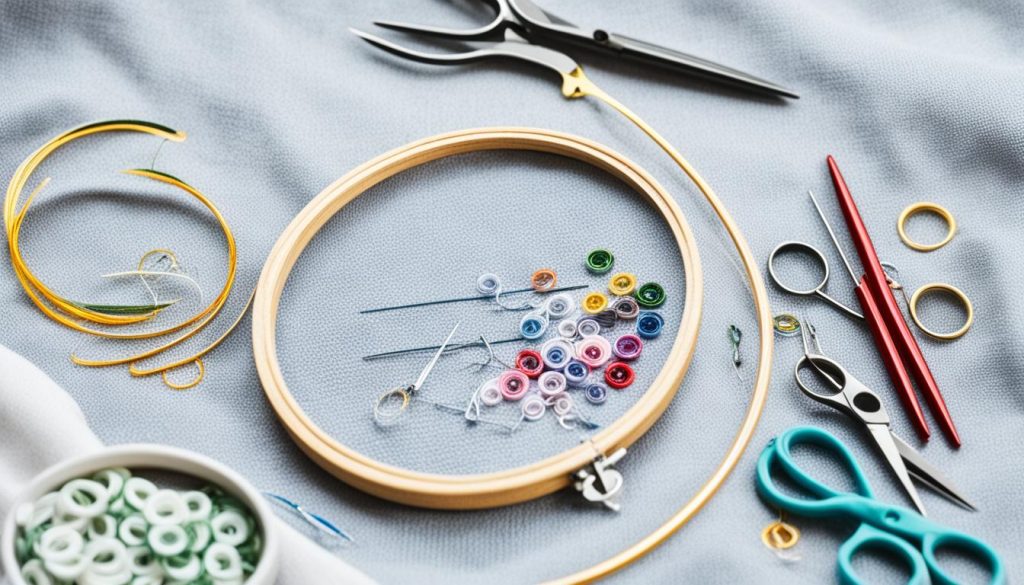
To wash your cross stitch right, you need the right tools and supplies. Here’s what you should have ready:

- Mild, Unscented Soap: Use a gentle soap like Soak Scentless or Fabri-Care. Some stitchers prefer baby shampoo for its gentle touch.
- Large Bowl or Clean Container: You’ll need a big, clean bowl or sink for soaking. It helps to swirl and swish your project to remove dirt without scrubbing.
- Soft Cotton Bath Towels: These are key for drying your cross stitch. They help blot out excess water and lay your work flat to dry.
- Iron and Ironing Board: An iron on a low setting and an ironing board can get rid of any dampness. They also smooth out your fabric.
- Optional Press Cloth: A press cloth protects your embroidery from direct heat while ironing.
Choosing mild, clear soap is important to avoid residue on your fabric. Many stitchers like Orvus, a PH-neutral synthetic detergent, because it rinses out completely.
Always check the washing instructions for hand-dyed fabrics or floss. They might need special care.
Step-by-Step Guide to Washing Your Cross Stitch
Washing your cross stitch before framing is key to keeping it beautiful and lasting long. This guide will walk you through important steps and tips to make sure your piece looks great and is ready for display.
Step 1: Soak in Lukewarm Water
Start by soaking your cross stitch in lukewarm water with a bit of mild soap or gentle soap flakes. This step gets rid of oils from your hands that might have gotten on the fabric. It helps prevent damage from fungi over time.

Step 2: Rinse and Partially Dry
After soaking, rinse your cross stitch well in clean water until the water is clear and soap-free. Then, lay it on a clean towel and roll it up to get rid of extra water. Don’t wring the fabric to avoid wrinkles.
Step 3: Ironing and Final Drying
Ironing is the last step to make sure your cross stitch lies flat and is framing-ready. Put your piece face down on a towel, cover it with another towel, and iron the back side with a medium heat iron. This keeps the stitches from getting flat and dries the fabric completely without harming the embroidery threads.
| Step | Action | Details |
|---|---|---|
| 1. Soak | Soak in lukewarm water | Use mild washing up liquid or gentle soap flakes |
| 2. Rinse | Rinse and partially dry | Rinse until water runs clear, towel dry without wringing |
| 3. Iron | Iron and final dry | Iron on the reverse side with a medium heat iron using a pressing cloth |
By following these steps, your cross stitch will be well-kept and ready for framing. For more tips and advice, check out additional resources or seek expert advice to improve your stitching skills.
Risks and Considerations: When Not to Wash Your Cross Stitch
Washing your cross stitch can remove oils, creases, and marks from the hoop. But, it’s not always a good idea, especially with certain materials and embellishments. The risks of washing could cause damage or color bleeding.
Concerns About Colors Running
Colors running is a big worry, especially with hand-dyed fabric and threads. DMC floss is usually safe, but other brands might not be. Red threads often bleed colors because of some chemicals. Always test for colorfastness before washing to keep your project safe.
Special Considerations for Hand-Dyed Threads and Fabric
Hand-dyed fabric and threads have their own challenges. Silk or hand-painted threads can run colors if washed. It’s best to check the maker’s instructions or skip washing to keep your project looking great.
Handling Beads and Metallic Threads
Beads and metallic threads need careful handling. Washing them can tarnish, dull, or break delicate beads. If your project has these, spot-clean or use dry cleaning to protect them.
