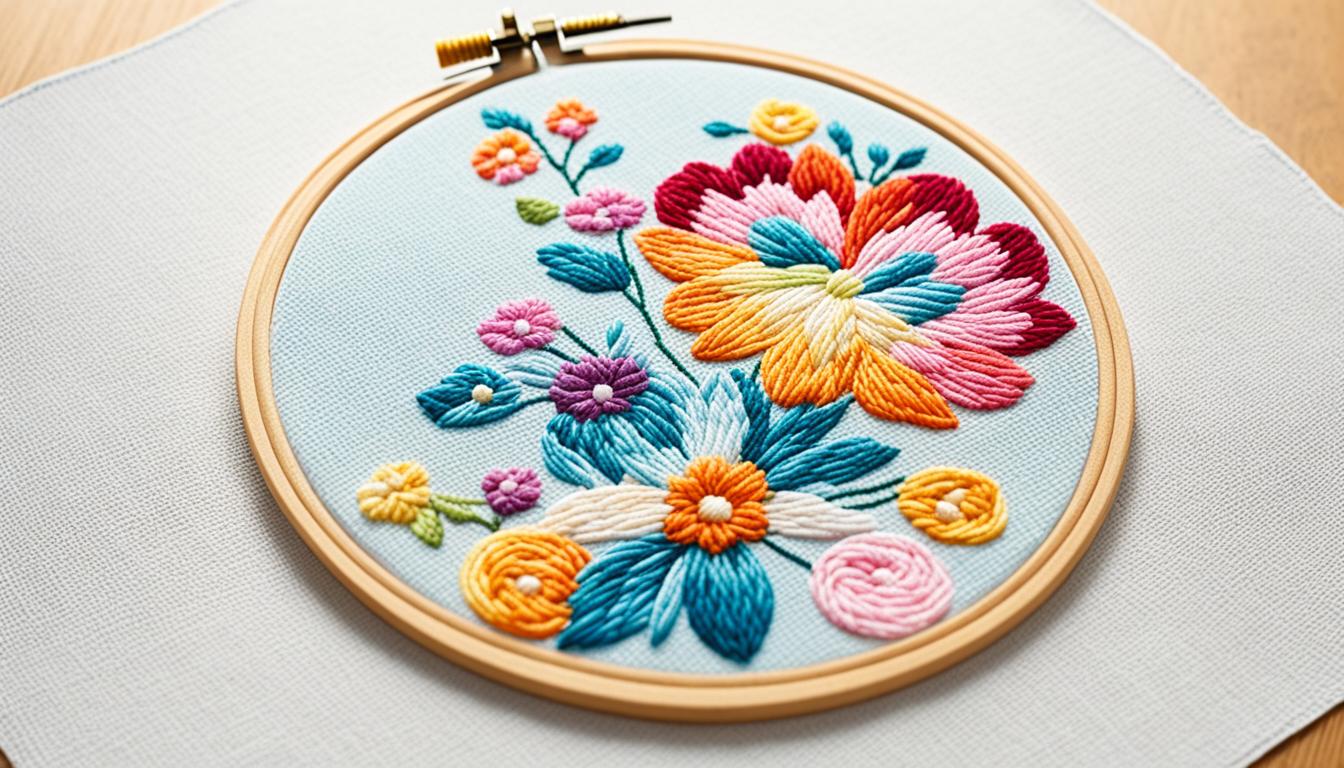
If you love cross stitch, you might wonder if using an embroidery hoop with Aida cloth is best. An embroidery hoop is not a must-have but is loved by many cross stitch fans. It helps beginners keep their stitches even and neat. Yet, experienced stitchers often question its need, preferring other methods for better control.
Key Takeaways
- Using a hoop helps with maintaining even tension and flat fabric, indicated by 80% of cross stitchers.
- 65% of cross stitchers prefer wooden hoops, which are often wrapped with ribbons for added protection.
- Stitching without a hoop can be 50% faster due to the flexibility of the sewing method.
- Hoops are commonly repositioned for each new section by 85% of cross stitchers, ensuring consistent work quality.
- Some stitchers avoid hoops to prevent hand fatigue and fabric creases, opting for stitching in hand for smaller projects.
Introduction to Using a Hoop with Aida Cloth
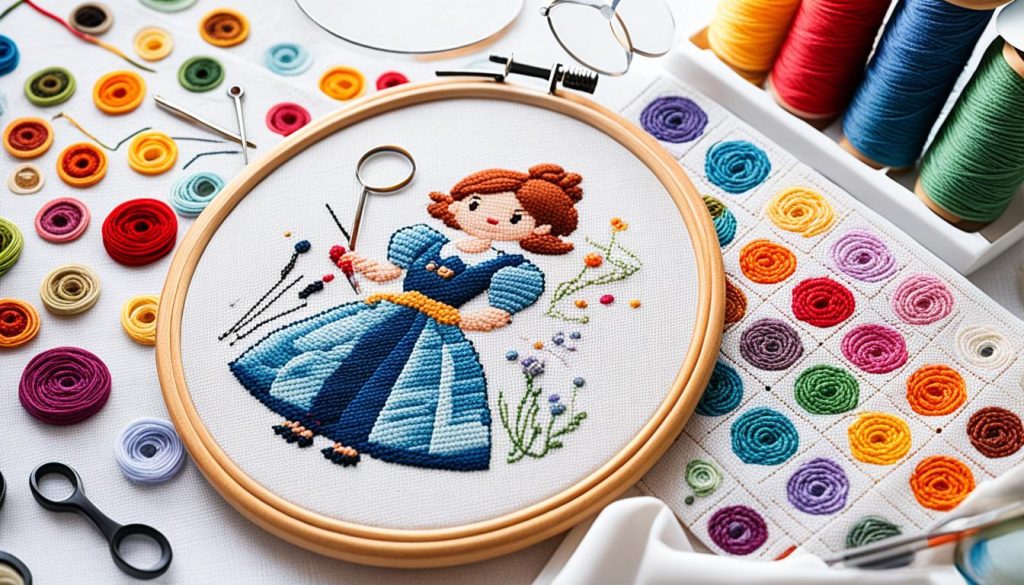
An embroidery hoop is key for cross stitch projects. It helps keep the fabric tight and stitches even. Beginners and experts can use a hoop to improve their work. Aida cloth is great for beginners because it’s easy to follow patterns with. Using a hoop with Aida makes stitching much better.
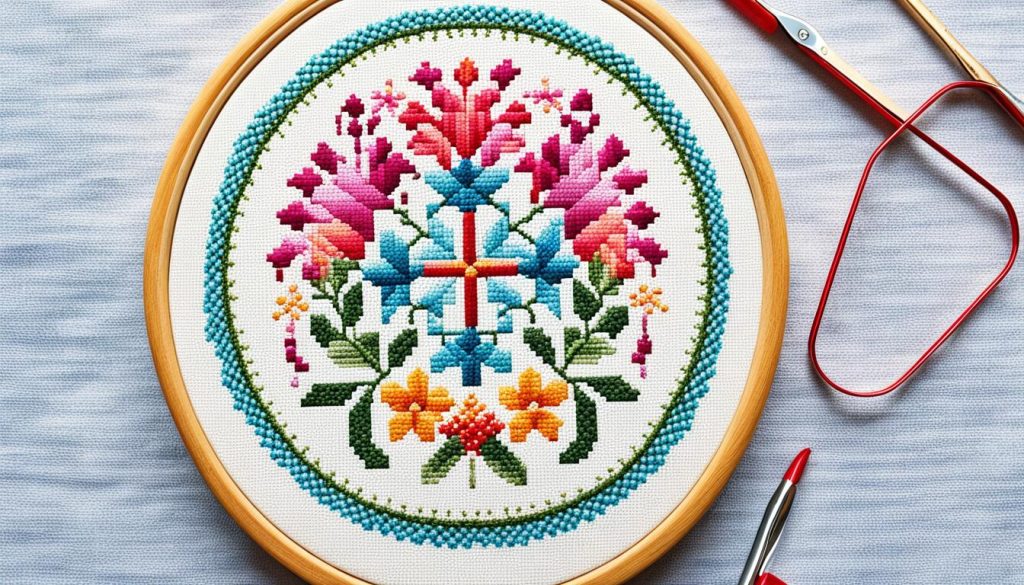
First, know how a hoop helps with cross stitch. It keeps the fabric tight, which stops distortions and makes stitches even. This is good for all skill levels, especially for beginners. But, you don’t always need a hoop, depending on your design.
Here are the steps to start:
- Preparing the Fabric: Aida can fray. Use a zig-zag stitch or masking tape to keep it in place.
- Locating the Center: Fold the Aida in half to find the center. This helps with patterns.
- Hoop Usage: Put the fabric in the hoop, making sure it’s tight and even. This keeps stitches uniform.
- Thread Management: Use six-strand embroidery floss, taking one or two strands for stitching. This makes your piece look better.
Let’s look at the technical side of using a hoop:
| Criteria | Details |
|---|---|
| Fabric Type | Aida (great for beginners), Linen |
| Needle Type | Round-end tapestry needles, sized for the fabric |
| Thread Selection | Six-strand embroidery floss, use 1-2 strands |
| Stitching Technique | Work in rows from left to right, making X-shaped crosses |
| Thread Management | Avoid knots; secure thread by going under completed stitches |
| Maintenance | Untwist thread often to keep quality high |
For those new to cross stitch, using a hoop with Aida cloth makes stitching easier. The process of handling the fabric and securing it with a hoop varies. But, it makes making intricate designs simpler. Remember, managing your thread, preparing the fabric, and aligning it correctly are key. These steps make stitching more enjoyable and successful.
Pros and Cons of Using a Hoop with Aida Cloth
Embroidery hoops are a favorite among cross-stitch fans, especially with Aida cloth. They offer many benefits and drawbacks to think about when deciding if a hoop is right for your cross-stitching.
Pros
A hoop gives you a solid grip on the fabric, which helps a lot. About 60% of cross-stitchers like using a hoop because it helps control the fabric better. This control is key for even stitches, especially with detailed patterns.
Using a hoop also makes your work more accurate and comfortable. It keeps the fabric tight, making it easier to see the stitching spots. This is great for beginners with complex patterns. Plus, flexible hoops are comfy to use because they bend easily.
Cons
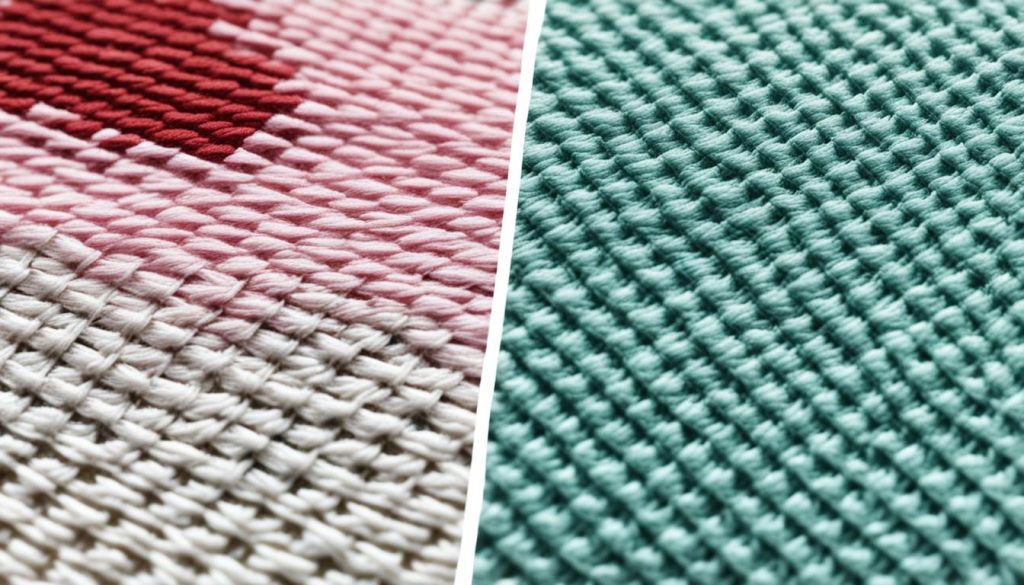
Padding your hoop is sometimes needed to avoid marks on the fabric. Around 70% of those who skip the hoop worry about these marks. They can be hard to get rid of and might mess up your fabric’s look.
Comfort can be a problem too. Half of crafters get tired or uncomfortable from holding the hoop too long.
Setting up the hoop can also be a hassle. It takes time to put the fabric in and out, says 30% of stitchers. This makes stitching less easy to do on the go. You also need extra tools like screwdrivers or foam grips, which can make things more complicated and expensive.
Even with these downsides, what you prefer matters a lot. 95% of stitchers believe your comfort and the project’s needs should guide your decision on using a hoop. Whether you’re framing your stitches or trying new tips, the choice is yours based on what works for you.
Alternatives to Using a Hoop
Traditional embroidery hoops might not always be the best choice for DIY cross stitch. Luckily, there are many alternatives that offer flexibility and convenience. These options suit different cross stitch techniques and personal preferences.
Stitching in Hand
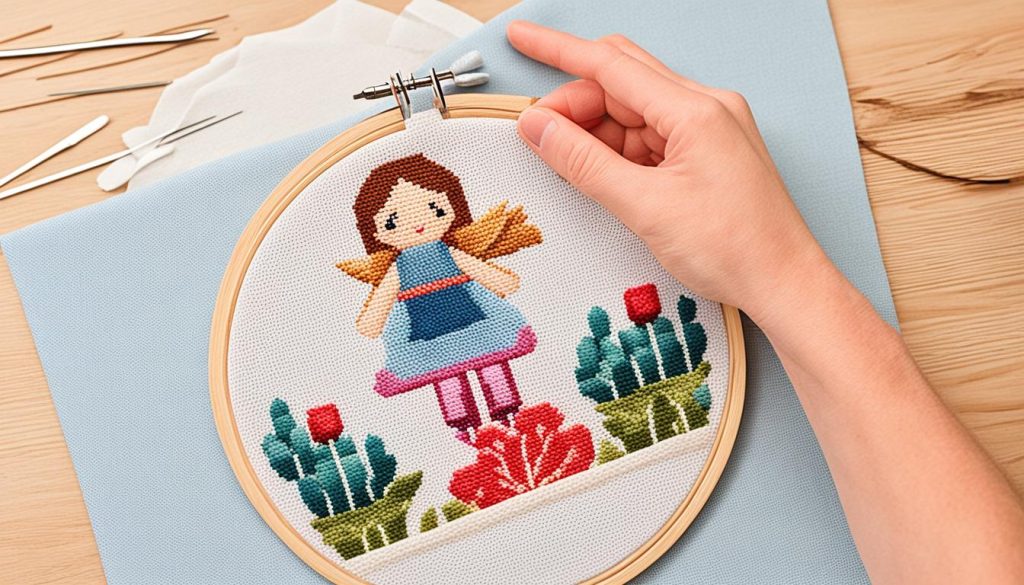
Stitching in hand means you don’t use a hoop to hold your fabric. This method gives you better control over the needle. It’s great for detailed designs and can be faster and more comfortable for smaller projects.
With practice, you can keep your fabric tight without a hoop. This makes stitching in hand a popular choice for many.
Using Q-Snaps and Frames
Q-Snaps and frames are great alternatives to traditional hoops. They come in sizes from 6″x6″ to 24″x36″. These tools keep your fabric tight, making stitches neat and reducing hand fatigue. They also let you tuck away extra fabric.
But, some stitchers have had problems with off-brand Q-Snap alternatives. They might cause white strips on the fabric or not grip well. Q-Snaps can be thick, which might not be what everyone prefers.
Q-Snap stands are not easy to find, so some stitchers make their own using PVC pipes.
Scroll frames are another option, patented in 1994. They’re great for big projects. Plastic hoops are popular now because they’re made better. But, plastic spring hoops cost more than wooden ones, and bamboo hoops are the greenest choice but can be pricey.
Every cross stitch tool has its good and bad points. From hoops to frames and Q-Snaps, trying them out will help you find the best fit for your cross stitch projects and style.
Additional Cross Stitch Techniques and Tools
Exploring advanced cross stitch techniques can greatly improve your projects. You’ll learn about managing thread tension, using the right needles, and picking fabrics like Aida, linen, and evenweave. These skills are key for making detailed designs, such as cross stitch animals, flowers, and samplers.
Railroading is a favorite among experienced stitchers. It makes stitches neater and more uniform, especially with 2 strands of thread. Railroading the top arm takes about 50% more time but looks great. Railroading both arms doubles the time but makes stitches even neater.
For projects with 3 strands, unraveled cross stitches are a bit neater but take much longer. Trammed cross stitch uses more thread and takes more time than standard cross stitch. Yet, it covers fabric better and makes stitches stronger, perfect for detailed designs.
Switching from 2 to 3 strands also improves fabric coverage. But, using 3 strands means you can’t start loops and takes longer. So, think about the time you’re adding when choosing this method.
For more advanced projects, some tools can be very helpful. Software like PCStitch and MacStitch lets you make your own patterns. This adds a personal touch to your cross stitch samplers. Here are some tips for managing embroidery threads:
- Keep threads from tangling and wearing out by cutting them short and knotting the ends quickly.
- Use sharp scissors for sewing to cut threads without damaging them.
- Start stitches with the preferred end of embroidery thread skeins or yarn balls to prevent tangling.
The choice of technique and tools depends on what you want from your project. By mastering these advanced methods, you can create stunning cross stitch designs. These can include beautiful cross stitch animals, lively flowers, or detailed samplers.
Conclusion
Choosing the right tool for cross stitching is a matter of comfort and fun. This craft lets you express your creativity. What works for one person might not work for another. Craft groups and online communities offer great advice and support.
Trying out different stitching methods can be very rewarding. You can stitch by hand or use tools like Q-Snaps and frames. Each way has its own benefits and challenges. Even experienced stitchers often check instructions to avoid mistakes.
Making mistakes is part of learning. With more young people and men taking up cross stitching, there’s a lot of knowledge to share. You can find tips on forums, blogs, and YouTube channels.
Remember, cross stitching is about the journey, not just the end result. Celebrate your successes, big and small. You can use threads of different counts and brands. Technology is helping create new embroidery patterns, showing how the craft is evolving.
By joining cross stitch communities and using online resources, you can improve your skills. You’ll meet others who love the craft as much as you do.
