Ever thought about why cross stitch is so loved by many, whether they’re new or experienced? It’s a craft that brings people together. It’s becoming popular again, and you can learn it easily. This type of embroidery is perfect for anyone, from a first-timer to someone with lots of experience.
You make X-shaped stitches on special fabric. This can be classic or modern. You can buy projects ready to go, or you can get the supplies to make your own unique piece. The first steps include learning how to follow a pattern, getting your fabric ready, and knowing how to loop your fabric. You also need to thread your needle and make sure your thread is secure.
Starting a new project or improving your skills? Knowing key tips on how to cross stitch right can really help. The embroidery floss usually comes in six strands. But for cross stitch, you’ll often use just one or two. Remember, when you stitch, go from left to right.
It’s smart to buy all your project’s stuff at once. Thread can look different if you buy it at different times. And, to avoid problems, make sure your stitching isn’t too tight or too loose.
Key Takeaways
- Cross stitch is an easily-learnable form of hand embroidery, ideal for beginners.
- The most common fabrics used for cross stitching are Aida and linen.
- Using an embroidery hoop can make stitching easier, especially for beginners.
- The recommended thread length for crossstitching is about 18 inches to prevent knots.
- It is advised not to make knots in the thread while cross stitching to avoid lumps in the final piece.
- Thread tension must be balanced to ensure proper stitching.
- Starting from the middle of your design ensures a central and even placement of your pattern.
Introduction to Cross Stitch
Cross stitch is a beloved form of embroidery with its X-shaped stitches. The crossstitching history stretches back for many centuries. It is a key part of textile arts, fitting into both old and new designs with ease.

It is perfect for crafting historic cross stitch samplers or fun cross stitch for kids projects. This craft is ideal for teaching kids about embroidery. It offers a creative pastime and teaches them about patience and paying attention to details.
This art is simple enough for starters and complex enough for experts. You can move from basic to elaborate patterns. Starting with themes like cross stitch flowers and cross stitch animals, there’s much room for personal style.
Many crafters make cross stitch gifts and cross stitch home decor for special events or home decoration. Anything from nursery decor to living room art can be beautifully crafted in cross stitch.
For those who find crafting relaxing, cross stitch can be almost meditative. Its repetitive nature calms the mind. Completing a piece brings joy, highlighting your creativity and patience.
If you’re eager to start, many patterns and designs await. Beginners should begin with simple designs. And with time, they can tackle more challenging projects. The joy of cross stitch is the personal flair you can add to every work.
Choosing the Right Cross Stitch Supplies
Mastering cross stitch starts with picking the right supplies. You need to know which fabric, threads, and needles work best. The right choices make stitching more fun and easy.
Essential Tools and Materials
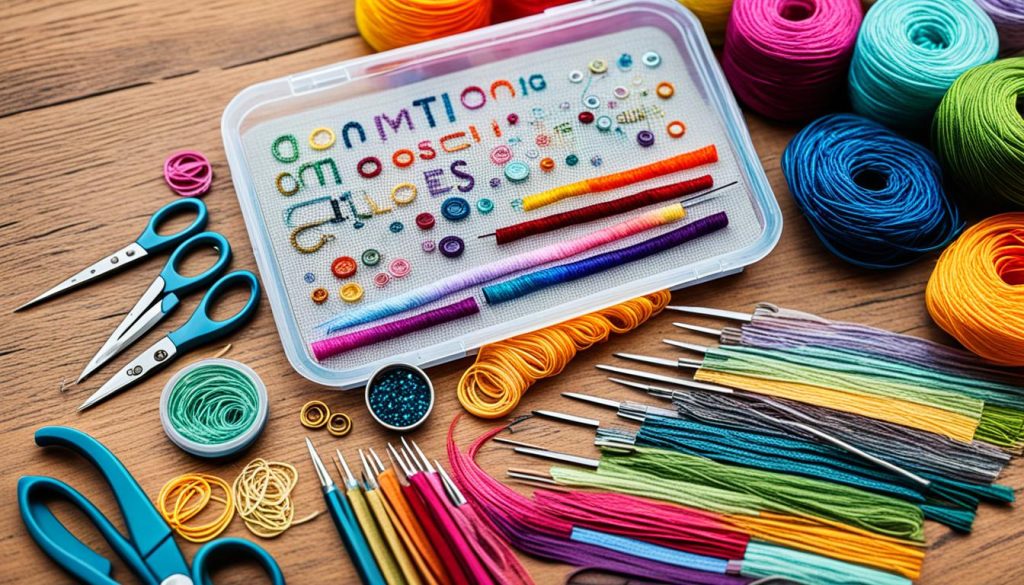
A good cross stitching toolkit includes several items:
- Cross Stitch Fabric: Aida and linen are top choices. 14-count Aida is great for new stitchers. It has a clear grid. Linen, on the other hand, looks more natural and is better for the skilled.
- Cross Stitch Threads: Look for six-stranded embroidery floss, like DMC. It’s made of 100% Egyptian cotton. There are many colors to make your projects pop.
- Cross Stitch Needles: Use size 24 tapestry needles if you’re a beginner. They have a blunt tip to not harm the fabric. They also have a big eye for several floss strands.
- Needle Minders: These are handy tools to keep your needles safe and nearby.
- Don’t forget fabric and embroidery scissors. They are essential for cutting threads neatly and working precisely on your project.

Types of Fabrics
The fabric you pick affects how your project looks. Here are some choices:
| Fabric Type | Characteristics | Recommended Use |
|---|---|---|
| Aida Cloth | Has a structured grid, comes in different counts | Great for beginner projects, with 14-count for adults and 6-count for kids or those with poor eyesight |
| Linen | Looks natural, gives a more polished finish | For advanced projects as you get more skilled |
| Hand-Dyed Cross Stitch Fabric | Comes in unique colors and patterns, adds a personal feel | Perfect for special or personalized designs |
Choosing the right fabric is important for how your project turns out. Different fabrics work for various skills and tastes. Knowing your options lets you choose well for your needs.
Reading a Cross Stitch Chart
Cross stitch charts are like maps for stitching beautiful designs. They use grids where each box means a stitch. There are bold lines every 10 boxes to guide you. This is especially good for those just starting.
You’ll see small arrows at the center top and sides of the chart. They guide you to start stitching right in the middle. This makes sure your design is placed well.
The legend is key for choosing thread colors. It uses blocks and symbols to show each color. For more complex designs, it might show how to do special stitches.
Pattern notes give tips on what fabric and thread to use. They also mention the finished size of the design. If using Aida or linen that can fray, it’s smart to stitch the edges first. This is important for advanced projects you might find in books or online.
Learning to understand cross stitch charts is a big step. It lets you tackle all kinds of projects with confidence. Knowing about symbols, starting points, and how to prep fabric makes crafting fun and fulfilling.
| Shipping Details | Options |
|---|---|
| $4.95 flat rate shipping | Flat rate |
| Free shipping on all U.S. orders over $75 | Free over $75 |
Preparing Your Fabric
First, get your fabric ready for cross stitching. This step is essential for project success. You need to pick the right fabric and make sure it’s in great shape for stitching. Following cross stitch tips and tutorials will make a big difference.
Binding the Edges
Binding the edges stops the fabric from fraying. You can do this in many ways. For simple solutions, use masking tape. For a more secure fix, try sewing a zig-zag stitch with a machine. It’s advised to use materials from known brands like DMC and Zweigart. You can also use Prymm Fray Check to seal the edges. Keeping your materials organized is also key.
Finding the Center
Next, find the center of your fabric. It’s key for your design to sit correctly on the fabric. You can mark the center by folding the fabric and using a pin. For bigger projects, divide the fabric into 10×10 sections. This trick saves time and avoids errors. These tips work well for both new and skilled stitchers.
| Preparation Step | Recommended Techniques | Recommended Tools/Brands |
|---|---|---|
| Binding the Edges | Zig-zag stitching, masking tape, Fray Check | DMC, Zweigart |
| Finding the Center | Folding and marking with a pin, gridding | None specific |
Using a Hoop or Frame
Embroidering with a hoop or frame is a smart move. It keeps your fabric tight, reduces stress on your hands, and makes your stitches consistent. The choice between hoops and frames depends on what you like, what your project needs, and the tools you have.
Benefits of Using a Hoop
Cross stitch hoops are very popular. They come in many sizes to fit your project well. Hoops made from beech wood are high-quality and add comfort. You can find them in shapes beyond round, like triangle or oval, for different designs. If those don’t work, there are flexi hoops and plastic hoops too.
How to Set Up Your Hoop
Setting up your hoop right is key to a good look. Choose a hoop that’s specially made if you need for certain kinds of stitching. If you like plastic frames, Q-Snap frames are a good choice. They come in many sizes and won’t damage your fabric, but be careful with some non-brand ones.
Here’s a look at your options:
| Type | Material | Sizes Available | Special Features |
|---|---|---|---|
| Standard Hoop | Beech Wood | Multiple Sizes | Durability, Comfort |
| Flexi Hoop | Plastic | Various Sizes | Flexible, Lightweight |
| Q-Snap Frame | Plastic | 6″x6″ to 24″x36″ | Clip Mechanism, Extensions |
| Spring Tension Hoop | Metal and Plastic Combination | Varied Sizes | Enhanced Tension Control |
For newbies, online videos can be a great tool. They show you how to work with hoops and frames. Kits with everything you need, like needles and ribbons, are also out there. They’re perfect for starting your DIY cross stitch journey.
Making Cross Stitches
Making cross stitches is key in any project. It’s a basic but vital skill for counted cross stitch. This lets you make detailed designs, from cross stitch animals to inspiring cross stitch quotes. The technique requires a two-step movement to create the X-shaped stitch. This makes it easy to learn for embroidery newcomers.
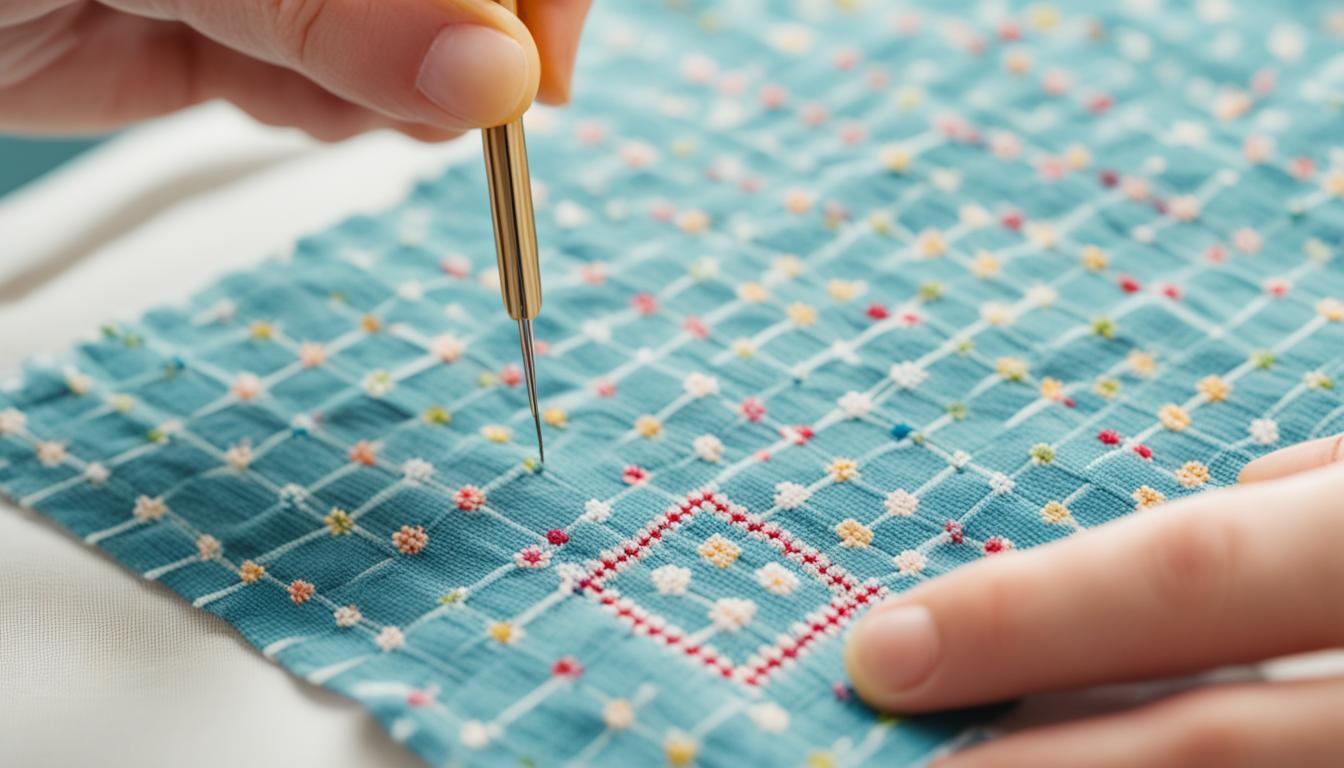
You start by bringing your needle up at the square’s bottom left from the back. Next, bring it down at the top right, forming a line. For the cross, go up at the bottom right and then down at the top left. This pattern is repeated for complex and beautiful designs.
It’s best to work in rows from left to right and avoid knotting the thread. This keeps the fabric’s backside smooth. Such care is important for projects like cross stitch home decor or cross stitch wedding patterns. They need to look neat.
Start from the middle of your design and move outwards. This makes sure your pattern is centered. This is crucial for big or intricate designs such as cross stitch baby patterns or advanced cross stitch techniques.
Using quality materials like 14 count Aida cloth is advised. Top brands include Zweigart and Wichelt. To finish professionally, secure your thread by running it under three stitches on the back. Remembering these tips helps you tackle various projects, from bright cross stitch home decor to meaningful counted cross stitch gifts.
Working on cross stitches can be very calming. It’s great for creating anything from a basic design to a complex picture. Whether it’s cross stitch wedding patterns or cross stitch baby patterns, learning cross stitch basics offers endless creative opportunities.
Ending and Securing Your Thread
It’s crucial to end and secure your thread well in cross stitch. This keeps your embroidery looking good for a long time. The method we use makes sure both the front and back look neat.
We will look at some ways to finish your cross stitch well. These tips will help you complete your project smoothly.
How to End Your Thread
- Burying the thread is a top choice for ending threads in cross stitch. This method is strong and keeps your stitches tidy.
- For most projects, a Size 24 tapestry needle on 14-count Aida fabric works best. It offers accuracy and easy threading.
- Always bury the thread under at least 3 stitches. This keeps the thread in place and your work from coming undone.
- The Away Knot is good for certain stitches like satin or stem stitch. It keeps the thread tight as you work.
Tips for a Clean Finish
A neat finish is vital in cross stitch, especially when the back shows. This is true for items in frames or that you use.
- Using a 5-step method to end your floss helps keep your work clean. It doesn’t show knots and makes your piece look better.
- Keep the back of your work tidy to avoid tangles and make stitching easier. This makes your cross stitch time more fun and productive.
- If you’re entering your work in a contest, hide the stitches on the front. It makes your piece look more professional.
By using these tips and tutorials, you can ensure your cross stitch is both beautiful and secure. These strategies will help improve the quality and lifespan of your embroidery. This way, the work you create is something you can take pride in.
Conclusion
Cross stitching isn’t just a hobby; it opens doors to a world full of history, culture, and unity. This ancient craft has captured people’s hearts for centuries. It helps both young and old by reducing stress and improving focus, patience, and hand skills. When you cross-stitch, you relax and focus better. It’s also great for your memory and thinking skills.
A study in 2013 found that 81% of people felt happier and calm doing similar crafts. The Journal of Positive Psychology adds that creative hobbies like cross-stitching lift your spirits and self-confidence. Then, the American Journal of Public Health says that joining others in these crafts can make you mentally healthier and live longer.
The cross-stitch world is full of life, with blogs, YouTube channels, and communities to share your work and advice. No matter if you love stitching flowers or animals, every creation adds to a tradition loved by many generations. Joining this community connects you with people who love being creative just like you.
