Sewing lovers often wonder if they should wash fabrics before starting their projects. Many sewing groups suggest prewashing to avoid shrinkage and distortion later. This step is seen as a way to keep the fit and look of garments consistent.
Key Takeaways
- Prewashing fabric helps prevent shrinkage and distortion in sewing projects.
- It is a useful step to remove excess dye and chemicals, enhancing the quality of your work.
- Prewashing can stabilize the fabric and ensure a consistent fit and design for garments.
- For cross stitch projects, prewashing can remove starch and impurities that might affect the final appearance.
- Prewashing leads to a softer fabric drape, making the stitching process smoother and more enjoyable.
Importance of Pre-Washing Fabric
Pre-washing fabric is key for sewing fabric care. It ensures your projects look professional and polished. Washing fabric before cutting and sewing fixes issues like fabric shrinkage and dye bleeding. It also makes the fabric ready for sewing by stabilizing it and showing its true texture and feel.
Preventing Shrinkage
Many fabrics, like cotton and linen, shrink when first washed. Not pre-washing can cause big problems later, like your design getting distorted. Sewing techniques need accurate measurements. So, pre-washing keeps your project’s size right.
Removing Excess Dye and Chemicals
Fabrics often get treated with dyes and chemicals at the factory. Pre-washing removes these, which can irritate skin and harm sewing machines. If not washed first, bright colors like reds can bleed into other fabrics. This step keeps your sewing safe and of high quality.
Stabilizing Fabric Before Sewing
Pre-washing makes fabric easier to work with and less likely to move around while sewing. It takes out starch treatments, showing the fabric’s real texture. This is very important for cross stitch fabric and other delicate materials to ensure your stitches are even and precise.
When is Pre-Washing Unnecessary?
Knowing when to skip pre-washing your fabric can make sewing easier. For instance, using synthetic fibers like polyester or nylon means you don’t need to pre-wash. These materials don’t shrink much and stay the same size through sewing.
Also, you don’t need to pre-wash non-washable projects. This includes things like decorations, where washing isn’t planned after making them. For example, cross stitch samplers or decorations don’t get better from pre-washing.
An important fabric care tip is to wash the material briefly, even if you skip pre-washing. This helps remove chemicals and keeps the fabric clean and looking great.
Some cross stitch accessories and hand-embroidery pieces don’t need pre-washing if they’re just for decoration. But, it’s key to keep your hands clean to avoid oils that could stain the fabric. If you frame your cross stitch samplers without washing, take care to keep them from getting discolored.
For non-washable projects, you don’t need to pre-wash. But, it’s good to know how to wash finished items like cross stitch or hand-embroidery. Washing them before framing can remove oils from your hands and fix any wrinkles. Each project, whether with synthetic fibers or delicate embroidery, has its own needs.
| Project Type | Recommended Washing | Reasoning |
|---|---|---|
| Cross Stitch Samplers | Optional | Usually used decoratively; check for oil transfer |
| Synthetic Fibers Projects | Usually unnecessary | Resist shrinkage and chemical residues removal |
| Non-Washable Projects | Not recommended | Maintains material integrity for decorative pieces |
How to Properly Pre-Wash Your Fabric
Pre-washing fabric is key to keeping your sewing project looking great. To pre-wash fabric right, follow the same steps you will use for the final wash. This guide covers washing, drying, and preventing fraying.
Washing Techniques
For washing fabric, go for a delicate cycle or hand-wash it. Baste the raw edges to stop them from fraying. Use just a quarter of the usual detergent or even none at all. Be gentle with the fabric; don’t wring it out to avoid damage.
Drying Methods
When drying sewing projects, be gentle to keep the fabric in top shape. Air dry until it’s half-dry, then press it with an iron. Using a mesh laundry bag and a gentle spin cycle can also help. These steps will keep your fabric looking great.
Preventing Fraying
To stop your fabric from fraying, use a few simple techniques. Try pinking shears, masking tape, or a fabric sealant like Fray Check. You can also stitch the edges by hand or machine. These methods keep the fabric edges secure for a neat finish.
| Technique | Effectiveness | Additional Tips |
|---|---|---|
| Hand-Washing | High | Use lukewarm water |
| Delicate Cycle | Moderate | Minimal detergent |
| Air Drying | High | Half-dry before ironing |
| Mesh Bag + Spin Cycle | Moderate | Gentle spin cycle |
| Pinking Shears | High | Prevents edge fray |
| Fray Check | High | Apply to edges |
Should You Wash Cross Stitch Projects?
Cross stitch projects often have intricate patterns that make people wonder if they need washing. It’s not always a must for high-quality aida cloth and pre-packaged kits. Yet, washing them usually brings many benefits.
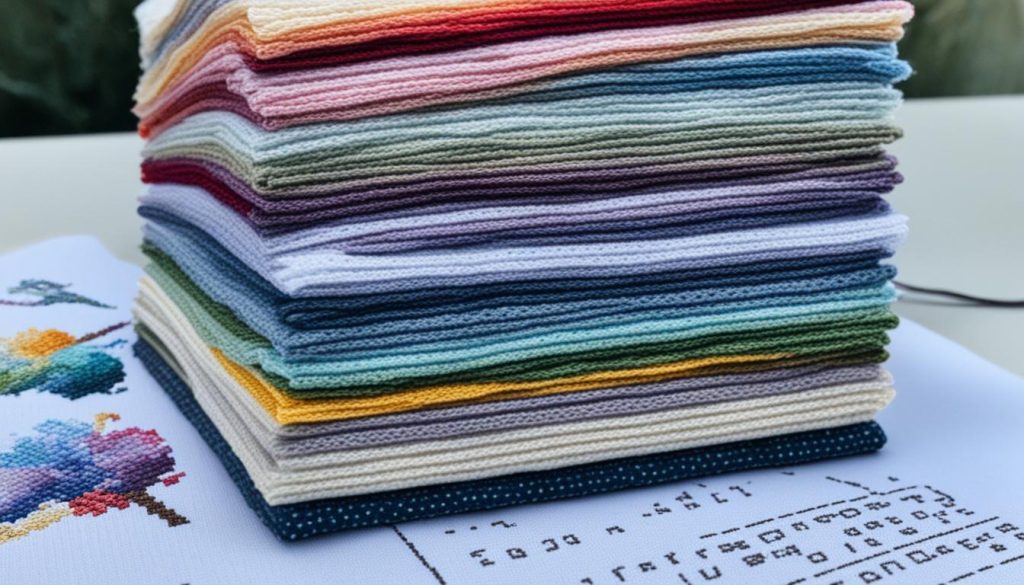
Washing your cross stitch projects, especially if they’re for display or gifts, gives them a professional look. It removes dirt, oils from hands, and creases. About 75% of stitchers wash their finished pieces to keep them looking new.
On the other hand, around 20% of stitchers don’t wash their work. They worry about colors bleeding, especially with red and dark blue threads or unknown materials.
To take good care of your cross stitch, wash it separately to prevent colors from running. Use a mild soap and lukewarm water. Soak it for about 15 minutes, rinse well, and don’t squeeze the fabric to dry.
Ironing your cross stitch can also make it look better. Place the fabric on a clean towel, face down. Use a thin pressing cloth to iron over the stitches. This removes any creases and improves how it looks.
For cross stitch with beads or printed fabrics, be extra careful. Beads might bleed and ruin the colors. And never wash printed fabrics because the ink can run and mess up the design.
| Washing Cross Stitch Projects | Reasons for and Against |
|---|---|
| Removing Dirt and Oils | Ensures a cleaner appearance, removes invisible oils that can deteriorate fabric over time |
| Concerns About Color Bleeding | Red and dark blue threads are prone to bleeding; unbranded kit threads may not be colorfast |
| Professional Finish | Pressing can remove creases and enhance presentation |
| Special Materials | Beads and printed fabrics require careful treatment to avoid damage |
Deciding whether to wash your cross stitch depends on the materials and what you plan to do with it. Following these tips can help keep your cross stitch beautiful and long-lasting.
Pros and Cons: Washing Before vs. After Sewing
There’s a big debate in the sewing world about washing fabric before or after sewing. Each method has its own benefits and drawbacks. These can greatly affect your sewing projects.
Advantages of Pre-Washing
Pre-washing fabric has many key benefits. It stops the fabric from shrinking, keeping your garment the right size. This is crucial for fabrics like cotton quilts that can shrink a lot.
Pre-washing also removes extra dye and chemicals. This is especially important for baby or toddler quilts that get washed a lot. It lets you check the fabric quality before sewing, spotting any dye bleeding issues early on.
Stabilizing the fabric first makes sewing smoother and gives a professional look to your projects.
Reasons to Wash After Sewing
Some projects do better after washing. Quilts, for example, use unwashed fabric to be stiffer and easier to work with. Washing them after gives a nice crinkly look that adds to their charm.
For projects with special threads like metallic or glow-in-the-dark ones, washing after sewing is safer. These threads can be damaged by water if washed before. Washing after also helps with personalized cross stitch pieces, keeping the details sharp.
Choosing to wash before or after sewing depends on the fabric type, the project’s nature, and how you plan to use the finished piece. Think about these factors to decide the best method for your sewing. Using the right approach ensures your sewing projects are durable, beautiful, and well-made.
