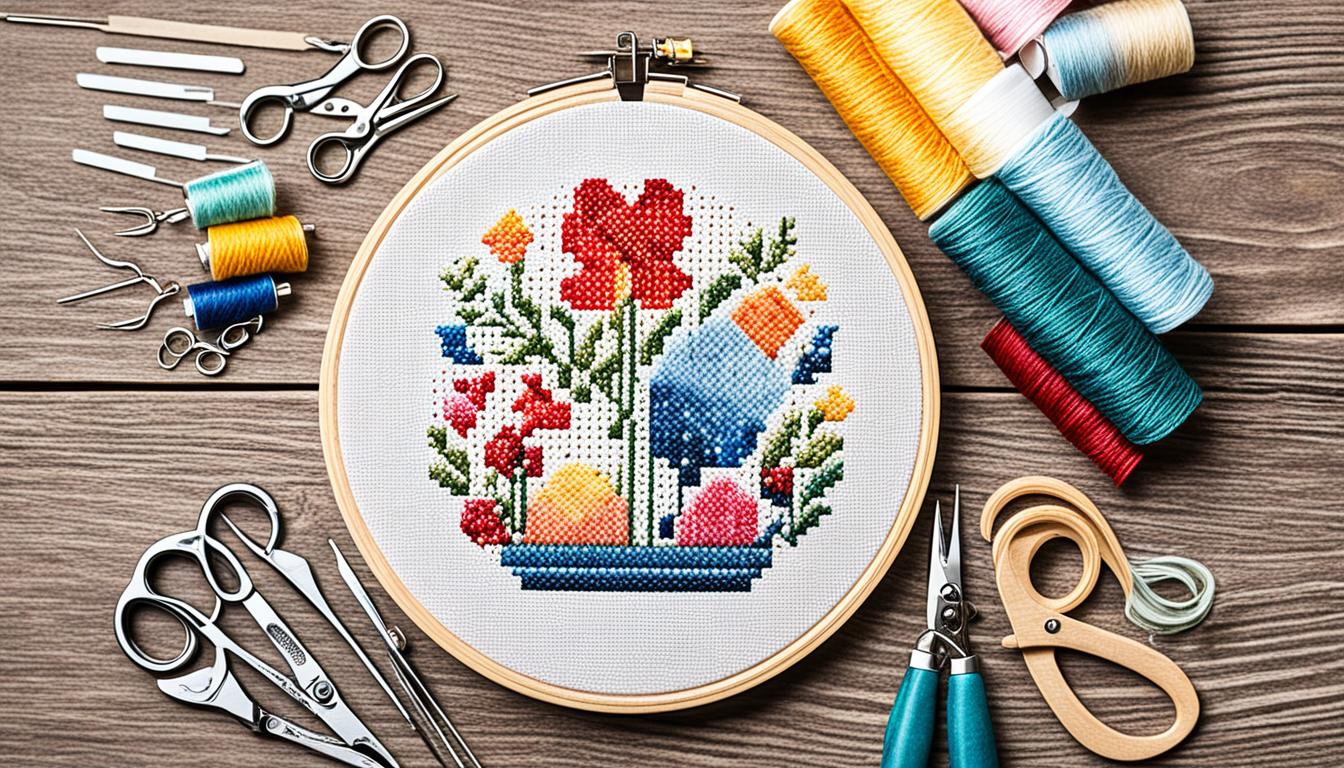
Finishing a crossstitching project is a big deal. It’s important to do it right to show off your effort. From washing to pressing, getting your crossstitching ready is key for its look and life.
Washing your crossstitching is a must if it looks crumpled or dirty. It’s not always needed for small pieces or things you won’t keep long. But for items you want to keep and show off, it’s a must. Washing removes wrinkles and dirt, making your stitches look brighter and more beautiful.
Looking after your crossstitching helps it last longer. Dirt and oils can harm the fabric and threads over time. So, wash your cross stitch before storing it. Keep it safe by wrapping it in acid-free tissue paper and storing it in a dry spot.
Key Takeaways
- Washing and pressing enhance the appearance of your crossstitching.
- Regular maintenance can prevent fabric and thread deterioration.
- Use mild soap like Soak Scentless or regular dish soap for washing.
- Check colorfastness of embroidery floss and fabric before washing.
- Store cleaned pieces in acid-free tissue paper for longevity.
Why You Should Prepare Your Finished Cross Stitch
Preparing your finished crossstitching projects is crucial for several reasons. Washing, pressing, and framing your work keeps it looking great. It makes sure your effort stays in top shape for showing off or giving away.
Enhancing the Appearance
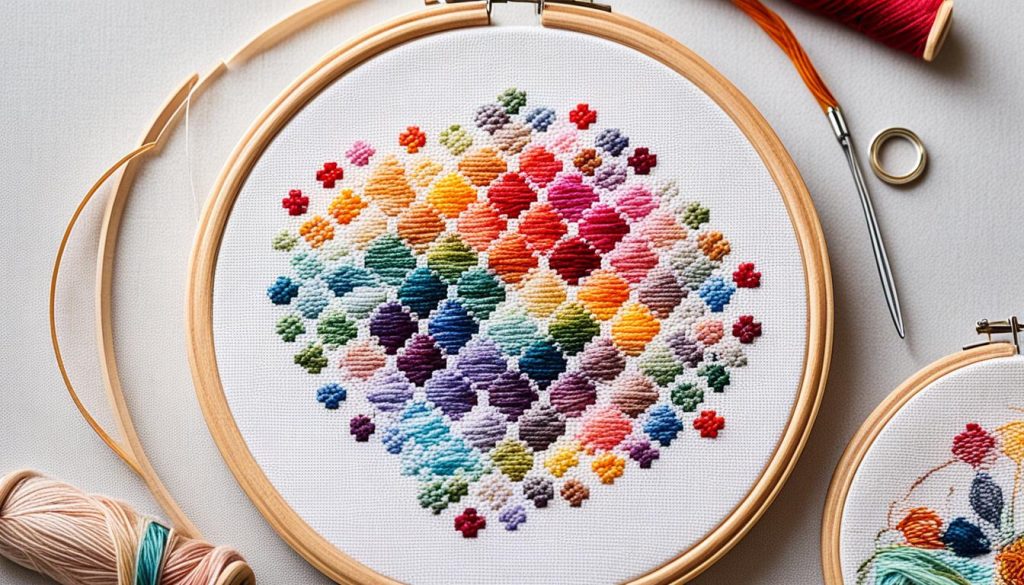
One big reason to prepare your crossstitching is to make it look better. Cleaning removes creases and dirt, making colors brighter and stitches fuller. It’s like adding the final touch to make your project stand out, whether it’s for your home or a gift.
Preventing Deterioration
Stopping your cross stitch from getting damaged is also key. Oils and hidden dirt can harm your work over time. Cleaning it regularly keeps these issues away, making your piece last longer.
When you clean and press your crossstitching, it stays beautiful for years. It becomes a lasting part of your decor or a special gift.
Making Storing Easier
Preparing your crossstitching also makes it easier to store. Clean and pressed pieces fit neatly, avoiding dirt stains or folds. This is great if you have many projects, like for framing, quilting, or making other items.
By caring for your finished projects, you boost their look and make them last longer. This makes your cross stitch art a joy to display or give away.
When Not to Wash Your Cross Stitch
Washing your crossstitching project isn’t always a good idea, especially with the risks involved. It’s important to know these risks to keep your work safe.
Risk of Colors Running
Colors running is a big worry, especially with hand-dyed fabrics or threads. Brands like DMC are usually safe, but some, like Kreinik threads, might bleed. This is often true for reds and pinks. Always test a small piece first to avoid color loss.
Using Hand-Dyed Materials
Hand-dyed fabrics and threads make your work stand out, but they have their challenges. They can bleed color easily, so washing might not be a good idea. Instead, just dust off any dirt to keep the colors bright and the fabric soft.
With Beads or Embellishments
Beads and embellishments add beauty to your crossstitching. But, they’re delicate and can’t handle water well. Wash your project before adding beads, if you must. If you can’t avoid washing, use a thick towel or low heat to protect your work.
Testing for colorfastness and checking your materials will tell you if washing is okay. Knowing these things helps keep your crossstitching looking great for a long time.
Materials Needed for Washing and Pressing Your Cross Stitch
Washing and pressing your crossstitching right makes it last longer and look better. You need the right supplies, tools, and accessories for perfect results. This guide will show you what you need.
Essential Cleaning Supplies
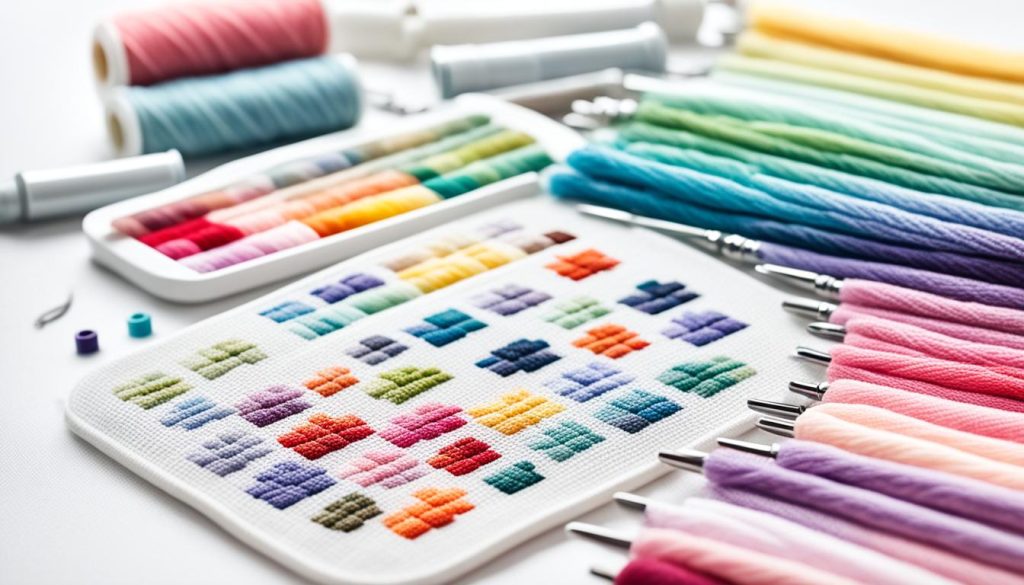
Start by gathering the right cleaning supplies. A mild washing liquid is key. Soak Scentless is a top choice for its gentle yet effective cleaning.
Other good options include Woolite, Orvis, or All Free and Clear with cold water. Dawn detergent and baby shampoo are also safe choices.
You’ll need two to three soft, clean cotton towels for drying. Use uncolored and fragrance-free soaps to prevent residue or stains. A clean sink or bowl for soaking is a must.
Soaking time varies from 15 minutes to an hour, depending on the dirt or oils from your hands. These factors affect all crossstitching and embroidery projects.
If you have tough creases or hoop marks, washing and ironing can help. But, don’t hand wash pieces with silk or wool threads. Look for gentler cleaning methods instead.
Tools for Pressing
After cleaning, pressing your crossstitching is the next step for a professional finish. You’ll need an iron and an ironing board. Iron from the back of the fabric to avoid flattening the stitches.
Using a thin pressing cloth like a tea towel or pillowcase protects your work. It prevents direct heat contact and spreads the heat evenly. For tough stains, OxiClean can be effective on old needlework.
Before washing, test the thread colors for bleeding. DMC threads from the ’80s and ’90s may run. With the right tools and accessories, you can get a professional look for your finished piece.
Step-by-Step Guide to Washing Your Cross Stitch
Washing your crossstitching pieces right is key to keeping them beautiful and lasting long. This guide will show you how to wash your projects safely and well.
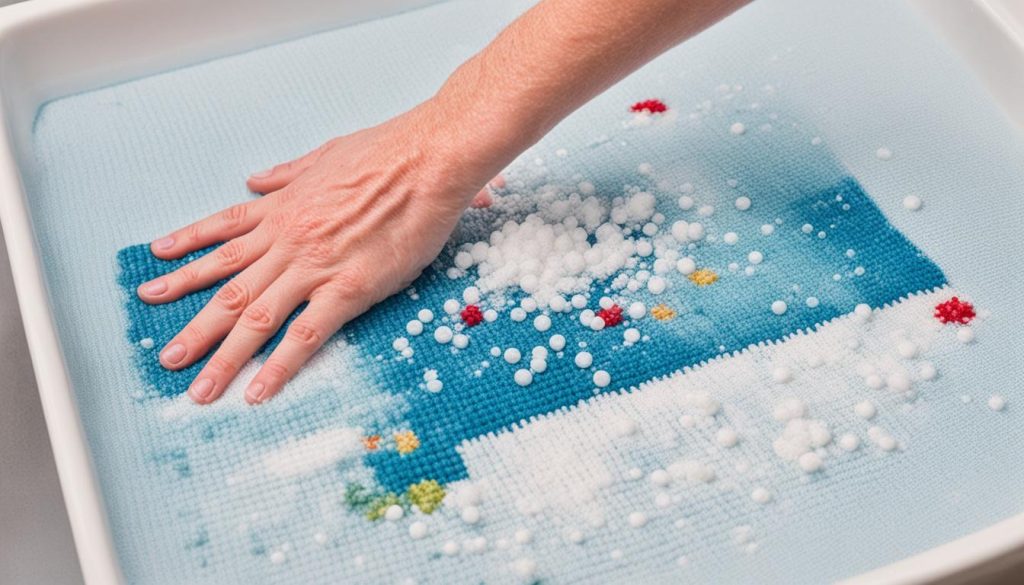
Initial Soaking
Start by mixing lukewarm water with 1-2 drops of mild soap like Fairy Liquid or Orvus in a basin. Stay away from harsh chemicals as they can harm the threads and fabric. Soak your crossstitching piece by itself to stop colors from bleeding. Let it soak for about 15 minutes to get rid of dirt and natural oils.
Rinsing Thoroughly
After soaking, rinse your crossstitching piece well to get rid of all soap. Use cold, clean water to stop colors from fading. Move the fabric in the water gently, making sure every part is soap-free. Keep rinsing until the water is clear.
Partial Drying Methods
After rinsing, shake off the extra water from your cross stitch. Lay it flat on a clean, white towel, then fold the towel over it to soak up moisture. This stops wrinkles and keeps the stitches even. To dry, roll the project in the towel and press it lightly. Use non-fluffy, light-colored towels to prevent fabric from sticking.
By following these steps and using the right cross stitch techniques, you can keep your work looking great. Using *free cross stitch patterns* and *crossstitching tutorials* can also help. They make sure your finished piece stays bright and well-kept.
How to Press Your Cross Stitch for a Professional Finish
Once your crossstitching is partially dry, it’s time for a professional finish. Pressing it right can make your piece look amazing. It’s key for framing or any other finishing touch you want to add. This step removes wrinkles and gives your work a crisp, clean look, perfect for advanced projects.
Ironing Techniques
Start by laying your cross stitch face down on a towel on your ironing board. Make sure the fabric is facing down to avoid flattening the stitches. Then, put a light-colored pressing cloth over your stitches to protect them.
Use a warm iron and keep it moving to prevent burning the fabric. If your piece is a bit damp, this can help smooth out wrinkles. For tough wrinkles, you can use steam, but always use a pressing cloth to protect your work. After ironing, lay your piece flat and let it air dry completely.
Using a Press Cloth
Using a press cloth is key for delicate fabrics like Aida or linen in cross stitch finishing. It protects your stitches and fabric from direct heat. The cloth spreads the heat evenly and prevents burning or shining of the fibers.
Whether framing or making a pillow, pressing with a cloth keeps your stitches looking great. Remember, being patient and careful in this step greatly improves your cross stitch’s final look.
