Getting your AIDA cloth ready for cross stitch is key to a great stitching experience. It helps you avoid frustration and makes your project look beautiful. You need to wash your hands, cut the fabric right, and keep the edges from fraying. Also, find the fabric’s center and use an embroidery hoop if needed.
Planning your project is a must when preparing for cross stitch. Make sure your fabric is big enough, especially if you’re using an embroidery hoop. For framing, add extra inches to your fabric size. If you’re framing with a mat board and frame, cut your fabric 3 inches bigger on all sides.
Don’t make the mistake of cutting your fabric too small. This can cause big problems later. For big projects, use a grid on your fabric to keep things straight and follow your chart.
Key Takeaways:
- Always wash your hands before handling AIDA cloth to keep it clean.
- Ensure at least 2 extra inches on each side for hoop framing.
- Leave 3 extra inches for regular or mat board framing.
- Never cut your cross stitch fabric too small.
- Consider gridding the fabric for larger projects to avoid errors.
Planning Your Cross Stitch Project
Before starting your cross stitch project, planning is key to success. Getting ready and staying organized helps you avoid problems and keeps stitching smooth. First, pick a pattern that matches your style or theme.
Selecting Your Cross Stitch Pattern
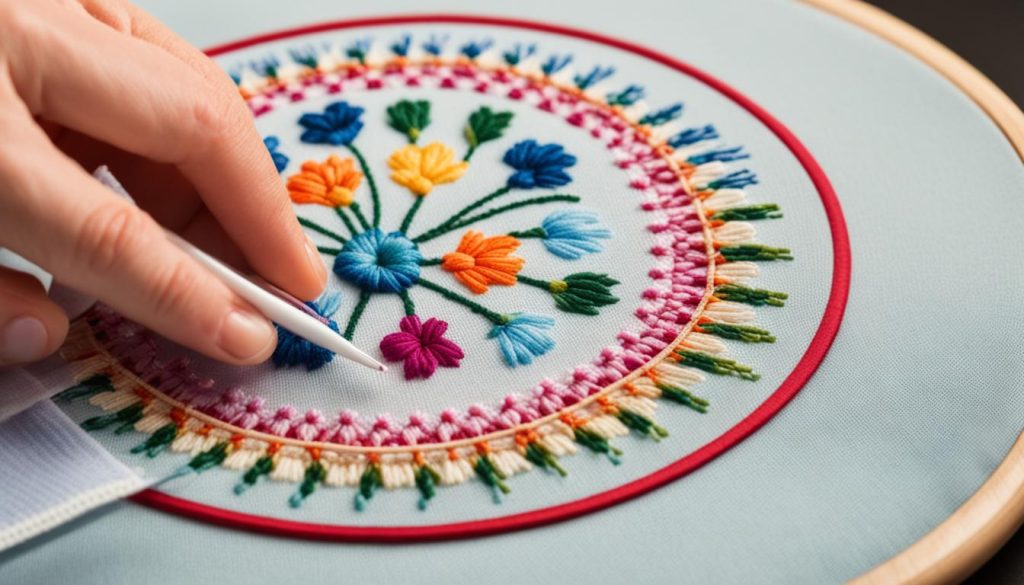
There are many cross stitch patterns to choose from, making it exciting. You can find everything from letters and samplers to flowers, animals, quotes, and holiday designs. Beginners might want to start with free cross stitch patterns. If you’re up for a challenge, try more complex cross stitch designs. Make sure the pattern has clear cross stitch charts for help.
Gathering Your Supplies
After picking your cross stitch pattern, collect all you need. This includes cross stitch kits, fabric, threads, needles, and maybe a hoop or frame. Check your supplies and make a list of what you need. Using color variations thread can make your project pop with different colors.
Start by following the stitching instructions carefully. Plan for extra time for any unexpected issues or tricky parts in the pattern. Knowing how long the project will take, like 200 stitches per hour, helps you stay on schedule. With good planning, you’ll likely finish your cross stitch smoothly and efficiently.
Look for inspiration in brand-new courses like the ‘How to Cross Stitch Course for Beginners’ or events like the ‘2020 Mystery Galaxy stitch-a-long.’ These offer new skills and a chance to connect with others. Good planning saves time and makes your cross stitch project more enjoyable.
Cutting AIDA Cloth to the Correct Size
After planning your project, cutting the cross stitch fabric to the right size is key. This step is crucial for a smooth DIY cross stitch process.
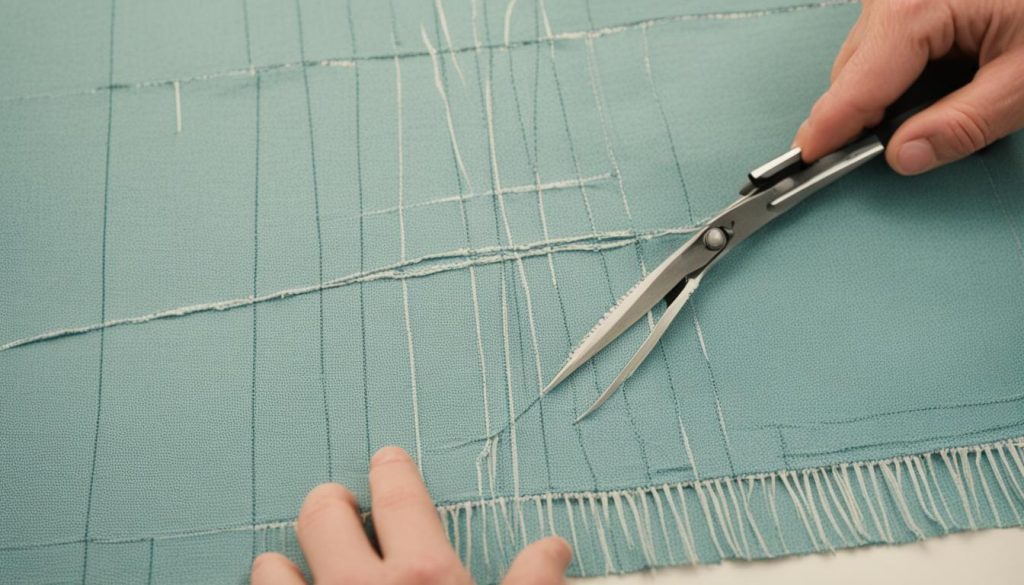
If your pattern is 80 stitches high by 120 stitches wide on 14-count AIDA fabric, it will be about 5.7 x 8.6 inches. For framing or finishing, add 2-3 inches around the design. So, cut your fabric to about 9.7 x 12.6 inches.
- Measure the height and width of your counted cross stitch design in stitches.
- Calculate the designed area on your chosen cross stitch fabric by dividing the stitch count by the fabric’s count (e.g., 14-count AIDA).
- Add 2-3 inches on all sides to this measurement for adequate framing space.
- Using a fabric marker, mark the cutting lines on your fabric.
- Precisely cut along these lines, maintaining straight edges for easier handling.
A cross stitch calculator can be very helpful, as it calculates the required fabric size according to the desired extra space around your design. When working from scratch, precise size calculation is crucial to avoid future issues. If stitching on linen or evenweave, remember to adjust your measurements accordingly, especially when stitching over two threads.
Along with the cross stitch tools for cutting and measuring, knowing the fabric count is essential. It affects the finished size of your counted cross stitch. Adding some extra space ensures your fabric fits in a hoop or frame easily, giving your DIY cross stitch a professional look.
Securing the Edges of AIDA Cloth
Keeping the edges of your AIDA cloth in place is key to avoid fraying and keep your work area stable. There are several ways to do this, each with its own benefits for your project. We’ll look at sewing and no-sew methods in this section.
Using Sewing Methods to Prevent Fraying
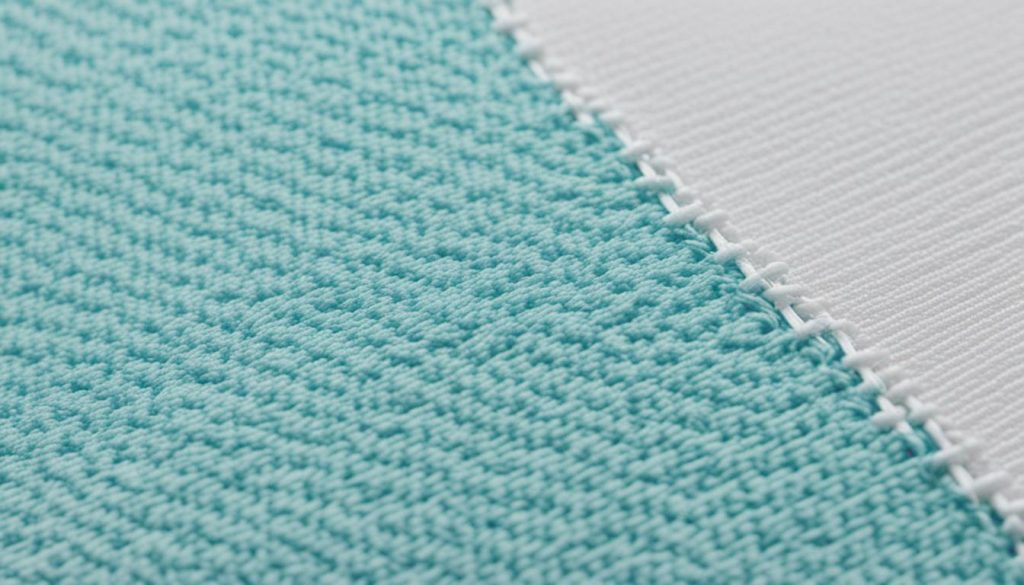
If you like traditional ways, sewing can be a good choice. A zig-zag stitch on a sewing machine is a popular way to keep fabric edges in place.
- Zig-zag Stitch: Use your sewing machine’s zig-zag stitch with stitches close together. Keep a 1/4 to 1/2 inch margin from the edge to prevent it from pulling up.
- Blanket Stitch: For hand stitching, try a blanket stitch with doubled sewing thread. It takes more time but gives a clean finish, especially for small pieces of hand-dyed fabric.
Here’s a look at how different sewing methods stack up:
| Sewing Method | Effectiveness | Time Required |
|---|---|---|
| Zig-zag Stitch (machine) | High | Medium |
| Blanket Stitch (hand) | High | High |
No-Sew Methods to Secure Fabric Edges
No-sew methods are quick and easy for securing AIDA cloth edges, great for big projects or when you’re in a hurry. They’re also good when you don’t have much in your sewing kit.
- Masking Tape: Tape the fabric edges for a fast, residue-free fix. Just remember, some adhesives might leave behind residue. Cut off the tape after you’re done.
- Fray Check/Fray Block: Use fabric sealants in bottles to stop fraying. But, always follow the instructions from the maker for the best results.
- Pinking Shears: These scissors cut fabric in a way that reduces fraying. They don’t stop it completely, though.
Choosing the best method depends on your project size and what’s easiest for you. By securing your AIDA cloth edges, you’ll get a cleaner look and a stable work area for your cross stitch. This lets your creativity flow without any hitches.
Finding and Marking the Center of Your Fabric
Finding the center of your fabric is key to placing your cross stitch design right. It’s important for beginners and experts alike. The center marks on most cross stitch tutorials and patterns make it easy.
To find the center, fold the fabric in half both ways—horizontally and vertically. This method clearly shows the fabric’s middle. Or, use a ruler on a 20cm square fabric. Mark the 10cm point on each side to pinpoint the center. This method is a favorite among stitchers for its precision.
“Consider including fabric selvedge during initial preparations to prevent fraying, yet exclude it when measuring to maintain accurate centering,” advises experts.
Before stitching, mark the center with a pin or needle. Using two needles helps—one for marking and the other for floss. If you’re using hoops, mark the center before putting the fabric in.
- Fold the fabric twice to mark the center.
- Use a ruler to measure and mark the middle.
- Pin the center point.
- Mark the fabric with a pin before hooping.
For extra accuracy, a cross stitch tutorial suggests adding three inches to the hoop size when cutting fabric. So, for a 5″ hoop, cut an 8″ square. To find the center of a hoop, divide the size by two. For a 5″ hoop, the center is at 2.5″.
Using scrap paper to measure or the Loop Start method to anchor floss is also good advice. Starting your project from the center is a top cross stitch tip. It helps avoid running out of fabric and keeps your design balanced.
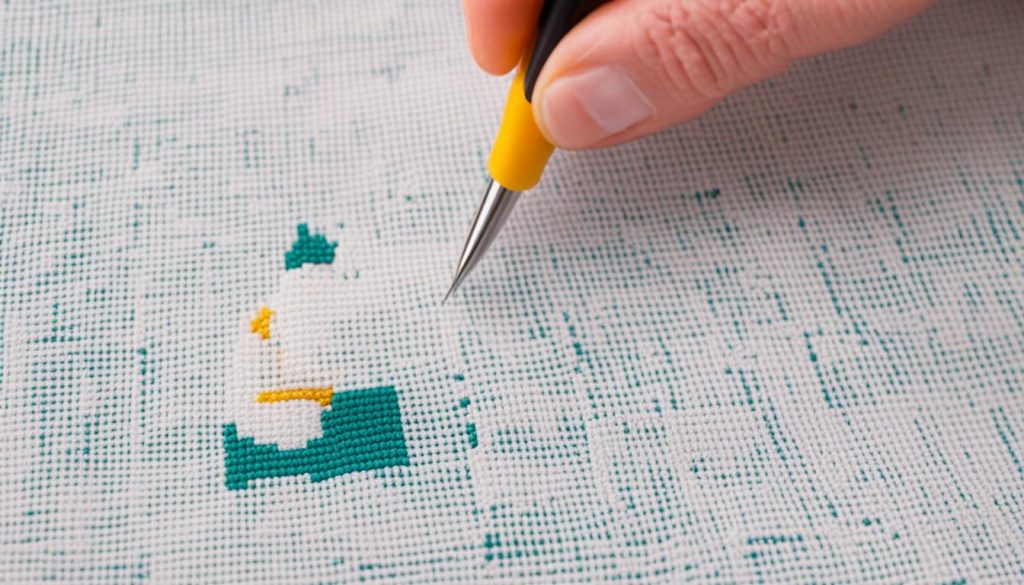
By using these methods and cross stitch techniques, you’ll make beautiful, centered cross stitch projects easily and precisely.
Placing Fabric in a Hoop or Frame
Using a hoop or frame can make cross stitching easier and more enjoyable. It helps keep the fabric steady and makes stitching simpler. Picking the right size and adjusting the fabric well ensures even stitches and better tension.
Choosing an Appropriate Hoop Size
When picking cross stitch hoops, choose one a bit bigger than your stitching area, including extra for the border. Beginners should look for hoops between 6 and 9 inches. Make sure the hoop fits well in your hand without being too heavy.
Consider a spring tension hoop as an alternative to the standard one. It provides a unique tension that might work best for your project. Leave about 1-1/2 inches of extra fabric around the hoop and a 1/4 inch for stitching around the fabric circle.
Mounting and Adjusting the Fabric
Begin by placing the hoop’s inner ring flat on a table and putting the fabric on it, ensuring it’s in the middle. Then, put the outer hoop over the fabric and inner hoop. Tighten the screw on the outer hoop just enough to hold the fabric but still allow some movement for adjustments.
Make sure the fabric is stretched evenly across the hoop to prevent distortion, which can cause uneven stitches. You might need to adjust the hoop now and then to keep the tension even. Some stitchers remove the fabric from the hoop during breaks to prevent fabric distortion.
For those who prefer cross stitch frames or a cross stitch stand, the process is similar but allows for hands-free stitching, which is great for big projects. Make sure the fabric is stretched and secured evenly across the frame. Adjust the fabric tension based on your stitching method to keep your stitches even.
Having all your cross stitch supplies ready makes the process smoother and more fun. By choosing the right tools and following these steps for placing your fabric, you’ll be on your way to making beautiful cross stitch projects.
Conclusion
Getting ready for cross stitch is a detailed process that’s key for a great project. It doesn’t matter if you’re stitching for fun, joining the cross stitch community, or making a special gift. Each step, from picking the right pattern to cutting and marking your fabric, makes a big difference in your work’s quality.
The history of cross stitch shows a long tradition of skill and creativity. As you get more skilled, you’ll find what works best for you in preparing for each project. The fabric you choose also matters a lot. It can have 11 to 40 threads per inch, changing how your cross stitch looks.
Cross stitching is more than just making something; it helps improve your hand skills, boosts your memory, and is calming. The cross stitch community is a place to meet others, share ideas, and celebrate the craft’s many uses. With more people taking up cross stitch, it’s clear this craft is still loved and changing.
