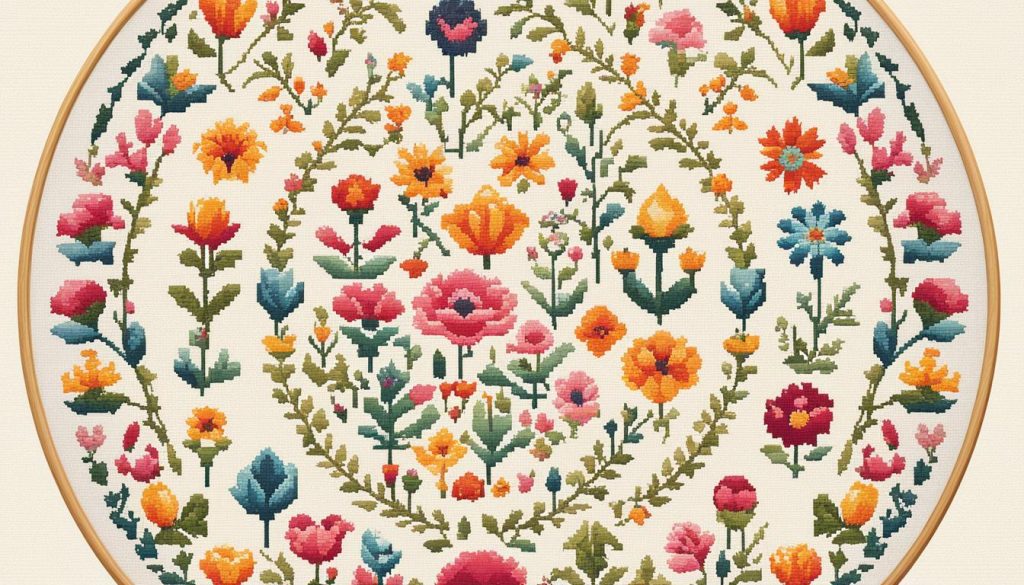
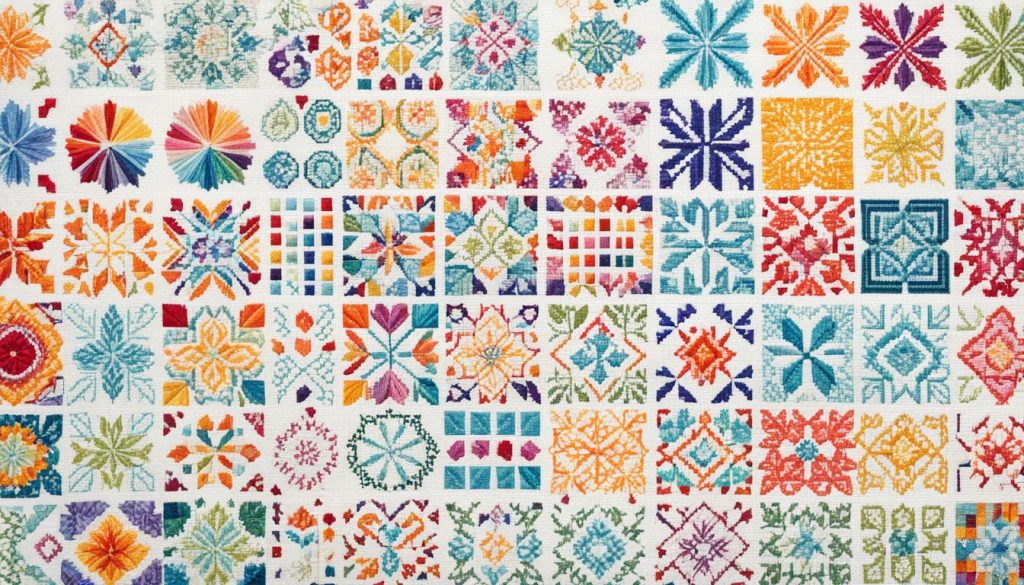
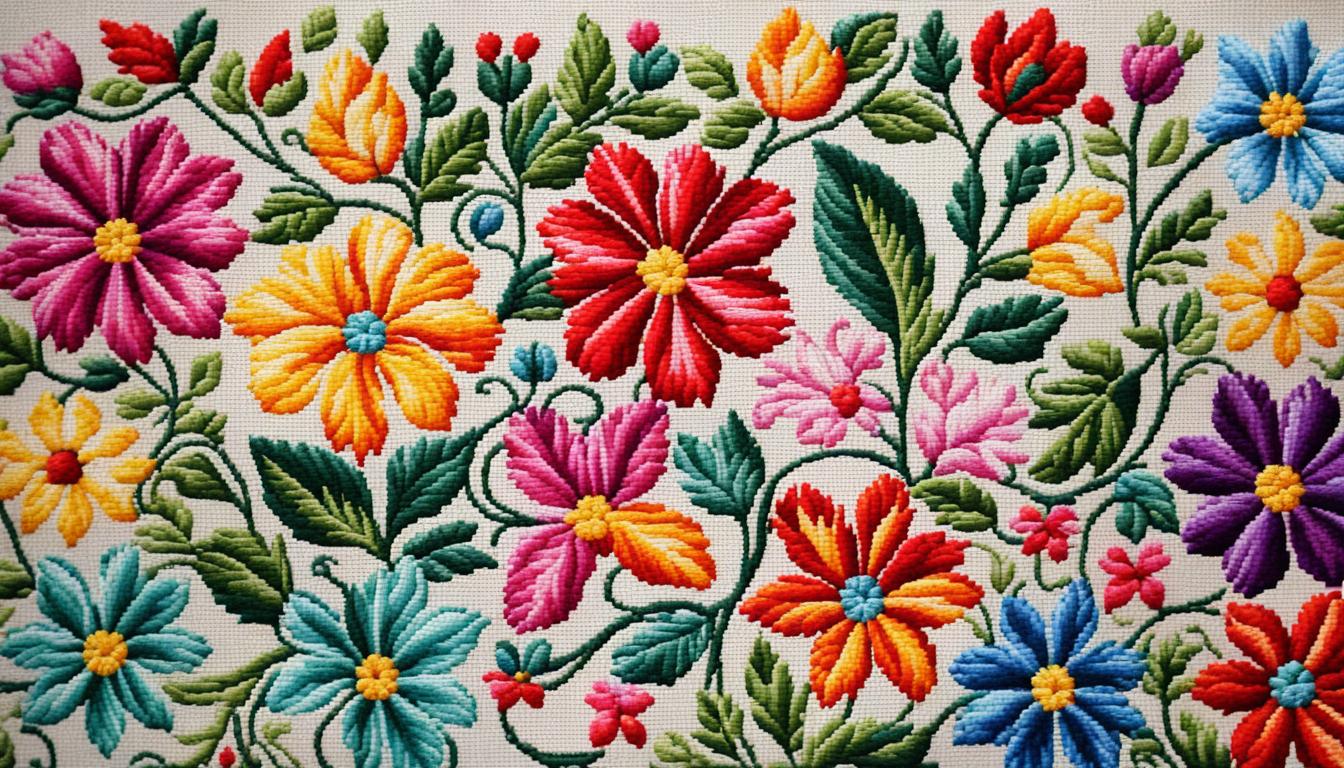
Using cross stitch patterns in your needlepoint projects can boost your creativity. Anyone experienced with cross stitch charts knows they offer a good roadmap. You can tweak stitches, add colors, change lines, and try different threads for a stunning look.
Changing thread colors in needlepoint can show more and add depth. For a unique look, stitch a dark cat with grey Dinky Dyes silk/wool. Using colorful Neon Rays + threads, your daffodils will shine bright and add interesting textures.
If you want to turn crossstitching into needlepoint, plan your adjustments carefully. For grass or big areas, pick stitches that keep the look while adding detail. Choosing an ecru canvas can prevent white from peeking through your stitches, keeping your work’s design smooth.
Your needlepoint can really stand out with the right choices. By focusing on thread types and stitches, you can turn basic crossstitching patterns into complex and beautiful needlepoint designs.
Key Takeaways
- Cotton embroidery floss is mainly for cross stitch, but needlepoint loves different threads for texture.
- Changing thread colors in needlepoint can pack more info and depth into your design.
- Using threads like Neon Rays + can bring sparkle and texture to your projects.
- Go for neutral canvases such as ecru to keep the focus on your stitches.
- Turning simple crossstitching patterns into needlepoint needs smart choices on stitches and textures.
Introduction to Using Cross Stitch Patterns for Needlepoint
Switching cross stitch patterns to needlepoint can lead to more creativity. It’s key to know the differences in stitches and materials between the two. Cross stitch uses X-shaped stitches on a grid fabric like Aida, while needlepoint uses tent stitches on a hard canvas. This basic difference is important for mixing the two techniques well.
Understanding the Basics
Start by learning the stitches of both crafts. Cross stitch creates X-shaped stitches, and needlepoint does simple diagonal stitches. When aligning a crossstitching pattern to needlepoint canvas, the exact direction and placement of stitches matter.
Benefits of Combining Techniques
Using both cross stitch and needlepoint tools lets you get more creative. Mixing different threads in your needlepoint work can make it stand out. For example, using cotton and silk together creates lovely textures. Also, trying different fabrics like linen can add depth to your project.
This mix also lets you bring out the best of each technique. Cross stitch is simple, making it a great start for beginners. Its popularity has grown, making many new to crafting start with it. Since cross stitch patterns guide you step by step, they help those starting needlepoint too.
Choosing from various crossstitching supplies and threads means you can play with many colors. Whether using existing designs or creating your own, blending these methods can make your projects more unique. It adds a new level of enjoyment to your crafting journey.
Selecting the Right Cross Stitch Patterns
Choosing the right crossstitching patterns is key for a fun and successful project. It’s good for both new and experienced stitchers to know what designs work best for needlepoint. This guide helps in selecting the ideal ones for your project.
Choosing Simple Designs
If you’re moving from cross stitch to needlepoint, simple designs are your best bet. They don’t have many partial or back stitches, so they’re easier to convert. Consider cross stitch alphabets, cross stitch samplers, cross stitch flowers, and crossstitching animals. These options have clearer lines and simpler details, which aids in conversion.

Evaluating Patterns for Needlepoint Suitability
When looking at a pattern for needlepoint, think about its diagonal lines. Ensure they align well with needlepoint stitches. If diagonal lines lean in a suitable direction, it’s easier to convert the pattern. Beginners may prefer stamped crossstitching for its no-count design. Counted patterns give a more even look but require accurate counting.
Free Cross Stitch Patterns for Beginners
For beginners, free cross stitch patterns are a great start. Sites like crossstitch.com offer many designs. Look for simple ones like cross stitch quotes, cross stitch alphabets, or cross stitch animals to begin. If you like to shop in person, craft stores and libraries are good places to find patterns.
With simple designs and free patterns, beginners can smoothly start with needlepoint. This makes learning and transitioning easy and fun.
Materials and Supplies Needed
When turning cross stitch into needlepoint, using the correct items is key for a great result. We’ll look at the essential tools and threads you need. Also, we’ll cover fabric choices and helpful extras.
Essential Tools and Threads
First off, you need the right needles for crossstitching. Many suggest using tapestry needles, size 24. They are easy to thread and prevent thread from splitting. Gold-plated needles are another good option. They are rust-free and slide smoothly through fabric.
There are many thread types to choose from. You might know about six-stranded cotton floss from brands such as DMC. This type, with over 500 colors, lets you use just the right amount of threads. This helps achieve your desired look. When you stick to known brands like DMC, you ensure your work is high quality.
Fabric Choices for Cross Stitch and Needlepoint
The fabric selection is critical for your project’s success. Aida fabric is a top pick for cross stitch. It has a clear grid and comes in different counts. Many beginners go for a 14-count Aida in light shades. For high-quality options, check brands like Zweigart.
Cross stitch fabric that’s hand-dyed brings something special to your work. For needlepoint, try Evenweave or linen fabrics in various counts. These provide a fine, even surface for detailed work.
Additional Accessories to Enhance Your Projects
Useful accessories make your stitching better. Embroidery hoops are a must, like those found at Elbesee. Choose Hoops in various sizes made of wood or plastic. For most projects, a 7” hoop is recommended.
A full stash also means having the right scissors and a needle threader. Don’t forget a needle minder to keep you organized. Organizers for floss and projects help keep your supplies and work neat. And, don’t skimp on good lighting. It’s important for your eyes and lets you see your project clearly. Places like Michael’s, Joann’s Fabrics, and online sites are great for getting these supplies.
Having all these materials ready will make you confident for any cross stitch or needlepoint job.
| Item | Description | Recommended Brands |
|---|---|---|
| Cross Stitch Needles | Tapestry needles size 24 and gold-plated needles | DMC, Clover |
| Threads | Six-stranded cotton floss, silk, wool | DMC, Anchor |
| Fabric Choices | 14-count Aida cloth, hand-dyed fabrics, Evenweave | Zweigart, DMC |
| Embroidery Hoops | Sizes ranging from 4” to 18” | Elbesee |
Adapting Cross Stitch Designs for Needlepoint
Turning cross stitch patterns into needlepoint projects takes careful steps. You want the design to stay beautiful. Mixing elements of both crafts makes your piece stand out.

Converting Stitches and Colors
Changing cross stitch to needlepoint means playing with stitches and colors. Cross stitch stitches and colors can be transformed. Cross stitch conversion charts are useful for this. They help keep the colors right and make your project pop.
Dealing with Diagonal and Slanted Lines
Diagonal and slanted lines are tricky when switching techniques. Needlepoint usually looks smoother with the right stitch slant. This is key for keeping your designs flowing, especially in complex patterns like those from the Prairie Schooler.
Creating Textures with Different Threads and Stitches
For detailed designs, using different threads and stitches is a must. Materials like Neon Rays add depth. They turn empty spaces in your cross stitch designs into highlights.
Adding various cross stitch stitches to big areas also improves the texture. This makes your work look unique and feel interesting.
By merging these methods, you can turn basic cross stitch into detailed needlepoint. This approach brings creativity and accuracy to your projects.
Tips for Successful Cross Stitch Needlepoint Projects
Mixing cross stitch patterns with needlepoint can be very rewarding. Follow a few key tips and best practices. This includes keeping your tension right and choosing the best materials. These tricks will help make your projects turn out better.
Best Practices for Stitching
Always start stitching from the middle of your fabric. It’s important to see clearly, so use a good daylight lamp. Make sure your stitches are even by keeping your tension the same all the time. Keep your threads neat and use thread conditioner to avoid tangles.
Common Challenges and How to Overcome Them
Backstitching and small details can be tricky. Use a highlighter to mark off what you’ve done. This makes the pattern easier to follow. Decide early if you’ll fill in background colors or leave them.
As you get more advanced, try different stitches for texture. Being prepared helps you fix issues as they come up.
Finishing Techniques for a Professional Look
After the stitching is done, how you finish it is key. Gently wash your work if it’s dirty. Framing your piece well is also important. Use acid-free materials and stretch the fabric evenly in the frame.
Store your works-in-progress in clean, safe places. Trim any loose threads for a tidy finish. These steps will make your project look professional and last a long time.
Stick to these tips and you’ll create work that truly reflects your skills. Plus, it will last for years to come.
Showcasing Your Finished Needlepoint Projects
Finishing a cross stitch project is just the start. How you display it is key. If you’re making gifts or decorating your home, how you show off your work really matters. This could be as a cushion, wall art, or by incorporating needlepoint into items around the house.
Creating special items like Christmas stockings or samplers can really wow someone. They show you care when you pay close attention to them. An example is a detailed sunflower piece, using advanced techniques like “messy beading” or special types of beads. Framing your piece well adds to its look and keeps it safe too.
Choosing the right frame is important. Rectangular frames are common, but round and oval ones offer a special touch. They’re a bit harder to find, but places like Target or Michael’s have a good selection. You can also use custom mats for a unique look without the cost of a special frame.
Exploring online for finishing tips is also smart. You can find many video tutorials and expert advice on different finishing touches. With the right guidance from experts like Nancy Lukoskie or books like Sandy’s Finishing Touches, your work can look perfect. This is great for making gifts or adding a personal touch to your decor.
