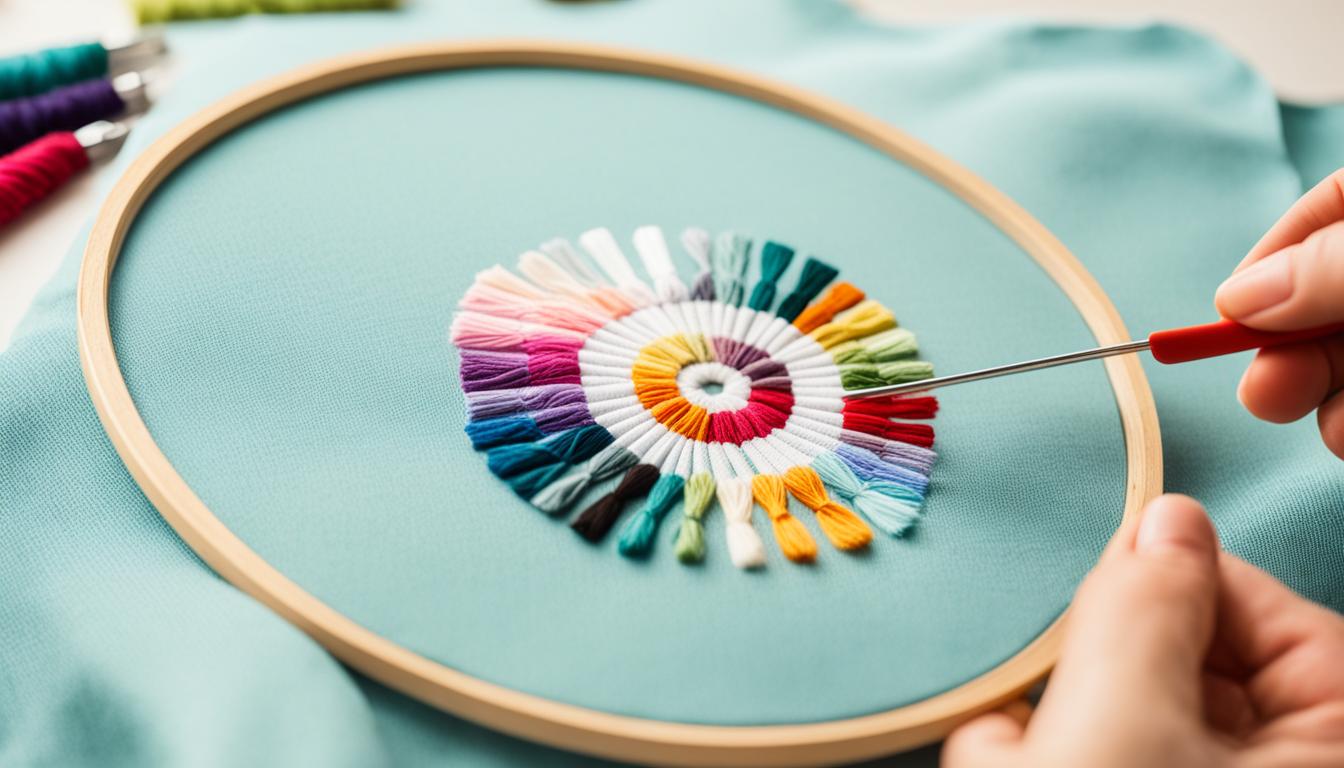
Starting your cross stitch project right can make a big difference in how it turns out and how happy you are with it. A good way to start is from the center of your fabric. This is great for beginners, as it helps you stitch in an orderly way and avoids problems.
Starting in the middle is super useful with threads that have different colors. It keeps the color gradient smooth as you stitch. A video guide shows how to find the fabric’s center, secure it in a hoop, and get your thread ready. This makes it easy for beginners to follow.
Many tutorials say starting in the middle is key to avoid moving your work too close to the edges. This could mean you’d have to make hard changes later. For anyone new or looking to improve, starting from the center makes your project clear and organized.
Key Takeaways
- Begin your cross stitch from the center of the fabric for optimal results.
- This method is especially useful for color variation threads.
- Starting in the middle helps prevent the work from shifting too close to fabric edges.
- Utilizing embroidery hoops can make handling fabric easier for beginners.
- Instructional videos are great resources for learning how to start cross stitching.
Why Start in the Center?
Starting your cross stitch project from the center is a top choice for many. A Facebook poll shows that many stitchers agree with this method. It lets you stitch in any direction and pick any color for the start.
Starting in the center helps avoid running out of fabric. But finding the exact center can be hard, leading to designs ending too close to the edges. To solve this, stitchers should leave extra fabric and use tools like Aida dimensions calculators for accuracy.
Starting from the middle is also convenient. It makes working with cross stitch supplies easier without dealing with big fabric pieces. This method helps in following free cross stitch patterns and achieving a neat finish.
Where you start your project is important. Aligning with gridding techniques ensures accuracy and helps avoid mistakes. This is crucial for the success of your cross stitch projects.
Learning cross stitch basics means knowing about fabrics like Aida and linen, and tools like embroidery scissors and DMC threads. Starting in the center is a common and effective way to begin crafting beautiful designs.
Top and Bottom Corners
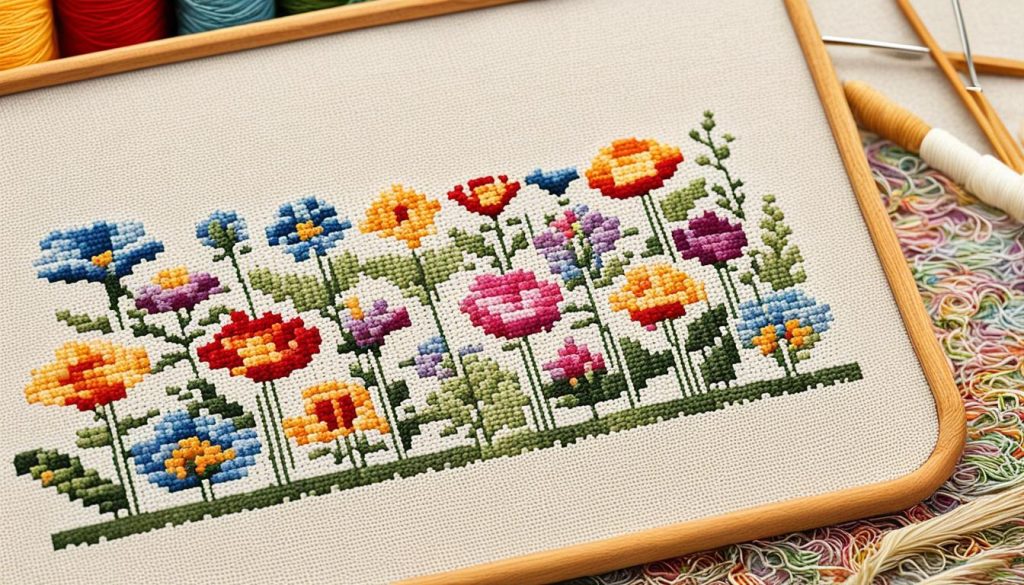
Many stitchers start their cross stitch projects at the center. But starting at the top or bottom corners has its own perks. It gives you a clear starting point and lets you control where your design goes on the fabric.
Pros and Cons of Corner Starting
Knowing the good and bad of starting at a corner can help you pick the best method for your project.
- Pros:
- It gives you a clear starting point, so you won’t run out of space.
- You have precise control over where your design goes on the fabric.
- It’s great for counted cross stitch projects with clear borders.
- Cons:
- You might miscalculate the fabric size on the other end.
- You’ll need to plan your gridding ahead to avoid mistakes.
- Fixing errors in the middle of the project can be tough.
Counted cross stitch is great for big designs because it keeps things consistent and in line. Cross stitch kits usually tell you the fabric size and thread recommendations. This makes sure you cover all the squares made by the threads. Also, it’s important that all your top stitches go in the same direction for a neat look.
Starting from a corner is good for working on cross stitch alphabets or detailed samplers. It gives you better control over where letters or motifs go, making your finished piece look better.
Patterns often say how many threads to use and what fabric thread count to pick. So, starting from a corner might need some extra planning but gives you a solid start. This can really help make your project a success.
How to Find the Center of Your Fabric
Finding the center of your fabric is key for placing your design right in cross stitch embroidery. The right method stops you from running out of fabric and keeps your pattern even. Here are some easy ways to find the center of your fabric.
Folding Technique
One easy way to find the center is by folding the fabric. Here’s what to do:
- Fold the fabric in half lengthways.
- Then, fold it in half widthways.
- The point where the creases intersect is the center of your fabric.
This method is great for framed projects. It makes sure your design fits in a 5″ hoop if you start with an 8″ square of fabric. Just straighten the fabric, measure halfway across, and then down to find the center.
Using Guides and Arrows
Cross stitch charts often have arrows pointing to the center. This makes starting your project easy. Here’s how to use these guides:
- Lay out your cross stitch charts and find the center arrows.
- Use these arrows to line up your fabric.
- Mark the center with a needle or a small pencil dot.
Gridding your fabric or using pre-marked guidelines also helps. These are great for beginners. Gridding means drawing lines or using thread to mark squares. This matches up perfectly with your chart guide.
| Chart Elements | Description |
|---|---|
| Grid Squares | Each square represents a single stitch |
| Center Arrows | Indicate starting points |
| Legends | Shows thread colors and symbols |
| Full Stitches | Blocks or symbols taking up a full grid square |
| Back Stitches | Indicated by lines |
| French Knots | Depicted by round dots |
Tools and Supplies You’ll Need
If you’re new to cross stitching, knowing the essential tools and accessories is key. Start with embroidery thread, like DMC threads, known for their colorfastness and quality. These threads come in many colors and can be split into strands as needed.
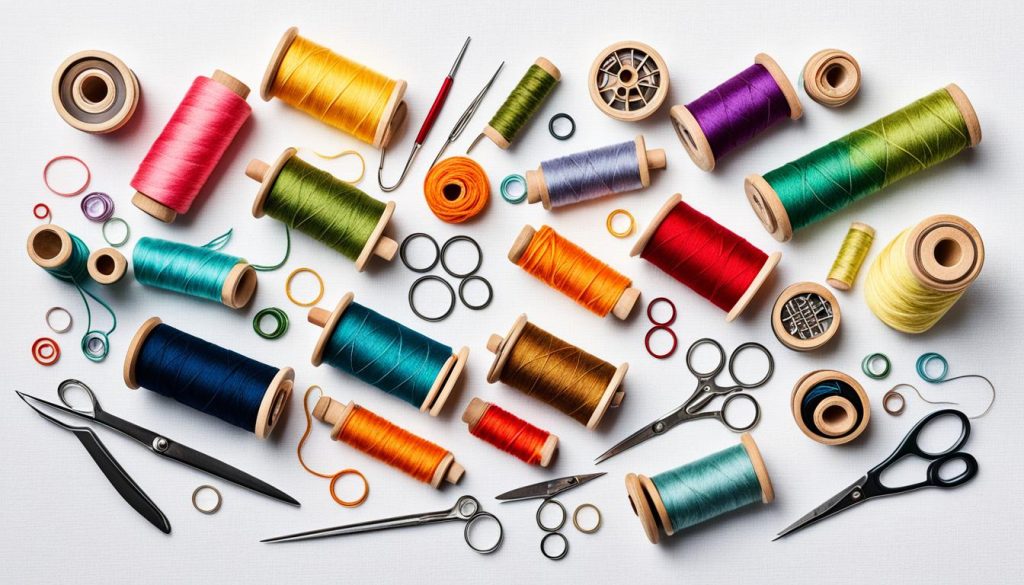
Your project starts with cross stitch fabric. For beginners, 14-count aida cloth is best. It has 14 stitches per inch, making it easy to practice without too much detail. If you’re more skilled or want a finer look, there are higher count options available.
Next, get cross stitch needles. Tapestry needles size 24 are great for beginners. They have a big eye for threading floss and a blunt tip to avoid fabric damage. Keeping a steady supply of these is important for smooth work.
An embroidery hoop or frame keeps your fabric tight, making stitching easier. Hoops come in sizes from 4 to 18 inches, with wooden ones being popular for their durability and ease of use.
Scissors are a must-have. It’s good to have fabric scissors for cutting material and small embroidery scissors for precise thread trimming. Quality scissors mean clean cuts, reducing fraying and making your work look neat.
For keeping things organized, a WIP bag is handy. It holds your cross stitch accessories like needle minders, floss organizers, and needle threaders. These tools help prevent lost needles and make threading needles quick and easy.
Lastly, good lighting is crucial. A dedicated crafting lamp reduces eye strain and helps you see your stitches clearly. This makes your work accurate and fun.
| Item | Description |
|---|---|
| DMC Threads | High-quality, colorfast, six-stranded cotton embroidery floss. |
| Cross Stitch Fabric | 14-count aida cloth is recommended for beginners. |
| Cross Stitch Needles | Tapestry needles size 24, with a large eye and a blunt tip. |
| Embroidery Hoop | Wooden hoops, available in sizes from 4 to 18 inches, keep fabric taut. |
| Scissors | Fabric scissors for textiles and smaller embroidery scissors for trimming. |
| Organizational Tools | WIP bags, floss organizers, needle minders, and needle threaders. |
| Good Lighting | Essential to prevent eye strain and ensure accurate stitching. |
Adjusting Techniques for Different Cross Stitch Designs
Adjusting your stitching techniques is key to mastering cross stitch designs. Whether you’re into Modern cross stitch, Cross stitch animals, or Cross stitch flowers, each design has its own needs. You’ll find that different designs call for unique approaches to get the look you want.
Common fabrics for cross stitching include 28 ct Lugana, linen, and aida. For small motifs, a 5×5″ square of fabric works well. But, if you’re working on a larger design, you might need a higher count fabric like 20 count aida.
Higher count fabrics mean smaller designs because there are more stitches per inch. For example, on 32 count linen, stitching over one thread gives you 32 stitches per inch. This can change the look of your design.
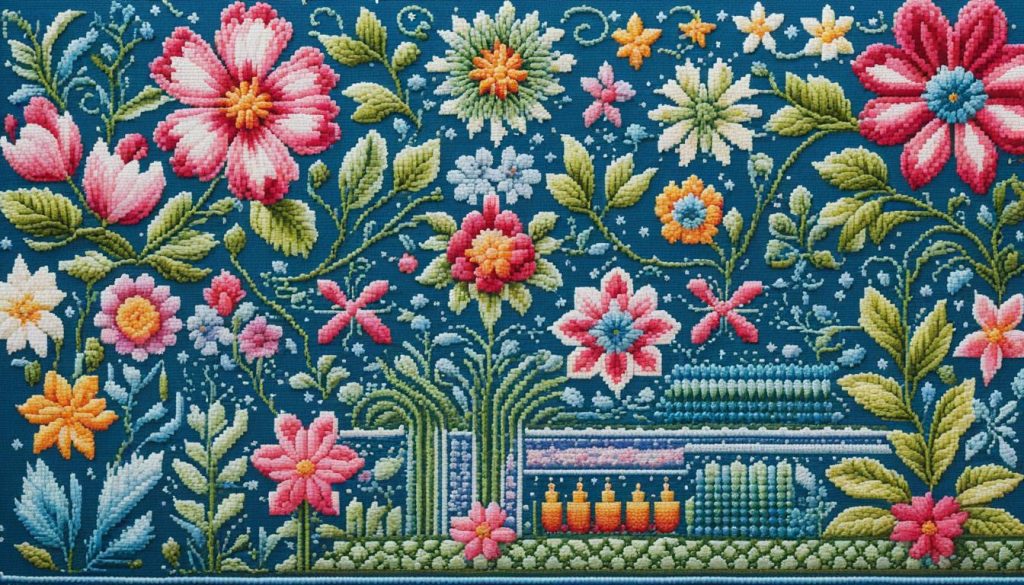
For big and bold designs, using different threads and colors can add texture and depth. For instance, Neon Rays+ can make daffodils pop. Changing thread colors, like using dark grey for a cat or bright colors for a crow, helps make elements stand out.
The Stitch Calculator is a great tool for figuring out the right fabric size for your pattern. It helps you avoid wasting materials. Also, checking out cross-stitching books and magazines can give you new ideas and techniques to try.
Making changes to the original design, like adding color to blank areas or changing border colors, can really improve how a piece looks.
Changing your stitching approach is sometimes necessary, especially for large areas. While some ideas might not work, making thoughtful changes can enhance contrast and make your design more appealing. Tailoring your techniques to fit different cross stitch designs is key to creating a beautiful final piece.
Mastering Cross Stitch Techniques
Mastering cross stitch techniques takes focus and practice. Here are some tips to make your projects look great.
Securing Your Threads
It’s important to secure your threads for a neat back and smooth front. Don’t use knots, as they can make bumps. Instead, use the loop start method or weave the ends through your stitches.
72% of stitchers start with the loop method using two strands of floss. This keeps threads in place and keeps the fabric smooth.
Another good way is to weave the thread ends under stitches at the back. This keeps the ends down without adding bulk. A clean back makes your cross stitch look better.
Maintaining Consistent Stitches
Being consistent in cross stitching is crucial. Make sure all stitches go the same way for a professional look. 63% of stitchers like the Danish method with DMC or solid threads, showing how important the method is.
Even tension is key. Using a hoop or Q-Snap helps keep your stitches even. 95% of stitchers find these tools helpful. Also, unwinding threads helps avoid twists, with 77% of stitchers agreeing it keeps stitches flat.
Good finishing techniques are vital for great cross stitch. Below is a table with preferred patterns and methods for neat stitches.
| Preferred Method | Percentage |
|---|---|
| Danish (Solid Threads) | 63% |
| English/Victorian (Variegated Floss) | 37% |
| Using 32ct Evenweave Fabric | 45% |
| Using 16ct Fabric | 22% |
| Stitching in One Direction First | 59% |
| Starting with the Loop Method | 72% |
Conclusion
Your cross stitch journey is more than just stitching. It’s a way to express your creativity and dedication. By starting from the center or corners, you make sure your project is well-organized and fun.
Choosing the right starting point depends on your design, fabric size, and stitching skills. Each method has its own benefits and drawbacks. It’s important to pick what works best for you.
Studies show that not understanding instructions can lead to mistakes. Starting from the top or left can help keep your stitches even. It’s also key to use the right amount of thread to avoid waste.
Joining cross stitch communities and blogs can make your hobby even better. These places offer a sense of belonging and lots of helpful tips. You can learn about new trends, techniques, and materials.
These communities let you share your work, get inspired, and ask for advice. Cross stitching is now enjoyed by people of all ages, including the young and men. It’s a hobby that brings joy and relaxation.
Whether you’re making something for someone special or just for yourself, cross stitching is rewarding. It’s a journey that brings happiness and fulfillment.
