Soaking your crossstitching is key to keeping it looking great for a long time. It removes oils from your hands that can stain the fabric. Soaking also gets rid of creases and marks from the hoop.
This method makes your crossstitching colors pop. It’s a big part of taking care of your work.
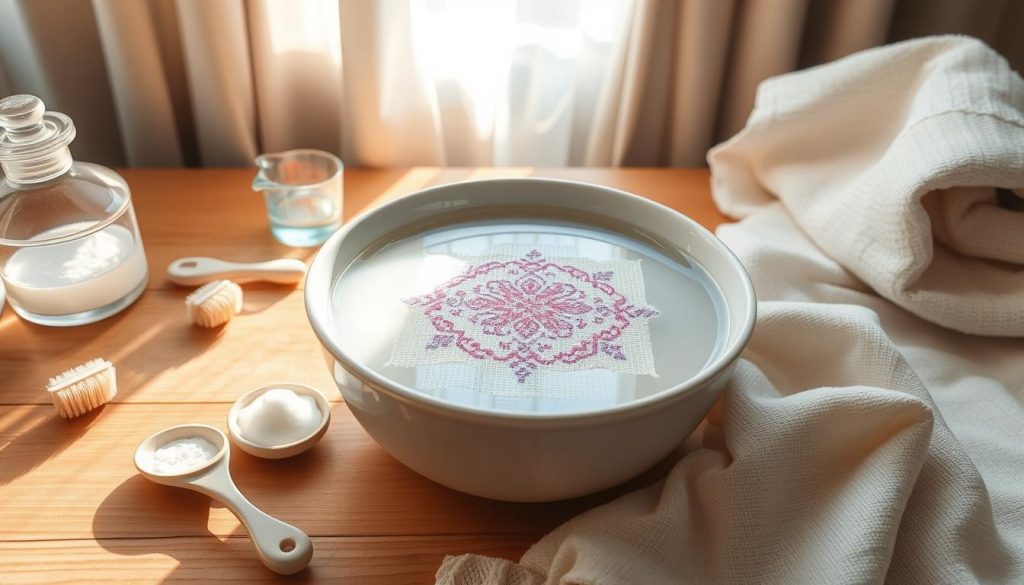
Oils from your hands can harm the fabric if not cleaned. Soak your cross stitch in lukewarm soapy water for 15 minutes to an hour. This cleans the oils well.
After soaking, rinse the piece in cool water until it’s soap-free. This makes sure no soap is left on the fabric.
Wringing out the fabric can hurt your stitches. Instead, roll it up in towels to get rid of extra water. Ironing it face-down on a towel with a warm iron can also get rid of wrinkles. Just be careful not to flatten the stitches.
This makes your fabric look better and brings out the colors of your work. It helps your crossstitching last longer.
Key Takeaways
- Soaking helps remove natural oils from your hands, preventing potential stains.
- Eliminates stubborn creases and hoop marks, improving the fabric’s appearance.
- Rinse thoroughly to ensure no soap residue remains on the fabric.
- Use towels to remove excess water gently without wringing, preserving the stitches.
- Iron face-down on a warm towel to smooth wrinkles without flattening the stitches.
- Soaking enhances crossstitching colors, ensuring the longevity of your work.
Understanding the Importance of Soaking Your Cross Stitch
Soaking your crossstitching is key to keeping it looking great. It removes dirt, oils, and other stuff that builds up while stitching. This helps keep your work in top shape.
Benefits of Soaking
Soaking has many benefits for your crossstitching. It gets rid of oils from your hands, which can attract dirt and harm the fabric. It also fixes hoop marks and creases, making your work look smoother and more vibrant.
Soaking makes colors pop and stitches look fuller. It’s a simple step that makes a big difference.
When to Soak Your Cross Stitch
Soak your crossstitching when you’re done, especially before framing. This is crucial if you’ve handled the fabric a lot. Skin oils can leave stains.
Companies like DMC suggest soaking as a safety measure. If you use special threads or hand-dyed fabrics, test a small area first. This ensures colors won’t bleed.
Potential Risks of Not Soaking
Not soaking can cause problems. Oils and dirt can stain and damage your work. Colors might look dull, especially reds and dark blues.
Ignoring soaking can also make the fabric wear out faster. This reduces both the quality and life of your crossstitching. Soaking is a must to avoid these issues.
Materials Needed for Soaking
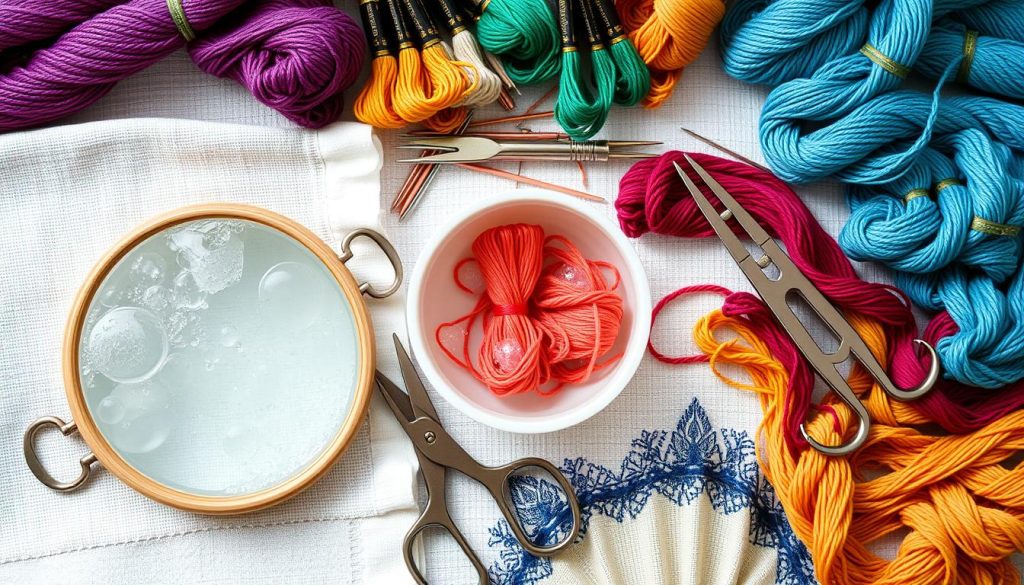
Soaking your crossstitching right means using the right materials and tools. This keeps your work safe and looking great. It’s important to have the right crossstitching supplies for the best results.

Proper Soaking Solution Options
It’s key to pick the right soaking solution. Mild, non-abrasive soap like Soak Scentless or dish soap is good. These options clean gently without harming your project. Always think about using a crossstitching soap made for delicate fabrics.
- Soak Scentless soap: Ideal for gentle cleaning.
- Regular dish soap: An effective and accessible alternative.
- Mild scentless soap: Recommended to avoid any residue.
Tools for Effective Soaking
To soak your crossstitching, you need certain tools. These tools help make the process safe and efficient. Here’s what you’ll need:
- Large bowl or container: For immersing your stitched piece.
- Soft cotton bath towels: Essential for handling the fabric post-soaking.
- Iron and press cloth: These tools are necessary to dry and smooth your crossstitching.
| Tool | Purpose | Recommendation |
|---|---|---|
| Large bowl or container | For immersing cross stitch | Size depending on the project |
| Soft cotton bath towels | Handling fabric after soaking | Use soft, absorbent towels |
| Iron and press cloth | Drying and smoothing embroidery | Iron from the back with steam |
Following the right crossstitching washing instructions means getting the solutions and tools ready. This ensures your artwork stays in top shape. Always be gentle with your crossstitching during soaking and drying.
Step-by-Step Guide to Soaking
Soaking your crossstitching is a careful process. It keeps your work looking great and bright. Follow these steps to get the best results, from start to finish.
Preparing Your Cross Stitch for Soaking
First, prepare your crossstitching. Start by rinsing it gently under cool water. This step removes any dirt on the surface.

The Soaking Process Explained
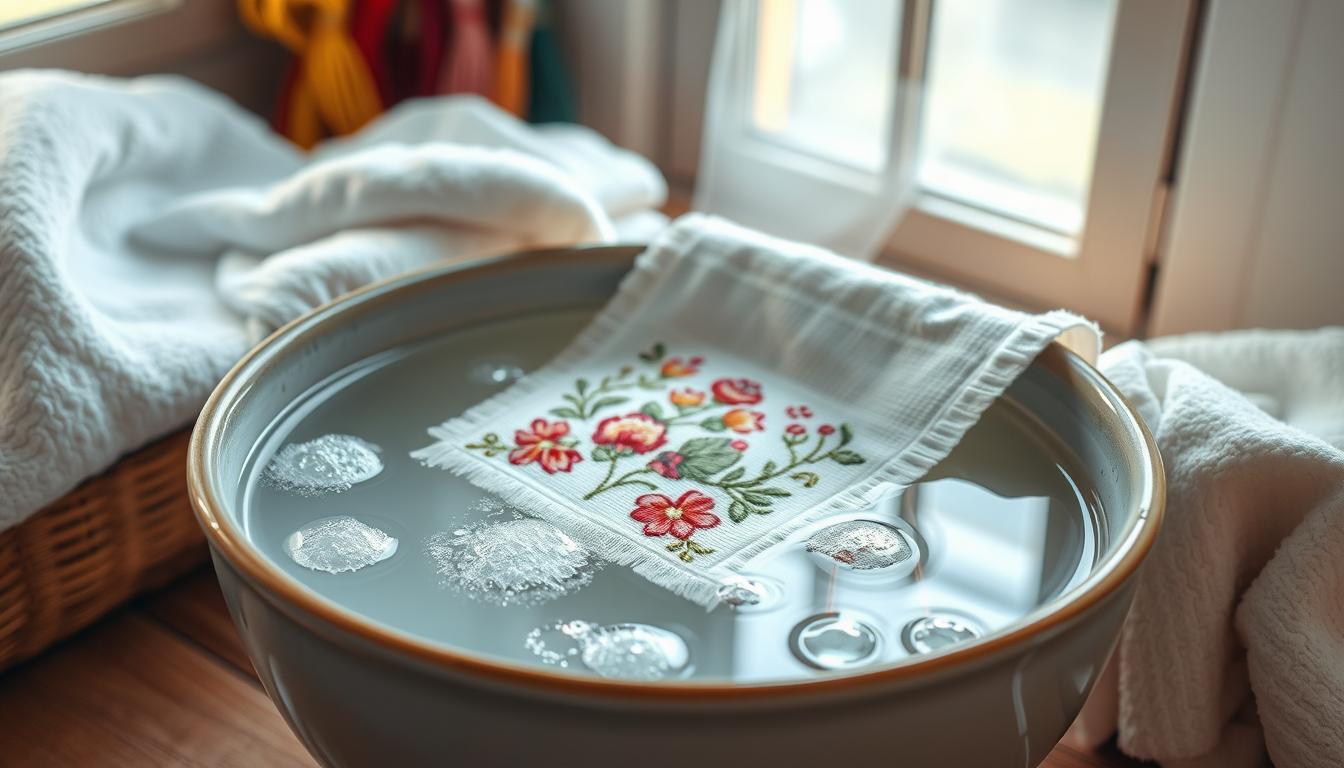
Use a large bowl and lukewarm water. Add a mild soap, like Fairy Liquid or Orvus. Put your crossstitching in the bowl and let it soak for 15 minutes to an hour. Gently move the fabric to clean it well without harming it.
- Note: Silk or wool threads should not be soaked because they are delicate.
- Watch out for colors like red, as they might bleed due to certain chemicals.
Rinsing and Drying Instructions
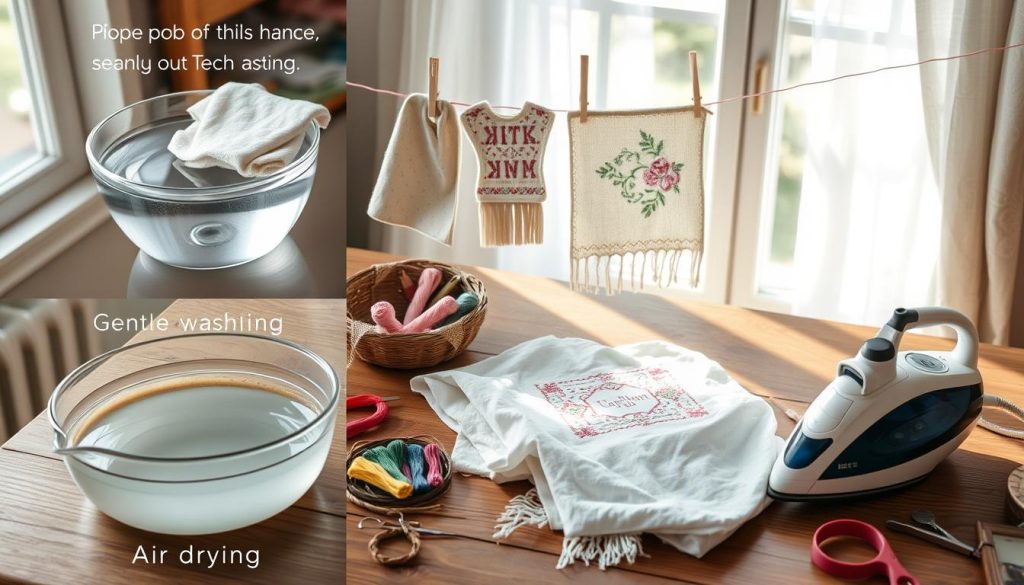
After soaking, rinse the crossstitching well. Change the water 3 to 4 times to get rid of all soap. Then, lay the fabric on a soft towel to soak up water. Press the towel to remove more water.
Next, iron the crossstitching with a warm iron from the back. For tough creases, use a press cloth on the steam setting. This method avoids burning the fabric and makes it smooth.
By following these steps, your crossstitching will be clean and vibrant. For more tips and detailed tutorials, keep reading our guide.
Soaking vs. Other Cleaning Methods
Choosing the right cleaning method is key for keeping your cross stitch beautiful. Soaking and washing are two popular methods, each with its own benefits and drawbacks.
Comparing Soaking to Washing
Washing your crossstitching before framing is a good idea. It removes oils from your hands. Soak the piece in soapy water for 15 minutes to an hour, then rinse it in cool water until it’s clean.
This method is good but be careful with certain threads and fabrics. It works best with cotton threads, not silk or wool.

Soaking is a gentle way to clean delicate fibers. It doesn’t stress the stitches as much as washing does. This keeps the fabric and threads in better shape.
Advantages of Soaking over Dry Cleaning
Dry cleaning is another option, but it’s not always safe. It can damage certain dyes or fabrics, especially hand-dyed ones. Soaking is safer for preserving your cross stitch.
Soaking is the better choice for most crossstitching pieces. After soaking, lay the fabric flat on a towel, roll it to remove water, and iron it. This keeps your project looking great.
Here’s a quick comparison of these methods:
| Method | Procedure | Suitable For | Risks |
|---|---|---|---|
| Soaking | Soak in soapy water for 15 mins to 1 hour, rinse in cool water | Most cross stitch fabrics | Minimal risk, gentle on fabric |
| Washing | Hand wash with mild detergent, rinse thoroughly | Cotton embroidery floss | Risk of color run, fabric distortion |
| Dry Cleaning | Use commercial dry cleaning services | Delicate items, unsure of washability | Chemical reaction with dyes, potential damage |
By using the right crossstitching fabric care methods and cross stitch cleaning techniques, your artwork will stay beautiful for years.
Troubleshooting Common Soaking Issues
Soaking your cross stitch can lead to color run or stains. Knowing how to fix these problems is key to keeping your stitchwork looking great.
Dealing with Color Run
Color run is a big problem, especially with threads that aren’t colorfast. If you see color bleeding, act fast:
- Do a colorfast test by soaking a small part in cool water and gently pressing with a white paper towel.
- If color run happens, soak the whole piece in cool water right away to stop the dye from setting.
- Use a color catcher or add a bit of white vinegar to the water to keep colors stable.
- Rinse well with cool water until the water is clear.
- Don’t wring or scrub the fabric to avoid more bleeding.
Dark or bright colors need extra care to avoid bleeding. This is especially true for threads like Kreinik’s 003L and 006HL, which tend to run more.
Removing Stains After Soaking
If stains stay after soaking, you can try special treatments:
- Gently dab the stained area with a baking soda and water solution or a fabric cleaner.
- Don’t use bleach or harsh chemicals, as they can harm the threads and fabric.
- Rinse the treated area with cool water and let it air dry flat on a clean towel.
- You might need to repeat this process for tough stains.
It’s important to know how your fabric and threads react to water and chemicals. Taking good care of your projects removes stains and keeps your artwork looking bright and lasting.
Most stitchers wash their fabric before starting a project. This removes hoop rings and Q-snap curls and prevents staining. It’s a smart step to avoid problems later and keep your stitchwork in top shape.
Tips for Maintaining Your Cross Stitch
Keeping your crossstitching looking great is key to enjoying it for years. Here are some expert tips to keep your artwork in top shape.
Best Practices for Care
To keep your crossstitching looking its best, follow these tips:
- Regularly dust your cross stitch projects and avoid direct sunlight to prevent fading.
- Handle your cross stitch art with clean hands, and consider using grime guards to protect the fabric.
- Wash your cross stitch pieces in lukewarm soapy water for 15 minutes to 1 hour to remove oils and creases, using mild, scentless soap.
- Rinse the piece in cool water, changing the water 3-4 times until soap-free.
- Dry the fabric between soft towels by rolling and pressing gently, avoiding wringing.
- Iron your cross stitch with a warm iron from the back of the fabric, using a press cloth to protect the stitches.
Storing Your Cross Stitch Properly
Storing your cross stitch right is crucial to keep it looking good. Here are some tips for storing your projects:
- Use acid-free matting and framing materials to prevent damage to the fabric.
- Consider UV-protective glass to prevent color fading from sunlight exposure.
- Store your crossstitching flat to avoid creases and folds.
- Keep the pieces in a stable, humidity-controlled environment.
- Avoid placing crossstitching projects in direct sunlight, and store them in dry, clean locations.
Here’s a look at different storage methods and their benefits:
| Storage Method | Benefits | Drawbacks |
|---|---|---|
| Flat Storage | Prevents creases and folds | Requires ample space |
| UV-Protective Glass | Prevents fading from sunlight | May add extra cost |
| Acid-Free Matting | Preserves fabric quality | Specialty item, not always readily available |
By following these care tips, handling your projects with care, and storing them right, you can keep your cross stitch beautiful for years.
Frequently Asked Questions about Soaking Cross Stitch
Soaking your cross stitch project is key to its longevity and look. We’ll cover common questions on soaking frequency, handling framed pieces, and what to avoid.
How Often Should You Soak?
It’s wise to soak your cross stitch before framing or gifting. This step removes oils, dirt, and discolorations from stitching. You might need to soak it again if it gets dirty over time.
About 90% of cross-stitch projects don’t get washed. But, using proper storage can reduce the need for soaking.
Can You Soak Framed Cross Stitches?
Framed cross stitches should not be soaked. Soaking can harm the frame and mount. If your framed piece gets dirty, take it to a professional for cleaning.
Instead, frame your artwork under glass to keep it dust-free.
What to Avoid While Soaking?
When soaking, avoid hot water to prevent color bleeding. Use lukewarm water and mild soap like Dri-Pak or Ivory Flakes. Stay away from harsh chemicals and avoid wringing or scrubbing too hard.
By following these tips, your crossstitching will stay vibrant and intact for years. These FAQs help you care for your artwork, from soaking frequency to handling framed pieces.
