Starting in the middle is a key tip for beginners in cross stitch. It helps keep your work balanced and symmetrical. This is good for both newbies and experienced crafters.
By starting in the middle, you keep the fabric tension even. This stops your design from getting distorted. It also helps avoid running out of fabric, a common problem in DIY projects.
Key Takeaways
- Starting from the middle ensures symmetry and balance.
- This technique helps in maintaining even fabric tension.
- Starting in the middle prevents running out of fabric space.
- Minimizes the risk of design distortion.
- Effective for both beginner cross stitch enthusiasts and experienced crafters.
The Basics of Cross Stitching
Cross stitching is a fun hand embroidery that many enjoy. It’s great for both hobbyists and professionals. To start, you need to know the basics. This includes choosing the right kits and supplies, and finding free patterns online.
What is Cross Stitch?
Cross stitch uses X-shaped stitches on fabric to make images and patterns. Each square in a grid can be filled with a color or symbol. This makes each stitch count, leading to a sense of pride in your work.

Essential Tools for Cross Stitching
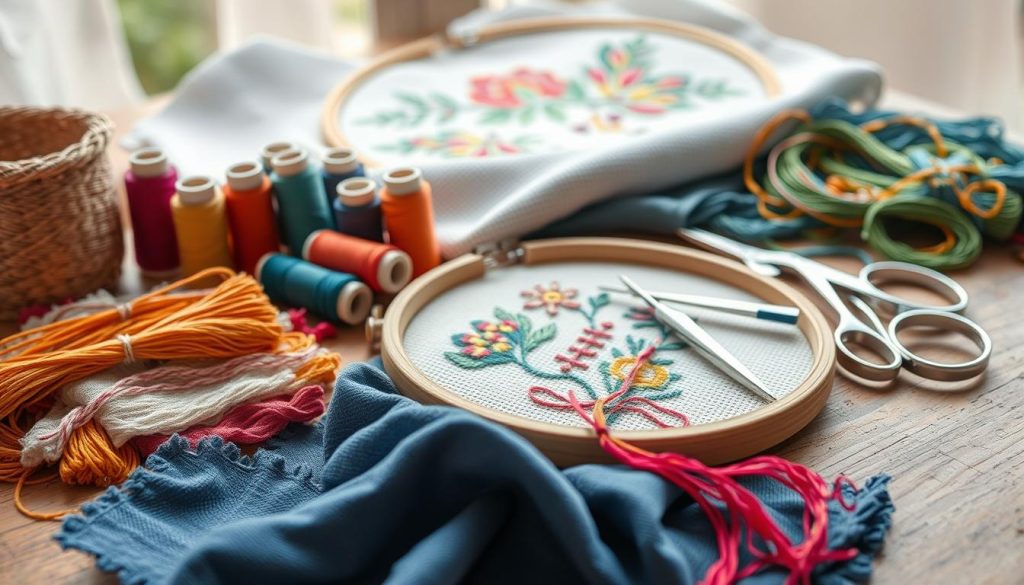
To start, you’ll need some basic tools. Aida and linen are common fabrics used. Aida, especially the 14-count, is great for beginners because of its evenly spaced holes.
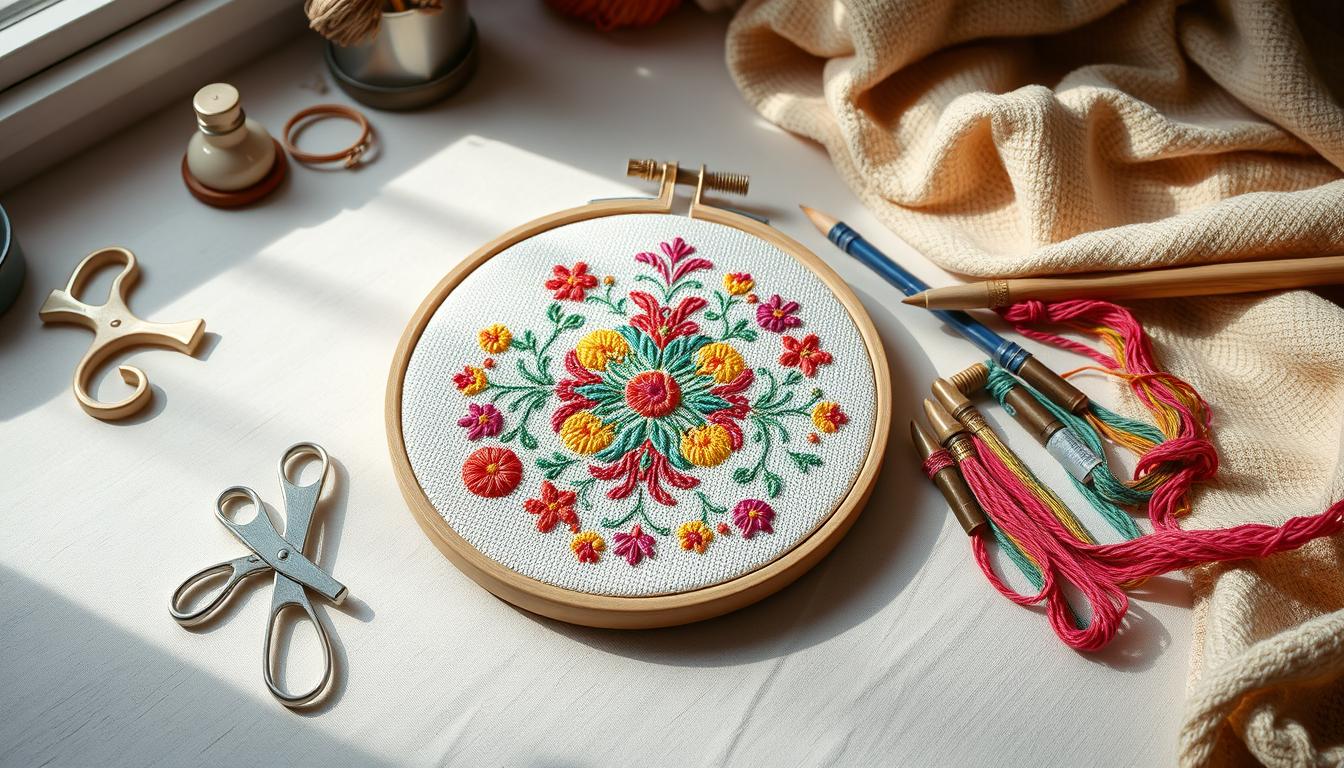
Quality fabrics like those from Zweigart and Wichelt are essential. You’ll also need a hoop, needles, and embroidery floss. Cross stitch kits usually include these, making them a good choice for beginners. Use two strands of embroidery floss for a balanced look.
Common Patterns for Beginners
Beginners should start with simple designs. Shapes and single-colored motifs are good for practicing. Online, you can find many free patterns for beginners.
These patterns are easy to follow and help you improve your skills. Start with simple designs and then move to more complex ones.
| Item | Description |
|---|---|
| 14-Count Aida Cloth | Most commonly used cloth, known for its evenly spaced holes. |
| Embroidery Floss | Typically used with two strands for cross stitch, available in various colors. |
| Needles | Special needles with blunt tips to prevent splitting the thread. |
| Hoop | Helps keep the fabric taut, making it easier to stitch. |
Importance of Starting in the Middle
Many cross stitch fans say starting in the middle is key. A Facebook poll showed it’s the top choice for good reasons. It keeps your design centered, avoiding fabric space issues.

Ensuring Even Tension Across the Fabric
Starting in the middle is crucial for even fabric tension. In cross stitch, even tension keeps your fabric looking great. Uneven tension can cause fabric to pucker or stretch, ruining your work’s look.
A Facebook poll found 67% of stitchers use two strands of floss for a knot-free start. This method helps keep tension even, leading to a professional finish.
Keeping Design Proportions Accurate
Starting in the middle also helps with design proportions. It ensures your design stays balanced and fits your fabric perfectly. The loop start method, loved by beginners, helps avoid knots for a smooth start.
91% of embroiderers say avoiding knots makes their work better. This shows starting without knots is key for both new and experienced stitchers.
| Fabric Type | Thread Count | Number of Strands | Appearance |
|---|---|---|---|
| 14 Count Aida | 14 holes/inch | 2-3 Strands | Clear/Defined |
| 28 Count Evenweave/Linen | 28 threads/inch | 1-2 Strands | Finer |
By starting in the middle and managing thread tension, you make cross stitch more enjoyable. It’s less stressful and more rewarding.
How to Determine the Center of Your Pattern
Finding the center of your cross stitch pattern is key to getting it right. This guide will show you how to measure your fabric, use cross stitch charts, and mark the center point.
Measuring Your Fabric
To start, measure your fabric carefully. Fold it in half both ways to align the edges. This will show you the center where the edges meet. Many cross stitch tutorials recommend this method for its simplicity.
When you unfold the fabric, a clear crease will mark the center.
Using Graphs to Find the Center
Then, look at your cross stitch charts. These charts have a grid where each square is a stitch. Dark lines divide the grid into 10-by-10 sections to help you follow the chart. Arrows on the chart point to the center, making it easy to find.
The chart’s legend symbols also help by showing thread colors. This makes following your pattern easier.
Marking the Center Point
After finding the center, mark it clearly. Use a washable fabric marker or a small basting stitch. This is a common tip in cross stitch methods to keep your design aligned.
Keeping the center point visible ensures your design stays balanced and centered.
| Step | Action | Tool/Technique |
|---|---|---|
| 1 | Fold fabric twice | Align edges to find the intersection |
| 2 | Refer to charts | Use grid and center arrows |
| 3 | Mark the center | Washable marker or basting stitch |
Techniques for Starting Your Stitching
Starting your cross stitch project right can really make a difference. Learn about different cross stitch starting methods. Find the one that fits your style and project.

Loop Method vs. Knotted Method
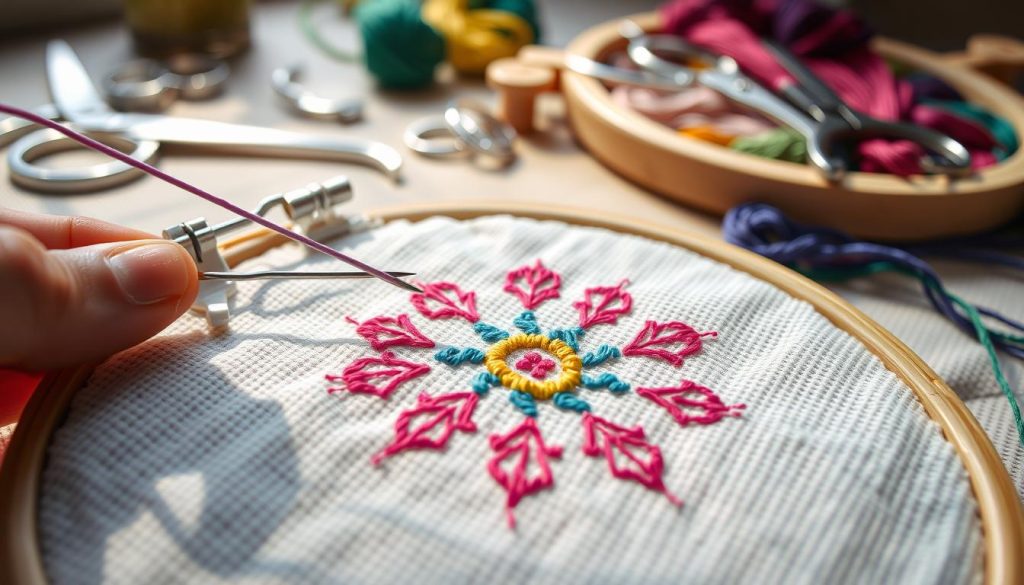
The loop method is loved for its neatness and ease. You fold a thread in half and stitch with the looped end. This avoids knots and is great for beginners with an embroidery hoop and Aida fabric.
The knotted method starts with a knot at the thread’s end. Then, you stitch through the fabric from front to back. It’s simpler but might make the back look bulkier. It’s good for complex patterns or when starting in the fabric’s center.
Tips for Securing Your Thread
Keeping your cross stitch thread secure is key to avoid unraveling. Here are some cross stitch tips to keep your stitches tight:
- Anchor the thread by stitching over a few existing stitches on the back of your work.
- Use embroidery scissors to trim any excess thread once secured.
- Cut thread lengths to about 18 inches to minimize knotting and fraying.
- Let the needle and thread hang freely to prevent twisting as you work.
By using these methods and tips, you’ll get better at cross stitch starting methods. Your threads will stay in place, making your finished piece last long.
Managing Color Changes While Cross Stitching
Managing color changes is key for advanced cross stitch patterns. Organizing threads and following a system ensures precision and efficiency. This makes your work more accurate and smooth.
Creating a Color Key
A color key is vital for organizing your cross stitch colors. It matches floss numbers with their design spots. This makes stitching more accurate and systematic.
There are many ways to organize threads:
- Thread cards
- Plastic organizers
- Bobbin boxes
- Thread drops
Even small patterns, like Sistine 1 with 8 colors, need a good color key. This keeps your work organized and easy to follow.
Keeping Track of Stitches
Keeping track of stitches is crucial to avoid mistakes. Use markers or count stitches often. This ensures colors are placed correctly.
Stitching in sections, like ten rows at a time, helps keep things accurate. This method combines efficiency with careful color management. It’s especially useful for managing colors without constant changes.
The parking method also helps by reducing counting errors. It keeps stitches neat and organized. Tailoring your stitching methods to your project’s size is important. For smaller pieces, like Pieta, stitching by section might be better than full cross country.
| Stitching by Color | Stitching by Section |
|---|---|
|
|
|
|
Experimenting and improving your techniques is key to mastering color changes. Mixing different styles makes your stitching unique and enhances your skills.
Common Mistakes to Avoid in Cross Stitching
Cross stitching is a fun and detailed craft. But, it’s easy to make mistakes. Knowing these common errors helps make sure your project looks great. Here are some key tips to avoid these mistakes.
Miscounting Stitches
Miscounting stitches is a common mistake for beginners. Patterns are marked on grid lines to help count stitches. It’s important to count carefully and check your pattern often. Here are some helpful tips:
- Make sure your fabric has the right thread count as the pattern says. The wrong count can change your project’s size.
- Stitch near existing stitches to avoid miscounts and thread showing.
- Use two strands of thread for a smooth and neat look.
If you count wrong, you can fix it by undoing stitches to the mistake. You can also leave small errors or stitch over them with the right color.
Skipping the Center Start
Skipping the center start can cause alignment problems and fabric space issues. Patterns usually start in the center for even placement. Here are some tips to find your center and avoid this mistake:
- Measure your fabric carefully before starting.
- Use graphs to find the center accurately.
- Mark the center point clearly on your fabric.
Starting in the center keeps your design even and proportional. Also, use proper threading techniques to avoid a messy look.
| Topic | Tips |
|---|---|
| Hand Hygiene | Wash hands before stitching to prevent greasy residue on the work. |
| Needle and Hoop Placement | Remove embroidery hoops between sessions to prevent fabric damage. |
| Lighting Conditions | Invest in a daylight lamp to avoid eye strain and reduce mistakes. |
| Fabric Edges | Oversew the edges before starting to prevent fraying. |
| Back Thread Trailing | Avoid leaving long threads across the back of the fabric. |
By following these tips, your DIY cross stitch projects will be fun and beautifully done.
Final Thoughts on Best Practices in Cross Stitching
Starting your cross stitch journey? Remember, patience and precision are key. Focus on details and plan your stitches well for quality results. Whether you’re new or experienced, keeping stitches even and accurate is crucial.
Choose the right threads and fabric for your project. This ensures your work turns out well.
Importance of Patience and Precision
Patience is vital in cross stitch. It helps when working on patterns and techniques. Measuring fabric, finding the center, and securing thread properly are important steps.
Using quality materials like DMC threads makes stitching smoother. Regular practice helps you stitch perfectly faster.
Enjoying the Creative Process
Enjoying cross stitch is just as important as mastering it. Take pleasure in seeing your design grow. Try new things like different fabric colors or sparkly threads.
Make your stitching time relaxing and creative. It’s not just about the fabric, but also about your mood.
