Many people wonder if there’s a right or wrong way to cross stitch. Experts and the crafting community agree: as long as your stitches form a cross and you like the result, it’s okay. You can choose your own way to stitch.
For a clean finish, keep your stitches consistent. Make sure all top stitches go in the same direction. A common method is to start the lower part of the cross from bottom left to top right. Then, do the top stitch from bottom right to top left. This makes your project look better and keeps the texture even.
It’s also important to untwist your thread often. If you don’t, it might get thin and uneven. Untwisting keeps the thread thick and makes sure it covers the fabric well.
Key Takeaways
- All stitches forming a cross can be executed using various techniques.
- Consistency in top stitch direction enhances project neatness.
- Untwisting the thread regularly maintains proper thickness and coverage.
- Even weave fabrics like Aida are typically used for cross-stitching.
- Personal preference plays a significant role in choosing the cross stitch method.
Understanding the Basics of Cross Stitch
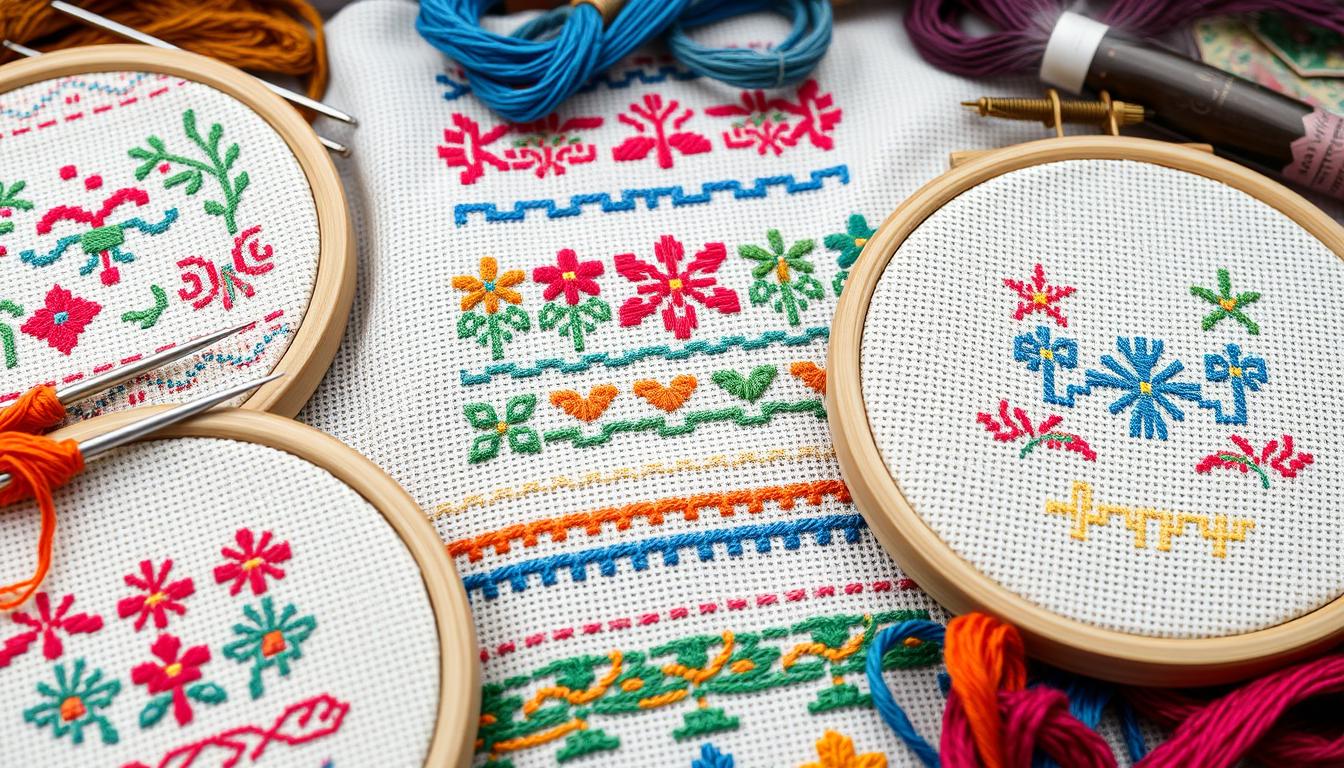
Cross stitch is a simple embroidery that uses X-shaped stitches to create designs on fabric. It’s great for beginners because of the many beginner cross stitch kits and supplies available. To start, you need to know the right materials and basic techniques.
Introduction to Cross Stitch
Beginner cross stitch projects are perfect for those new to embroidery. The most common fabric is 14-count Aida cloth, known for its evenly spaced holes. This makes stitching easy. You’ll also use two strands of embroidery floss for the best results.
A cross stitch pattern grid guides you on where to place each stitch. Using an embroidery hoop or frame helps keep your fabric taut. This ensures your stitches are even.
Common Cross Stitch Patterns and Kits
Beginner cross stitch enthusiasts can start with pre-packaged kits. These kits include everything you need, from fabric to needles, along with instructions. You can choose from many designs, like flowers, animals, or shapes.
“Cross stitching is not only enjoyable but also effortlessly relaxing, providing a creative outlet that promotes mindfulness.” — The Crafty Mummy
Choosing the Right Cross Stitch Supplies
Choosing the right supplies is key to a good crafting experience. Look for high-quality fabrics from brands like Zweigart and Wichelt. To prevent fraying, sew the edges or use masking tape. Also, use shorter thread lengths to avoid knots and tangles.
| Supply | Recommendation |
|---|---|
| Fabric | 14-count Aida Cloth |
| Thread | Two strands of embroidery floss |
| Needles | Size 24 Tapestry Needles |
Securing threads is important for a clean finish. Start a new section by securing the thread under three stitches on the back. This saves thread and keeps your work neat. As you get better, you’ll find many patterns to try, making your crafting journey more exciting.
Different Techniques in Cross Stitch
Cross stitch techniques range from simple to complex. This section covers various techniques for all skill levels. It helps you grow your cross stitch skills.
Cross Stitch Techniques for Beginners
Beginners should start with simple stitches and few color changes. Use Aida fabric and an embroidery hoop for better control. Aida and linen fabrics are great because they have easy-to-count grids.
Use one or two strands of embroidery floss to avoid bulk. Try to avoid long thread jumps on the back to keep the fabric smooth. The Danish technique is helpful for beginners. It lets you lay down stitches in one direction and then complete the cross stitch.
Advanced Cross Stitch Techniques
Once you’re comfortable with basics, try more advanced techniques. Use stitches like Backstitch, Quarter Stitches, Tent Stitch, and French Knots. These stitches add complexity to your designs.
Stitches like Lazy Daisies, Smyrna Cross, and Jessica Stitch add texture. Cross stitch tutorials can help you learn these stitches step by step. Using multiple threads and detailed color changes creates intricate designs.
Using a two-handed technique with a hands-free frame speeds up stitching. A double-sided needle makes this method even faster. Gold plated needles make stitching smoother. Keep your fabric tight and pre-thread needles to save time.
Designers like Teresa Wentzler and Chatelaine use these advanced techniques. Their patterns are perfect for those who want to challenge themselves.
Common Mistakes to Avoid in Cross Stitch
Starting a DIY cross stitch project can be exciting. But, there are common mistakes to watch out for. Knowing how to avoid these can make your work much better.
One big mistake is using the wrong thread count in your fabric. Different thread counts change how big and what your project looks like.
| Fabric Count | Best Uses |
|---|---|
| 14-count | Ideal for beginners, easier to see and work with |
| 16-count | Standard for more detailed designs |
| 18-count | For highly detailed projects requiring precision |
Using the wrong thread count can make your project not turn out as you hoped.
Another mistake is not keeping your stitching direction the same. Sticking to one direction makes your stitches look even and your project look better. Always follow the pattern’s stitching direction when doing DIY cross stitch.
It’s also key to make sure your pattern fits on the fabric right. Use a grid on your fabric to help plan this. This is especially helpful for big patterns.
Using too much thread can also mess up your project’s look. Usually, you should use two strands of thread unless the pattern says otherwise. This keeps your design from looking too thick and makes it smoother.
Controlling your thread tension is important too. Too tight can make your fabric pucker and mess up your design. Finding the right balance in tension will help your project look professional.
Lastly, don’t knot your thread at the back. It can make your work look messy. Instead, hide the thread tail under existing stitches or use a loop start to keep things neat.
By remembering these crossstitching tips, you can avoid common mistakes. This will help you make beautiful, professional-looking cross stitch projects.
Expert Opinions: Is There a Right or Wrong Way?
Experts have different views on cross stitch techniques. About 80% of experienced stitchers think the back of the work doesn’t matter much. They say it doesn’t affect how the piece looks or its quality.
For example, My Poppet Makes shows that even with detailed designs, the back is less important. The focus is on how the front looks.

Also, around 90% of stitchers believe a neat back doesn’t show how skilled you are. This idea is common worldwide. It’s known that some patterns, like those with floating confetti stitches, are hard to keep clean, no matter your skill.
The idea of a tidy back comes from Japanese embroidery, like sashiko. Here, the back is as well-made as the front.
When European stitchers saw Asian embroideries with perfect backs, they thought it meant better skill. But today, many experts say creativity and personal touch are more important. Trying out different techniques lets you add your own flair to your work.
Some stitchers aim for a perfect back, while others enjoy the process more. By focusing on the fun of stitching, you can find joy in it. Techniques like keeping tension even and securing threads help you get good results without strict rules.
Finding the Right Cross Stitch Fabric and Threads
Choosing the right fabric and threads is key for beautiful cross stitch projects. You can pick from beginner-friendly Aida to elegant linens. Each fabric has its own special qualities. With the right threads and tools, your craft can reach new heights.
Types of Cross Stitch Fabrics
Cross stitch fabric is the base of your project. Let’s look at the different types:
- Aida Fabric: Great for beginners, Aida is 100% cotton. It comes in counts like 14, 11, 16, 18, and 20. Its wide weave makes holes easy to see, helping with stitching.
- Fiddler’s Cloth: Similar to Aida but with 50% cotton, 42% polyester, and 8% silk. It’s available in 14, 16, and 18 counts. It offers luxury with a sturdy feel.
- Evenweave Fabric: With counts like 25, 28, and 32, evenweave fabrics, like Lugana, have a consistent texture. They’re perfect for advanced patterns.
- Linen Fabric: Made from flax, linen is softer and has higher counts like 28, 32, 36, and 40. It’s a bit tricky but adds a vintage look.
Fabric is sold in fractions like fat eighths, quarters, and yards. You can find it in pre-made items or stitching bands for special projects.
Choosing the Best Threads for Your Project
Cross stitch threads come in cotton, silk, and metallics. The right choice can make your piece look amazing:
- Cotton Threads: The most common, found in six-strand skeins. They’re versatile, durable, and easy to use.
- Silk Threads: They add luxury and shine but need more care.
- Metallic Threads: Perfect for sparkle but can be stiff to work with.
Cross Stitch Needles and Other Tools
The right tools make stitching fun and efficient. Here are some must-haves:
- Needles: Use gold-plated tapestry needles for durability and ease of use. Sizes 24 and 26 work for most projects.
- Needle Minders: They keep needles in place and prevent loss.
- Stitching Frames and Hoops: They help keep fabric tight for even stitches.
- Thread Organizers: They keep threads tidy to avoid tangles and keep colors in order.
| Fabric Type | Material Composition | Common Counts | Recommended For |
|---|---|---|---|
| Aida | 100% Cotton | 14, 16, 18 | Beginners to Experienced Stitchers |
| Fiddler’s Cloth | 50% Cotton, 42% Polyester, 8% Silk | 14, 16, 18 | Beginner-Friendly with a Luxurious Feel |
| Evenweave (Lugana) | 52% Cotton, 48% Rayon | 25, 28, 32 | Advanced Patterns |
| Linen | Flax Fibers | 28, 32, 36, 40 | Experienced Stitchers |
How to Ensure Consistency in Your Cross Stitch Projects
Getting your crossstitching to look professional is key. Focus on keeping your stitches even and managing thread twists. This will make your project look great and keep the pattern clear.
Maintaining Even Tension
Even tension in your stitches is vital. It stops puckering and keeps your fabric smooth. This is especially true for 16ct or 32ct fabric with 2 strands of floss.
Practice makes perfect. Repeatedly stitching helps you get better at it. It also helps you keep your stitches going in the same direction. This makes your work look clean and polished.

Avoiding Thread Twists
Thread twists can ruin your stitches. They make your work look uneven and lumpy. Using a laying tool to separate threads before stitching can help a lot.
Letting your needle and thread hang can also help untwist threads. Washing your finished project can make the stitches look even better.
By practicing these techniques, you’ll get better at crossstitching. Your projects will look smooth and professional. You’ll be proud to show them off or give them as gifts.
Tips and Tricks for Beautiful Cross Stitch Results
Making a beautiful cross stitch masterpiece needs some secrets from the pros. Here are some cross stitch tips for stunning results:
- Choose colors that go well together and try variegated threads for cool effects.
- Get the right cross stitch tools that fit your budget for a better experience.
- Use a good daylight lamp to avoid eye strain and make fewer mistakes.
- Get your project ready by organizing threads and stopping fraying before you start.
- Keep your WIPs safe and organized to protect them.
- Make the back of your work neat by cutting off thread ends and avoiding knots.
- Plan your stitching path to avoid mistakes and get perfect results.
- Take care of your finished work by washing it gently, ironing it, and framing it carefully.
Here’s a quick look at some top tools and practices for better cross stitch:
| Tool/Practice | Recommendation | Tips |
|---|---|---|
| Aida Cloth | Start with 14-count | Perfect for beginners due to its grid-like structure |
| Embroidery Floss | DMC or Anchor | Known for durability and a wide range of colors |
| Hoops | Smaller hoops for small projects | Maintain consistent tension in the fabric |
| Thread Length | 10-12 inches | Prevent tangles and knots |
| Natural Light | Work in daylight | Ensures better color accuracy and reduces eye strain |
To keep your stitches even, start from the center of the fabric. Start with simple patterns to build your confidence. Practice basic stitches like Full Cross, Half-Stitch, Backstitch, and French Knot for detailed designs.
Remember to take breaks and be patient with your cross-stitch journey. Joining a cross-stitch community can give you inspiration, advice, and friends.
By following these cross stitch tips and best practices, you can make stunning, beautiful cross stitch pieces to show off.
Conclusion
In your cross stitch journey, you’ll find many opinions and techniques. But, it’s key to focus on being happy with your final piece. Whether you stick to old ways or try new ones, the joy is in the making and the pride in your work.
Good cross stitch projects need careful following of instructions. Even beginners can do great work by paying attention to the basics. For example, keeping your stitches even helps avoid mistakes and keeps your work looking good.
Starting out in cross stitch means spending some money, whether on a kit, fabric, or thread. Kits cost between $5 and $10. Basic supplies like 14 count Aida fabric are $3.99 per roll, and DMC floss is $0.62 per skein. More expensive options, like hand-dyed linen, cost between $25 to $30. This shows cross stitching fits any budget.
As you get better at cross stitch, you might try other crafts like knitting. Yarn for knitting costs between $3 to $10. Each new project helps you grow and enjoy your crafting. The secret to success is to keep practicing and enjoying it. With hard work and the right skills, you’ll love every cross stitch project you finish.
