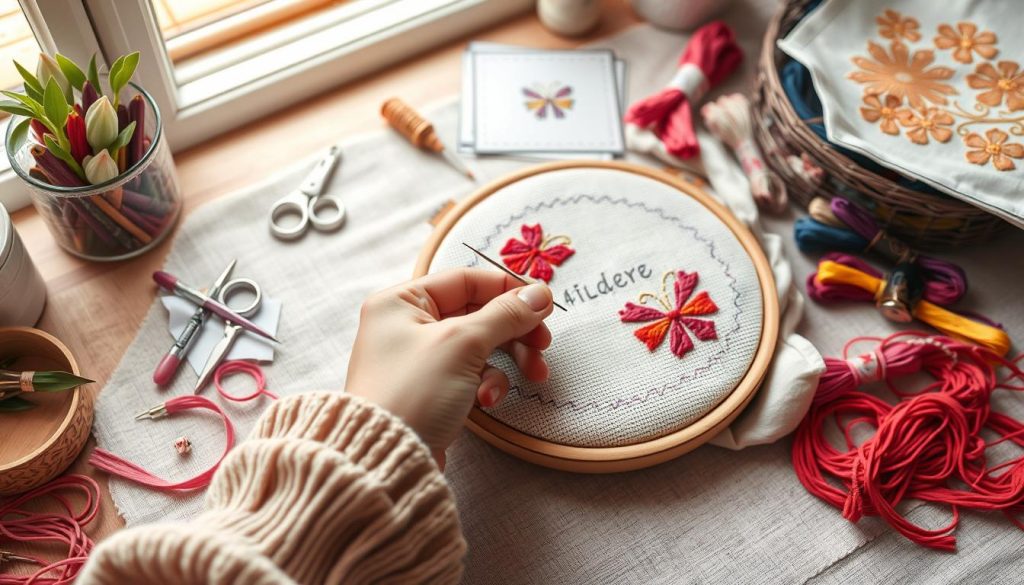
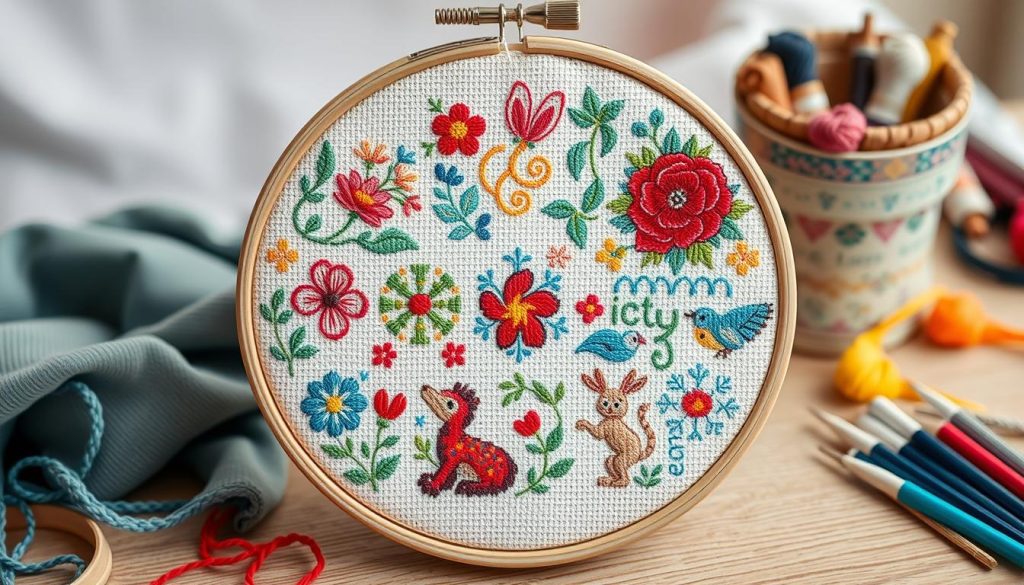
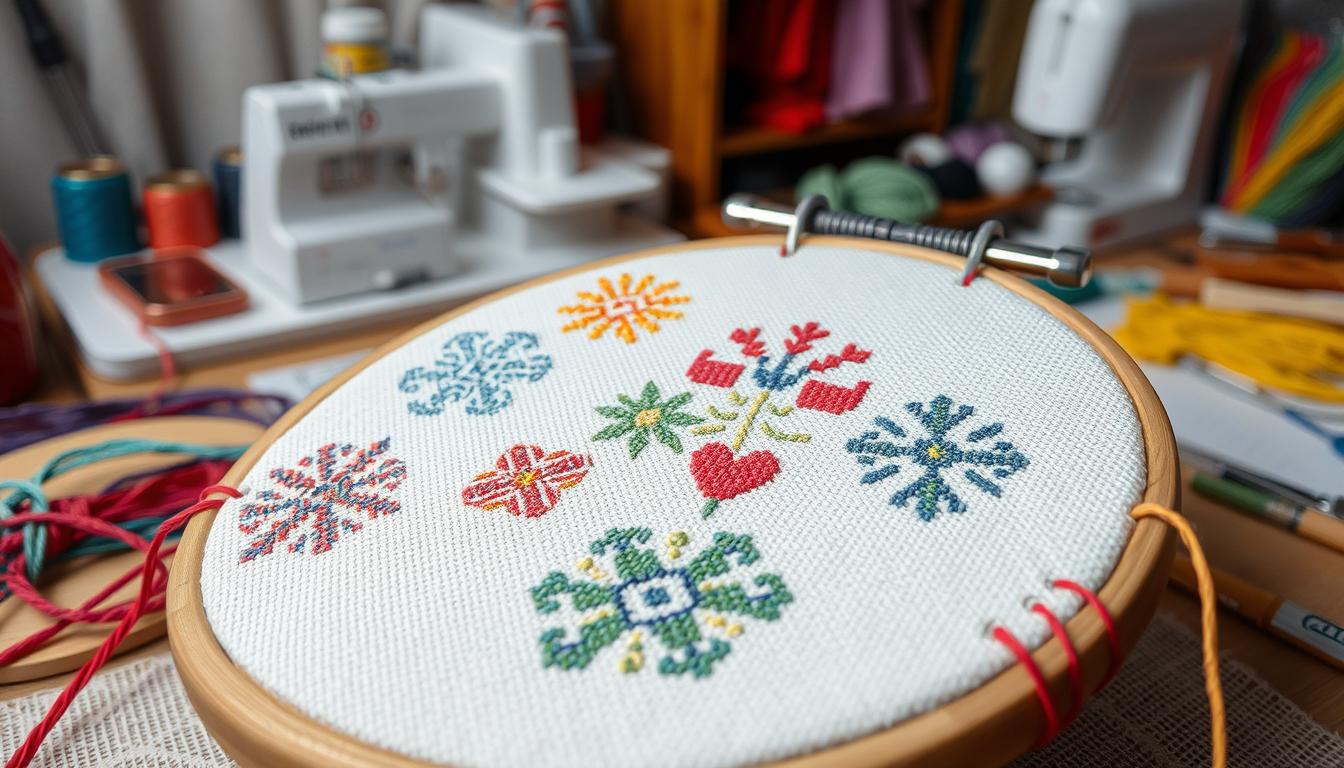
Exploring cross stitching in reverse opens up new possibilities. It’s great for making items look perfect from both sides. This is perfect for towels and tablecloths. It also adds a surprise element to your work.
Many people are now using this technique for Christmas ornaments. These ornaments look great from all angles.
In the cross stitch techniques world, reverse cross stitch is sparking interest. Crafters are diving into backward cross stitching for its beauty and challenge. With the right cross stitch tutorials, anyone can learn this unique skill.
Key Takeaways
- Backward cross stitching offers enhanced aesthetic appeal for double-sided visibility.
- This technique is excellent for items like towels, tablecloths, and Christmas ornaments.
- Reverse cross stitching can provide a surprise element when work is inspected for neatness.
- Many crafters are intrigued by the technical challenge of backward cross stitching.
- Specific tutorials and cross stitch techniques can assist in mastering this method.
Understanding Backward Cross Stitching
Reverse or backward cross stitching is a new skill for embroidery fans. It makes patterns look the same on both fabric sides. This method needs creativity and precision, making it fun for those who know the basics.
Definition and Basics
Reversible cross stitch creates mirror images on both fabric sides. You start with one set of stitches and then cross back to finish. It’s great for simple colors or patterns like checks and plaids for beginners.

Why Stitch Backwards?
Many stitch backwards to make items look good on both sides, like towels and decorations. It also keeps the back side clean, giving a professional finish. Symmetry on both sides is very rewarding, as cross stitch patterns show.
Benefits of Reverse Stitching
Reverse stitching adds versatility to your skills. It’s good for both simple and complex projects. A clean back is key in competitions, affecting the score. It also saves thread, prevents knots, and improves project quality. The neat back keeps the project looking organized and nice.
| Aspect | Traditional Cross Stitch | Reversible Cross Stitch |
|---|---|---|
| Ideal Patterns | Diverse, including complex designs | Simple blocks, checks, plaids |
| Thread Management | Regular knotting Thread carries |
Few knots Minimal thread carries |
| Professional Competitions | Focus on front appearance | Equally judged on both sides |
| Thread Usage | Standard | Conserves thread |
Techniques for Backward Cross Stitching
Learning backward cross stitching means knowing different methods to get a perfect project. Here are some key techniques to make your work smooth and polished.
The Continental Method
The continental method is great for backward cross stitching. It works by doing half stitches first and then the full crosses on the way back. This method keeps your stitches even and symmetrical.
When stitching, skip stitches to keep things consistent. This helps your work look even better.
Handling Color Changes
Managing cross stitch color changes is key for a clean piece. Anchor your threads under matching stitches to avoid tangles. This keeps your work looking neat on the front.
Try to keep threads short to avoid them showing on the front. This makes your color changes smooth.
Maintaining a Tidy Back
Keeping the back of your work neat is crucial, especially for reversible projects. Start with techniques like Tuck Start, Loop Start, and Pin Start to avoid knots. This makes your work look better and last longer.
Place threads carefully and secure them well. Tuck threads under stitches and cut them close to the point to avoid fuzz. This makes your work look professional and durable.
For example, Tatreez embroidery uses expensive silk threads. It focuses on a clean back to save threads. The same goes for cross stitch— proper techniques ensure a clean and professional finish.
Choosing Suitable Cross Stitch Patterns
Choosing the right cross stitch patterns is key to success, especially in backward stitching. It’s vital to pick patterns that match your skill level and project goals. This ensures a smooth and enjoyable stitching experience.
Patterns with Simple Color Blocks
For beginners, it’s best to start with simple patterns. Look for designs with large color blocks or basic shapes. These patterns have fewer color changes, making them easier to stitch.
Beginners should aim for projects with 2,000 stitches or less. This size allows for a quick completion. Novices can stitch about 25-100 stitches per hour. More experienced beginners can stitch 75-100 stitches per hour.

When picking a pattern, consider the grid size and chart size. These determine the design’s width and height. Also, check the fabric count to ensure the pattern fits your project.
Challenges with Complex Designs
Complex designs can be tough for beginners. They often have many details and color changes. This can make it hard to keep the design symmetrical and colors neat on both sides.
Full coverage patterns, where every inch of fabric is stitched, are especially challenging. They require precise and uniform stitching.
It’s also important to think about the cost and source of patterns. High-quality patterns from designers like Peacock & Fig cost between $5 and $20. Cheap patterns, often found on Aliexpress, may be low in quality or stolen.
Choosing patterns that fit your skill level, time, and budget is crucial. It ensures a successful and rewarding stitching experience.
Potential Issues and Solutions
Starting a DIY cross stitch project can face cross stitch challenges. Thread tangling or knotting is a common problem. To fix this, use shorter threads, about 12-18 inches, and apply thread conditioners. Also, regularly untangle your threads to avoid this issue.
Uneven tension can cause your stitches to look wonky. To solve this, keep your finger pressure even and use a hoop or frame. Touch tests while stitching help keep your tension consistent.
Miscounting fabric threads can mess up your design. To avoid this, grid your fabric and double-check each section. A stitch counter can also help you count accurately, especially with complex patterns.
Color bleeding from flosses can ruin your work. To prevent this, pre-wash your threads and use color catchers when washing. This keeps your work looking clean and vibrant.
“Shorter is sweeter” when it comes to thread length. Keep your threads between 12-18 inches to minimize tangling.
Good thread management and planning your stitching path can make your work look neat. Use techniques like weaving tails under existing stitches and the loop start for new threads. This makes your starts and finishes clean and invisible.
By following these cross stitch troubleshooting tips, your cross stitching projects will be smoother and more fun. With the right strategies, you can improve the quality and precision of your stitching.
Conclusion
Backward cross stitching is a unique way to improve your stitching skills. It adds a new layer of creativity to your projects. By learning reverse stitching techniques, like the Continental Method, you can explore new possibilities.
Choosing the right patterns is key to success. Whether it’s simple color blocks or complex designs, it matters. Knowing how to handle color changes and stitch orientation mistakes is crucial.
As you get better, you might try different finishing techniques. This could include intricate back-stitching or using various fabrics and threads. The cost of materials, like fabric and DMC floss, is affordable. This makes cross stitch a great hobby for beginners.
Investing in better fabrics or hand-dyed floss can elevate your work. Cross stitch also has therapeutic benefits. It can help reduce stress and promote relaxation.
Always read instructions carefully and be patient with learning. By exploring new stitching methods, you’ll improve your skills and appreciate this craft more. Share your tips with others to help them too.
