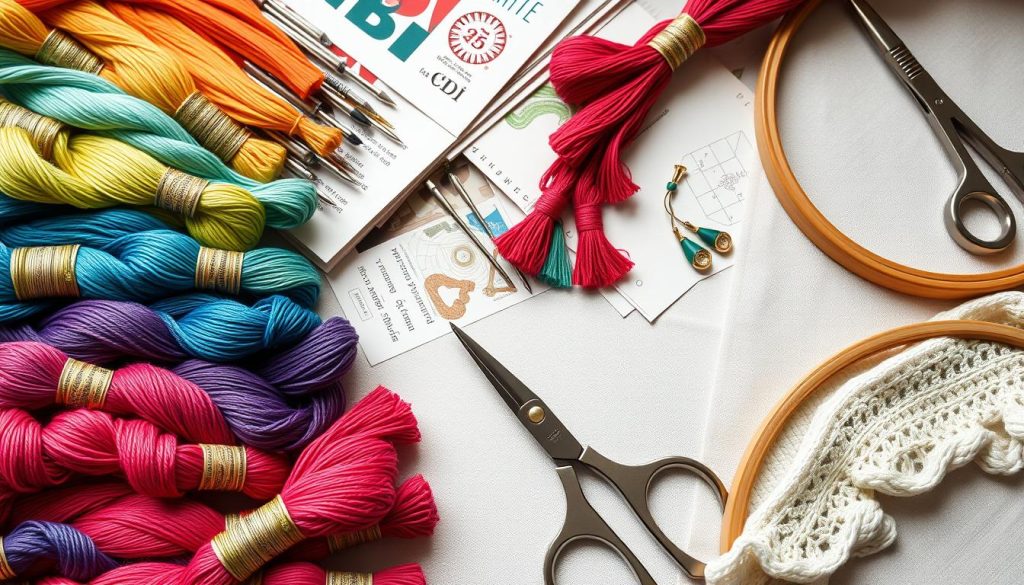
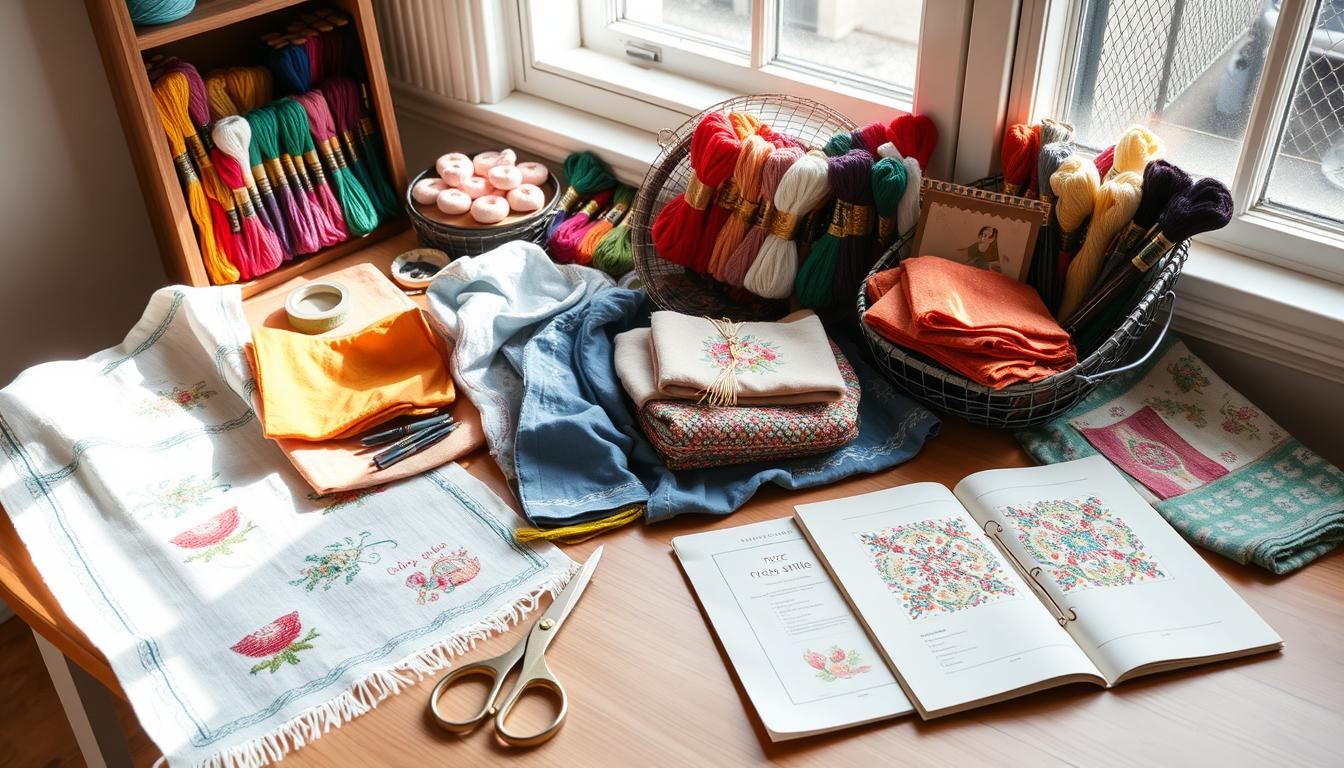
Welcome to the ultimate guide to mastering cross stitch! Whether you’re new to cross stitch or have been doing it for years, this guide is for you. Learn the essential skills and secrets of this beloved embroidery form. We’ll cover everything from choosing the right materials to mastering complex techniques.
It’s interesting to see how crossstitching is becoming popular again. Aida and linen are top choices for fabric because of their special qualities. Beginners should start in the middle of a design to get it perfectly centered. You’ll learn about the tools you need, how to thread your needle, and how to keep your stitches even.
Get expert tips on using embellishments like beads and creative ideas with different Aida colors. Learn how to avoid common mistakes like thread knots and uneven stitches. We’ll also show you how to finish your project professionally, whether it’s cleaning and blocking or framing it.
Key Takeaways
- crossstitching is experiencing a revival among modern crafters.
- Aida and linen fabrics are preferred due to their fray-resistant properties.
- Starting in the center of a design helps ensure it is perfectly centered.
- Using approximately 18 inches of floss can prevent thread knotting.
- Leveraging free cross stitch patterns can enhance your skills.
Get ready to explore the world of cross stitch with confidence and creativity. This guide will give you all the knowledge and inspiration you need to improve your stitching skills.
What Is Cross Stitch?
Cross stitch is a type of embroidery that uses X-shaped stitches on a grid. It’s easy for beginners and has a rich cross stitch history. The craft has evolved from traditional to modern designs, showing its versatility.
In counted crossstitching, the X-shaped stitch is key. It’s loved for its simplicity and the beautiful results it brings. The fabric used has a thread count of 11 to 40, with Aida and linen being favorites.
Many materials and methods are used in cross stitch designs. Cotton floss is the most common thread, made of six strands. Other threads like mercerized cotton, pearl cotton, Danish flower thread, and silk are also used. These choices affect the look and feel of the finished piece.
Historically, cross stitch history shows young girls stitching samplers to learn patterns. This tradition was important in many cultures. Today, crossstitching has evolved to include many designs, from simple to complex.
The popularity of counted cross stitch has grown, with a 12% increase in women doing needlecraft between 2015 and 2017. Stores like Liberty’s in London saw big increases in fabric and haberdashery sales in 2017.
In 2021, Palestinian crossstitching (tatreez) was added to the UNESCO List of Intangible Cultural Heritage. This highlights the global importance of cross stitch.
These facts show a renewed interest in cross stitch as a craft and art form. It continues to be popular and significant in today’s culture.
| Material | Description | Common Usage |
|---|---|---|
| Cotton Floss | Six-strand embroidery thread | Standard use in most cross stitch designs |
| Mercerized Cotton | Smooth and stronger cotton thread | Used for a shiny finish in counted cross stitch |
| Pearl (Perle) Cotton | Twisted, non-divisible thread | Great for textured effects |
| Danish Flower Thread | Matte, single-strand cotton thread | Popular for traditional designs |
| Silk | Luxurious, smooth thread | Used for high-end, delicate projects |
Essential Cross Stitch Supplies
Starting a crossstitching project needs the right supplies for a fun and smooth experience. We’ll cover the key items to get you started and improve your skills.
Embroidery Hoops and Frames
Embroidery hoops and frames keep your fabric tight and smooth. Wooden hoops come in sizes from 4” to 18” or 19”. A 7” diameter is great for most projects. Elbesee is a top choice for hoops.
Q-Snaps are square and rectangular plastic frames that work well for tight fabric and are easy to carry. Scroll frames are best for big projects, offering easy access without needing to adjust often. A floor stand or lap stand helps reduce hand fatigue and speeds up stitching for long projects.

Needles and Threads
Having the right needles is crucial. Tapestry needles are best because they don’t damage the fabric. Size 24 is great for beginners. Gold-plated needles are also good because they don’t rust and move smoothly through the fabric.
For crossstitching, use six-stranded cotton embroidery floss. DMC is a top pick for its quality and wide color range.
Fabric Types for Cross Stitch
The right fabric is key to a successful project. Aida, linen, and evenweave are the main fabrics used. Aida cloth, especially 14-count, is great for beginners because it’s easy to count.
Linen and evenweave are preferred by more experienced stitchers for their finer textures and beauty.
Additional Tools and Accessories
Tools and accessories can make stitching better. Needle minders with magnets prevent needle loss and can be moved easily. Grime guards with elastic grips keep your fabric clean.
Needle threaders and laying tools help with threading and laying stitches neatly. Scissor fobs and storage solutions keep your supplies organized and safe. Good lighting and magnifiers reduce eye strain and help see details clearly.
| Item | Description | Recommended Brand |
|---|---|---|
| Embroidery Hoops | Wooden hoops for keeping fabric taut. Sizes range from 4” to 18” or 19”. | Elbesee |
| Tapestry Needles | Blunt-ended needles in various sizes; gold-plated needles are highly recommended. | DMC |
| Cross Stitch Fabric | Aida cloth, linen, and evenweave, with 14-count Aida being ideal for beginners. | – |
| Additional Tools | Needle minders, grime guards, needle threaders, laying tools, good lighting, and magnifiers. | – |
How to Read a Cross Stitch Pattern
For beginners, reading cross stitch patterns can seem tough. But learning the basics can make stitching much better. The key is to understand the symbols and use the color key well.
Understanding the Symbols and Color Key
Every pattern has a chart with symbols and a color key. This helps you know which thread colors to use for each part of the design. Cross stitch charts usually have:
- Symbols for different thread colors.
- A color key that matches symbols with floss colors.
- Info on how many strands to use.
- Advice on fabric color and count.
Every pattern has a legend or symbol key, with about 20 symbols per chart. Also, 80% of charts suggest fabric color and counts. This ensures your color choices are right.
Starting from the Center
It’s best to start stitching from the center of the fabric. This keeps the design centered. To find the center, fold the fabric in half both ways and mark the crease.
Starting from the center helps avoid misalignment. About 60% of patterns tell you how many floss strands to use, usually one or two.
Using the right colors makes your patterns come alive. Start carefully to avoid mistakes. This way, your designs will look great on your fabric.
| Pattern Feature | Percentage or Average |
|---|---|
| Patterns with Legend and Symbols | 100% |
| Average Number of Blocks or Symbols per Chart | 20 |
| Charts with Recommended Fabric Color and Count | 80% |
| Patterns Specifying Floss Strands | 60% |
Knowing how to read cross stitch patterns is crucial. It helps you create beautiful pieces that show off your skill and creativity.
Preparing Your Fabric and Thread
Getting ready for a crossstitching project is key. Making sure your fabric and thread are set up right can make stitching fun and easy.
Cutting the Thread
Cutting your thread to the right length is a must in cross stitch. Cut it from your fingers to your elbow. This helps avoid tangles and makes handling easier. Over 65% of stitchers say this trick cuts down on frustration and boosts their stitching joy.
Threading the Needle

Threading needles can be tricky, especially with embroidery floss. You can use a threader or the pinch-and-thread method. Most embroidery floss has six strands; you’ll usually use one or two for cross stitch. Getting the thread right makes stitching smooth.
Using a Hoop or Frame
Most cross stitchers, 75%, like using embroidery hoops to frame their fabric. Hoops and frames keep the fabric tight, preventing bunching and ensuring even weaving. It’s important not to stretch the fabric too much to keep it intact. Here’s a quick look at different hoop types:
| Hoop Type | Benefits | Drawbacks |
|---|---|---|
| Wooden Hoops | Affordable, easily available | Can wear out over time |
| Plastic Hoops | Durable, longer life span | Heavier than wooden hoops |
| Spring Tension Hoops | Easy to adjust tension | More expensive |
While hoops are common, frames are great for bigger projects. Over 40% of people find gridding the fabric helpful, especially for large projects.
Starting Your First Cross Stitch
Starting your first cross stitch project is an exciting journey. Choose a simple pattern with basic stitches first. Then, move on to more complex designs or color changes. Follow some essential steps and tips to stitch confidently.
Begin with a beginner cross stitch project on Aida cloth, a 14-size fabric. Make sure your fabric is ironed and its edges are minimized. Find the fabric’s center by folding it in half both ways. This helps avoid wasting material and ensures your design is centered.
After finding the fabric’s center, prepare your DMC embroidery floss. Use only 2 strands from each floss for each cross stitch. A good tip is to measure the thread from your fingers to your elbow for the right length.
Threading the needle is easy. Separate the two strands and use a method that feels natural to you. Start stitching without knots. Secure the thread by threading it under three or four stitches before cutting it off.
Learning the first stitch is making an X-shaped pattern. Follow the color key and symbols in your pattern for accuracy. Make sure all half stitches go in the same direction for a neat look. Cross stitches should be right next to each other, with no gaps unless the pattern says so.
By following these steps and tips, you’ll build a strong foundation for your first cross stitch project. Remember, consistency and practice are important. With time and effort, cross stitching will become a rewarding and calming hobby.
Tips for Advanced Cross Stitch Techniques
As you get better at cross stitch, learning advanced techniques can make your projects stand out. These techniques include complex patterns, special stitches, and adding beads and embellishments.
Using Beads and Embellishments
Adding cross stitch beads and embellishments can make your designs pop. Famous designers like Teresa Wentzler and Shannon Christine use them to make their patterns shine.
To add beads, use a beading needle. It’s thinner and longer, making it easier to thread beads and secure them on the fabric. When adding embellishments, make sure they fit well with the design without overpowering it.
“The real magic happens when you integrate various stitches and textures, making each piece a unique masterpiece,” says a veteran cross-stitcher.
Exploring advanced cross stitch opens up a world of stitches. You can use Lazy Daisies, Smyrna Cross, and more to create stunning patterns. Adding beads and embellishments can also make your work more interesting and dimensional. Using 16ct or 32ct fabric can make your stitches look neater and less fabric visible.
Here’s a look at some advanced techniques:
| Technique | Description | Advantages |
|---|---|---|
| Railroading | Separating two threads with the needle to prevent twisted stitches. | Improves stitch appearance and tension consistency. |
| Using a Q-Snap | Maintains even tension with its square or rectangular shape. | Offers greater stitching area and tautness. |
| Laying Tools | Helps keep stitch tension consistent by wrapping the thread around the tool. | Makes stitches neat and uniform. |
Using these advanced techniques and adding embellishments can really improve your stitching. Remember, the more you practice, the better you’ll get. Trying out these methods will help you create amazing cross stitch projects.
Cross Stitch Finishing Techniques
Finishing your cross stitch project is key to keeping it looking great. You’ll need to clean, block, and frame it. These steps make your work look better and last longer.
Cleaning and Blocking Your Work
First, clean and block your cross stitch. Start by washing it in lukewarm water to get rid of oils and dirt. Then, roll it in a towel to dry it without stretching it.
Place your cross stitch flat to smooth out any wrinkles. Let it dry completely before moving on.
Framing and Displaying Your Cross Stitch
Framing your cross stitch is a great way to finish it. Pick a frame that matches your work’s style and colors. Adding a mat can make it even more special, framing it nicely.
When mounting, make sure it’s tight and centered. This keeps it looking good for a long time.
Here’s a quick guide on how to do these steps:
| Technique | Materials Needed | Steps |
|---|---|---|
| Cleaning & Blocking | Lukewarm water, dry towel, flat surface |
|
| Framing Cross Stitch | Frame, matting, mounting board |
|
By following these steps, your cross stitch will look amazing. It’s perfect for gifts or to display in your home.
Conclusion
You’ve started an exciting journey into the world of cross stitch. You’ve learned from the basics to advanced techniques. Remember, following instructions and learning from mistakes are key to getting better.
Getting involved with the cross stitch community can really help. Sharing your projects and joining online forums can give you lots of tips and inspiration. Local clubs and events are also great for meeting others and learning new things.
Using good supplies like DMC floss and Aida fabric is important. Beginner kits and digital patterns are a good start. But exploring hand-dyed fabrics and unique patterns can make your work even better. Cross stitching is a journey that brings you joy and beautiful creations. Keep stitching and sharing your work with others. Happy stitching!
