Discover the secrets to making your cross-stitch better with these tips. Whether you’re new or experienced, these tricks will boost your skills. Learn how to pick the best threads and display your art in new ways.
Cross-stitch is loved for its calm and creativity. With the right tips, your work can become amazing. Start with Aida fabric, which comes in counts from 8 to 20. Beginners should start with counts like 8 or 10 to avoid frustration.
As you get better, move to higher counts like 14 or 16 for finer details.
Key Takeaways
- Begin with lower count Aida fabric like 8 or 10 to comfortably start your cross-stitch journey.
- Invest in high-quality thread brands such as DMC to avoid catching and tangling.
- Look for free cross-stitch patterns from reputable sources like DMC, LoveCrafts, and Country Living.
- Explore different types of Aida fabric and incorporate unique elements to personalize your designs.
- Using a Stitch Calculator can help you determine the fabric size needed for your pattern.
Choosing the Right Threads
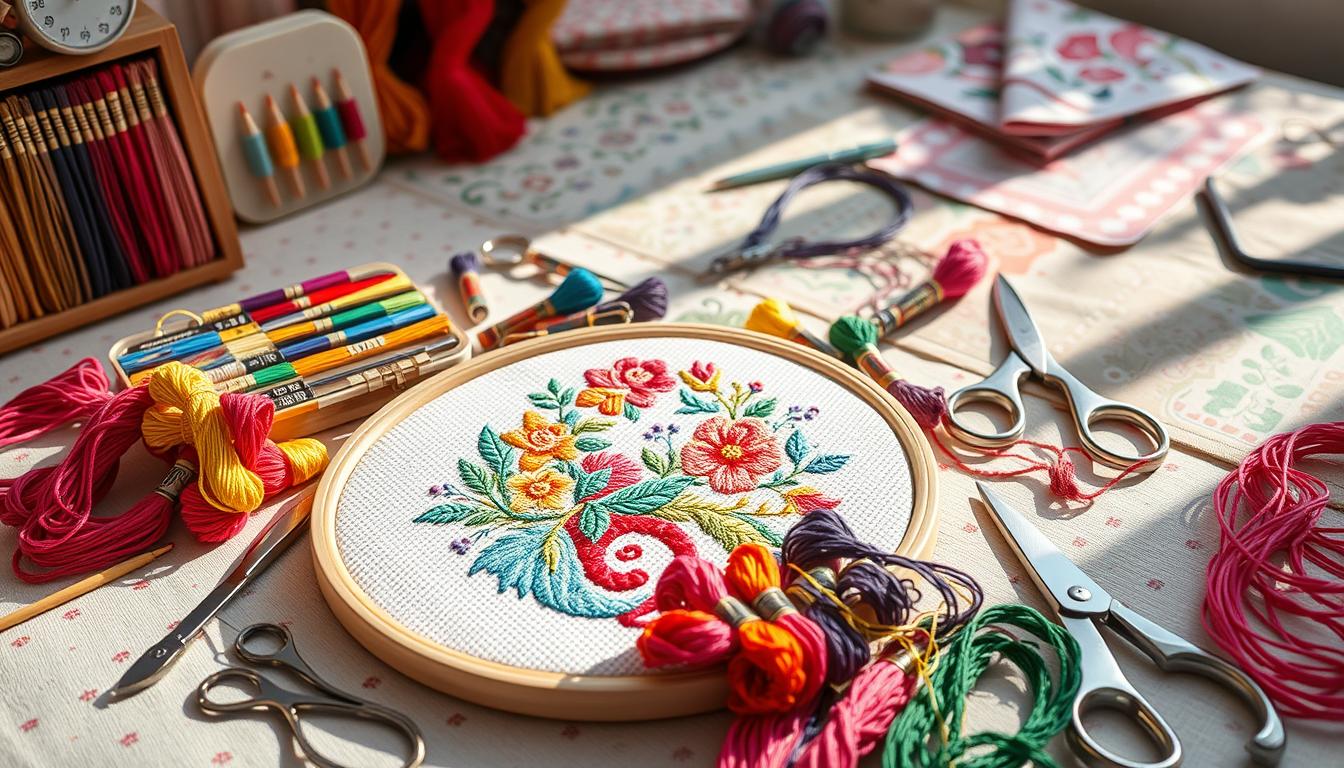
Choosing the right crossstitching threads is key to high-quality designs. There are many threads to choose from. Knowing each type well is important for making the right choice.
Invest in High-Quality Skeins
High-quality skeins like DMC cross stitch skeins can make stitching better. DMC threads are loved for their smooth feel and wide color range. They work well with 14-count or 16-count Aida fabric, using two strands for the best look.
Explore Variegated and Metallic Threads
Variegated and metallic threads can make your crossstitching stand out. Variegated threads mix colors in one skein. Metallic threads add sparkle and glamour, with many colors and thicknesses to choose from. Specialty threads like Coloris and hand-dyed offer unique options.
Organizing Your Threads
Keeping your threads organized is crucial for a good stitching experience. Bobbin cards or other methods help manage your threads well. Here’s a table comparing popular thread types and their uses:
| Thread Type | Description | Brand Example |
|---|---|---|
| Stranded Cotton | Commonly used for counted embroidery, smooth texture | DMC |
| Perlé Cotton | Non-divisible, shiny, used in Hardanger embroidery | DMC |
| Metallic Threads | Sparkling effect, various thicknesses and colors | DMC, Kreinik |
| Silk Threads | Expensive, elegant, and long-lasting | Silk Mori by Kreinik |
| Wool Yarns | Used for canvaswork embroidery | Anchor Tapisserie wool, DMC Tapestry Wool |
Knowing about different threads and organizing them well can make your cross stitch projects better. This ensures your designs are vibrant, elegant, and fun to make.
Using the Correct Needles

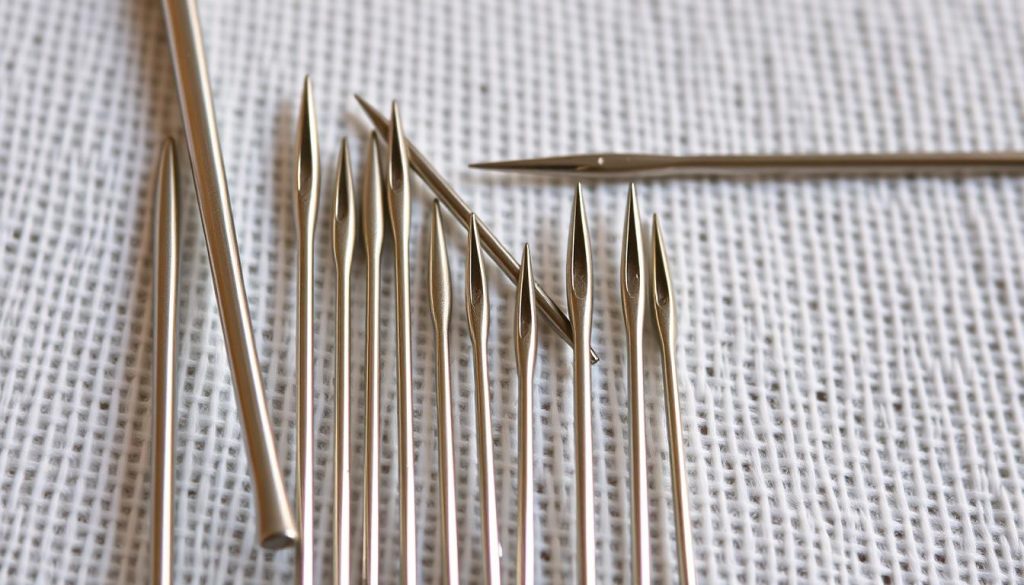
Choosing the right needle is key to great embroidery projects. Bohin needles are top-notch for their durability and smooth stitching. The right needle size makes your work easier and better.
Here are some essential guidelines for choosing the correct needles:
| Fabric Count | Recommended Needle Size |
|---|---|
| 6-count Aida | Size 18 cross stitch needles |
| 8-count Aida | Size 20 cross stitch needles |
| 11-count Aida | Size 22 cross stitch needles |
| 14-count Aida | Size 24 cross stitch needles |
| 16-count Aida | Size 26 cross stitch needles |
| 18-count Aida | Size 28 cross stitch needles |
| 28-count evenweave (over two strands) | Size 24 cross stitch needles |
| 32-count evenweave (over two strands) | Size 26 cross stitch needles |
| 36-count evenweave (over two strands) | Size 28 cross stitch needles |
| 22-count hardanger | Size 26 cross stitch needles |
Needles 24 and 26 are the most used for crossstitching. They work well with most fabrics. For finer fabrics, use a size 28 needle. For coarse fabrics, a size 18 needle is best.
Choosing the right needle size prevents fabric damage. It also keeps your embroidery thread from wearing out. This leads to neat and efficient stitching.
Those allergic to nickel might prefer gold-plated Bohin needles. They’re also great for detailed work like French knots.
Needle Care Tips:
- Get rid of old needles to avoid damaging your fabric and thread.
- Gold-plated needles are good for those with nickel allergies, making stitching more comfortable.
Investing in quality needles like Bohin and picking the right size for your fabric makes stitching better. You’ll enjoy your embroidery projects more with these tips.
Effective Thread Separation Techniques
Learning how to separate threads well is key for a smooth cross stitch experience. This guide will show you how to separate threads properly. This helps avoid tangles and keeps your workspace tidy.
Avoiding Thread Tangles
One big challenge in crossstitching is avoiding thread tangles. To tackle this, it’s important to strip the floss well. Each embroidery floss skein has six strands. By separating these strands one by one, you can avoid thread tangles and reduce thread twist.
Many embroiderers like using precut threads. These can be set up on thread cards or in a ring. This makes threads easy to access and helps avoid waste.
- Typical thread consists of six strands.
- Stripping the floss helps prevent strands from twisting.
- Precut threads may be arranged on thread cards, in a ring, or hitched through a hole in an acrylic keeper.
Proper Thread Cutting
Proper thread cutting is also crucial for cross stitch floss organization. Using the right scissors for clean cuts is essential. This prevents frays and keeps the thread in good condition for your project. Small, sharp embroidery scissors are best for this task.
It’s also good to cut threads to a standard length, like 18 inches. This helps avoid knots.
What works best for you in cross stitch floss organization depends on your personal preference. Many people develop their methods over time. By focusing on clean thread separation and proper cutting, you can make your stitching process smoother and more enjoyable.
Free Cross Stitch Patterns and Where to Find Them
Looking for free crossstitching patterns can make your stitching fun without spending a lot. There are great places to find these patterns and connect with other stitchers.
Top Websites for Free Patterns
Many top websites offer free cross stitch patterns. Craft With Cartwright has creative designs for all skill levels. The Spruce Crafts also has a wide range of patterns, from simple to complex.

| Pattern Type | Number of Patterns |
|---|---|
| Cancer Awareness | 8 |
| Christmas-themed | 10 |
| Charity Quilts | 1 |
| American Patriotic | 2 |
| International Themes (Australia and Canada) | 2 |
| Baby-themed | Beautiful |
Utilizing Online Communities
Being part of cross stitch communities can really help your stitching. Sites like “Cross Stitch Friends” and “Stitching Together” are great for sharing free cross stitch patterns and getting tips. You’ll learn more and get support from others who stitch.
Being in these communities also opens up special resources. For example, Purple Rose Stitchers and Cross Stitch Blogs often share patterns and keep you updated on stitching trends.
The Art of Cross Stitch Lettering
Learning cross stitch lettering brings a personal touch to your projects. It adds creativity to custom designs or gifts. Letters can turn your work into meaningful art.
Tools like Stitchpoint’s cross stitch writer help plan your lettering. They ensure your messages are well-spaced and look good. The World of Cross Stitching magazine also offers new letters every issue, inspiring your designs.
There are many alphabet sampler kits and PDF patterns to enhance your projects. For example, Kate Garrett’s alphabet sampler kit is on 14-count Zweigart Aida and is 31x44cm. On Etsy, you can find the Cross Stitch Dinosaur ABC design, a 160×200 stitches PDF. The Calligraphy Cross Stitch Alphabet PDF includes the full alphabet, numbers, and punctuation.
Adding names or initials to your crossstitching makes them unique. This tradition goes back centuries in France. There, cross stitch was used to mark linen.
Here’s a detailed look at popular options for cross stitch lettering:
| Option | Description | Availability |
|---|---|---|
| Alphabet Sampler Kit by Kate Garrett | Contains 14-count Zweigart Aida; finished size is 31x44cm | Available in craft stores |
| Cross Stitch Dinosaur ABC Design | 160×200 stitches, PDF format | Available on Etsy |
| Calligraphy Cross Stitch Alphabet PDF Pattern | Includes full alphabet in upper and lower case, plus numbers and punctuation | Available on Etsy |
Historically, cross stitch lettering was used until the early 20th century. It marked household items and taught needlework. Letters like “W” and “zero” were often missing, showing lettering’s evolution. Women and apprentices kept the tradition alive, passing down techniques and styles.
Efficient Techniques for Starting and Ending Your Threads
Learning how to start and end crossstitching thread is key to keeping your work neat and professional. Good cross stitch finishing techniques save time, reduce stress, and make your projects look great. This is especially true when making gifts or keepsakes.
The Loop Start Method
The loop start method is great for starting your thread. It helps keep your stitches even and the back of your work clean. First, cut a thread twice as long as you need, fold it in half, and thread the loop through your needle. Make a small stitch along your guideline, then pass the needle through the loop to secure it without a knot. This method is best for even numbers of strands because it keeps the backside neat.
Secure Endings
Securing your thread’s end is just as important as starting it. Don’t use knots because they add bulk and can come undone. Instead, weave the thread through the back of your stitches several times for stability. Make sure to run the needle under at least three stitches on the back for a clean finish. Also, leave a tail of 1”-1½” and secure it as you stitch to anchor it well. Whip stitching and backstitching towards your next starting point are also good for avoiding long threads on the back while keeping things neat.
| Technique | Benefits | Considerations |
|---|---|---|
| Loop Start Method | Consistent stitches, no knots required | Best with even numbers of strands |
| Weaving Through Stitches | Secured ends, neat backside | Requires careful threading |
| Whip Stitching | Avoids long threads, maintains neatness | May require adjustment with stitching type |
Using these methods for starting and ending your thread can greatly improve your work’s quality. By focusing on efficient crossstitching finishing techniques, your projects will look polished on both sides. This shows your skill and care in your craft.
Innovative Display Ideas for Your Finished Cross Stitch Pieces
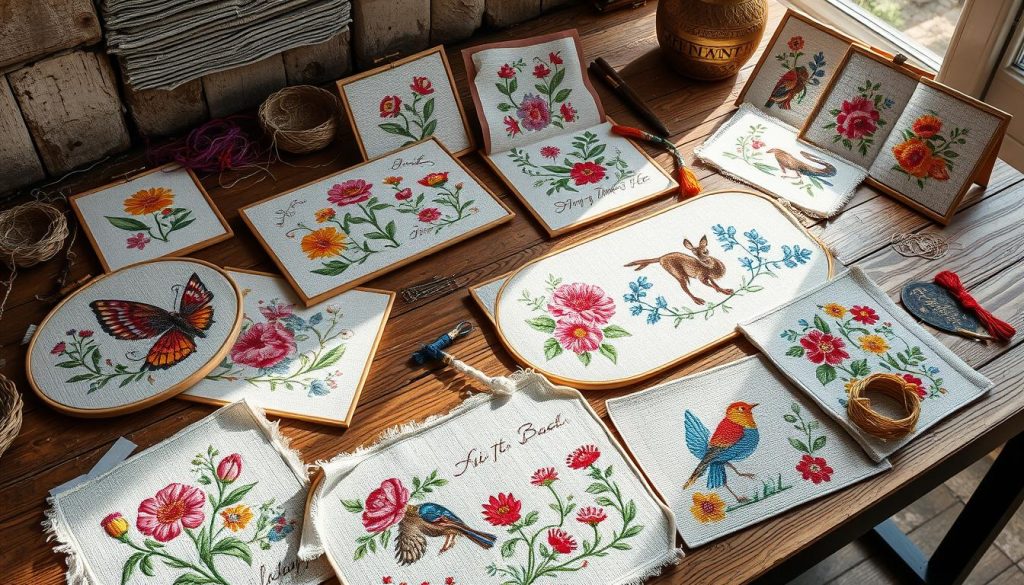
Displaying your crossstitching art can really enhance your home’s look. You can choose from classic framing to creative decor ideas. Let’s explore some cross stitch display ideas to beautify your space.
Using Hoops and Frames
Hoops and frames are top choices for showing off crossstitching art. About 70% of fans like to frame their pieces for the wall. Using different styles and sizes can make your art stand out.
Other options include mounting designs on foam boards or using drum keels and block stands. Hazel Blomkamp, a famous stitcher, likes to mount her work as stools or firescreens. This adds a unique twist to traditional framing. Cushion covers, used by 20% of crafters, offer a cozy way to enjoy your art.
Choosing the Right Colors for Your Display Space
Picking the right colors for your crossstitching art is key. Choose frames or backgrounds that match your room’s colors. This will make your crossstitching decor pop.
Seasonal decorations, like Christmas ornaments, are also popular. About 15% of crafters make these decorations to brighten their homes during holidays. Rotating your crossstitching pieces can keep your decor fresh all year.
While traditional tea towels and doilies are less popular, trying new crossstitching display ideas can refresh your projects. Whether you want to brighten your living room or add a personal touch, there are endless options.
Conclusion
Embracing seven cross-stitch hacks can make your DIY journey better. Start with quality threads and the right needles. Learn to thread and separate efficiently.
Free patterns and online communities can save you money. They also offer creative designs and support from others.
Cross-stitch is known for its stress relief and mental health benefits. It’s fun for all ages, from beginners to experts. You can start with a kit for $5-$10.
A 15”x18” Aida fabric costs $3.99, and DMC floss is just $0.62 per skein. This makes cross-stitch affordable for everyone.
Modern crossstitching includes unique fabrics like opalescent and hand-dyed. Show off your work in hoops or frames to enhance your space.
As you explore cross-stitch, you’ll improve your creativity and enjoy the process. We hope these tips inspire you to keep exploring this timeless craft.
