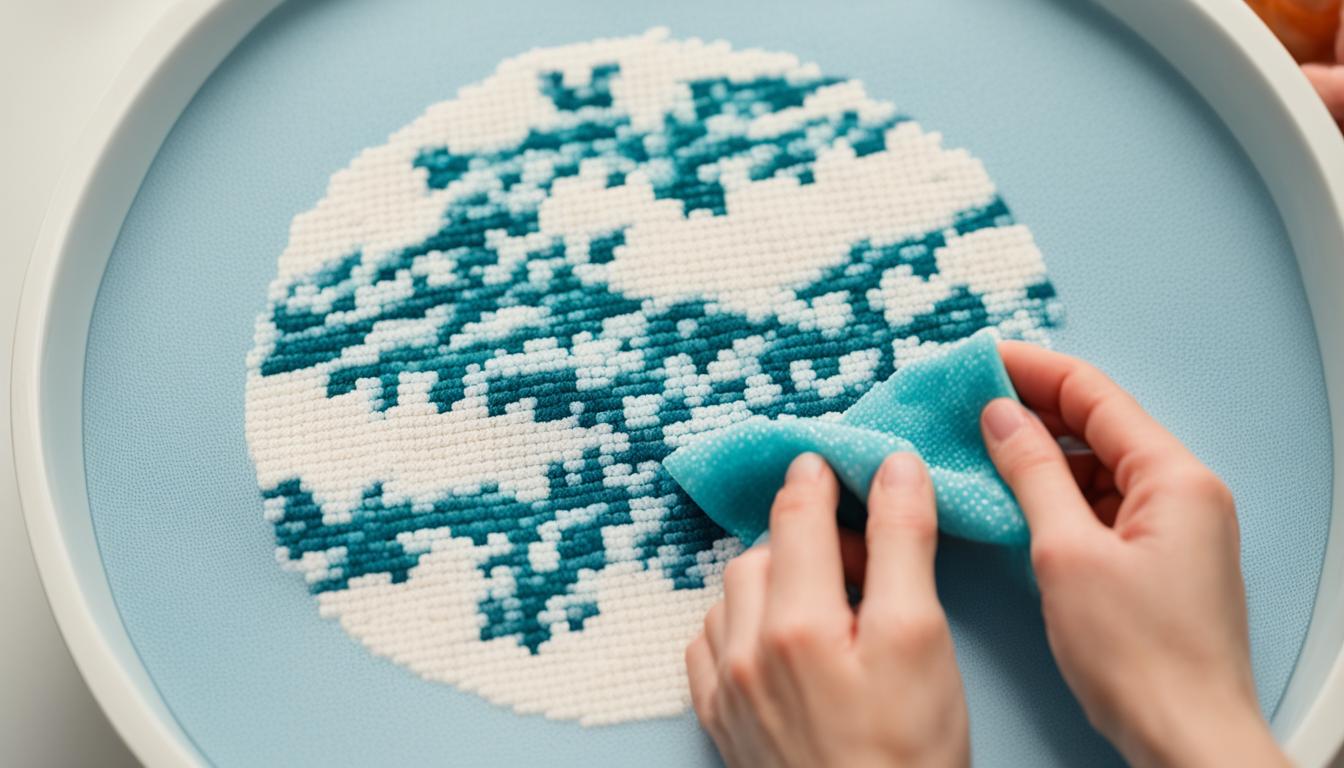
Ever thought about washing your cross stitch but worried it might ruin your masterpiece? Many new to cross stitching are unsure about washing. This is especially true for small projects that might be used for cards or tags. But, oils and dirt from your hands that get on the fabric while you stitch can actually harm your work over time.
Research shows that 71% of cross stitch items need washing before framing because of hand oils. It’s important to wash your cross stitch to get rid of these oils and dirt. This makes your work last longer. The washing process is easy, needing just a few items like mild soap and water. You’ll also need towels and an iron.
However, it’s important to be careful when washing certain cross stitch pieces. For projects with hand-dyed threads or added embellishments, color running is a real risk.
Key Takeaways
- Washing your cross stitch project can remove hidden oils and dirt, preventing stains and deterioration.
- 85% of individuals prefer using mild, eco-friendly soaps like Soak wash for cleaning cross stitch projects.
- 53% of people iron their cross stitch pieces face-down on a towel to avoid crushing the stitches.
- For stubborn creases, 19% use the steam setting while covering the stitching with a press cloth.
- Avoid washing pieces with hand-dyed threads or embellishments to prevent potential color running or damage.
In this next part, we’ll talk more about why it’s good to wash your cross stitch. We’ll cover the materials and give step-by-step guides. Stay with us for important cross stitch tips and tutorials. They’ll help keep your projects looking great and ready to show off!
Why Washing Your Cross Stitch is Important
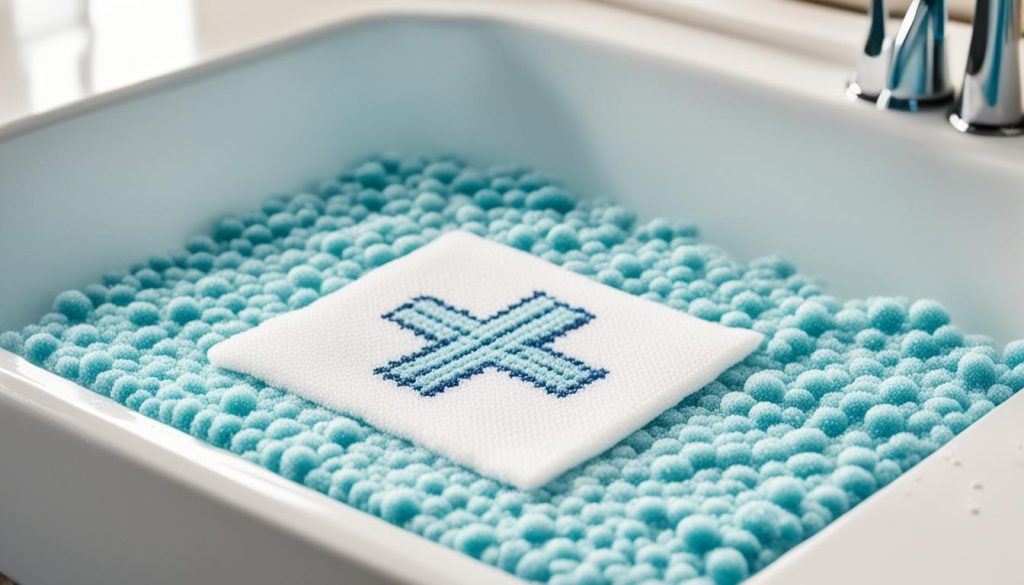
Your cross stitch shows your love and detail. Proper care, like washing your piece, keeps it looking good for a long time. Here’s why washing your cross stitch is so important.
Removing Stains and Oils
Even what you can’t see, like oils and grime, can stain your work over the years. Washing removes these and keeps your piece looking fresh. However, always test if the colors will bleed before wetting your cross-stitch.
Maintaining Fabric Integrity
The fabric of your cross stitch is its base. Regular washing keeps it from turning brittle. This helps the fabric stay soft and last longer, supporting your beautiful embroidery work.
Preventing Deterioration Over Time
Dust and dirt can harm your project as years go by. Washing it now and then keeps the fabric and threads clean and maintained. It’s a good move for pieces on display or those in long-term storage.
| Reason | Impact | Precautions |
|---|---|---|
| Removing Stains and Oils | Prevents visible stains | Test for colorfastness |
| Maintaining Fabric Integrity | Keeps fabric soft | Use mild soap |
| Preventing Deterioration Over Time | Stops dirt build-up | Air dry properly |
Materials Needed for Washing Cross Stitch
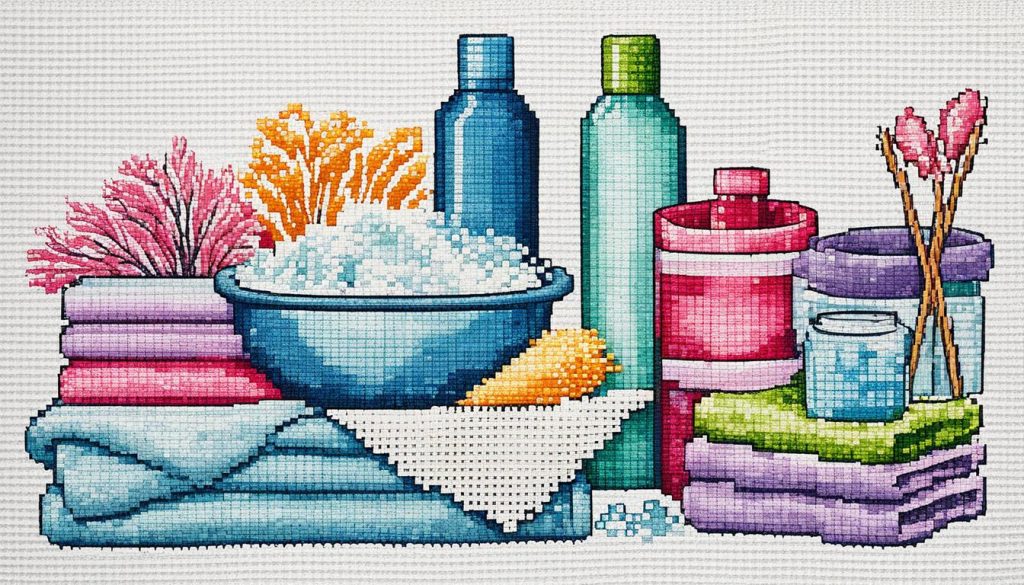
Taking care of your cross stitch properly is key to keeping it beautiful and lasting longer. We will look at the essential items and tools you need. These will help you clean and protect your piece the right way. You’ll need mild soaps, soft towels, and a good place to iron for your finishing process.
Types of Mild Soaps
The right soap is important for washing your cross stitch. Use mild soaps like Soak Scentless or dish soap. These are gentle on the fabric and threads but clean effectively. Harsh chemicals can make colors bleed on your cross stitch work. Just a few drops of a mild soap can do wonders.
Using Soft Towels
For drying, have 2 or 3 soft cotton bath towels ready. After the final rinse to get rid of soap, lay it on a towel to dry. Don’t wring it to remove water. Instead, gently roll the fabric inside the towel. This helps avoid wrinkles and keeps your work looking neat.
Best Practices with Irons and Press Cloths
Ironing the cross stitch is one of the last steps. Use a low setting to prevent damage. Iron it face down to protect the stitches. A thin pressing cloth is important to safeguard your work. Be extra careful with any accessories or delicate parts.
| Cross Stitch Tools | Usage |
|---|---|
| Mild Soap | Effective for gentle cleaning |
| Soft Cotton Towels | Used for drying to prevent distortion |
| Iron | For pressing and finishing the piece |
| Press Cloth | Protects fabric from direct heat |
Having the right tools makes caring for your cross stitch easier. Invest time in knowing these items. It will keep your cross stitch looking fresh and vibrant for a long time.
Step-by-Step Guide to Washing Your Cross Stitch
Washing your cross stitch project the right way keeps it looking good for a long time. This guide will show you how to clean it gently and effectively.
Soaking and Using Soap
Start by rinsing it under cool water to get rid of loose dirt. Then mix lukewarm water with some mild soap, like Soak Scentless.
Put your project in the soapy water for 15 minutes to an hour. While it’s soaking, gently move it around but don’t scrub too hard. This keeps the threads from getting damaged.
Rinsing and Drying Techniques
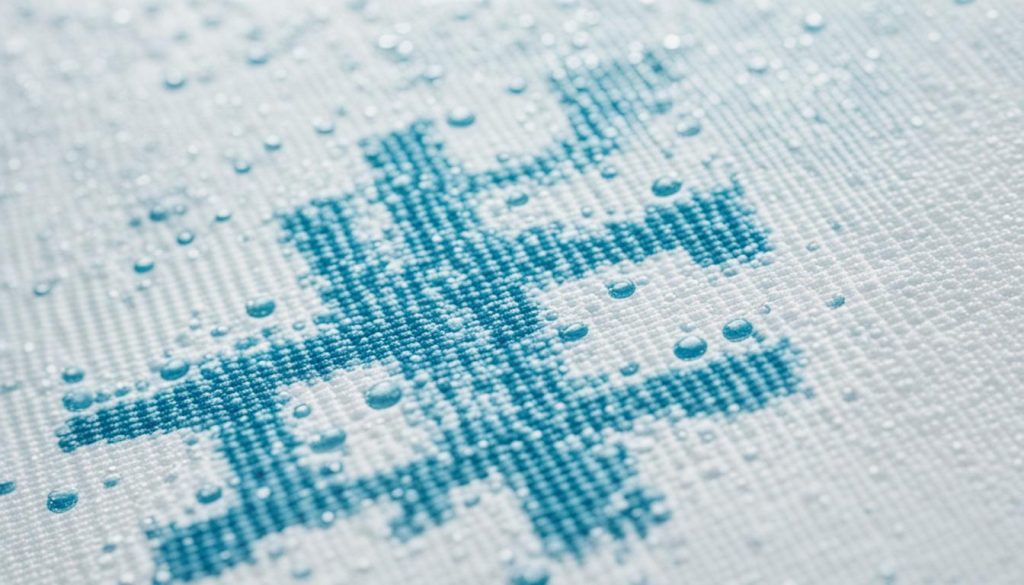
After soaking, rinse it carefully under cool running water. Make sure to rinse it at least three times with clean water to remove all the soap.
Place the piece face-down on a soft towel and roll it up gently. Press the towel to take out the extra water until it’s just damp. Never wring it because that can mess up the threads and stitches.
Then, iron the piece from the back side to protect the stitches. Use a warm iron without steam, and keep it moving. This step helps your work look flat and neat.
Let your cross stitch air dry completely by laying it flat or pinning it down. Following these tutorials and instructions will keep your project looking beautiful for many years.
When You Should Avoid Washing Cross Stitch
Cleaning cross stitch helps keep the designs safe. But not all pieces should be washed. This is especially true when your work includes special materials like hand-dyed fabric, beads, and metallic threads.
Risks of Color Running
Color running can ruin your hard work. Always check if the colors might bleed. If you’re careful, around 90% of projects won’t need washing. However, be cautious with certain Kreinik thread types.
Handling Hand-dyed Threads and Fabrics
Hand-dyed fabric and threads need special care. To avoid problems, test a small area’s colorfastness with a damp cloth. Even with testing, some materials might still bleed.
Dealing with Beaded and Embellished Pieces
Beads and metallic threads need attention too. Before adding these decorations, wash and press your piece. This prevents damage and guarantees your design stays beautiful.
It’s important to consider your project’s materials before washing. Making the right choice can keep your cross stitch in great shape.
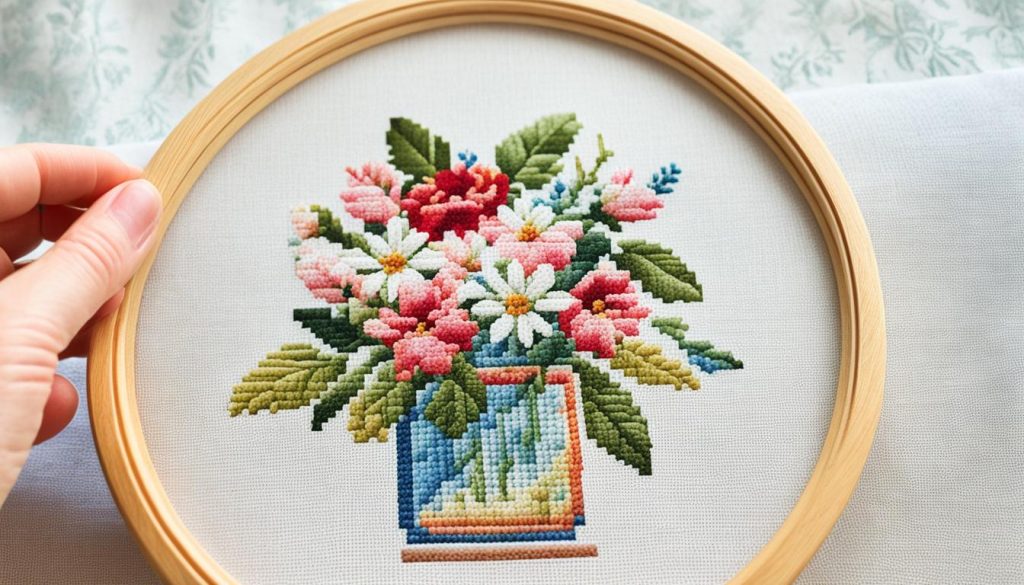
Tips for Drying and Pressing Cross Stitch
It’s important to dry your crossstitching pieces correctly. This ensures they look perfect. Letting them dry the right way keeps the stitches strong. This is vital for keeping your designs, like flowers and animals, beautiful.
Proper Ironing Methods
Always iron your crossstitching on the backside. Do this to avoid flattening the stitches. Also, put a press cloth between the iron and the fabric to protect the stitches. Use a low heat to avoid any damage.
Using Towels to Absorb Moisture
After washing, place your piece on a light towel. This stops lint from sticking and takes out extra water. Then roll it gently to dry, being careful not to bend the fabric too much.
Ensuring Stitches Stay Plump and Intact
When pressing, put a towel over your design to keep stitches in shape. Use a low, cool setting on your iron. Doing this keeps your work looking full and detailed. Your crafts will look professional and ready for display in your home.
Storage Solutions for Finished Cross Stitch Pieces
After cleaning and pressing your crossstitching, good storage is key. The right materials and methods can keep your piece beautiful for years. This will prevent wear and tear, protecting your hard work.
Using Acid-free Tissue Paper
To keep your finished piece safe, wrap it in acid-free tissue paper. This helps prevent the fabric from yellowing or breaking down. Using this paper lets the fabric breathe, which stops mold and mildew. Your piece will stay in great shape.
Rolling Around Cardboard Tubes
For big pieces, rolling them around a tube is a good idea. It keeps the fabric smooth and avoids wrinkles. To protect from water, cover the tube in cling film. But this might not fully protect if there’s a flood. Poly file folders work well for thick items and help avoid tears. They keep everything safe.
Long-term Storage Tips
Store your projects in a dry, cool place away from sunlight. Direct sunlight can make colors fade. Perfect spots are under the bed or in the attic. Use flat portfolios for A3 and A4 pieces. They can hold three years of work. They keep bugs away. Color code your organization to know what is what. Blue for works in progress, yellow for patterns, and so on. These tips will keep your projects in top condition.
