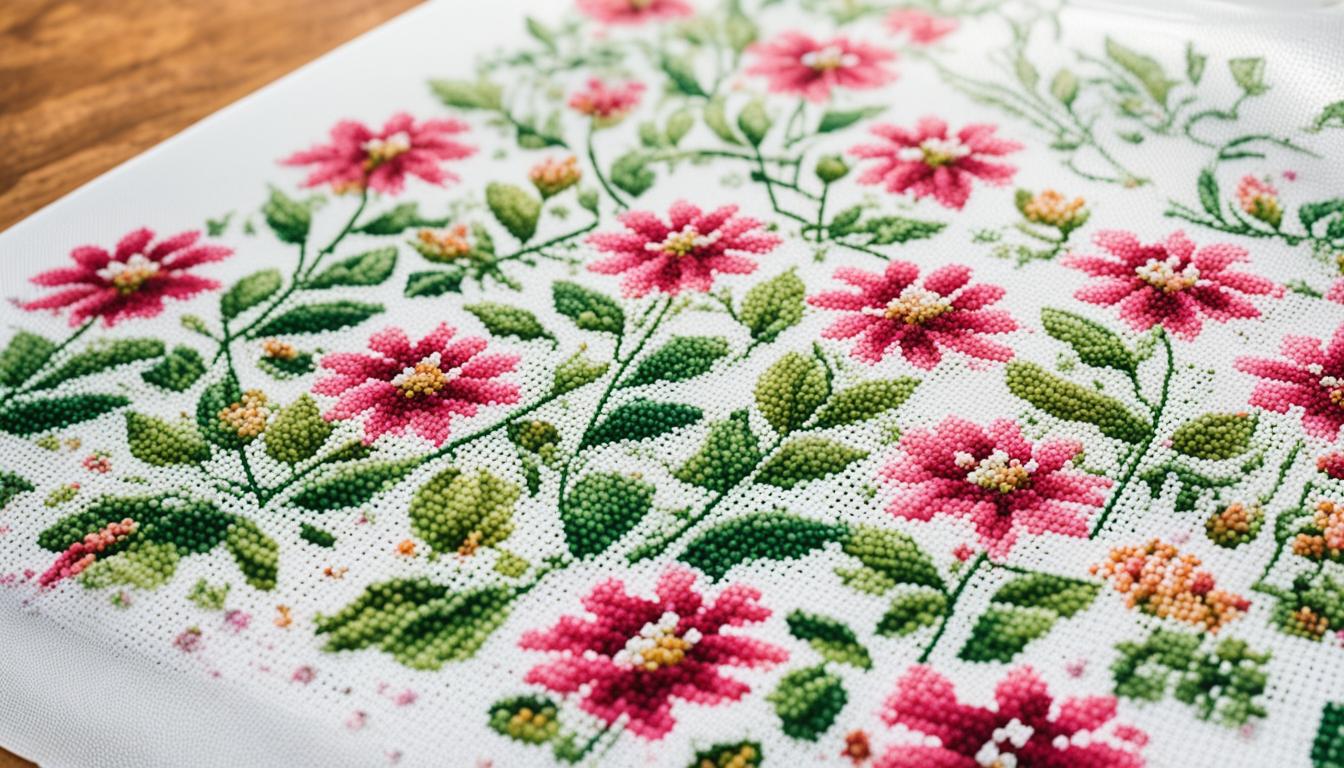
Have you ever finished a cross stitch project and thought about keeping it safe? Cross stitch lovers look for ways to protect and show off their work. Laminating can keep your work clean but it might change the colors and feel of the fabric. It’s important to know what laminating does before deciding. So, let’s look at the good and bad of laminating cross stitch projects.
Key Takeaways
- Laminating cross stitch projects offers protection from dirt and physical damage.
- This method enhances the durability of cross stitch artwork, making it last longer.
- Laminate makes cleaning your cross stitch projects easier.
- Potential color fading and loss of fabric texture are significant downsides.
- Laminating is an irreversible process often leading to difficult restoration.
- Alternatives like framing with glass or using protective sprays might be better options.
- Understanding the effect of lamination helps in making better cross stitch preservation decisions.
Understanding the Lamination Process for Cross Stitch
Laminating your cross stitch project makes it safe from dirt or moisture. Many people choose this to keep their designs looking new. It’s great for home decor or special gifts.
What is Lamination?
Lamination protects your cross stitch under a thin plastic layer. It keeps your artwork safe from harm. Plus, it helps keep colors bright and patterns detailed.
Why Consider Laminating Cross Stitch?
Laminating your work keeps it safe from dust, moisture, and UV rays. It helps your projects last longer and look better. It also stops threads and fabric from fraying, keeping your art perfect for longer.
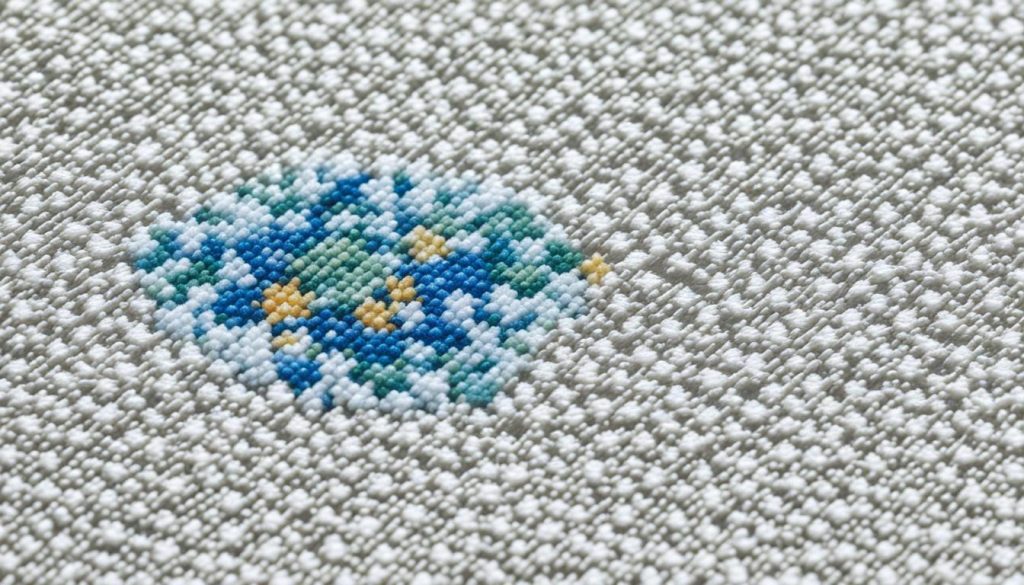
How to Laminate Your Cross Stitch Project
To laminate, you must:
- Choose the Right Lamination Material: Pick either gloss or matte vinyl. Make sure it is for fabric. Sizes range from 17-20”.
- Prepare the Fabric: Wash and iron your fabric to make it smooth. This prevents it from shrinking.
- Application Process: Cut the vinyl to size and place it on your project. It should be slightly sticky for easy moving into place.
- Ironing: Iron the vinyl onto your project with medium pressure. This should take 1-2 minutes. Flip and iron the back too.
- Final Steps: After laminating, your project is ready for sewing. This makes caring for it simple.
Nearly all people use organza and gel medium for lamination. This method is key to keeping your project looking new for a long time.
Learning to laminate well can greatly improve your project. It makes both the look and life span better. So, it’s a great skill for any DIY crossstitching lover.
Using paper and fabric together in all tests shows how reliable this method is. It protects detailed designs well.
Here’s a quick look at data for laminating your projects:
| Sample Types | Percentage |
|---|---|
| Gold Leaf | 40% |
| Silk Screened | 30% |
| Ink Blot | 20% |
| Photo Samples | 10% |
The Pros of Laminating Your Cross Stitch
Laminating your crossstitching projects is a great way to make them last longer. It keeps your work safe from dirt and damage. This makes lamination a good choice for many cross stitch fans.
Protection Against Dirt and Damage
Laminating shields your crossstitching from dirt, spills, and harm. It keeps your needlework in great condition. The lamination acts as a barrier, protecting your work from things that can ruin its beauty.
Enhanced Durability
When you laminate your cross stitch, it lasts longer. This makes your pieces more durable against wear and tear. Items like baby patterns or kitchen decor benefit a lot because they get touched a lot. Lamination helps keep the quality of your work over the years.
Ease of Cleaning
One big plus of laminated projects is they’re easy to clean. You can dust them without fear of thread or fabric damage. With lamination, keeping your crossstitching looking new and bright is easy.
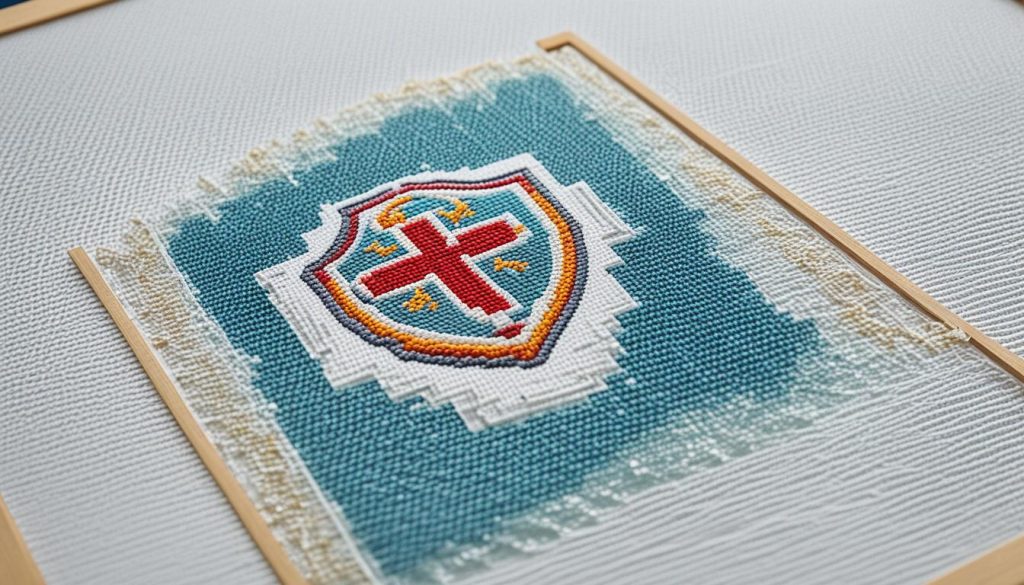
Lamination can help you show off your cross stitch. Not many people frame their work, but lamination is easy and effective. It also opens up a way for you to make money from your hobby.
| Benefit | Description |
|---|---|
| Protection | Shields against dirt, spills, and physical damage. |
| Durability | Enhances lifespan, especially for frequently handled items. |
| Cleaning Ease | Allows for easy wiping and dusting without risk. |
Laminating your crossstitching isn’t just about looks. It’s also about practicality. It’s a smart way to protect your precious needlework for years to come.
The Cons of Laminating Your Cross Stitch
Laminating has its pluses for guarding cross stitch projects. But, there are big drawbacks to think about. These include how it affects the colors, the feel of the fabric, and the impossibility of going back.
Potential Color Fading
Color fading is a big issue when you laminate. The glue used in this process can react with threads’ dye. This reaction might slowly reduce the brightness of your piece. It’s important to think about keeping your project’s colors true if you want it to look as great as when you finished it.
Loss of Fabric Texture
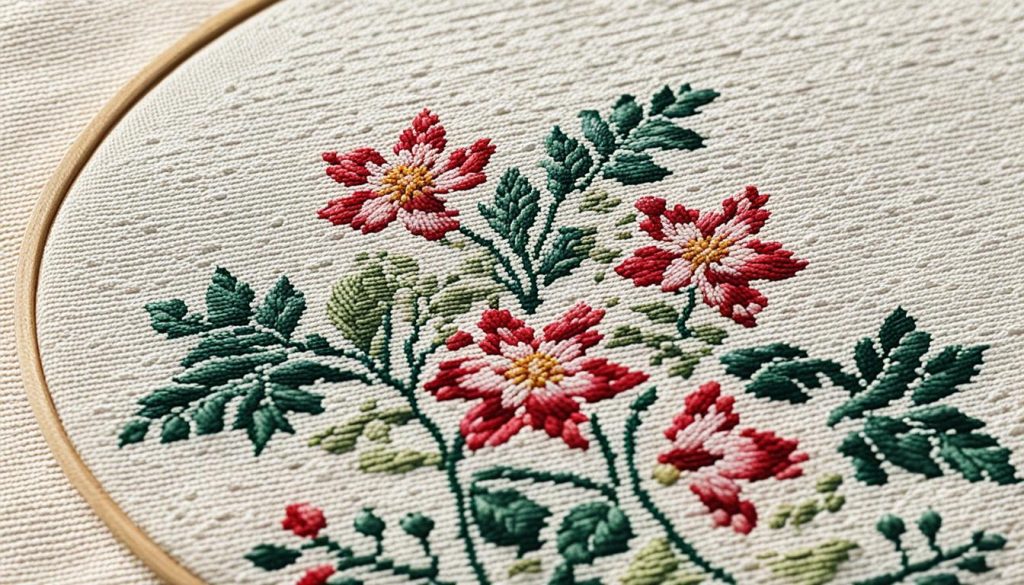
When you laminate, you lose the unique feel of the fabric. The touch of materials like Aida, linen, and evenweave is part of why cross stitches are charming. After lamination, the fabric becomes smooth. This loss of texture might affect the original feel of your work.
Difficulty in Reversing the Lamination
Undoing lamination is extremely hard, making it a key point to think about. Other protection methods, like framing, are usually easier to change. But once you laminate, it’s tricky to go back. If you later want to show your piece in another way, it might be tough or even risky to unlaminate it. So, laminating is an irreversible crafting decision that needs a lot of thought.
| Con | Description |
|---|---|
| Potential Color Fading | Adhesive materials may cause dyes to fade over time, impacting cross stitch color preservation. |
| Loss of Fabric Texture | Laminating smooths the fabric, compromising textile authenticity and tactile quality. |
| Irreversibility | Once laminated, reversing the process is challenging, making it an irreversible crafting decision. |
Looking at all these cons is vital when thinking about lamination. Make sure to balance the good and bad to choose what’s best for your treasured projects.
Cross Stitch Alternatives to Lamination
Looking for options other than lamination is key to preserving your crossstitching work. You can find ways to safeguard it without losing the beauty of its texture and colors.
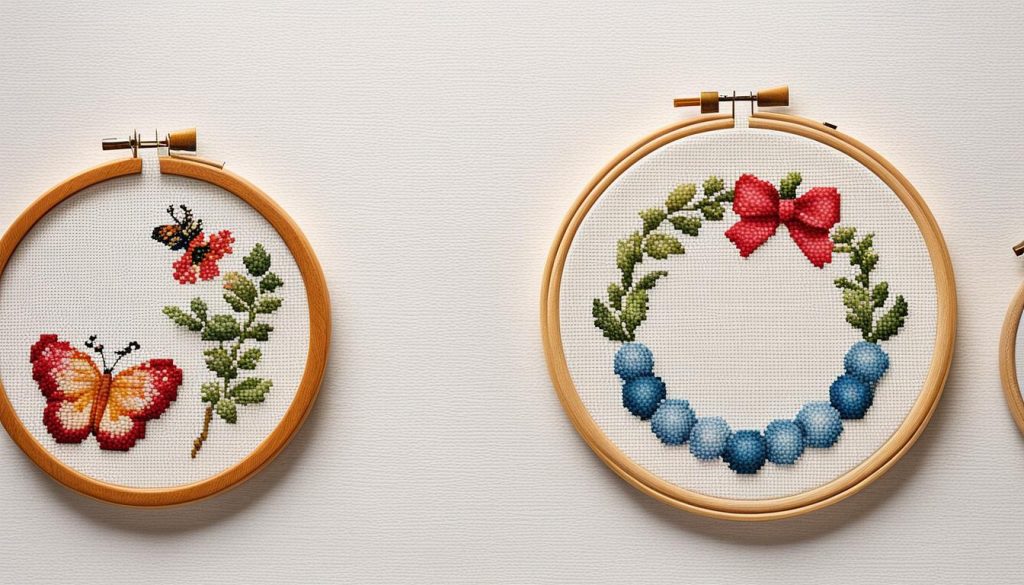
Framing with Glass
Putting your cross stitch in a frame with glass is a common choice. It protects from dust and dirt while keeping the work’s original look. You need the right tools like stainless steel staples and a Crescent Needle Board to ensure the fabric is smooth and doesn’t move. Pick the frame size wisely, often based on a 16-inch span, and center it well to showcase your art perfectly.
Using Protective Sprays
If you don’t like framing, there’s also special spray to protect textile art. These sealants guard against damage without changing how the fabric feels or looks. They’re perfect for all kinds of needlework, such as quilts, tablecloths, and even everyday items like sewing cases. They keep your designs looking crisp and vibrant.
Mounting and Matting Techniques
Another way to protect your work is by mounting it on a board. Using acid-free tape can secure the fabric without harming it. Making “hospital corners” ensures no fabric is visible from the front, giving a clean look. You can also get creative with matting, adding to your piece’s visual appeal.
Options like framing with glass and mounting are important for keeping your cross stitch pieces safe. These methods are great for everything from simple samplers to detailed wedding pieces. They make sure your work looks great for a long time.
Conclusion
The choice to laminate your cross stitch depends on what you like and how you’ll use it. It’s vital to know the cross stitch preservation best practices. Each protection way, like lamination, framing, or sprays, has its good and bad points.
Lamination makes the piece strong and easy to clean, perfect for items in the kitchen. Yet, it can make colors fade and the fabric feel change. Cross stitch is great for focus and relaxation, improving fine motor skills. It often turns into family keepsakes that are loved for generations.
Thinking about how to keep and show your work safe is key. Various methods like framing or using sprays can help keep the traditional feel. They also protect the beauty of your work. Enjoy the journey of your craft, including the small mistakes, and find a way that respects your creativity.
