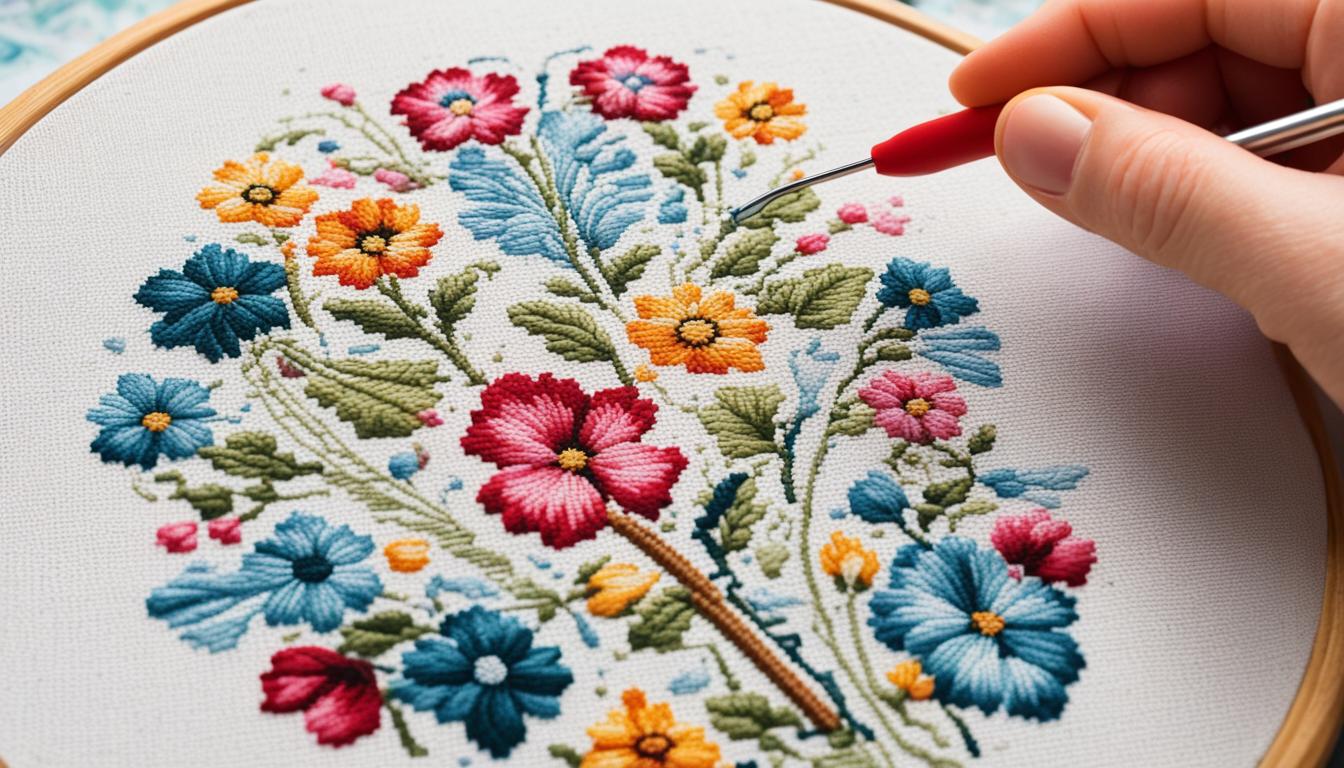
Cross stitch patterns often seem hard for beginners. They might feel easy but lack clear steps. So, learning about cross stitch kits and the journey helps a lot.
Choosing the right Aida fabric makes a big difference. A lower count, like 8 or 10, is easier to handle. Once you can work with bigger spaces, moving to more detailed patterns is simple. Start with kits from Hobbycraft or kids’ kits to get used to it.
Having the best tools is key. Using tools like Stitchpoint’s cross stitch writer for special messages is a good idea. Don’t forget a needle minder to keep track of needles. Also, stitch from bottom to top to stop them from coming undone. Unraveling thread? Use your knees to stop it from tangling. Adding your own colors makes your work stand out.
Key Takeaways
- Start with an Aida fabric count of 8 or 10, and progress to finer counts as you gain confidence.
- Opt for beginner-friendly cross stitch kits from brands like Hobbycraft to ease into the craft.
- Explore free cross stitch patterns from reliable sources like DMC and LoveCrafts.
- Use tools such as Stitchpoint’s cross stitch writer for personalized designs and maintain quality materials.
- Avoid stitching upwards to prevent stitches from coming undone.
- Prevent thread tangling by unraveling skeins using your knees.
- Express creativity through color customization and consider the final display of your cross stitch artwork.
With these tips, you will tackle patterns easily. You’ll love the process, finding it fun and creative.
Selecting the Right Cross Stitch Pattern
Choosing the perfect cross stitch pattern is key for a fun crafting journey. It’s vital to pick one that matches your skill level. This helps you avoid getting frustrated and ensures you feel successful early on. You’ll find patterns for all levels, from simple alphabets to detailed quotes.
Consider Your Skill Level
If you’re just starting, go for patterns with 2,000 stitches or fewer. For most beginners, it takes about 26 hours to finish such a project. You’ll enjoy starting with cross stitch alphabets, flowers, or animals. These are simple yet rewarding choices.
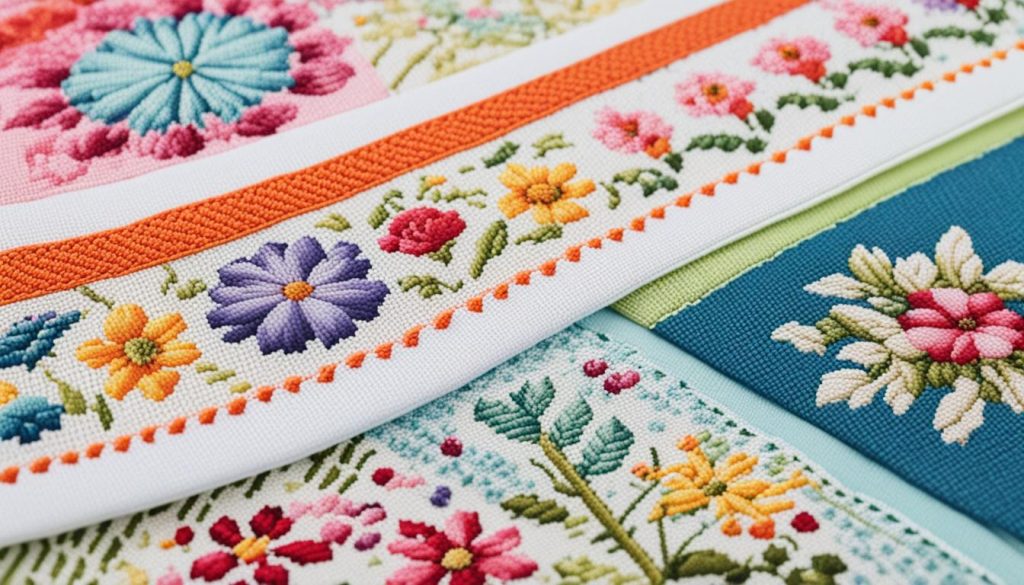
Try Aida fabric with 18 or fewer squares per inch as a newbie. It’s easier to see what you’re doing with bigger squares. Stamped patterns are great too. They save you from counting every stitch.
Types of Patterns: Simple vs. Complex
Simple designs are best for beginners. They have fewer stitches and colors, and they often feature flowers or animals. These make for pretty and easy projects.
More complex patterns, like detailed quotes, take more time and skill. They’re full of fine details that require careful work. You’ll find yourself challenged, even if you’re experienced.
Where to Find Free Cross Stitch Patterns
Want free patterns? Look online at sites like The Spruce Crafts, DMC, and LoveCrafts. They offer a huge range of patterns, from easy to hard. This allows you to discover new designs and techniques.
You can also find supplies and unique patterns at stores like Joanne Fabrics and Michaels. Need something special? Pattern Maker software turns photos into stitching patterns.
| Source | Pattern Types Available |
|---|---|
| The Spruce Crafts | Simple & Complex Designs |
| DMC | Alphabet, Animals, Flowers |
| LoveCrafts | Quotes, Full Coverage, Custom Patterns |
| Joanne Fabrics | Kits & Charts |
| Michaels | Kits & Charts |
Joining online forums is a great way to connect with other stitchers. You can share patterns, get tips, and meet people who love this craft. With so many free patterns out there, you can keep growing and learning through new projects.
Essential Cross Stitch Supplies
Having the right cross stitch supplies is crucial for a successful project. These materials can greatly improve the quality of your work. They can also make the process more fun.
Choosing the Right Fabric
For beginners, 14-count Aida cloth is a top pick. It’s easy to see, with 14 cross stitches in every inch. Go for light colors like white or ivory to help your stitches stand out. This fabric is easy to work with yet gives a solid base to start.
High-Quality Threads and Needles
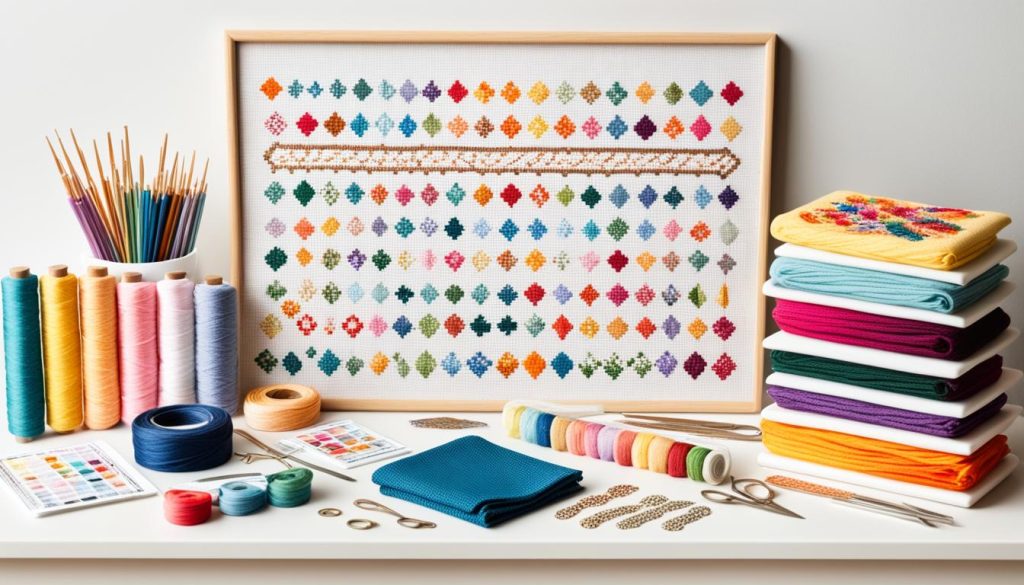
Using good quality threads is a must for colorful and lasting projects. Brands like DMC or Anchor offer colorfast threads. These threads are smooth and strong, keeping your stitches neat. For needles, start with size 24 tapestry needles. They’re easy to thread and gentle on your fabric.
Using Hoops and Frames
Hoops and frames are great aids for neat stitching. They keep your fabric tight, making for cleaner work. Choose from plastic or wood hoops, but wood is better for beginners.
For big projects, consider scroll-frames or Q-Snaps. They offer tight grip and are very effective.
With the right supplies like fabric, threads, needles, and hoops, your cross stitching will be fun and efficient.
Reading and Understanding Cross Stitch Charts
Learning how to read cross stitch charts is key for fans of the craft. These charts use symbols and colors to show where stitches go and what colors to use. This is very important for making sure your project looks just right, especially the more complicated designs.
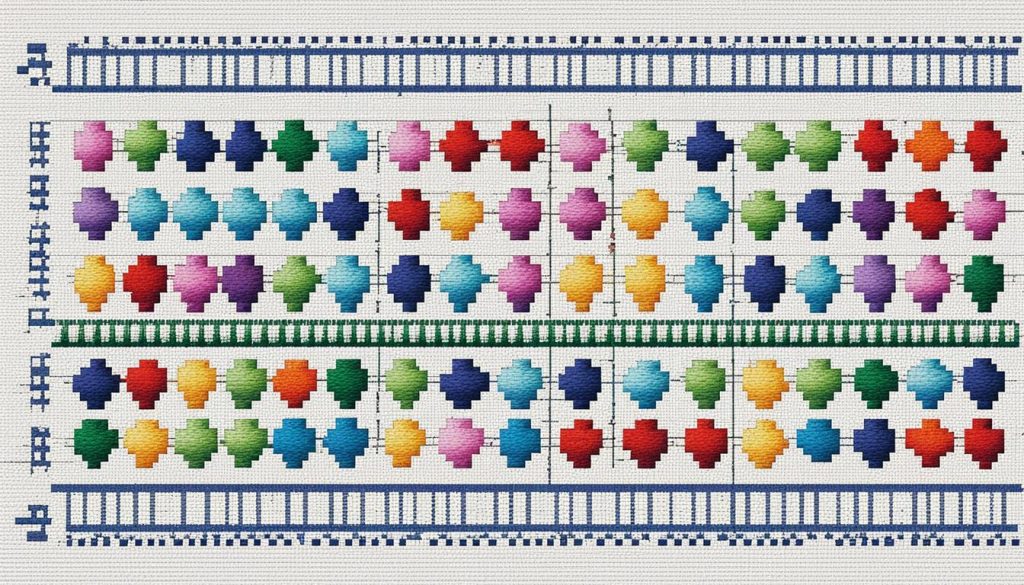
Symbols and Color Keys
Each small square on a chart stands for a stitch. Inside these squares, you’ll see symbols telling you which color thread to use. Matching symbols with a color key tells you the exact color. Charts might also suggest a certain type of fabric and its color to make your work easier.
Using symbols keeps your stitching accurate and neat without mistakes. This makes sure your patterns come out true to the original design.
Gridding Your Fabric
Putting a grid on your fabric helps a lot, especially with big or detailed patterns. This grid, often 10-by-10 squares, makes stitching more organized. It helps with counting and measuring accurately too.
Start by making sure the middle of your fabric matches the chart’s center. This is usually marked by arrows. Doing this prevents your project from getting off-center.
Using Spreadsheets for Custom Patterns
For those who want to design their own cross stitch patterns, spreadsheets and software are great. They let you create precise designs and play with color choices. This means you can make stitches that are totally your own, but also look really good.
Beginning Your Cross Stitch Project
Starting your cross stitch projects involves several easy-to-follow cross stitch techniques. This ensures your work looks great and is fun to do. Learning about the history of cross stitch can also give you insights into the craft.
Preparing Your Fabric
Firstly, it’s key to prepare your fabric. Measure and cut it precisely. For larger pieces, using a grid can help keep everything aligned. Use a water-soluble marker to dot the fabric every tenth hole. This makes matching your pattern to the fabric easier.
Setting Up Your Workspace
Creating a good stitching environment is important. Keep everything you need close by, like your scissors and needle. A spot for a hoop or frame is crucial for keeping your fabric tight. Start stitching from the center out after you hoop the fabric. This makes your work look neat.
Lighting and Comfort
Good lighting is a must for cross stitch. Try to stitch in bright, natural light or use a craft light. It helps you see better and keeps your eyes comfortable. Sitting in a cozy spot can make your stitching time pleasant. Remember to take breaks and to keep your area tidy for a clear mind.
If you’re new to cross stitch, consider the “How to Cross Stitch Course for Beginners.” It offers tutorials that guide you through every step. This method is excellent for making your thread colors blend beautifully.
Advanced Cross Stitch Techniques
Take your cross stitch to the next level with advanced techniques. Strategies like stitching vertically and horizontally need careful planning. This ensures your work stays neat and beautiful. These methods make your cross stitch look better and last longer.
Stitching Vertically and Horizontally
Stitching in many directions sets your work apart. When you mix vertical and horizontal stitches, your designs can become bold and intricate. Prevent issues, like threads coming loose, by securing them well. This approach is great for intricate patterns and stitches by experts like Teresa Wentzler and Chatelaine.
Blending Threads for Unique Effects
Mixing threads offers a way to play with color. It creates smooth color changes and shadows in your stitching. This method is perfect for making your designs rich and textured. Blending threads works well with two strands on certain fabrics. It’s used in designs by talented artists like Victoria Sampler and FabyReilly.
Using Metallic and Variegated Threads
Metallic and variegated threads bring sparkle and life to your projects. Working with these threads may be harder, but the outcome is exciting and unique. Use techniques like railroading to keep metallic threads from tangling. Including these threads can add sophistication to your work, like the beautiful pieces by Shannon Christine.
