Starting a new cross stitch or embroidery can be both thrilling and a bit scary, especially without knots. The loop start method is perfect for projects using an even number of strands. It ensures the back of your work looks as neat as the front.
This method works well for modern cross stitch designs. They need to look clean and tidy. It’s ideal for beginners and experts making detailed art.
Some craftsmen might prefer starting with knots. But, going knot-free with the loop start method shows off a modern feel. It creates a tight and clean look. Follow our cross stitch tutorials to learn this clean start. It’s great even if you’re starting out.
Key Takeaways
- The loop start method ensures a tidy backing without the use of knots, ideal for even-strand projects.
- This method is easily adopted for both beginner cross stitch patterns and more advanced designs.
- Using an even number of strands is essential for employing the loop start, so planning your thread count is necessary.
- For cross stitch projects that recommend three strands, the loop start method is still a favored choice.
- Remember to cut your floss to double the length you normally would for this technique.
- Flexibility and patience are key—adjust the floss to your handling preference and avoid immediate re-use of holes after completing a loop start.
- Selecting the right starting method is up to personal preference; there’s no single “correct” approach.
Introduction to the Loop Start Method
Starting a new cross stitch project is exciting. But, the idea of beginning with knots might turn some people away. The loop start method offers a great alternative. It gives a smooth beginning to both cross stitch and embroidery projects. One key point is that it keeps the back of the work neat. This makes it perfect for both new and experienced beginner cross stitch fans.
Why Choose Knotless Loop Method?
The loop start method is appealing because it’s knotless. This means no bulk or mess, unlike traditional knotted starts. When working on cross stitch kits or fragile cross stitch patterns, a neat back is important. It ensures a professional finish. This method makes the project look better and easier, especially for newcomers with cross stitch supplies.
Applying the Loop Method to Cross Stitch and Embroidery
This method works well with various cross stitch patterns and embroidery styles. It’s ideal for designs that need an even number of floss strands. That makes it a favorite for many modern projects, from simple to intricate designs found in cross stitch kits. Here is a guide to add this method to your crafting:
- Choose a project that uses two floss strands, which is common in many beginner cross stitch kits.
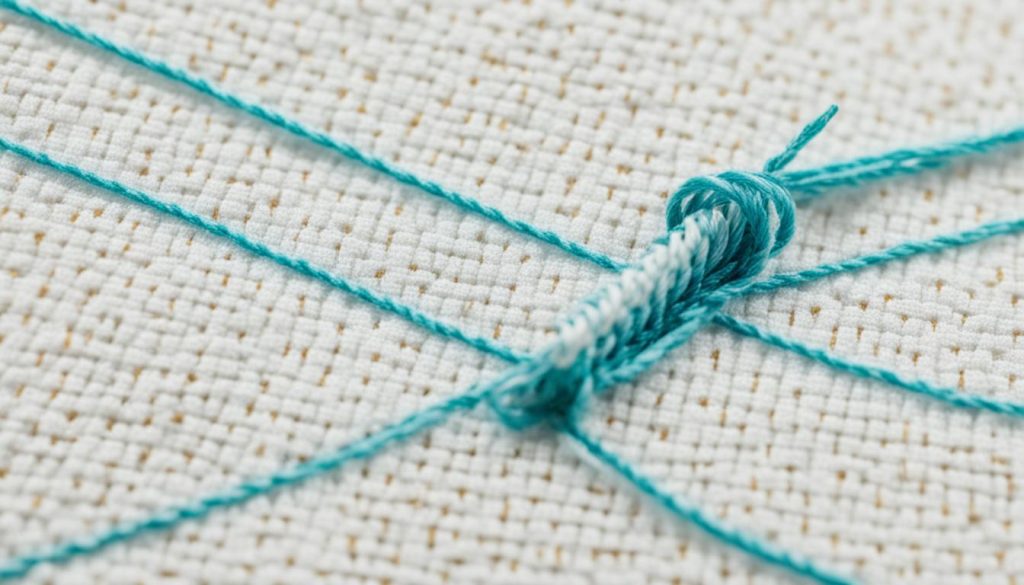
- Double your floss’s length and tie a loop at one end with two loose tails at the other.
- Put the two loose ends through the needle’s eye, keeping the loop at the other end.
- Begin by pulling the needle from the back to the front where you start, letting the loop stay under the fabric.
- Complete your initial stitch. When pulling the thread back to the reverse, slide the needle through the loop to secure the floss.
This method is both simple and effective. It cuts down on the challenges of beginning threads anew. Plus, it makes your projects look cleaner and more attractive.

Understanding the Basics of Cross Stitch
Wanna start cross stitching? Knowing the basics is key. It’s a fun hobby that lets you make beautiful, lasting art. Whether you start with free cross stitch patterns or buy cross stitch kits, we’ll guide you through fabrics, threads, and more.
Picking the right cross stitch supplies is important for a good outcome. Start with the right fabric. Aida fabric is good because of its easy square patterns. It comes in different counts, like 11 or 14 holes per inch. The simple grid makes it perfect for beginners.

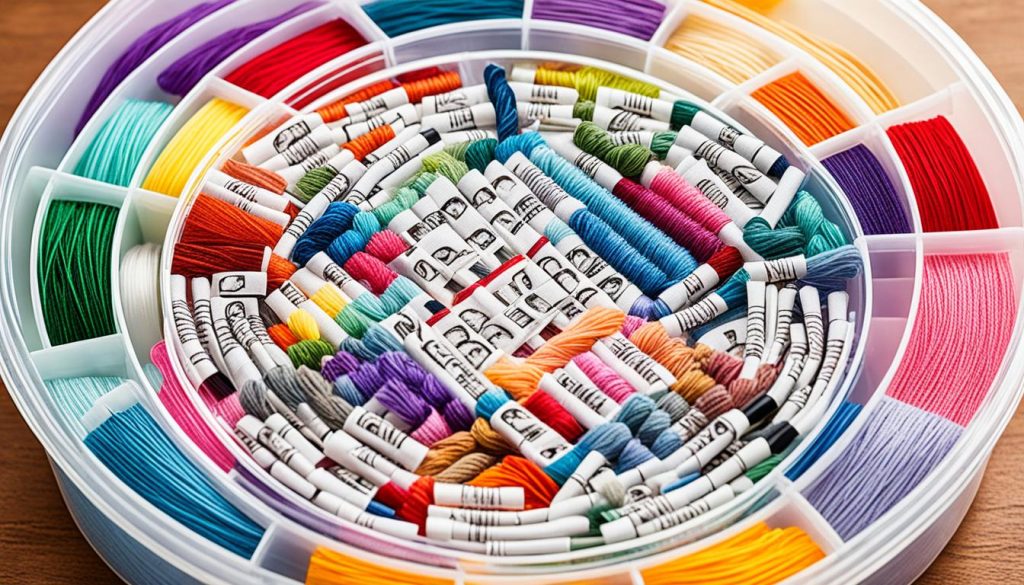
Now, let’s talk about the floss. Most cross stitch patterns will tell you the specific colors and how many strands to use. You often need to separate the six-strand floss. Always start your design in the middle of your fabric. This helps make sure your work is centered and fits well.
It’s crucial to read your pattern first. Check the symbols which represent colors and stitches, like back stitches or French knots. Free patterns online usually come with easy guides for beginners. They’re a great way to start.
- Grids: Each square represents one cross stitch.
- Legends: They show which colors to use.
- Backstitches: Solid lines are for outlining.
- French Knots: Dots are for adding detail.
Making sure your fabric stays in good shape is also important. Use tape to stop the edges from fraying. Also, learn the ‘frogging’ technique. It helps fix mistakes by undoing stitches.
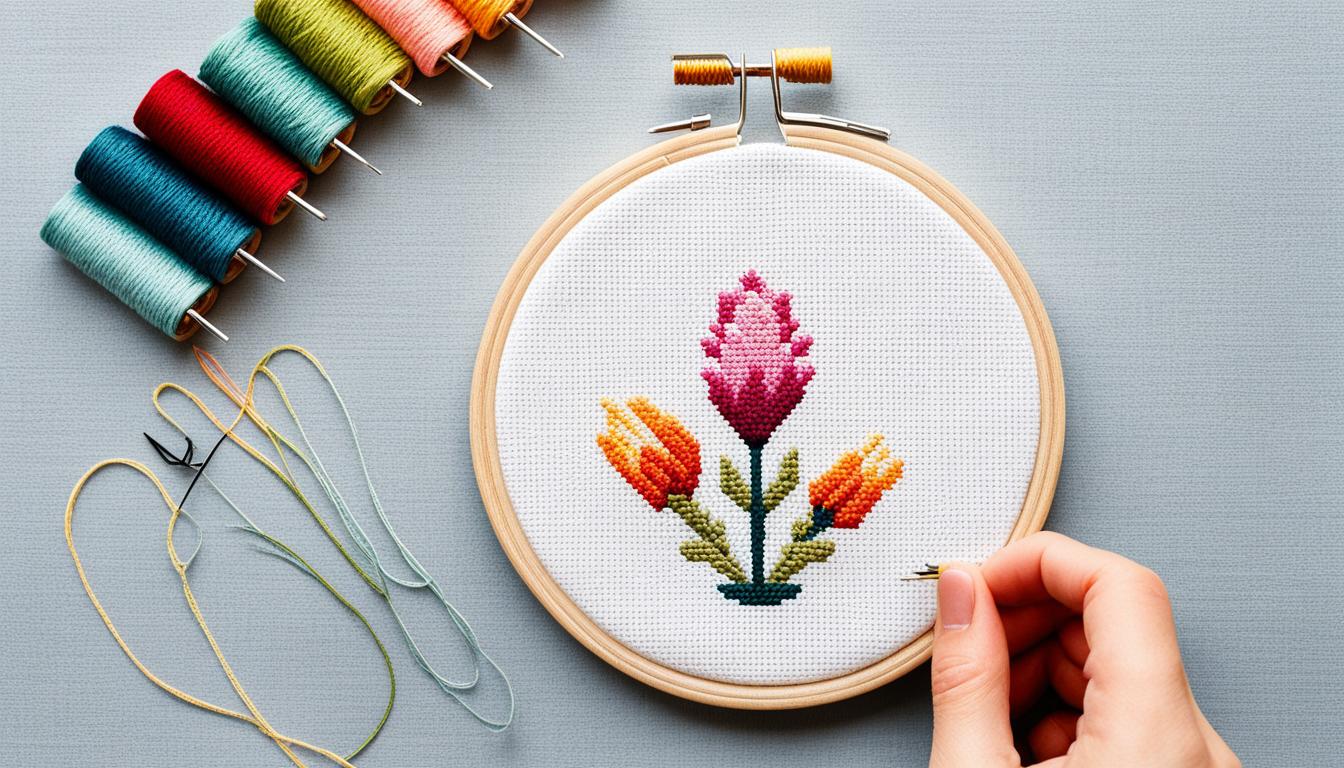
When you finish your piece, you need to display it nicely. Trim the fabric to about a 3cm margin if you’re using a hoop. This makes it look neat and professional.
Get into cross stitch with these tips. Pick the right cross stitch supplies and enjoy making all kinds of cross stitch patterns, including free cross stitch patterns. Happy stitching!
Setting Up for the Loop Method
Starting your cross stitch journey is thrilling, especially with the loop method. This technique makes stitching easier and improves your design’s look.
Selecting the Correct Strand Number
Picking the right number of strands is key. For most patterns, two strands are enough. But you might use four for more detail.
Cutting and Folding Your Floss
Begin by cutting your floss twice the usual length. If you use DMC thread, it has ends ready to cut, which helps. Then, fold the floss and thread your needle. This step is essential for efficient use of your supplies and neat results.
Threading the Needle for Success
After preparing your floss, thread both ends through the needle’s eye. Choose a needle that matches your fabric. Using a loop at the end of your floss helps avoid knots, keeping your work’s back smooth.
The loop start is common in many cross stitch patterns and tutorials. It’s a key step for a tidy and professional finish.
Stitch directions must be consistent for a neat look. When changing or ending a thread, use tutorials to do it without knots. This keeps the back of your work clean.
| Feature | Advice |
|---|---|
| Thread Length | Approximately 18 inches to minimize tangling |
| Securing Thread | Pass under at least three completed stitches |
| Thread Tension | Should lie flat against the fabric |
| Thread Management | Let the thread hang freely to prevent twisting |
By learning the loop method and following the advice, you make every cross stitch project enjoyable and rewarding.
Executing the Loop Method Step-by-Step
Starting your cross stitch journey right is crucial. Begin with a simple pattern, like one that’s 8” square. Choose from patterns with 3 to 10 colors. This is perfect for first-timers.
For materials, pick 14 count white Aida. It’s clear and easy to work with. Adding 3 extra inches on each side makes your project easier to handle.
The loop method is both easy and makes your work shine. Use a size 24 tapestry needle with your 14ct Aida. Find the center easily by folding the fabric into quarters.
Thread your needle after cutting it to the right length. This is usually done with kits. Start your first stitch in the left hole and finish in the top left hole. This creates the neat “X” stitch that’s key to your design.
Starting with a basic kit won’t cost you much, maybe under $15. You might want to add special scissors or finishes later. These add a nice touch to your work.
As you learn with free patterns, know that many have succeeded with the loop method. Getting a hoop a bit bigger than your project, threading your needle – you’re ready. Enjoy the rewarding world of cross stitch. A simple loop can begin your journey to making beautiful designs.
