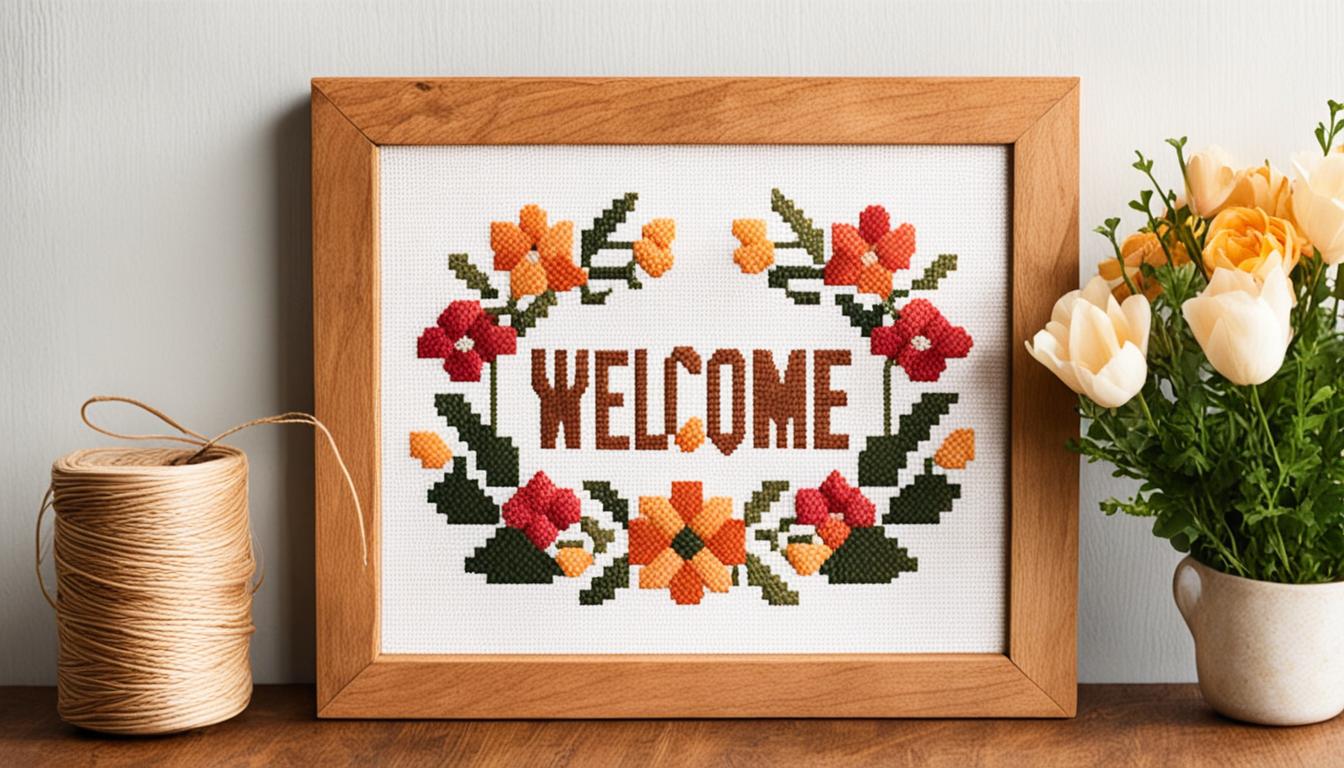
Cross stitch is a great way to mix different crafts like textiles, woodwork, and painting. It lets you make beautiful signs for gifts, decorations, or to spice up your home. With simple things like wood boards, yarn, and needles, you can turn your ideas into real art.
Want a special Valentine’s Day sign or unique home decor? The process is fun and involves a few steps. First, stick templates to the board and drill holes. Then, paint your board and stitch your design in. You end up with a sign that shows off your creativity and skill.
Using DIY crossstitching adds a personal touch to any space. Each sign is unique, making it special.
Key Takeaways:
- Cross stitch combines various crafting techniques for personalized signs.
- Essential materials include wood boards, yarn, and needles.
- Templates, drilling, and painting are key steps in preparation.
- Stitching adds a unique, handcrafted touch to your decor.
- Perfect for both seasonal decorations and everyday home decor.
Getting Started: Your Essential Cross Stitch Tools
Starting a cross stitch project means getting the right tools. Having the best supplies can make your crafting fun and successful. Let’s look at the key items you need to begin.
Necessary Tools and Supplies
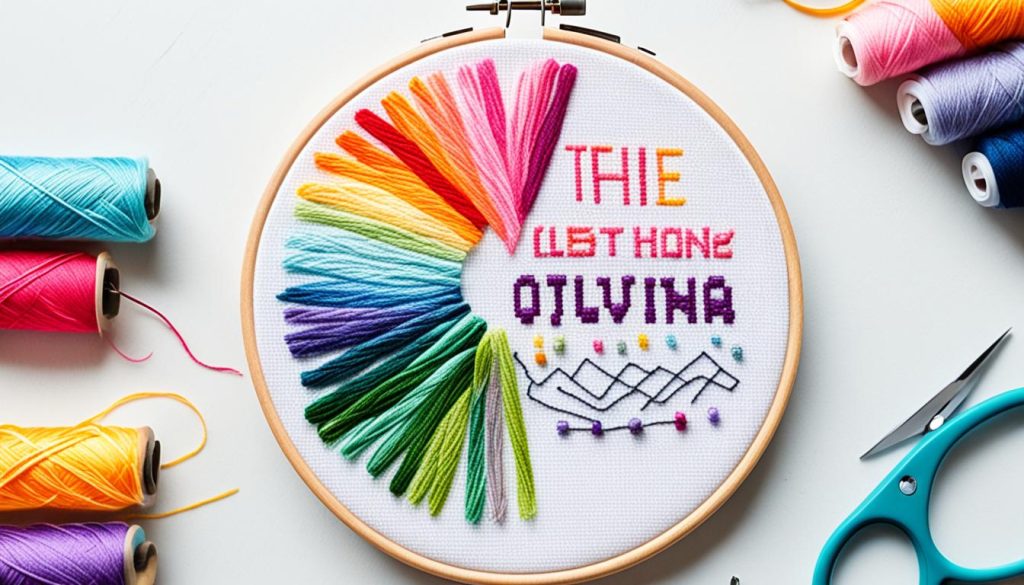
You’ll need scissors, crossstitching needles, and a template to start. Size 24 tapestry needles are great for beginners because they’re long and blunt. Also, the fabric you choose, like 14-count aida cloth, is important for clear and precise stitches. Brands like DMC and Anchor offer quality six-stranded cotton floss that won’t fade.
Choosing the Right Board and Fabric
Choosing the right fabric is key. For beginners, 14-count aida cloth is a good choice because it makes stitching easy. A plywood board is also a good option because it’s strong and supports your design well.
Selecting the Perfect Yarn and Needle
Choosing the right yarn and needle is important. It’s best to use 18-inch threads to avoid tangles. Getting all your supplies at once helps keep your project consistent because colors can vary.
Stitched Modern offers free U.S. shipping on orders over $75, making crossstitching tools easy to get. Tools like needle threaders, needle minders, and floss organizers can also help, even if they’re not required for beginners.
Designing Your Cross Stitch Pattern
Designing your own cross stitch pattern is both fun and creative. It lets you show off your personal style. Whether you’re just starting or have been stitching for years, picking and making cross stitch patterns needs thought and planning.
Finding and Using Cross Stitch Alphabets
Cross stitch alphabets are great for making your designs personal. You can find free patterns online at places like Stitch Fiddle or with cross stitch software. Pick an alphabet that suits your project’s style and size. There are many fonts to choose from, so you can find the perfect match for any theme or event.
Transferring Patterns to Your Board
After picking your crossstitching alphabets or other elements, transfer them to graph paper. Make sure the grid matches your fabric’s count. For example, a fabric count of 16 means your design will be about 1.5 x 2.4 inches for an avocado motif.
Mark drill points at each X in your pattern. It’s important to keep everything aligned and spaced right for a professional look in the end.
Creating Custom Cross Stitch Designs
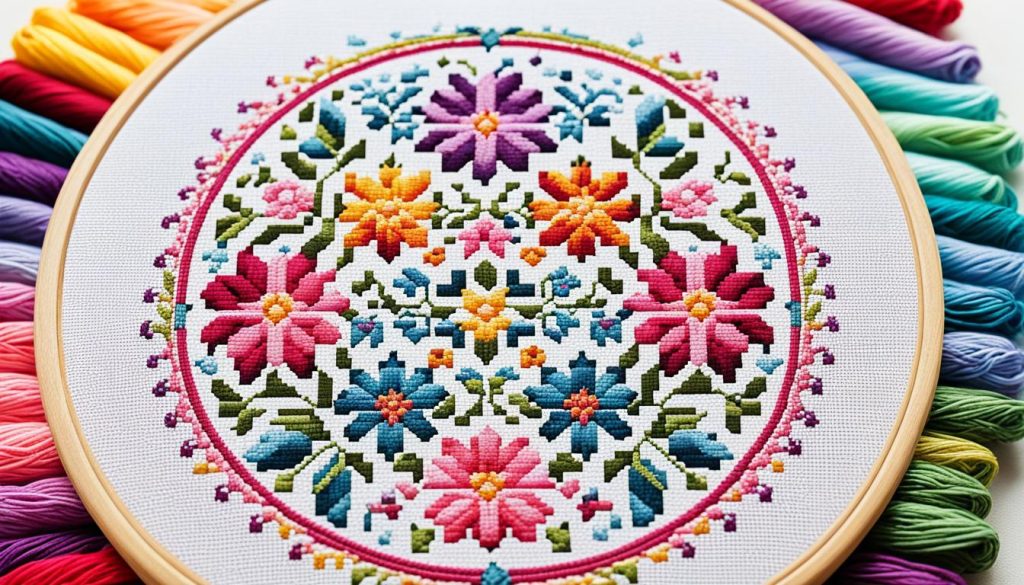
For a one-of-a-kind project, try making your own crossstitching design. You could draw it yourself or use a photo as a guide. Start with small designs to get better at it.
Keep an eye on the fabric count, as it changes how detailed and what your work looks like. Using stitches like chain stitch and seed stitch can make your design more interesting. Remember, making patterns from photos takes up about 50% of the time, drawing your own takes 30%, and getting ideas from others takes 20%.
With over 15 years in the craft world, experts say to plan for more space for complex patterns. Also, save your designs as PDFs for easy printing. These tips will help you make beautiful, unique cross stitch projects.
Step-by-Step Guide to Cross Stitching Your Sign
In this step-by-step guide, you’ll learn to make a beautiful cross stitch sign from start to finish. Cross stitch is easy and popular, often done on 14 count Aida cloth. This cloth has evenly spaced holes that make stitching easy for beginners. By following these crossstitching tutorials, you’ll get better at cross stitch techniques.
Preparing Your Board and Template
Start by picking your board and sticking your template on it with glue or tape. Make sure the surface is clean for the best results. An embroidery hoop helps keep your fabric tight while stitching, making it smoother.
Drilling Your Stitching Holes
Mark where to drill holes on the board with your template’s design. Drill the holes carefully for even stitches. This step makes sure your stitches are right and your crossstitching sign looks neat.
Painting and Sanding for a Finished Look
Paint your board after drilling holes to match your sign’s look. Choose a color that goes well with your stitches. Sand the surface lightly to remove rough edges or splinters, making it smooth.
Stitching Your Design
Now, it’s time to stitch your design. Use two strands of embroidery floss, as most patterns suggest. Start at the fabric’s center to avoid mistakes. Make X-shaped stitches, following your template. Secure each section with three stitches at the back and cut off the thread. This keeps your design neat and strong.
- Use a strong knot to start each thread, reducing the chance of unraveling.
- Consider using a cross stitch kit that includes the fabric, pattern, and thread to streamline the process.
- For a polished look, secure the ends of your yarn with hot glue on the back of the board.
| Fabric | Use |
|---|---|
| 14 count Aida cloth | Best for beginners due to its evenly spaced holes. |
Displaying and Preserving Your Cross Stitch Signs
Once your cross stitch sign is done, it’s time to show it off and keep it safe. Using the right framing and finishing can make it look great and last longer. Let’s see how to do this.
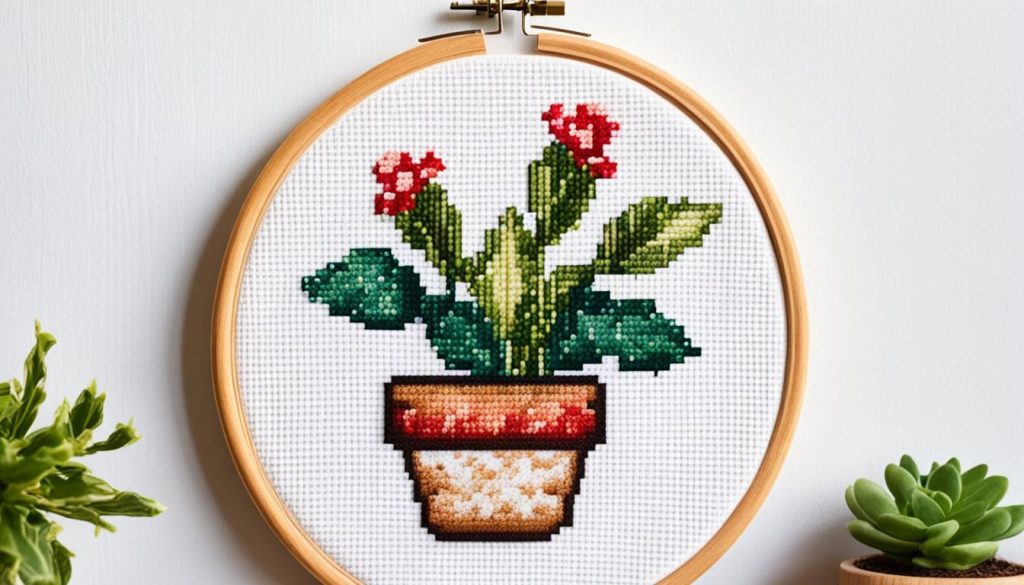
First, choose framing that keeps your crossstitching safe. Use cross stitch framing with acid-free mats and UV-protective glass to stop fading. Adding spacers in the frame keeps the fabric away from the glass, which helps prevent damage.
For keeping your needlework safe for a little while, store it flat on breathable materials like white cotton sheets. Check it often for dust or moisture to keep it in top shape. For keeping it safe for a long time, use acid-free stuff and keep it in a place with the right climate.
- Short-term storage tips: Store items flat, use cotton sheets, and perform frequent checks.
- Long-term storage tips: Utilize acid-free materials and maintain a controlled environment.
Rolling up your crossstitching is a good idea for big pieces. This keeps it from getting wrinkles. But, you should check it now and then for any damage.
When showing off your cross stitch at home, think about where you put it. Don’t put it where the sun can fade the colors. You can use shelves or glass cabinets to show it off. Or turn big pieces into scrolls or add seasonal themes to keep it interesting.
“Proper storage and creative display of your cross stitch creations not only enhance their aesthetic appeal but also ensure their preservation for future generations to admire.”
Finally, make sure your cross stitch signs are hung up right. Pick the best way to hang them based on how heavy they are to avoid any accidents. By following these tips, you can enjoy your signs for many years.
| Storage Method | Pros | Cons |
|---|---|---|
| Binders | Easy viewing and access | Not ideal for long-term storage |
| Hangers | Great for small collections | Not suitable for large collections |
| Digital Storage | Space-efficient, long-term | Not ideal for immediate access |
| Rolled Storage | Prevents creases, compact | Requires periodic checks |
By using these methods and tips, you can proudly show off and keep your cross stitch signs safe. They will stay a special part of your home for years.
Conclusion
Crafting cross stitch signs is a fun and rewarding hobby that blends old and new. It’s important to know that making mistakes is part of learning. Getting better at techniques like back-stitching can boost your confidence.
Reading instructions carefully before starting can prevent mistakes and make the process smoother. The cross stitch community is full of inspiration and support. It’s a great place to find new projects and designs you might not have seen before.
Being part of a community can also give you tips on using materials wisely. For example, you can learn how to save leftover thread for future projects.
Cross stitching is more than just a hobby; it has many benefits. It can improve focus, reduce stress, and help with fine motor skills. The feeling of creating something personal is unique. Whether you’re just starting or have been stitching for years, crossstitching crafts can add a personal touch to your home.
