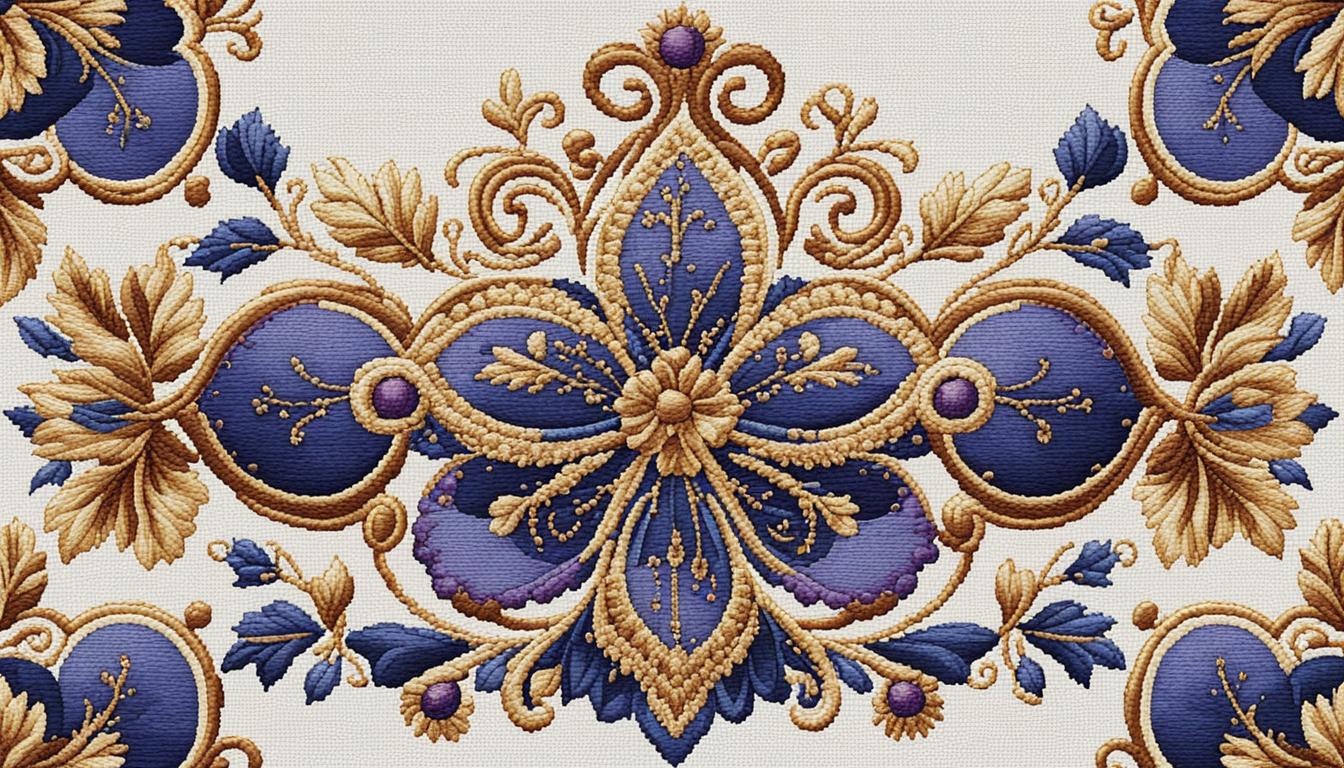
Welcome to the magical world of cross stitch, where every stitch shows off your skill. Whether you’re just starting or want to get better, learning key techniques can make your projects look royal. Our guide is packed with tips to help you master crossstitching, making sure every piece you make is perfect for royalty.
Starting with crossstitching can be tough, especially picking the right tools and stitches. But don’t worry; we’ve got you covered. This guide offers everything from basic advice on choosing the right fabric and threads to advanced techniques. You’ll also learn about different styles like the Danish and English methods. These will show you how to make your stitches neat and even by controlling tension and using the right technique.
Key Takeaways
- 6 strands are typically included in an embroidery floss skein, to be split as needed.
- For Aida 14 count fabric, use 2 strands of floss for best results.
- The Danish method is preferred by most stitchers using solid threads like DMC.
- Stitching one leg at a time improves the neatness of stitches.
- Beginning in the middle of the fabric provides ample space for the pattern.
Getting Started: Essential Cross Stitch Supplies
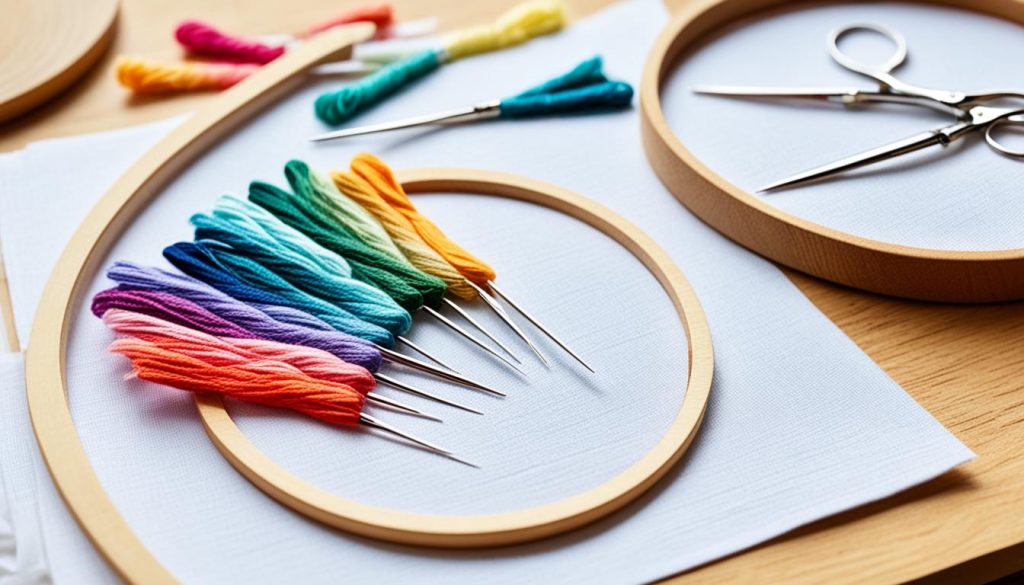
Starting your cross stitch journey can be exciting and a bit scary. With the right supplies, you’ll be ready to make beautiful designs. You’ll need cross stitch kits and patterns, the right fabric, and the correct threads and needles.
Cross Stitch Kits and Patterns
For beginners, buying cross stitch kits is a great idea. They come with everything you need, like cross stitch threads and cross stitch needles. These kits often include free crossstitching patterns, making it easier to choose. Beginners should start with small, simple patterns to get the hang of it.
Choosing the Right Cross Stitch Fabric
Choosing the right cross stitch fabric is key for a good project. Beginners often use 14-count Aida cloth, which has a clear grid for easy stitching. More skilled stitchers might prefer 32-count evenweave for its flexibility and fine stitches. Brands like Zweigart, with over 100 years of experience, offer top-quality fabrics.
Threads and Needles: What You Need to Know
The quality of your cross stitch threads affects your finished work. Six-stranded cotton embroidery floss is popular, and brands like DMC are recommended for their color stability. It’s important to use threads about 18 inches long to avoid knots.
For cross stitch needles, size 24 tapestry needles are best for beginners. They have a blunt end for easy threading of floss. Gold-plated needles are good because they don’t rust. Tools like needle minders and floss organizers can also improve your stitching.
| Item | Recommended | Use |
|---|---|---|
| Fabric | 14-count Aida | Beginners |
| Thread | DMC | Colorfast, versatile |
| Needle | Tapestry size 24 | Ease of threading multiple floss strands |
| Hoop | 7” diameter | Maintains fabric tension |
Starting with quality supplies and the right tools will help you make beautiful cross stitch projects. It will make your stitching fun and rewarding.
Cross Stitch Techniques: Stitch Like Royalty
In the world of crossstitching, learning different methods can change how you stitch. It lets you make patterns with the skill and beauty of royalty. We’ll look at two classic techniques—the Danish Method and the English or Victorian Method. We’ll also talk about the importance of controlling your stitch tension.
The Danish Method
The Danish Method is popular for its organized way of cross stitching. It involves stitching in rows, which is great for solid threads and right-handed stitchers.
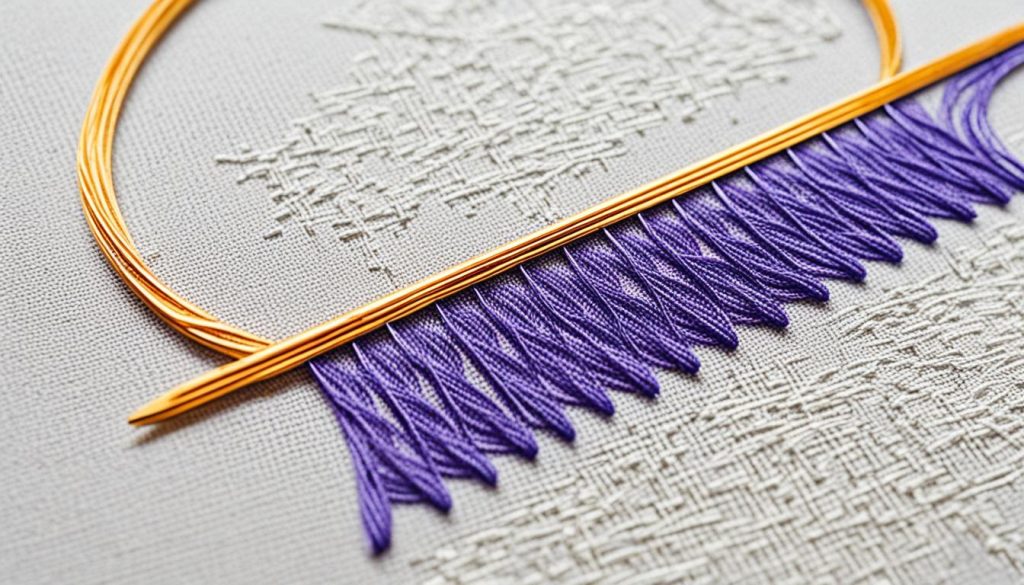
Alison Royal (@RoyalStitcher) introduced the “Royal Rows” method, a key part of the Danish approach. It means stitching in blocks of 10 columns by 20 rows, with a special area below for thread. There’s also a parking spot to the right called the east tower. This method helps you keep going steadily and stops the fabric from warping.
Tools like Bob-EEZ and Snag Nab-It help with keeping your thread tidy and following the Royal Rows method.
The English or Victorian Method
The English or Victorian Method is different, focusing on one stitch at a time. It’s perfect for using variegated floss to get beautiful color changes in your work.
This method might be slower, but it’s great for detailed patterns and designs. YouTubers like Sarah the Stitchin’ Mommy and Needle Ninja use these methods in their tutorials. They show how versatile and effective they are.
Effective Tension Control
Choosing a method, but mastering cross stitch tension control is key for a great finish. Right tension stops stitches from being too tight or too loose. The Royal Rows method teaches you to control tension both up and down and from side to side. This keeps your stitches even and your project looking good.
Comparison: The Danish Method vs The English Method
| Method | Characteristics | Ideal For |
|---|---|---|
| The Danish Method | Stitching in rows, structured parking, reduces decision-making | Solid threads, consistent stitching, right-handed stitchers |
| The English or Victorian Method | One stitch at a time, meticulous care, color variations | Variegated floss, intricate patterns, ensuring color consistency |
Both methods have their own benefits and suit different stitching styles. Your choice should match your preferences and your project’s needs. Whether you pick the Danish Method or the English Method, learning cross stitch techniques and tension control will help you stitch like royalty.
Mastering Cross Stitch: Tips and Tricks
To improve your cross stitch projects, it’s key to know some important tips and tricks. This section will give you insights on choosing the right tools and mastering tricky techniques. These tips will help you create more beautiful and detailed artwork.
Using a Hoop or Q-Snap for Better Stitches
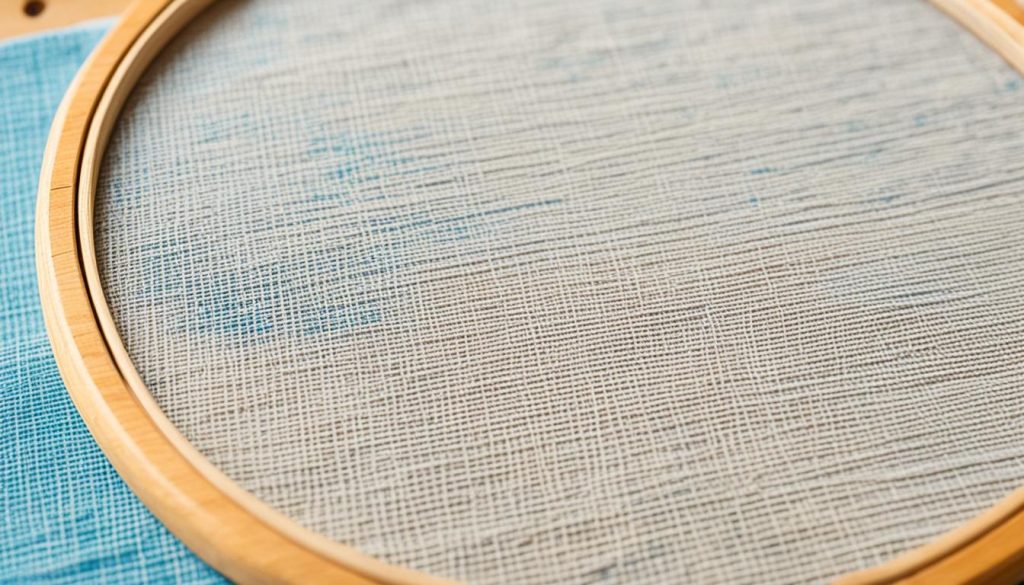
Using a cross stitch hoop or Q-Snap is crucial for keeping your stitches even. Hoops work well for round patterns, while Q-Snaps are great for big square or rectangular designs. They keep the fabric taut, making sure your stitches are neat and even.
- Hoops come in various sizes and are ideal for small to medium projects.
- Q-Snaps allow for greater movement without losing tension, suitable for larger and more complex patterns.
- Both tools help in avoiding puckering and uneven stitches.
Tools for Perfect Stitches: Laying Tools and Railroading
Using laying tools and the railroading technique can make your stitches look better. Laying tools smooth out threads, and railroading makes sure your stitches are flat and even. This creates a neat and uniform look.
“The right tools make all the difference.” – Unknown
- Laying tools help separate threads to avoid twisting, common with embroidery floss.
- Using the railroading technique, split the thread with your needle to lay each strand parallel, achieving even stitches.
Effective Techniques to Avoid Twisting Threads
Keeping good cross stitch tension and avoiding thread twisting is key for a clean finish. Unwinding the needle often helps prevent tangles. Using the right techniques with floss can stop knots and twists.
- Let your needle dangle occasionally to untwist the thread.
- Use shorter lengths of thread to reduce the likelihood of twisting.
- Thread your needle correctly: slide the chosen strands through the needle’s eye without creating a loop.
Being patient and practicing is important. With time, you’ll get better at avoiding thread twisting and improving your crossstitching skills.
| Technique | Benefit |
|---|---|
| Using a Hoop | Maintains even tension, reduces puckering |
| Q-Snap | Stable for larger projects, adjustable tension |
| Laying Tools | Ensures smooth and even thread distribution |
| Railroading | Results in parallel, uniform stitches |
| Frequent Unwinding | Prevents thread twisting and knotting |
How to Finish Your Cross Stitch Project
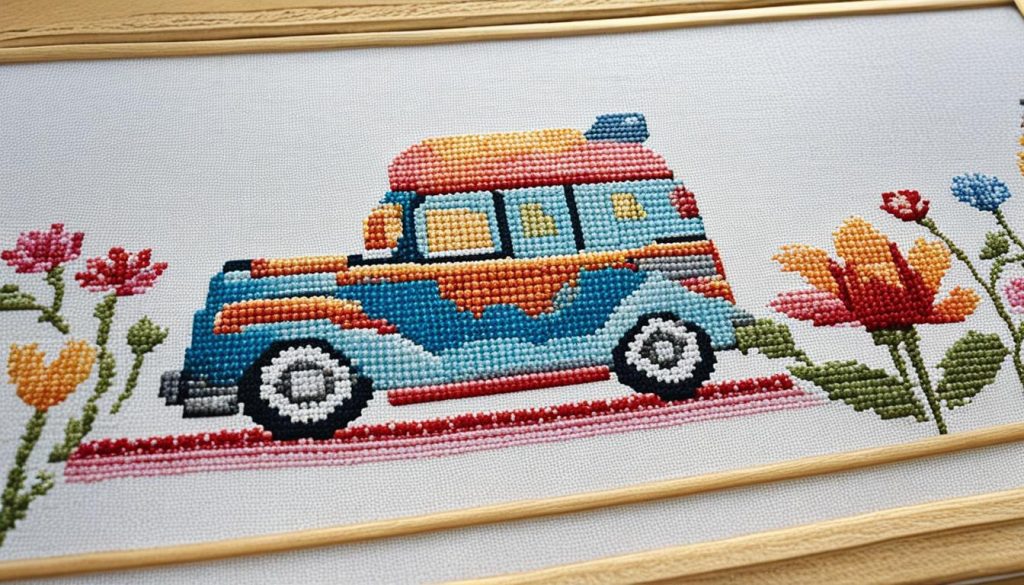
Finishing a cross stitch project is as crucial as making it. You need to focus on cross stitch finishing techniques. This includes washing, ironing, framing, and turning it into cross stitch gifts or cross stitch home decor pieces.
Washing and Ironing Your Finished Piece
After finishing, clean your project well. Start with cross stitch washing by soaking it in lukewarm water with mild soap. Be gentle to keep the stitches safe.
Once clean, lay it flat on a towel to dry. Then, iron it with a low-heat setting. Use a cloth between the iron and your work to protect the threads.
Framing and Display Techniques
Displaying your finished project is important. Choose framing or a hoop, making sure it’s centered and smooth. Traditional cross stitch framing gives a classic look. A hoop shows it in a modern way.
Adding felt to the back of your hoop is a neat touch. It protects the fabric and finishes it nicely.
Making Cross Stitch Gifts and Home Decor
Turning your work into cross stitch gifts or cross stitch home decor adds a personal touch. You can make cushions, wall hangings, bookmarks, or customized items. Adding personal details like initials or messages makes each gift special.
Conclusion
The cross stitch journey is a rewarding blend of careful work and endless creativity. It lets you express your unique style, whether with vintage or modern designs. Every technique and tool is key to improving your stitching skills.
Making mistakes is part of the cross stitch process. Even experts make errors and have leftover threads. It’s vital to practice and pay attention to details. Each project comes with its own challenges.
There’s a wide variety of fabrics and threads to choose from. This allows for both traditional and unique cross stitch pieces. The art of cross stitch goes beyond crafting. It can be used for home decor, gifts, and even as a way to relax.
The cross stitch community adds a special touch to the hobby. Whether online or in person, it brings people together. With time and effort, you can make pieces that bring joy and elegance to your life.
