Many cross stitch fans often wonder, “Where should I start?” A Facebook poll showed different opinions. Some like starting at the dead center, while others go for the top/bottom corners or the center upper left/right. Each method has its own benefits and can change how you stitch.
There’s no single best way to start, but avoiding fabric shortage or counting mistakes is key. Tools like a free aida dimensions calculator are very helpful. They help you pick the right starting point for your cross stitch, based on your techniques and fabric.
Key Takeaways
- Starting points for cross stitch vary from the dead center to corners and upper sections.
- A Facebook poll revealed the dead center as the most favored starting point.
- Proper gridding techniques can prevent fabric shortage and miscounting errors.
- Free aida dimensions calculator helps in accurate placement of your stitching pattern.
- No universally best starting point exists; it depends on your individual preference and technique.
Why the Starting Point Matters in Cross Stitch
Choosing the right starting point in cross stitch is crucial for easy and accurate work. Starting off-center or miscounting can lead to patterns being too close to the edge. This means you might have to start over, which is a big setback for beginners.
Starting with precision is essential in cross stitch. Experts suggest folding the fabric into quarters to find the center. This method ensures your charts line up right, preventing common mistakes. Misalignments can waste time and resources, especially with limited supplies.
Having a well-planned starting point also keeps your project neat on the back. Judges often look at the back, so a messy back can ruin your work. Using threads like DMC helps avoid knots, making framing easier.
For beginners, starting with a loop and using even thread strands helps prevent knots. Securing threads on the back keeps them from showing on the front and ensures a neat finish.
Here’s a comparison of essential tips for starting right:
| Tip | Benefit |
|---|---|
| Finding the center | Ensures proper pattern alignment |
| Loop start with even thread strands | Avoids knots and secures threads |
| Avoid long jumps across the back | Prevents thread visibility from the front |
| Use thread conditioner | Reduces knotting with rough-textured threads |
Starting right is key for both beginners and experienced cross stitchers. Using the right techniques makes the process smoother and more enjoyable. These basics will help you finish your projects neatly and efficiently.
Common Starting Points and Their Advantages
Choosing the right starting point for your counted cross stitch project can make a big difference. It can make your stitching easier and more efficient. Here are some common starting points and their benefits.
Dead Center
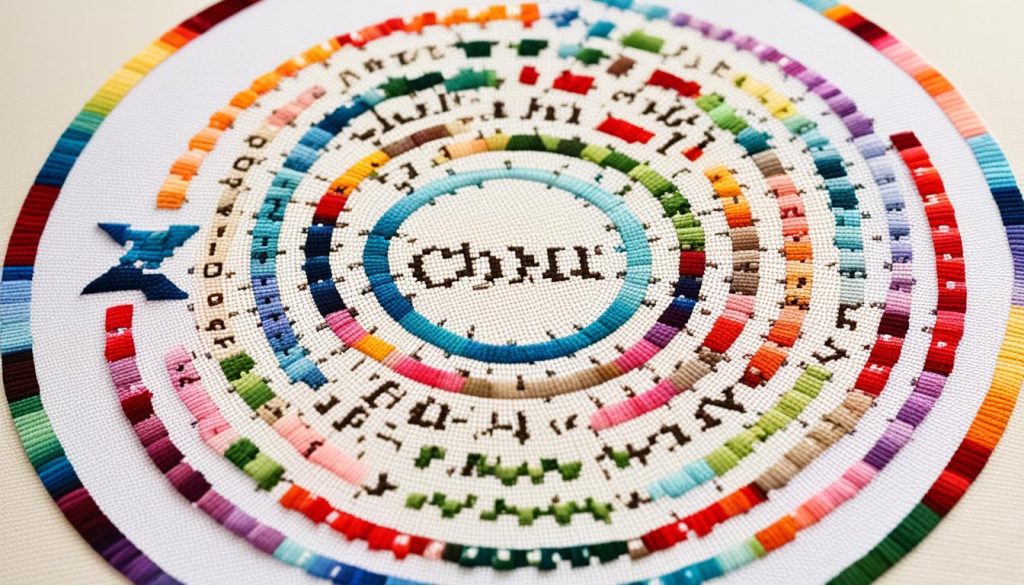
Starting at the dead center is a favorite for many. It helps keep your design symmetrical and fits your fabric well. But, make sure you find the true center to avoid mistakes that could leave out parts of your design. Many patterns, like cross stitch alphabets and samplers, suggest this method.
Top/Bottom Corners
Starting at a fabric corner, either top or bottom, is another popular choice. It helps you place your stitches accurately and estimate space better. This method is good for patterns like baby or wedding patterns. Just remember to leave enough space on all sides to avoid running out of fabric.
Center Upper Left/Right
Starting from the center upper left or right offers a balance between dead center and corner starts. It gives you flexibility and helps avoid running into edges too soon. This is especially useful for detailed patterns like Christmas designs, flowers, animals, or quotes.
Wherever you start, pick your fabric and tools carefully. Beginners might prefer 8 or 10-count Aida fabric, while experts might like 14 to 16 or even 20-count. Using quality brands like DMC for threads and fabric can also improve your stitching.
Gridding Techniques for Precision
Gridding is key for beginners in cross stitch embroidery. It helps you keep track and avoid mistakes. This method makes sure your pattern fits the fabric well and doesn’t run out of space.
Importance of Gridding
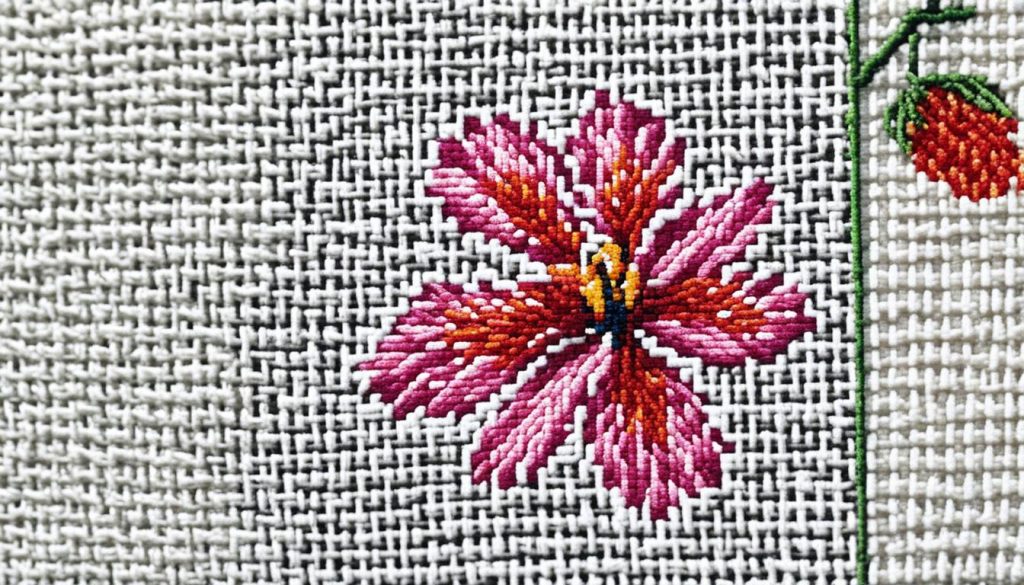
Before starting your cross stitch, gridding your fabric is crucial. Marking every 20 squares is better than every 10 to avoid crowding. This approach helps you avoid mistakes and restarts.
Using different thread colors for the grid can also keep you accurate.
- Ensures precise placement of stitches
- Prevents running out of space on the fabric
- Acts as a failsafe for correct positioning
Popular Gridding Methods
There are many ways to grid for accuracy in cross stitch. Traditional thread gridding uses different colors for lines. You can anchor threads every 10 stitches, or every 20 if the fabric allows.
- Stitched Grids: Some prefer thread gridding over markers. Use fabric-safe markers on light fabrics and light threads on dark fabrics.
- Gridding with Tools: Tools like the Easy Count Guideline can make gridding faster and more precise. An embroidery hoop or frame helps keep the fabric steady.
- Digital Assistance: Apps and software can help with gridding. They let you see your pattern on a device before marking it on fabric.
Following advice from trusted sources like Serenity Stitchworks and Scarlet Quince can help with gridding. It’s important to draw straight lines and keep the grid even.
Check your grid and stitching often to spot mistakes early. Ironing your fabric first makes the grid lines straight and accurate. This ensures your tools work well. Being consistent and well-prepared is crucial for a good project. If you don’t want to grid yourself, pre-gridded fabric is an easy option.
How to Start Cross Stitching: Step-by-Step Guide
Starting your cross stitch journey can be very rewarding. It doesn’t matter if you’re new to cross stitch or tackling advanced projects. A step-by-step guide is crucial. Here’s what you need to know.
First, collect your materials. Most kits come with 14-count Aida cloth, perfect for beginners. Brands like Zweigart and Wichelt offer quality Aida cloth. Make sure your kit has embroidery threads and floss, usually six-strand lengths. For most projects, use two strands of floss.
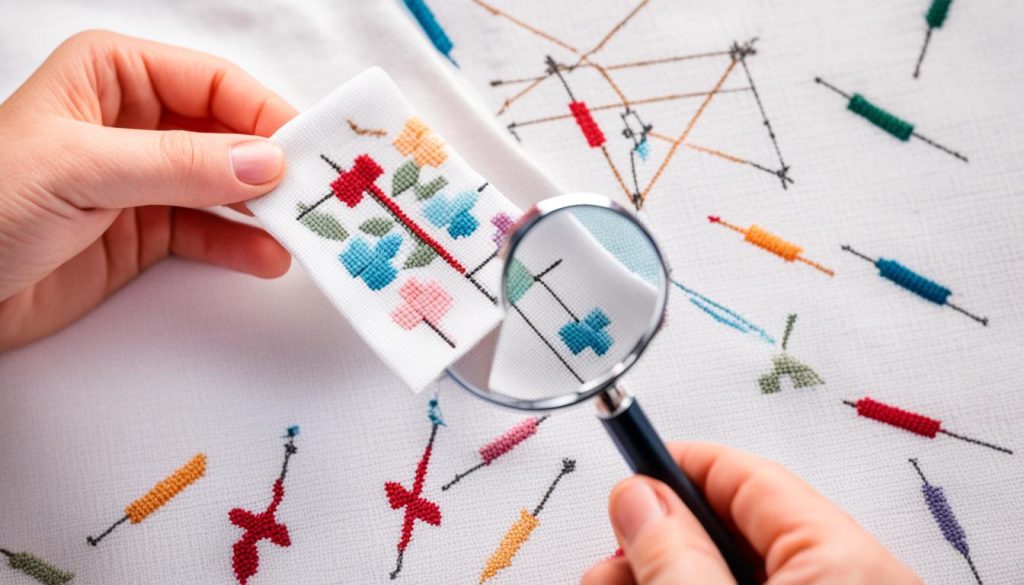
Mark the fabric’s center by folding it and creasing it lightly. Secure the fabric with an embroidery hoop to keep it tight. This is key for precise stitching.
Thread your needle with 18 inches of embroidery floss to prevent knots. Use one or two strands based on the fabric and pattern. Beginners should always stitch in the same direction for consistency.
Here’s a helpful table for stitching essentials:
| Stitching Essential | Details |
|---|---|
| Fabric | 14-count Aida cloth |
| Hoop | Embroidery hoop to maintain tension |
| Thread Length | 18 inches to avoid knots |
| Post-threading Strands | Typically 1 or 2 strands |
| Securing Thread | Secure by passing under at least 3 completed stitches |
Start stitching by securing the thread with at least three stitches. Don’t use knots to avoid lumps. Keep the fabric tight and be aware of thread color variations. To end a thread, pass the needle under three stitches and cut the rest.
In summary, these techniques and consistency will help you achieve professional-looking results. Whether you’re a beginner or tackling advanced projects, following these basics is crucial for success in cross stitching.
Expert Tips for Beginners and Advanced Stitchers
Cross stitch is an art that needs time, patience, and careful attention. Whether you’re just starting or have been stitching for years, these tips can improve your projects. They can take your cross stitch home decor to the next level.
Beginner Tips
For beginners, start with simple patterns to make learning easier. Get to know the basic stitches, materials, and techniques like loop starts and center identification. It’s important to make sure the top arm of your cross stitches always goes in the same direction. This makes your work look uniform.
- Use cross stitch kits with pre-cut threads to simplify the process and avoid measuring and cutting.
- Securing threads without knots is key for a smooth finish and to prevent lumps.
- Stitches should not be too tight or too loose to distort the fabric.
- Let the thread untwist as you stitch for neater stitches and to avoid tangling.
- Begin stitching in a corner to prevent stitches from fluffing up due to finger contact.
Advanced Techniques
Advanced stitchers can explore complex and custom designs for endless creativity. Using cross stitch color combinations can make your work more personalized and intricate. Here are tips to challenge your skills:
- Try complex patterns and specialty stitches for depth and creativity.
- Use blending threads for shading to create a colorful and dynamic image.
- Adjust pattern size by using higher or lower count Aida fabric.
- Add uniqueness with various textures like metallic or silk threads.
- Stitch in natural light for better visibility and to reduce eye strain.
- Use thread conditioners like Milward beeswax to keep threads in good condition.
Whether you like vintage or modern cross stitch, there’s always something new to learn. Brands like DMC, Anchor, and Sublime offer quality threads. Koru Clay Studio and Little Llama needle minders provide creative tools to enhance your stitching. Keep your supplies organized and ready, so you can start stitching whenever you feel inspired.
Conclusion
Starting a cross-stitch project is more than just using a needle and thread. It’s about choosing the right starting point and using precise gridding. We’ve seen how starting in the dead center or corners has its own benefits for your design.
Learning these basic techniques sets you up for a great cross-stitching experience. Joining cross stitch communities and blogs gives you great advice and inspiration. You can find everything from traditional patterns to fun, modern designs that spark your creativity.
Constant learning and being part of a community makes each project special. Techniques like the “2 over 2” or “1 over 1” are just the start. Sharing and creating with others who love cross stitch adds to the joy of the craft.
As you keep stitching, remember each stitch adds to a long tradition. Cross stitching can be educational or a way to relax. Keep stitching and let your creativity shine, making each pattern your own. Happy stitching!
