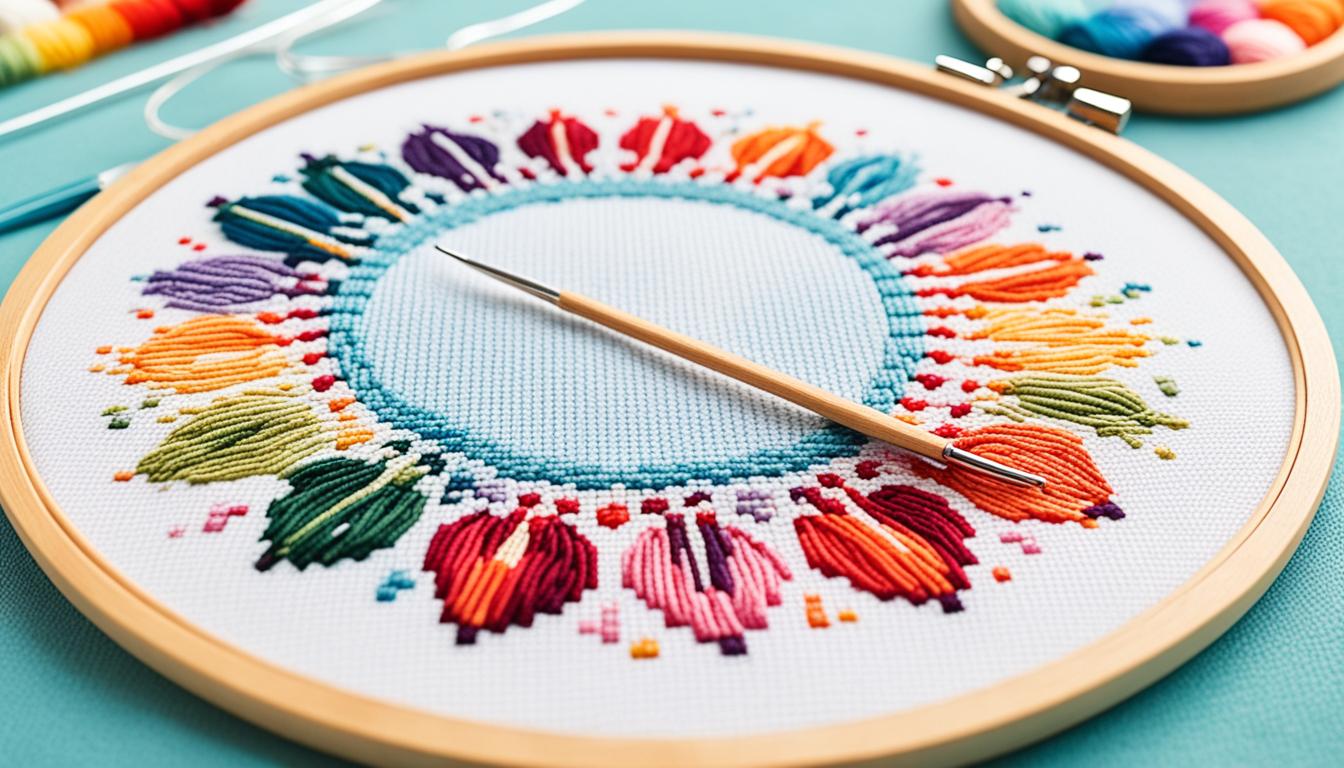
Cross stitch is making a comeback among today’s crafters. It’s a classic and easy-to-learn embroidery technique. It’s perfect for beginners who want to start with handcraft. You create X-shaped stitches on fabrics like Aida or linen.
First, you need to understand how to read cross stitch charts. These charts show you the design on a grid that matches the fabric’s weave. To keep your fabric from fraying, you can use a zig-zag stitch or masking tape on the edges.
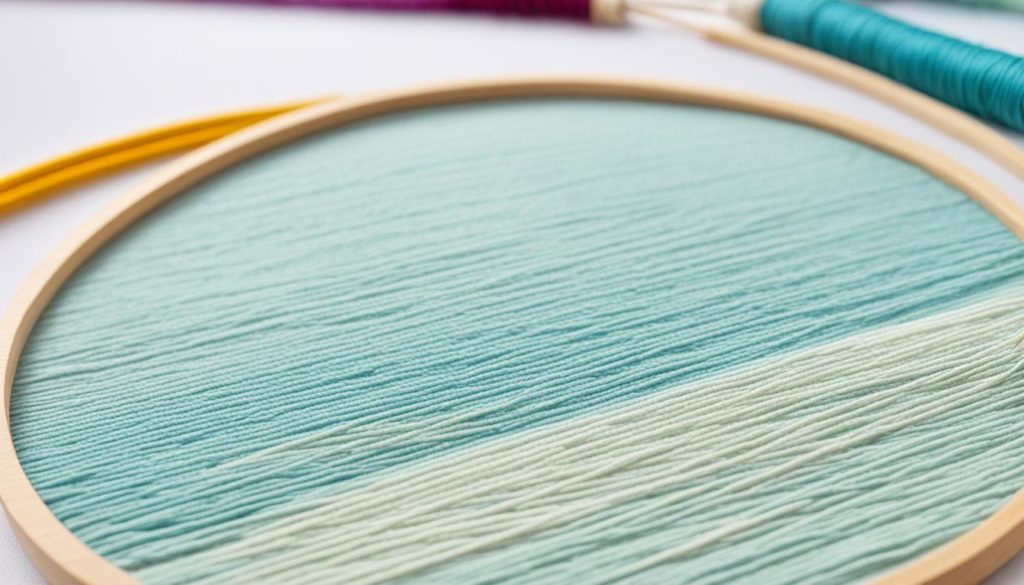
Using an embroidery hoop or frame is also important. It helps keep your fabric tight and even.
Before you start stitching, prepare your thread by picking the right colors and separating the strands. Begin stitching from the center of the fabric, either in rows or one stitch at a time. Make sure to tie off the thread ends neatly without any knots.
Keep your stitches even and in the right direction for a beautiful finish. This way, your project will look professional and well-made.
Key Takeaways
- Cross stitch involves creating X-shaped stitches on fabrics like Aida or linen.
- Maintaining fabric tension using a hoop or frame is crucial for beginners.
- Reading cross stitch charts maps out the design corresponding to the fabric weave.
- Secure thread ends by passing the needle under at least three completed stitches.
- Avoid making knots and long jumps to ensure a smooth finish.
Understanding Cross Stitch: The Basics
Cross stitch is a fun and versatile embroidery type that uses X-shaped stitches on fabric. If you’re new to it, learning the basics is key. It’s often done on Aida cloth, great for beginners because it’s easy to work with.
Let’s explore what cross stitch is, its history, and why it’s beneficial.
What is Cross Stitch?
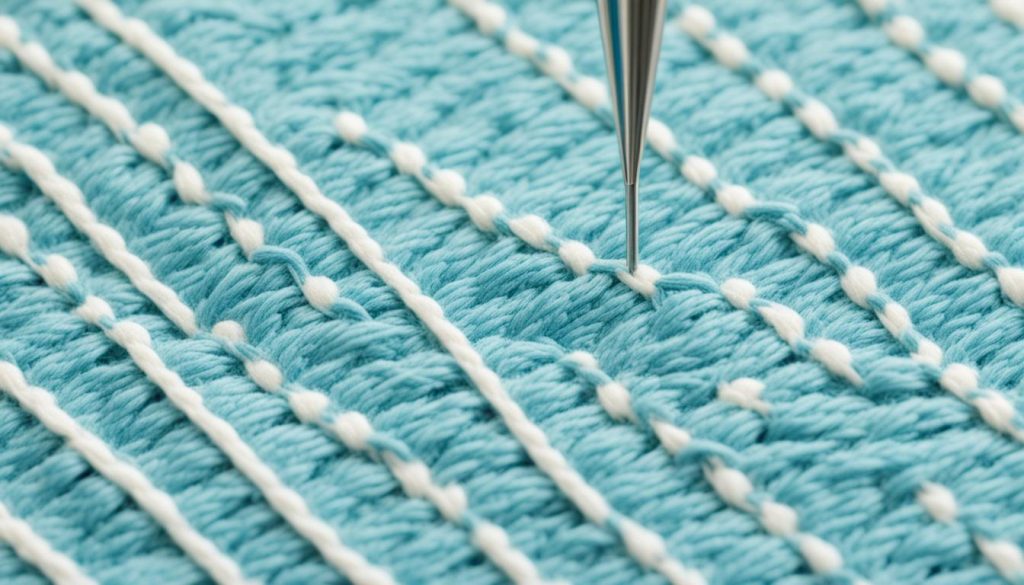
Cross stitch is all about making X-shaped stitches on fabric with a needle and thread. The fabric is usually an evenweave, like Aida cloth, which is easy to use. Aida fabric comes in different counts, but 14 count is the most popular.
Threads are usually embroidery floss, often used in six strands. Beginners might use two strands instead. Patterns start from the center and go outward, with each square in the grid representing a stitch.
The History of Cross Stitch
Cross stitch has a long history, tracing back centuries to various cultures. It was once used for marking linens and showing off needlework skills. Today, it’s evolved into intricate art, thanks to brands like Zweigart and Wichelt.
Whether you like traditional or modern patterns, cross stitch has something for everyone.
Benefits of Cross Stitch
Cross stitch is more than just making pretty designs. It’s a calming activity that can reduce stress and improve focus. The repetitive nature of the stitches is soothing and helps keep your mind sharp.
It also boosts hand-eye coordination and fine motor skills, making it great for all ages, including kids. Finishing a project gives you a sense of pride and well-being. Plus, it’s easy to start with the basics, making it very popular.
Essential Cross Stitch Supplies
Start your cross stitch journey by getting the essential supplies. This will help you succeed, whether you’re new or want to improve your skills.
Cross Stitch Kits
Cross stitch kits have everything you need in one package. They include fabric, threads, needles, and patterns. These are great for beginners because they make choosing supplies easy and ensure you have everything for your project. You can find them on Amazon or at craft stores.
Cross Stitch Fabric: Aida and Linen
The fabric you choose affects your project. Aida fabric, especially 14-count, is good for beginners because of its easy grid. For those with more experience, linen has a finer weave for a smooth look but requires more care. Both fabrics come in various colors and sizes for different patterns.
Cross Stitch Threads and Needles
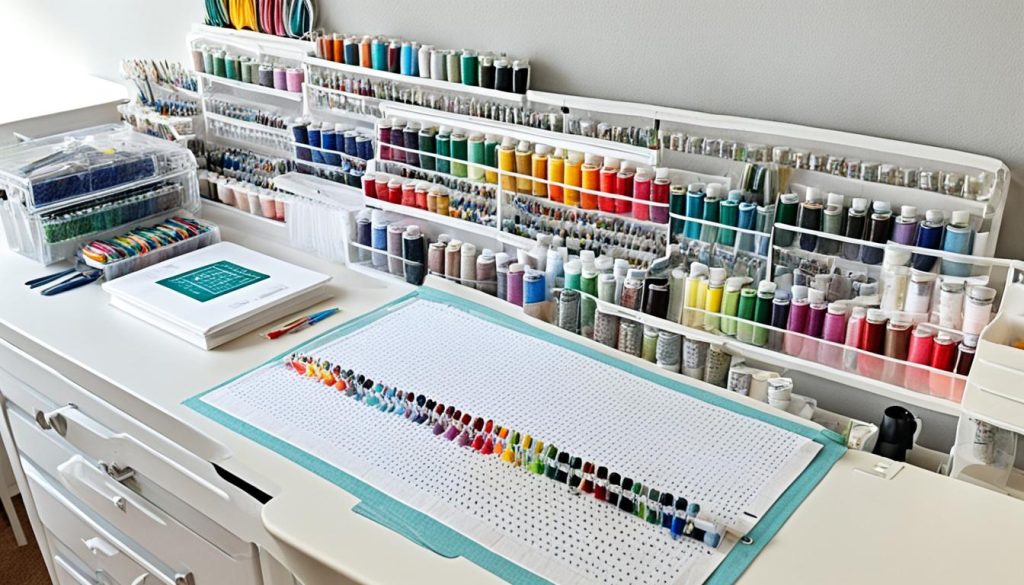
Six-stranded cotton embroidery floss from DMC or Anchor is the go-to for threads. These threads are loved for their bright colors and easy use. A tapestry needle, size 24, is great for beginners. It has a long eye and blunt tip, perfect for weaving through fabric without trouble.
Additional Tools and Accessories
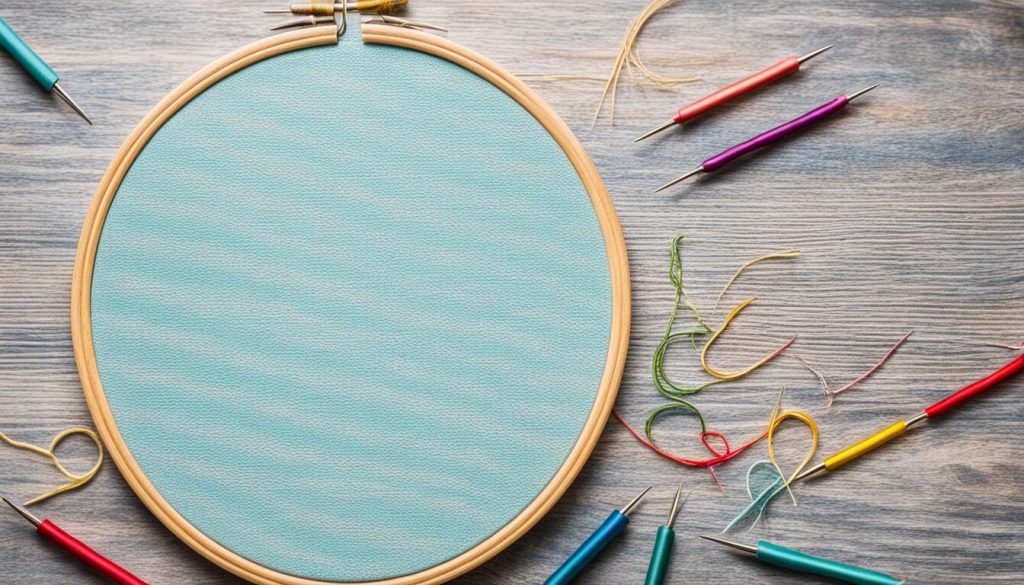
Some tools and accessories can really help with cross stitching. For example, embroidery hoops that are 2 inches bigger than your design keep your fabric tight. You’ll also need small, sharp scissors for cutting threads. Don’t forget about these essential accessories:
- Needle threaders for easy threading.
- Needle minders to prevent losing needles.
- Floss organizers to keep your threads tidy and easy to find.
- Magnifiers and good lighting to reduce eye strain and improve stitching.
- Project bags to keep your work safe and take it with you.
Getting these cross stitch supplies will make stitching much better. It lets you focus on making beautiful art. The right tools make stitching more fun and efficient.
Preparing Your Materials for Cross Stitch
Getting ready for cross stitch makes the whole process smoother and more fun. From reading the charts to preparing the fabric, each step is key to making a beautiful piece of art.
Reading Cross Stitch Charts
Understanding cross stitch charts is the first and most important step. They show where and what color to stitch. Start stitching from the middle to keep things aligned. Knowing your chart well is the base of your project.
Binding the Edges of Your Fabric
To stop the fabric from fraying, bind the edges. You can use a sewing machine, hand sew, or pinking shears for a quick fix. Fray Check, masking tape, or painter’s tape also work great. For hoops, leave 2 inches of extra fabric around, and for frames, add 3 inches or more.
Using a Hoop or Frame
For beginners, using hoops or frames is a good idea. They keep the fabric tight and smooth. Make sure to cut the fabric with extra room to avoid mistakes. For hoops, 2 inches extra on each side is best, and for frames, add at least 3 inches.
Thread Preparation and Selection
Choosing and preparing your threads is crucial for great results. Cut the threads to about 18 inches long and separate them for your fabric. Use a tapestry needle that matches your fabric and avoid knots for a good start.
- Cut the thread at a length of approximately 18 inches to prevent tangles.
- Separate the thread into the necessary strands based on the fabric count.
- Make sure to choose a tapestry needle that fits well with your fabric.
Always wash your hands for at least 20 seconds before starting to keep your materials clean. By following these steps, you’re ready for a rewarding crossstitching project.
- 2099 shares of the episode/post on preparing materials for crossstitching
- Fabric should be cut with extra room to prevent mistakes
- Joining a community like the free Facebook group of approximately 1500 members for tips and support can be very helpful.
Cross Stitch Techniques for Beginners
Starting your crossstitching journey can be very rewarding. Begin by keeping your stitches going in the same direction. This makes your finished piece look uniform. Start with lower Aida counts like 8 or 10, then move to higher counts as you get better.
Using a crossstitching kit is a great way for beginners to start. These kits have everything you need, like Aida fabric, DMC threads, and instructions. You can also find free patterns from places like DMC and LoveCrafts to help you begin.
Managing your threads is key to good cross stitching. Keep them untwisted and start with half stitches before crossing them for neater work. Properly anchoring and finishing threads keeps your work neat. You can use spreadsheets to design your own patterns and try out new techniques.
Stitch in natural light for better visibility and remove your hoop when not stitching to avoid fabric creases. With patience and practice, you’ll get better at these basic techniques. Soon, you’ll be ready for more complex projects and even custom designs. Cross stitching is a journey of relaxation and creativity. Enjoy every step and see where it takes you.
