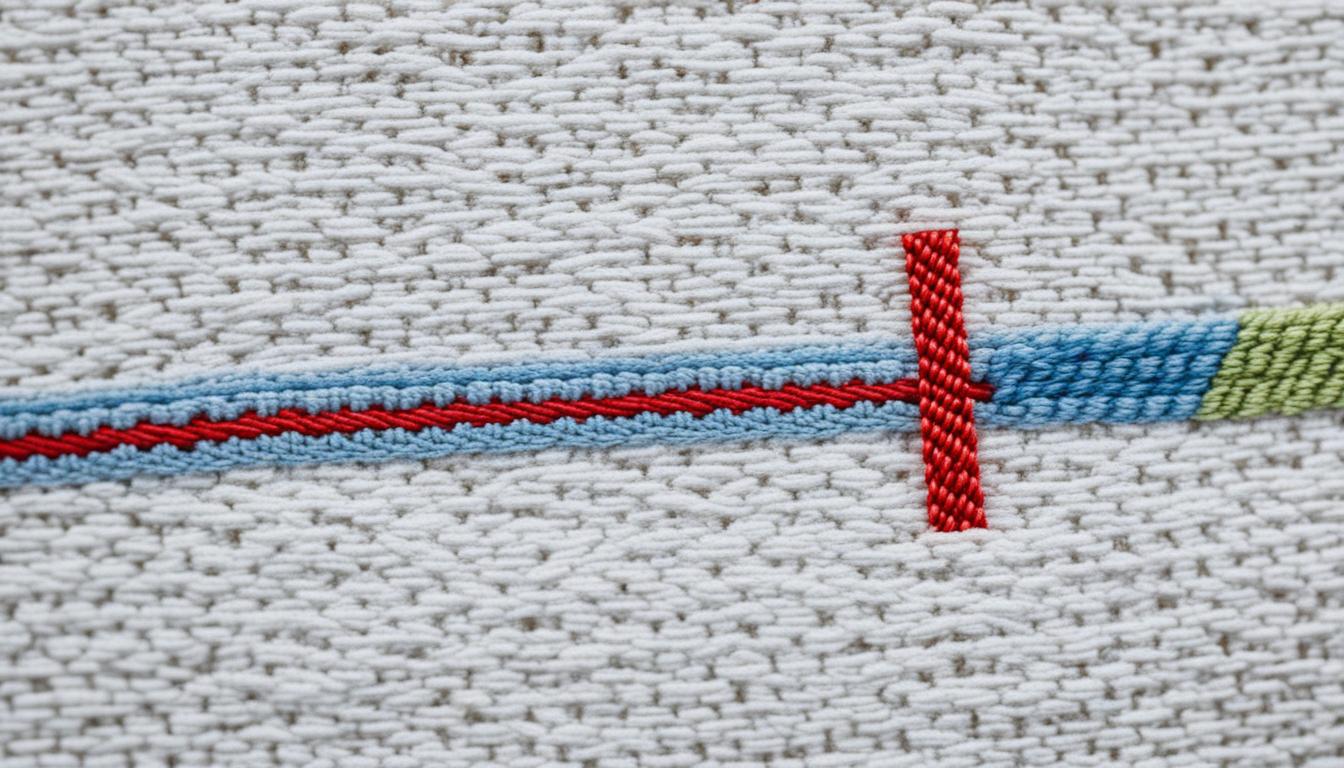
Many cross stitch fans start their projects in the middle to keep the pattern centered. A recent Facebook poll showed that starting dead center is the top choice. This method prevents running out of fabric and keeps the stitches even.
Starting in a corner can be tricky, leading to mistakes like miscounting stitches. For beginners, starting from the center is easier. It makes following cross stitch tutorials simpler. Plus, techniques like the loop start keep the back of your work neat.
Key Takeaways
- Starting from the center helps ensure your cross stitch patterns remain centered on the fabric.
- Avoids the risk of running out of fabric and miscounting stitches.
- Utilizing cross stitch techniques like the loop start method keeps the back tidy.
- Preferred by many, as indicated by recent poll results.
- Beneficial for beginners following cross stitch tutorials.
The Basics of Cross Stitch for Beginners
Cross stitch is a craft that lets you make beautiful designs with X-shaped stitches on a grid. It’s perfect for beginners, whether you’re using a pattern or making your own design. Let’s look at what you need to start.
What is Cross Stitch?
Cross stitch is a type of needlework that uses X-shaped stitches to fill patterns on fabrics like Aida or linen. It’s simple to learn and great for beginners because of its structured nature. You follow a grid where each symbol on the pattern matches a specific thread color, making your creations precise and beautiful.
Necessary Supplies
To start your cross stitch, you’ll need some important supplies:
- Embroidery floss: DMC floss is commonly used, with six strands that you split into two for stitching.
- Needles: Use a blunt-tipped embroidery needle, usually size 24 or 26, that fits your fabric.
- Cross stitch fabric: Aida cloth is great for beginners because of its evenly spaced holes, 14 count, meaning 14 stitches per inch.
- Hoops or frames: Embroidery hoops help keep your fabric tight and come in various sizes.
- Pattern: You can find free cross stitch patterns online or buy a detailed chart.
- Scissors: Use small, sharp scissors to cut threads neatly.
Choosing Your Fabric
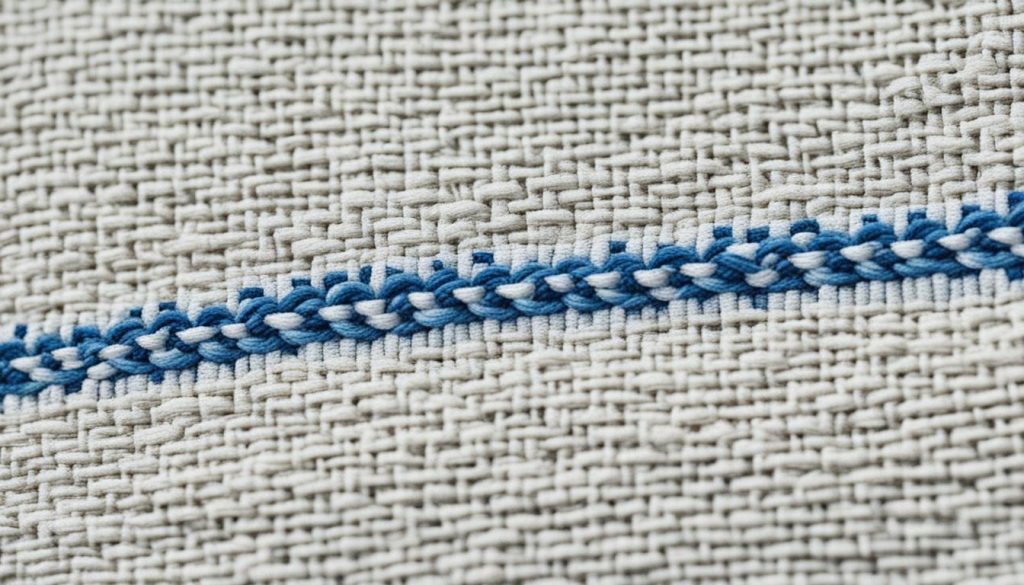
The fabric you choose affects your stitching experience. Beginners often start with Aida cloth because its visible holes make counting and stitching easier. Linen is also popular for its delicate look, but it can be harder. To stop fraying, secure the fabric edges with masking tape or stitching.
When picking a design, start in the middle to keep your work centered and well-placed. As you get better, you can try more complex patterns and fabrics.
Choosing the right cross stitch supplies and understanding the basics will help you make beautiful, lasting art.
Advantages of Starting Cross Stitch from the Middle
Starting a crossstitching project from the middle has big benefits. It makes sure your design is right in the middle. This is great for complex patterns like cross stitch alphabets or cross stitch samplers, where being precise is key.
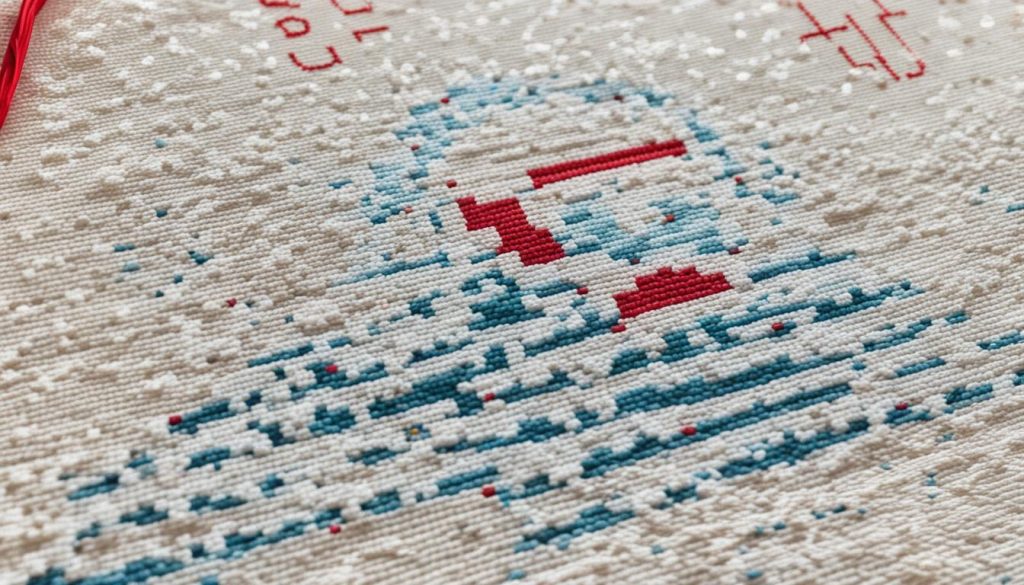
It also helps you fix any counting mistakes early. You can adjust sections right away if you start from the center. This is super useful for detailed designs like cross stitch flowers or custom cross stitch home decor.
Starting in the middle lets you pick colors first. This makes stitching more fun, especially if you want to finish certain parts early. It’s great for making crossstitching gifts with special colors.
Gridding your design from the center makes sure it fits on your fabric. This is really helpful for big projects. It prevents you from running out of space or having a wonky design. It keeps your work balanced and symmetrical, whether it’s a crossstitching sampler or a simple flower pattern.
In the end, starting your cross stitch in the middle leads to precise, balanced, and beautiful results. It works well for many different projects.
Potential Pitfalls When Not Starting from the Center
Starting your cross stitch project away from the center can lead to several issues. These problems might ruin your design and cause frustration. Misalignment is a common issue, making your pattern not fit properly on the fabric. This is especially true for detailed designs like cross stitch animals or intricate cross stitch quotes.
On cross stitch forums, stitchers often share their struggles and seek advice. Another challenge is running out of fabric before finishing your design. This is a big problem for beginner cross stitch enthusiasts who might not know how much fabric they need.
Unbalanced patterns are also a common issue when not starting from the center. Patterns can become skewed, making them look unsymmetrical. This is especially true for designs with cross stitch quotes or elaborate crossstitching animals. Making sure your design is centered can help avoid these problems and improve the final look.
Experts recommend starting your design with the dead-center start method. This involves folding your fabric in half twice to find the center. Using this method, as suggested in cross stitch forums, helps avoid common crossstitching challenges. It ensures cleaner, more accurate stitching.
| Fabric Type | Thread Count | Strands Used | Appearance |
|---|---|---|---|
| 14 count Aida | 14 threads/square inch | 2 strands | Lovely coverage and neat |
| 28 count evenweave/linen | 28 threads/square inch | 2 strands | Lovely coverage and neat |
| 16 count Aida | 16 threads/square inch | 2 strands | Good coverage |
| 32 count evenweave/linen | 32 threads/square inch | 2 strands | Good coverage |
| 14 count perforated paper | 14 threads/square inch | 3 strands | Significantly improved appearance |
How to Find the Center of Your Fabric
Finding the exact center of your fabric is key for perfect cross stitch. It makes sure your design is aligned right and you don’t run out of fabric. Here are three easy ways to find your fabric’s center.
Folding Technique
The folding method is easy and works well for beginners. Just fold your fabric in half both lengthwise and widthwise. Where the folds meet is the center.
Using Grid Lines
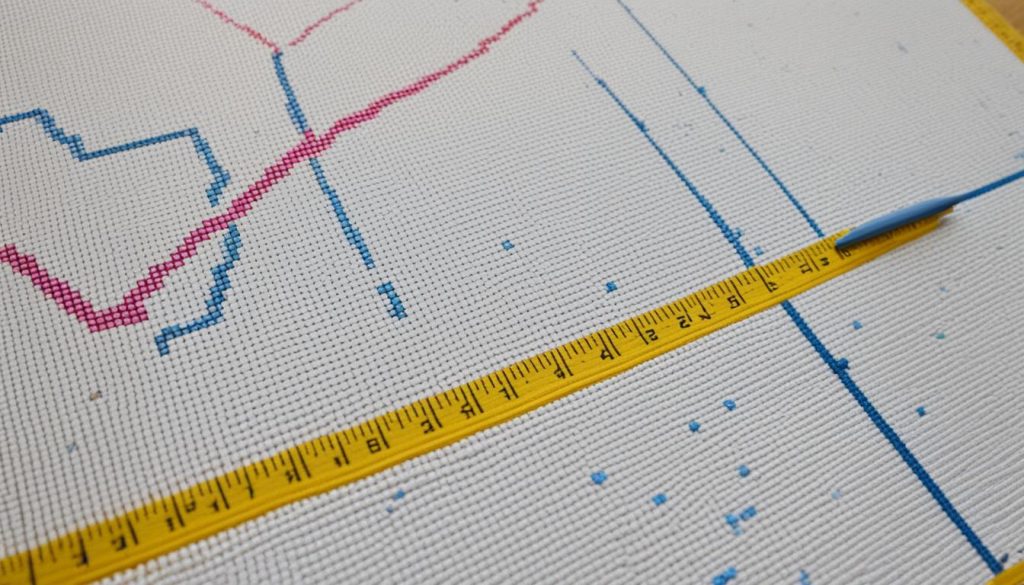
Using grid lines is another common method. Some cross stitch charts or fabrics already have these lines. If not, you can draw them yourself. This is great for big projects where you need to be very precise.
Aligning with Patterns
Most crossstitching patterns have arrows or lines to show the center. Line these up with the center point you found with folding or measuring. This makes sure your design turns out right, which is why many stitchers prefer it.
| Method | Process | Best For |
|---|---|---|
| Folding Technique | Fold fabric twice to locate the center point | Smaller projects |
| Using Grid Lines | Stitch manual grids or use pre-gridded fabric | Larger projects |
| Aligning with Patterns | Match fabric’s center point with pattern markers | Most projects |
Preparing Your Thread for Cross Stitch
Getting your thread ready for crossstitching is crucial for a great finish. Start by picking about 18 inches of thread, like DMC stranded embroidery thread. This length helps avoid tangles and makes stitching smoother.
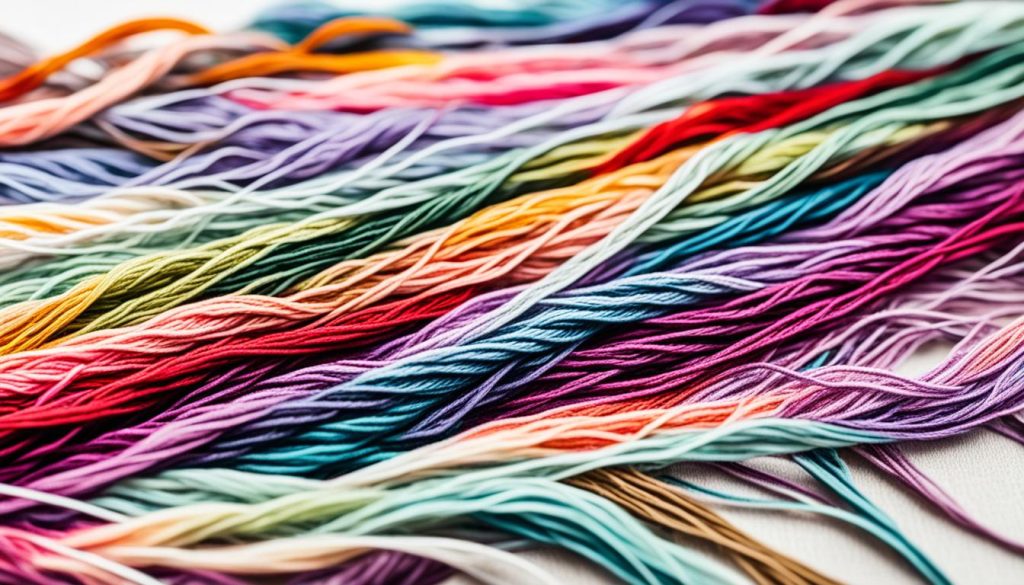
First, separate the strands for your design as the instructions say. For detailed work, use one or two strands at a time. This gives you better control and accuracy. It’s important to keep strands separate to avoid thick and uneven stitches.
When threading your needle, skip knots at the end. Instead, go under at least three stitches on the back side of your design. This keeps your work tidy and knot-free.
Think about your thread and fabric choices. Pre-wash your fabric to remove oils and starches that could mess with your stitching. Also, leave extra fabric around your design for easy framing later.
Organize your supplies to make stitching easier. Use paper bobbins, plastic casings, card stock, or pegs to keep threads by color or order. Keep your supplies in places like project bags or colorful pouches for better access.
Planning your project is key. Check your thread stash before buying new to avoid color differences. Keep all your materials in one spot for easy reach during crafting.
Sharing tips with others can be really helpful. Join free Facebook groups for cross-stitchers and crafters to swap advice and stories.
| Preparation Steps | Recommendations |
|---|---|
| Selecting Thread Length | Around 18 inches to avoid tangling. |
| Separating Strands | Use one or two strands for precise details. |
| Securing Thread Ends | Pass under three completed stitches on the back. |
| Fabric Preparation | Pre-wash and cut with sufficient margin. |
| Organizing Supplies | Use bobbins, casings, or pegs. Keep in project bags. |
| Project Planning | Check existing stash or purchase in one go. |
Techniques for a Knotless Start
Starting your cross stitch without knots is key for a smooth finish. This part talks about techniques like the loop start method. These methods make stitching easier and better.
The Loop Start Method
The loop start method is popular for its ease and effectiveness. It works best with an even number of strands. Typically, two strands of embroidery floss are used.
- Cut a single thread twice the length you want to stitch with.
- Fold the thread in half to create a loop at one end.
- Thread the two cut ends through the needle’s eye.
- Push the needle up from the back of the fabric, pulling the loop through.
- Bring the needle back down to secure the loop with a small two-stranded straight stitch.
This method starts with a loop, avoiding waste knots. It makes your stitching neat and efficient. It’s a must-know for beginners to avoid knots.
Avoiding Knots for a Smooth Finish
Keeping your cross stitch knot-free improves its look and lifespan. Many embroiderers face issues like bumps or thread tangling from knots.
- 67% of stitchers prefer using two strands of floss to avoid knots and ensure a seamless start.
- 29% struggle with placing finishing stitches due to knots, underlining the need for effective knotless techniques.
- 91% of embroiderers find that using methods to avoid knots enhances their overall embroidery experience.
Using tips like the loop start method keeps the back of your work flat and neat. These techniques lead to a polished, professional finish.
Cross Stitch Tips for Consistent Stitches
Getting consistent stitches in cross stitch art takes focus and the right techniques. Whether you’re diving into cross stitch history or checking out new patterns, these tips are key for top-notch work.
First, it’s vital to keep your stitches even. Use hoops or Q-Snaps to help with this. If you’re working with hand-dyed fabric, keeping stitches even is even more important to show off the colors well.
Try using railroading to keep threads flat and untwisted. This method is often suggested in cross stitch books for a clean look. Also, a laying tool can help keep your stitches smooth and flat.
Choosing the right thread is crucial. DMC or Anchor threads are top choices for their quality and variety of colors. When using 32ct or 16ct fabric, use 2 strands of thread to avoid stitches that are too thick or too thin.
The Danish method is a popular way to stitch. It means you finish one direction of the stitch before going back. This method helps make your cross stitch look even, as many stitchers have found.
Think about the fabric you’re using. A 14-count Aida cloth is great for beginners and helps with even spacing. Its grid pattern makes it easier to keep stitches even and improves your project’s look.
Practice regularly and be patient to get better at cross stitch. Look for online tutorials and cross stitch books for tips. Joining online groups can also give you support and new ideas. With practice, your cross stitch will show your skill and effort.
Conclusion
Starting your cross stitch project in the middle brings many rewards. It’s a way to relax and focus, improving your mind and reducing stress. Today, more people, including the young and men, are discovering its charm.
Brands like DMC and Anchor have been favorites since the 1800s. They offer fabrics with different thread counts for all skill levels. You can find help through blogs, YouTube, magazines, and communities, making it easy to start.
Technology has changed cross stitch too. Now, you can create complex designs with ease. Stores like John Lewis and Hobbycraft are growing, showing how much people love this craft.
Starting from the middle makes your cross stitch journey fulfilling. You become part of a global community that values tradition and creativity. Each stitch connects you to the past and present.
