Are you wondering if there’s a wrong way to cross stitch? You’re not alone. Many beginners feel overwhelmed by the many techniques and guidelines. But, the good news is that cross stitching is all about enjoying the process and making something beautiful.
The main goal is to make neat X-shapes with your stitches. This makes your work look uniform and pleasing to the eye. In this article, we’ll cover the basics and give you tips to improve your DIY cross stitch projects.
It’s important to keep your stitches going in the same direction for a professional look. Most stitchers use the bottom left to top right for the lower stitch and the top left to bottom right for the upper stitch. This method is great for large areas of solid color, keeping your work neat and tidy.
Don’t forget to untwist your threads as you stitch. If you don’t, your stitches might be thin and uneven, showing the fabric underneath. Also, adjust the number of strands you use for different parts of your design to get the right texture.
By focusing on these basics, you’ll get better at cross stitching. Your projects will look more beautiful and refined over time.
Key Takeaways
- Understanding cross stitch techniques is key to creating neat, uniform projects.
- Consistency in the direction of your stitches lends a professional finish.
- Mindful thread management prevents twisted, inconsistent stitches.
- Adapting the number of strands used in different design areas enhances texture.
- Embracing imperfections can add character to your cross stitch projects.
Understanding Cross Stitch Basics
Starting your cross stitching journey begins with the basics. First, pick the center of both the pattern and fabric. Common fabrics like Aida and linen work well, with 14 count Aida being a top choice. It has evenly spaced holes, making counting easier.
Cut your thread to about 18 inches to avoid knots. Use one or two strands of embroidery floss at a time. This usually means six strands together. Always start with the center of your design to keep everything aligned.

Good cross stitch supplies include fabric, embroidery floss, tapestry needles, and an embroidery hoop or frame. Tutorials for beginners can help with these steps. Mark the fabric’s center with a pinch and a crease to help you.
Cross stitch is usually stitched in rows from left to right. To keep the back neat, don’t make knots. Secure the thread by going under at least three stitches instead.
Free cross stitch patterns online can be great for beginners. They often come with charts and tutorials. Using these patterns correctly helps avoid fabric warping and keeps your design neat.
Key stitches include half and full cross stitches. Begin and end with full stitches for easy sections. Keep an eye on your thread tension to avoid changing the look of your work.
To finish, run the needle under three stitches on the back and trim the thread. This keeps your work looking neat from all sides.
For those who love it, cross stitch charts are a visual guide. They show colors and symbols for thread use. With these basics, choosing quality supplies and trying free patterns can make stitching fun and rewarding.
Common Techniques in Cross Stitch
Cross stitch fans use many techniques to make their art unique. Knowing these methods can boost your skills and help you make beautiful patterns. Here are some common techniques, their benefits, and how to use them.
Bottom Left to Top Right Method
This method feels natural for those who read from left to right. It starts at the bottom left and goes to the top right. It fits well with many patterns and helps you make neat stitches.
Top Left to Bottom Right Method
Starting from the top left can help with certain designs. It’s great for complex patterns where you need precision. Trying this method can give you a new view and might improve your stitching.
Block Filling Techniques

Block filling is great for large areas of one color. First, do a row of lower stitches, then the upper ones. This way, you change threads less often. The Danish method is faster for big blocks, but the English method is better for confetti stitches and is more durable.
| Method | Application | Advantages | Disadvantages |
|---|---|---|---|
| Bottom Left to Top Right | Traditional Cross Stitch Patterns | Consistency, Neatness | May not align with all designs |
| Top Left to Bottom Right | Complex/Specific Designs | Precise Alignment | Less Common, Requires Adjustment |
| Block Filling | Large Single Color Areas | Efficiency, Less Thread Change | Initial Thread Usage (Danish) |
Trying out these techniques can make your cross stitch better. Whether you like the Danish or English method, there’s no wrong way to do it. Pick the technique that works best for your project and what you’re comfortable with.
Tips for Consistent and Even Stitches
For consistent cross stitch, pay close attention to cross stitch techniques. Start by using the right number of strands for your fabric. For example, use 2 strands on 14 count Aida or 28 count evenweave/linen. Use 3 strands for 14 count perforated paper.

Don’t carry your thread too far across the back without securing it. This can distort the fabric. Start and stop threads by running the thread under a few stitches or using the loop method. This keeps the back neat and ensures even stitches.
Make sure your stitches go in the same direction. Always have the top arm of each cross stitch go the same way. This keeps your piece looking uniform. Start stitching from a corner to avoid working on finished areas and keep stitches neat.
Keep your thread tension right. Too tight or too loose can cause bulkiness or gaps. Use hoops or Q-Snaps to help keep your stitches even and flat on the fabric.
| Fabric Count | Strands Recommended | Common Brands |
|---|---|---|
| 14 ct Aida | 2 strands | DMC, Anchor |
| 28 ct Linen | 2 strands | DMC, Anchor |
| 14 ct Perforated Paper | 3 strands | DMC, Anchor |
| 16 ct Aida | 2 strands | DMC, Anchor |
| 32 ct Linen | 2 strands | DMC, Anchor |
After finishing your project, wash and iron it. This can make your stitches look more uniform and hide any stitch direction issues. Letting your needle hang to untwist the thread can also make your stitches neater.
Avoiding Twisted Threads
Keeping your cross stitch embroidery free from twisted threads is key for a neat finish. Twisted threads can ruin your work’s look and make the thread thin and visible. Learning how to manage thread tension and handle twisting threads is crucial for quality stitching.
Twisting and Untwisting Threads
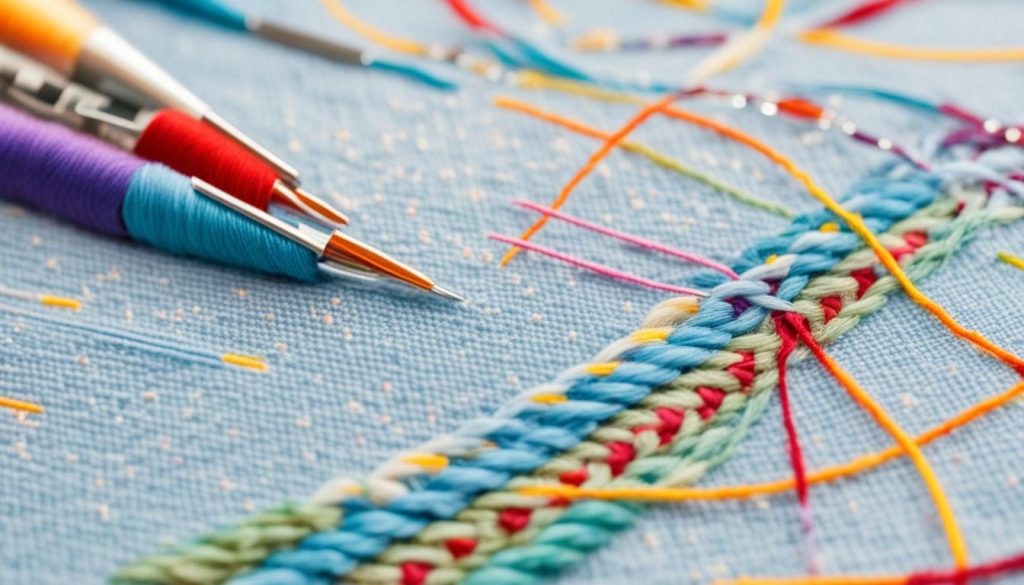
Threads often twist when you stitch due to the needle’s movement. To avoid this, let the thread unwind every 5-10 stitches. Hold your needle and let the thread untangle naturally. Using a shorter thread length, about 50 cm (~20 inches), also helps prevent twisting.
Manually counter-twisting threads after a few stitches can also help. DMC cotton floss is a top choice for its quality. Separating floss strands before stitching, especially with two or three strands, reduces twisting.
Tools for Managing Thread Tension
Many tools can help keep thread tension right and prevent twisting. Cross stitch needles, Thread Heaven conditioners, and beeswax strengthen threads and prevent tangling. Synthetic conditioners might harm fibers over time, but beeswax can darken the thread and lessen its shine. DMC or Anchor threads are great for smooth, less tangled stitching.
Proper fabric handling and tensioning devices or frames help with even stitching. Try different tools and methods, like stitching with both hands, to see what works best for you. If you don’t like commercial conditioners, a dampened make-up sponge or tumble dryer sheets can work too.
