Starting a cross stitch in the middle is a top tip, especially for beginners. It helps keep your work evenly spread out. This avoids any problems that might come up if you start at the corners.
By starting in the middle, you can place your design perfectly. This is great for both new and experienced stitchers. It also makes sure you use your fabric well, keeping your design right in the center.
This method also makes it easier to figure out how big your embroidery will be. It’s a key technique in cross stitch.
Key Takeaways
- Starting in the middle ensures symmetrical distribution of your cross stitch design.
- This method prevents misalignments and space issues on the fabric.
- It allows for accurate positioning and balanced approaches.
- Optimizes fabric use by centering the design.
- Facilitates easier calculation of embroidery dimensions, making it ideal for beginners and experienced stitchers.
Understanding the Basics of Cross Stitch
Exploring cross stitch can be exciting and fulfilling. This section will cover the basics of cross stitch history, key techniques, and essential tools. It’s a great way to start your journey in this intricate craft.

The History of Cross Stitch
Cross stitch has been loved for centuries. It started in medieval times as a way to decorate homes and clothes. The history of cross stitch shows how it reflects the culture and trends of different times.
Today, it remains a beloved hobby worldwide. It adds beauty and elegance to homes and fashion.
Common Techniques in Cross Stitch
Learning basic techniques is key to making beautiful cross stitch designs. The half stitch adds texture, the quarter stitch is great for details, and the full cross stitch is the foundation of most designs. Using these techniques well can make your work look stunning.
Essential Tools for Cross Stitching
To start cross stitching, you need some basic tools. Aida cloth, especially the 14-count type, is the most used fabric. It’s perfect for beginners.
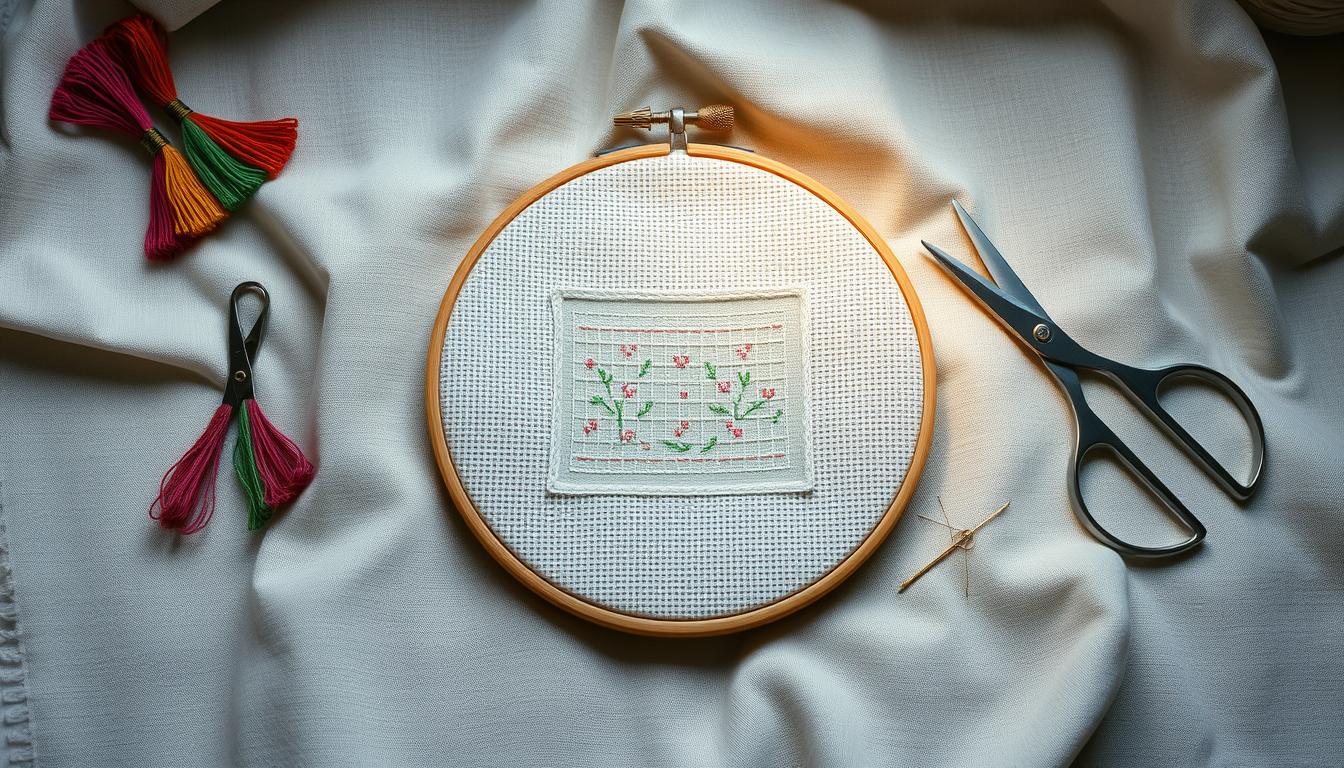
Choose needles that match your fabric and thread. Embroidery floss from brands like DMC or Anchor is usually the best choice. An embroidery hoop helps keep your fabric tight, making your stitches more precise.
Patterns are crucial. They guide you with color codes and symbols, helping you create your design.
| Component | Details |
|---|---|
| Fabric | 14-count Aida cloth |
| Threads | Embroidery floss (DMC, Anchor) |
| Needles | Appropriate for thread and fabric |
| Pattern | Grid with color codes and symbols |
| Hoop | Keeps fabric taut |
Learning these basics will help you appreciate and master cross stitch. It will make your creative journey more rewarding.
Why Starting in the Middle Makes Sense
Starting your design in the middle has many benefits. It works well for both beginners and experienced stitchers. Whether you’re using a colorful pattern from DMC, Anchor, or Kreinik, or a simple black-and-white design, it ensures your work is even and symmetrical. Other patterns might include back stitch variations and use tapestry needles from sizes 13 to 28.
Centering Your Design
Starting in the middle helps center your design. Since about 50% of cross stitch patterns have full-color symbols keys, this method makes placement easier. It prevents misalignment. By starting at the center, you can work outwards, keeping your design balanced on the fabric.
Managing Fabric Tension
Starting in the middle also helps manage fabric tension. Even tension is key for a good-looking cross stitch project. Starting from the center and stitching outwards helps distribute tension evenly. This reduces the risk of your fabric warping. Aida fabric, for example, needs consistent tension for the best results.
Eliminating Anxiety Over Mistakes
For beginners, starting in the middle can reduce anxiety about mistakes. When you start at the center, making adjustments is easier and less noticeable. This makes it simpler to fix mistakes without messing up the whole design. It also helps when following patterns that use different needle types, like embroidery or tapestry needles, which are important for detailed designs.
| Benefit | Explanation |
|---|---|
| Centering Cross Stitch Designs | Ensures the pattern is evenly placed and symmetrical. |
| Managing Cross Stitch Fabric Tension | Helps in evenly distributing tension, preventing fabric warping. |
| Eliminating Anxiety Over Mistakes | Allows easier adjustments and reduces noticeable errors. |
How to Find the Center of Your Fabric
Finding the center of your cross stitch fabric is crucial for perfect alignment. You need to measure the fabric, mark it carefully, and count threads accurately. These steps will greatly improve your cross stitch projects.
Measuring Fabric Dimensions
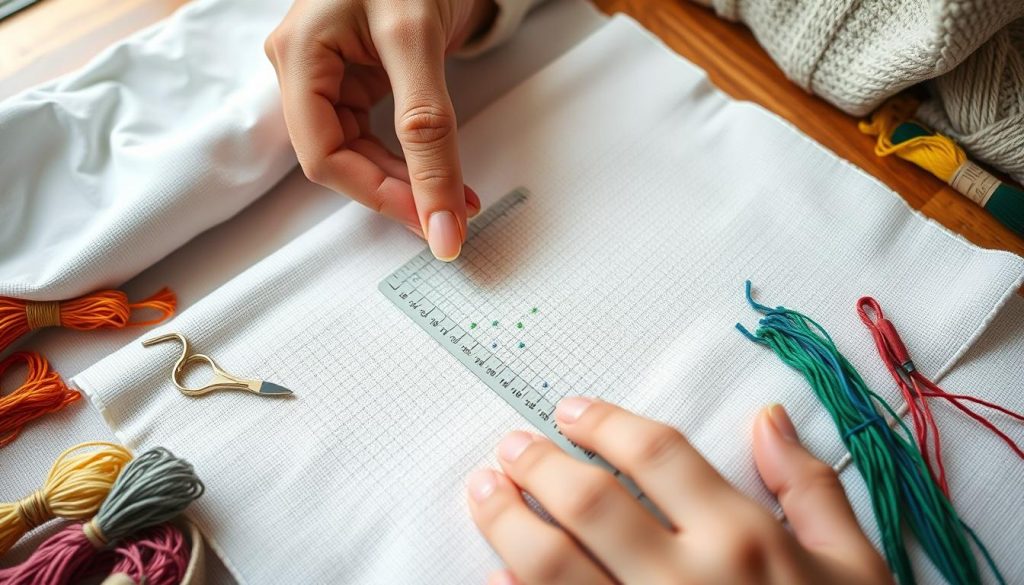
Getting the measurements right is the first step. For example, with a 5-inch hoop, measure 2.5 inches up to find the center. It’s also wise to add 3 inches to the hoop size when cutting fabric for stitching.

Using two needles can help find the center more easily. Charts with arrows at the top and side make measuring simpler.
Marking the Fabric
After measuring, mark the fabric’s center. Use a cross stitch marking technique like a water-soluble pen or a small stitch. The mark should be light but clear enough to guide you accurately.
Counting Threads for Accurate Placement
Counting threads accurately is key to keeping your design right. Start from the marked center and count threads as your pattern guides. Most charts have legends and symbols for thread colors, ensuring you stitch correctly.
Patterns also specify thread strands for different stitches. Following these details closely prevents mistakes and keeps your project consistent.
Tips for a Successful Middle Start
Starting your cross stitch project in the middle can make it more enjoyable. To succeed, use guideline threads, double-check your counts, and keep your tension even. These steps are crucial.
Using Guideline Threads
Guideline threads help you stay on track. You can use single strand embroidery thread, sewing thread, or even fishing line. These tools make it easier to see where to stitch next.
Gridding your fabric into 10×10 squares helps a lot. It keeps your design centered without counting too much.
Double-Checking Your Counts
Counting your threads accurately is key. Patterns often have thicker lines every 10 stitches to help. This makes counting and aligning easier.
Check your counts often, especially with complex designs. Guides like FriXion pens or pre-gridded fabric can help you stay accurate.
Maintaining Consistent Tension
Keeping your stitches even is important for a professional look. It prevents fabric distortion, which can ruin your work. Remove your fabric from the hoop when not stitching to avoid creases.
Stitch in natural light to avoid eye strain. Use shorter thread lengths to prevent tangling. Wash your hands before stitching to keep your project clean.

Use a needle minder to avoid losing needles. Plan your pattern and have all your materials ready before starting. This makes the process smoother and more fun.
| Hint/Tip | Recommendation |
|---|---|
| Using guiding threads | Single strand embroidery thread, FriXion pens, pre-gridded fabric |
| Thread length | From fingertips to elbow |
| Ironing finished piece | Iron with a towel underneath |
| Removing hoop | Remove when not in use |
| Cutting loops | Use 24-strand skein |
You should always snip loose threads at the back as you go and stitch under natural light for better visibility.
Troubleshooting Common Issues
Even with careful planning, cross stitching can present a range of challenges. Mastering some common troubleshooting techniques will ensure your project stays on track.
Dealing with Fabric Skew
- Cross stitch fabric skew occurs when the fabric edges become misaligned, affecting your overall design.
- To address cross stitch fabric skew, ensure to periodically realign your fabric. This keeps your design straight and proportional.
- Using grid lines added with washable markers can aid in tracking your progress, helping to catch any cross stitch fabric skew early.
Fixing Mistakes in the Center
- Cross stitch mistake correction is crucial, especially when errors occur in the center of your design.
- Mistakes can be addressed by carefully unpicking incorrect stitches with a seam ripper. Insert new stitches slowly to ensure cross stitch mistake correction maintains the pattern’s integrity.
- For less noticeable mistakes, you can stitch over them or utilize techniques such as whiteout or filling in with the correct color.
Preventing Thread Bunching
- Cross stitch thread bunching can detract from the appearance of your finished piece.
- One strategy to prevent cross stitch thread bunching is to use the correct thread lengths, typically no longer than 18 inches.
- Ensuring consistent tension throughout your stitches and avoiding knots on the back will also reduce the chances of cross stitch thread bunching.
| Common Cross-Stitching Issues | Percentage |
|---|---|
| Knots on the back | 44% |
| Spilled substances on the piece | 27% |
| Missed stitches | 20% |
| Wrong stitch placement | 9% |
Conclusion: Embrace the Middle Starting Technique
Starting your cross stitch project in the middle has many benefits. It helps center your design and manage fabric tension. This approach also reduces errors, making your project better.
Recap of Key Points
This article showed the advantages of starting in the middle. We talked about marking and measuring fabric correctly. We also discussed tips for keeping tension even and avoiding mistakes.
Using high-quality materials like Aida, linen, and evenweave was highlighted. These materials can greatly improve your project’s quality. We also offered solutions for common problems like fabric skew and thread bunching.
Encouragement for Beginners
If you’re new to cross stitching, starting in the middle can help. It makes your project more forgiving and fun. This method allows for flexibility and helps correct mistakes, making learning easier.
Remember, practice is key! Making mistakes is part of the process. With patience and consistency, you’ll enjoy every piece you finish.
Resources for Further Learning
There are many resources to improve your skills. Cross stitch tutorials, books, and forums are available. Good software for designing patterns can also be very helpful.
Platforms like Flosstube, with channels like “The XStitching Runner,” offer great content. Their episodes are 40 to 60 minutes long, giving you plenty of time to learn. Use these resources to grow your craft and meet other enthusiasts.
