Cross stitch is a simple embroidery technique that’s easy to learn. It’s great for both newbies and seasoned crafters. The question of whether there’s a right way to do it depends on your personal style and the project you’re working on.
To stitch correctly, you need two types of stitches: a lower one and a top one. It’s important to keep all top stitches going in the same direction. This makes your work look neat and tidy.
Most people prefer to stitch on fabrics like Aida or linen. These fabrics have small squares that help your stitches cover them evenly. Usually, two threads are enough to fill the squares, but some patterns might ask for more for a specific look.
Key Takeaways
- Cross stitch is an accessible form of counted thread embroidery suitable for both beginners and advanced crafters.
- Maintaining uniform direction in top stitches ensures a neat and consistent finish.
- Even weave fabrics such as Aida and linen are ideal for cross stitch due to their structured squares.
- Using two strands of thread is commonly recommended for adequate coverage.
- Select patterns and supplies carefully to ensure uniformity and consistency throughout your project.
Understanding Cross Stitch Basics
Starting your first cross stitch project can be very rewarding. Knowing the basics is key to making beautiful pieces. It doesn’t matter if you’re new or have experience.
What is Cross Stitch?
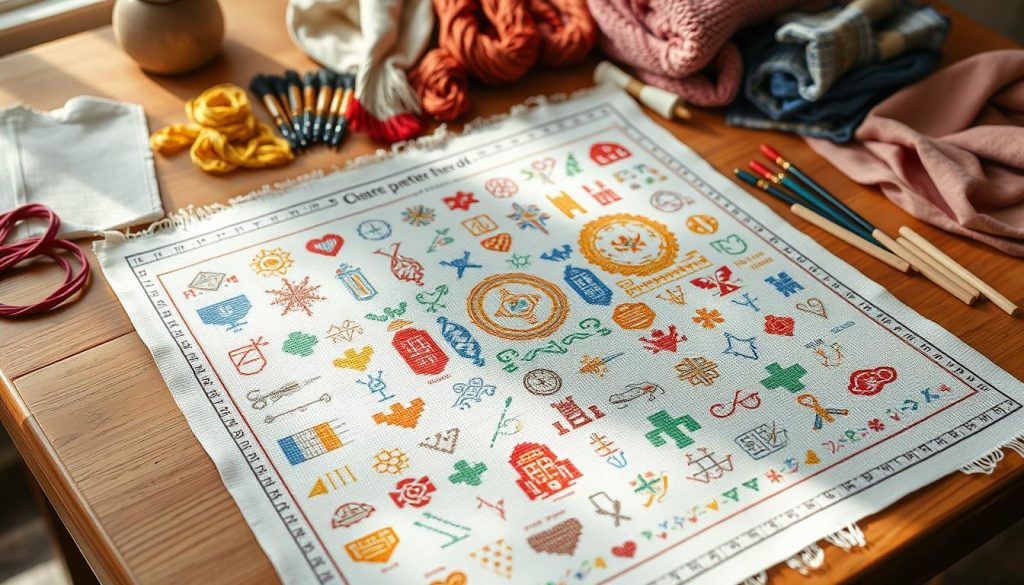
Cross stitch uses X-shaped stitches on fabric to create pictures or patterns. It’s great for those who love details. The designs can be simple or very complex, depending on the kit.
Essential Tools for Cross Stitching
To start cross stitching, you need some basic supplies. These include:
- Needles: Use embroidery needles with a blunt tip to avoid damaging the fabric.
- Threads: Embroidery floss is used, made of six threads. For most patterns, use two strands per stitch.
- Embroidery hoop or frame: These help keep the fabric tight, making your stitches even.
- Cross Stitch Fabric: Aida cloth is popular because its holes are evenly spaced, making it easy to stitch.
- Pattern Charts: These are grids with colors and symbols to follow your pattern.
Common Fabric Choices
Choosing the right fabric is important for your project. Here are some common ones:
| Fabric Type | Description | Best For |
|---|---|---|
| Aida Cloth | A grid with evenly spaced holes, popular due to its ease of use. | Beginners and simple to complex designs. |
| Linen | Offers a finer texture, making it suitable for more detailed work. | Experienced stitchers and detailed patterns. |
| Evenweave | Similar to linen in texture but with a more consistent thread count. | Both beginners and experienced stitchers. |
Using quality supplies like DMC embroidery floss and 14 count Aida cloth can make a big difference. Tools like an embroidery hoop also help keep your stitches even.
Preparing Your Project
Before starting your cross-stitch project, it’s important to prepare well. Choose the right pattern and gather all needed supplies. These steps help your project go smoothly and effectively.
Choosing Your Pattern
Choosing the right cross stitch patterns is key for beginners. Start with a small project, like an 8″ square. Patterns cost between $5 to $15, with many free options.
Look for designs with 3 to 10 colors. This makes the project less overwhelming. A good beginner project is “Mod Flowers,” which fits in an 8″ hoop and uses 3 to 10 colors. It’s about 5.7″ x 5.7″ when finished, needing a 12″x12″ fabric piece.

Gathering Supplies
After picking your pattern, gather your supplies. A beginner project costs under $15. Here’s what you’ll need:
- Fabric: Start with 14 count white Aida for a clear background.
- Needles: Use a size 24 tapestry needle for this fabric.
- Threads: Match your floss colors, buying all at once to avoid color differences.
- Hoop: An 8″ embroidery hoop keeps fabric tight.
- Scissors: Use small, sharp embroidery scissors for precise cuts.
Remember to add 3 inches to each side of your fabric for borders. Bind the edges to prevent fraying and center it well. This ensures your project’s precision and quality.
By choosing the right patterns and supplies, you’ll have a solid start for a rewarding cross-stitching journey.
The Stitching Technique
Learning cross stitch techniques takes patience and precision. It’s a simple form of hand embroidery that’s soothing and rewarding. When starting, it’s key to follow a methodical approach for uniformity and polish.
Step-by-Step Guide to the Cross Stitch
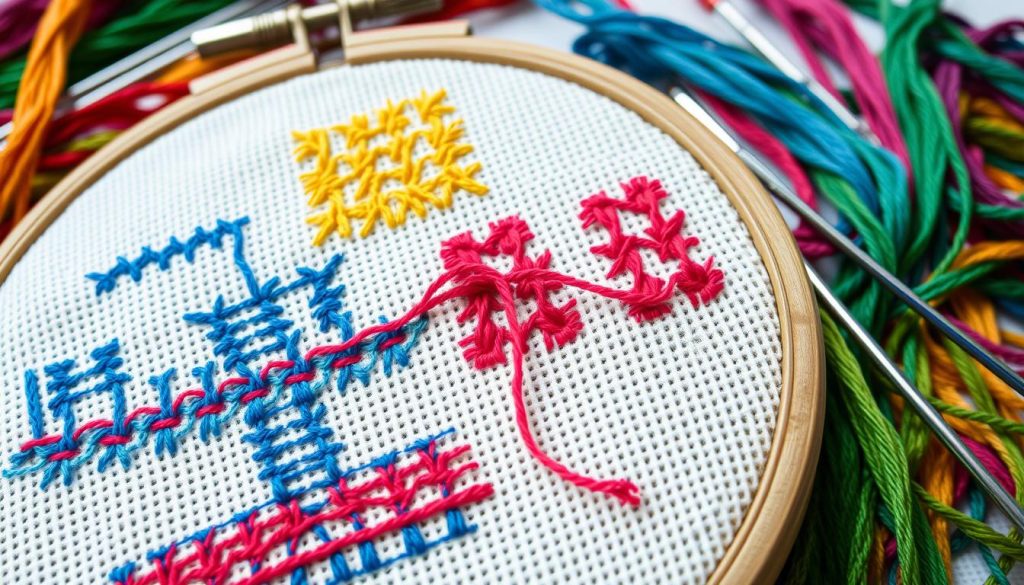
First, secure your fabric in an embroidery hoop. This tool stabilizes the fabric, making even stitches easier. Here’s how to start:
- Thread your needle with one or two strands of embroidery floss, cut to about 18 inches to avoid knots.
- Bring your needle up through the fabric from the back, leaving a small tail for later.
- Insert the needle back down to form a diagonal stitch.
- Keep working in rows from left to right.
- To finish the cross stitch, make diagonal stitches in the opposite direction.
Tips for Maintaining Uniformity
Keeping stitch size and direction uniform is key for a great look. Here are some tips for consistent results:
- Maintain consistent tension: Strive for a smooth, even tension to avoid warping or gaps.
- Minimize long jumps: Shorten jumps across the back to prevent thread showing on the front.
- Unwind twisted threads: Let your thread hang freely and unwind to keep tension even.
- Practice on scrap fabric: Use scrap fabric to practice and check your stitches.
By using these techniques, your projects will look professional and bring you joy. Whether you’re learning or refining, practice and enjoy the meditative nature of this craft.
| Aspect | Details |
|---|---|
| Thread Length | Approximately 18 inches to prevent knotting |
| Fabric Choices | Aida, Linen, Evenweave |
| Number of Strands | One or Two |
| Direction of Work | Rows from left to right |
| Common Tools | Embroidery hoops, Frames |
Common Mistakes to Avoid
Even experienced crafters can make mistakes in cross stitching. It’s important to know how to fix these errors to get a great finish. Following some key tips and tricks can make your work much better.

Miscounting Stitches
Miscounting stitches can mess up your design’s symmetry. This can make your finished piece look off. To avoid this, use counting pins or draw grid lines on your fabric.
Also, make sure to center your pattern on the fabric. This helps prevent running out of space or stitching off-center.
Thread Tension Issues
Keeping thread tension even is key. If it’s not, your stitches might be too tight or too loose. This can ruin the look of your work.
Most cross stitch tips suggest using 2 strands of thread. This is because embroidery floss usually has 6 strands. Also, start each stitch in the same direction to keep them even.
By paying attention to these details, you can avoid many common mistakes. Here’s a quick guide:
| Common Mistake | Impact | Solution |
|---|---|---|
| Miscounting Stitches | Design symmetry disruption | Use counting pins or grid lines, center the pattern properly |
| Thread Tension Issues | Inconsistent stitch appearance | Maintain consistent tension, use 2 strands of thread |
| Starting stitches inconsistently | Non-uniform look | Ensure first stitch direction is consistent |
Finishing Your Work
Finishing a cross stitch project is very rewarding. But, the final steps are key to keeping your work looking great. Learning how to clean and frame your piece can make it even better.
How to Tie Off Your Threads
Securing your threads is crucial. When you finish a thread, take the needle to the back of the fabric. Then, slide it under some existing stitches and pull tight. This keeps your stitches from coming undone.
Cleaning Your Finished Piece
Cleaning your piece is important to remove oils and dirt. To clean it, gently hand wash it in lukewarm water with mild soap. Don’t wring or scrub it. Lay it flat on a clean towel to dry, reshaping it carefully.
After cleaning, think about framing your piece. Pick a frame that matches your work. Make sure the fabric is tight and centered. Framing protects your piece and makes it display-ready.
Sticky boards are another framing option. They provide a firm backing and keep the fabric in place. You can also turn your cross stitch into pillows, quilts, tablecloths, or coasters for creative reuse.
Make sure you have all the right supplies for finishing. You’ll need strong thread, felt, quilt batting, and a needle. With these steps, you’ll be proud to show off or give your beautifully finished pieces.
Exploring Different Styles
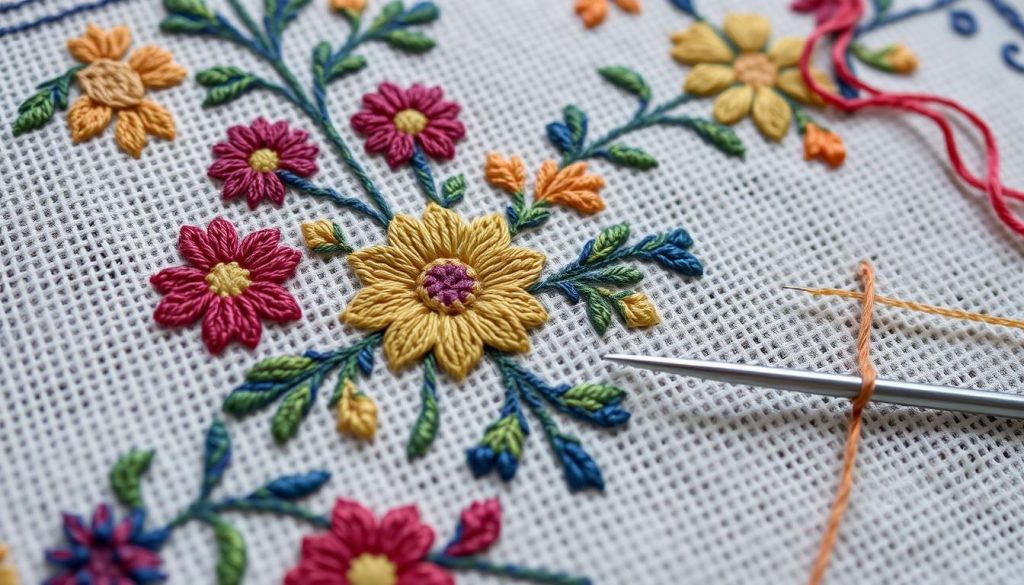
Cross stitch has grown over time, leading to many styles. From traditional to modern, each style has its own charm. Seasonal and themed patterns make your projects even more special.

Traditional vs. Modern Cross Stitch
Traditional cross stitch loves classic designs like flowers and alphabets. It uses soft colors and keeps old techniques alive. Famous designers like Teresa Wentzler and Victoria Sampler add special stitches to these designs.
Modern cross stitch, however, is all about new and bold ideas. It uses bright colors and abstract shapes. Designers like Shannon Christine and Faby Reilly bring a fresh twist to this style. Adding stitches like Algerian Eyelet can make your work even more interesting.
Seasonal and Themed Patterns
Seasonal and themed patterns let you add a personal touch to your work. You can choose from Christmas to beach scenes. Using waste canvas lets you add these patterns to different fabrics.
Adding sparkly threads from Kreinik or bright floss from DMC and Anchor can make your projects stand out. Whether it’s Halloween or Thanksgiving, themed patterns keep your work exciting all year. Aida fabric is great for bringing these themes to life.
Resources for Cross Stitch Enthusiasts
If you love cross stitch, you’re in luck. There are many resources to help you improve your skills. You can find online communities, forums, books, and tutorials for all levels.
Online Communities and Forums
Joining cross stitch communities can be very rewarding. Sites like Reddit and Facebook groups are great for sharing projects and getting advice. They also have stitch-alongs and video tutorials, which are very popular.
For cross stitch patterns, check out 123Stitch, EverythingCrossStitch, and Etsy. These websites have lots of designs and supplies. Blogs like Lord Libidan and The Twisted Stitcher also offer free patterns and modern designs.
Recommended Books and Tutorials
Reading cross stitch books can really help you grow. “Pattern Design” by Lewis F. Day is a classic. It covers timeless design principles.
“Designing Tessellations” by Jinny Beyer is great for pattern lovers. It explores the art of interlocking patterns. For color theory, “The Art of Color” by Johannes Itten and “Interaction of Color” by Josef Albers are essential.
| Resource | Description |
|---|---|
| The Cross Stitch Guild | Founded in 1996 by Jane Greenoff, focusing on elevating the art of cross stitch. |
| The American Needlepoint Guild (ANG) | A non-profit organization dedicated to the educational and cultural development through needlepoint. |
| The Embroiders’ Guild of Canada | Aims to maintain high standards in embroidery design, color, and workmanship. |
| The National Academy of Needlearts (NAN) | Focuses on providing excellence in education for embroidery enthusiasts. |
| The National NeedleArts Association (TNNA) | Fosters passion for needlearts through education and industry knowledge exchange. |
Continuing Your Cross Stitch Journey
As you grow from a beginner to an expert, you’ll learn advanced cross stitch techniques. These skills will make your projects better and open up new possibilities. This part will cover some of these advanced methods and offer lots of inspiration for your next projects.
Advanced Techniques to Master
The Danish method is a great place to start. It involves finishing a row of half stitches and then stitching back to close the ‘X’s. This method makes your stitching faster and keeps your stitches even.
Railroading is another key technique. It involves splitting your thread as you pull it through. This makes sure your threads lie flat and parallel, giving a clean finish.
Confetti stitches might look hard, but they’re doable. Use a loop start or pin stitch to keep them in place. Changing colors is also a skill to learn. Start the new color neatly by securing the thread underneath existing stitches on the reverse side.
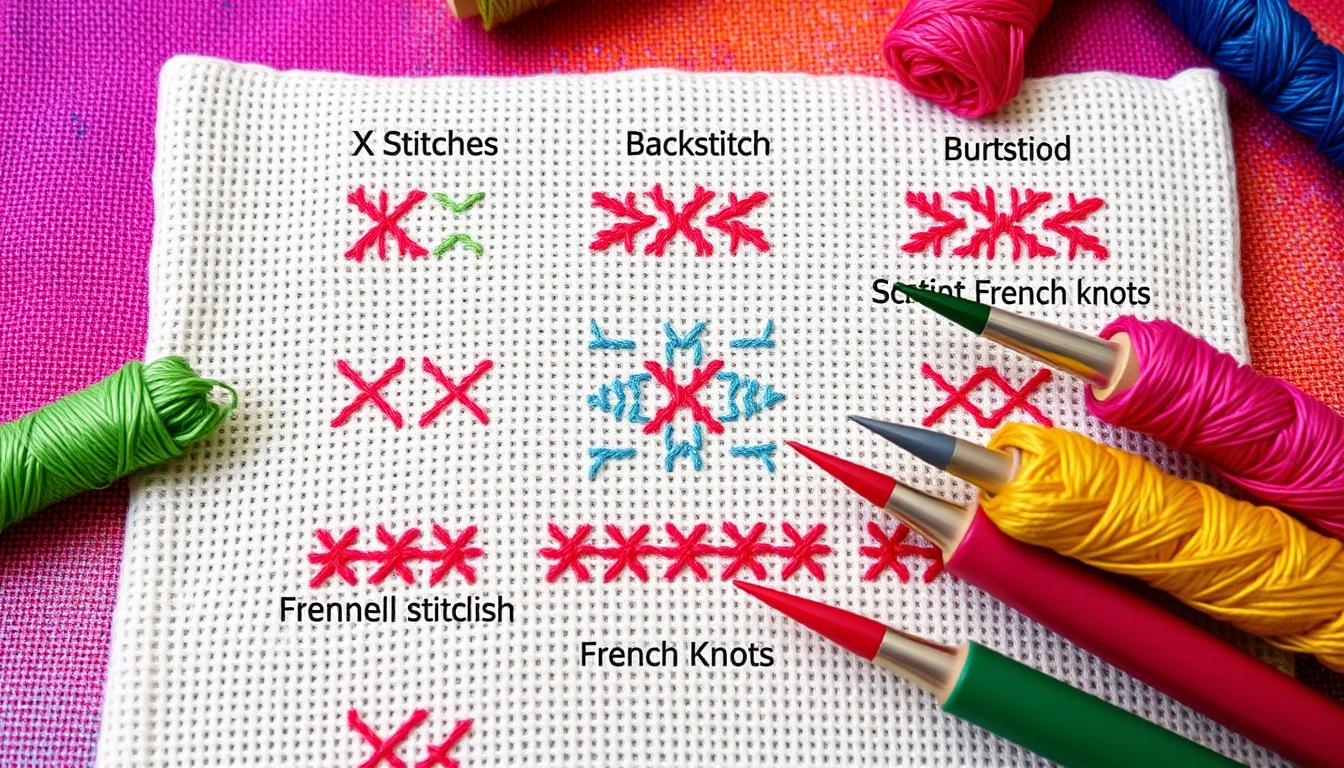
Outlining your projects with backstitch can add definition. It creates smooth, unbroken lines that make your work look better.
Inspiration for Future Projects
Keeping your creativity flowing is key as you continue stitching. Look for inspiration from different places to keep things interesting. Seasonal patterns or themed designs are great choices.
Etsy has a cross stitch pattern of the month for around £3.92. It’s perfect for all skill levels. The pattern is 7.4 x 9 inches on a 14 count Aida and uses just 3 DMC colors.
Joining online communities and forums is also a good idea. They let you share your work and find new ideas. Remember, the journey of cross stitch is about the process and the finished piece. Enjoy the challenges and let each project inspire the next.
