Starting your cross stitch journey can be very rewarding. Printing your own patterns lets you pick designs that fit your style. But, where do you begin?
First, pick a pattern that can be printed. Many websites and software have cross stitch patterns for all tastes and skill levels. Choose a design that you love and suits your skill.
After picking your pattern, adjust its size for your fabric. It’s best to use a color printer to get the cross stitch colors right. Printing on thicker paper or cardstock helps keep your fabric stable while stitching.
Then, you need to put the pattern on your fabric. You can use backstitch, a lightbox for dark fabrics, or a water-soluble stabilizer. The goal is to be precise and careful.
Remember, cross stitching takes patience and accuracy. Take breaks and stay comfortable to keep your work quality high.
Key Takeaways
- Choose a pattern that matches your skill level and design preference.
- Use a color printer for accurate color reproduction of your cross stitch design.
- Print on thicker paper or cardstock for better stability during stitching.
- Various methods can be used to transfer the pattern onto fabric, ensuring precision.
- Take breaks and stay comfortable to maintain accuracy in each stitch.
- DMC brand is a popular choice for stranded embroidery thread.
- Standard fabric options include linen, aida, and evenweave.
Understanding the Basics of Cross Stitch
Cross stitch is a simple embroidery that’s great for beginners. It’s relaxing and fulfilling. Let’s explore the basics of this popular craft.
What is Cross Stitch?
Cross stitch is a counted thread embroidery. It stitches X-shaped designs on even-weave fabric. This method is easy, even for beginners, to create detailed patterns.
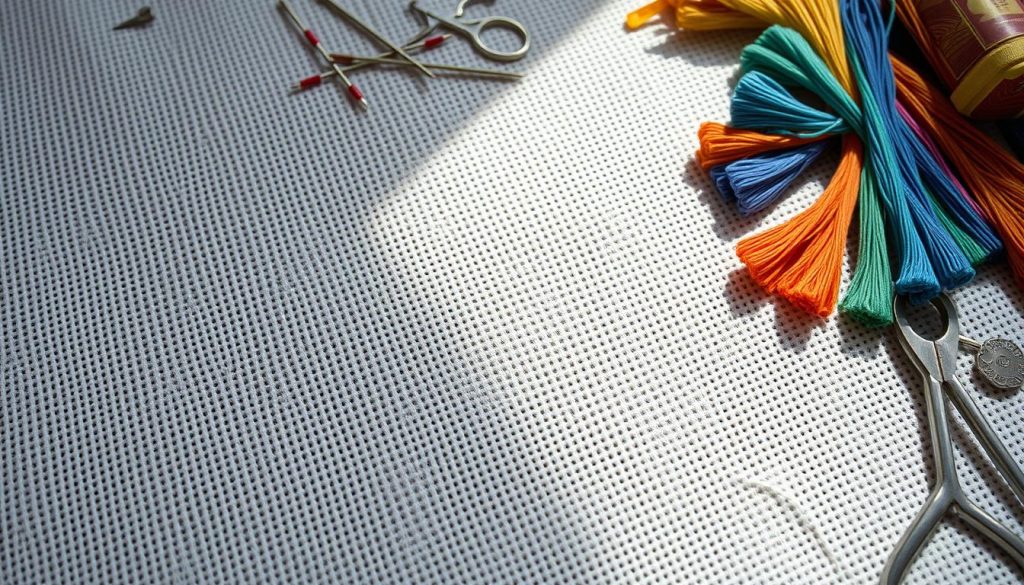
The fabric used is usually 14 count Aida cloth. It has a grid that helps guide your stitches.
Essential Tools and Materials
To start, you need specific supplies:
- Fabric: Linen or Aida cloth (14 count Aida is best for beginners).
- Embroidery Floss: Use high-quality thread like DMC. Most patterns need two strands per stitch.
- Needles: Use a blunt-tipped needle, sizes 24 or 26 are common.
- Hoops: Use hoops or frames to keep the fabric tight while stitching.
Types of Cross Stitch Patterns
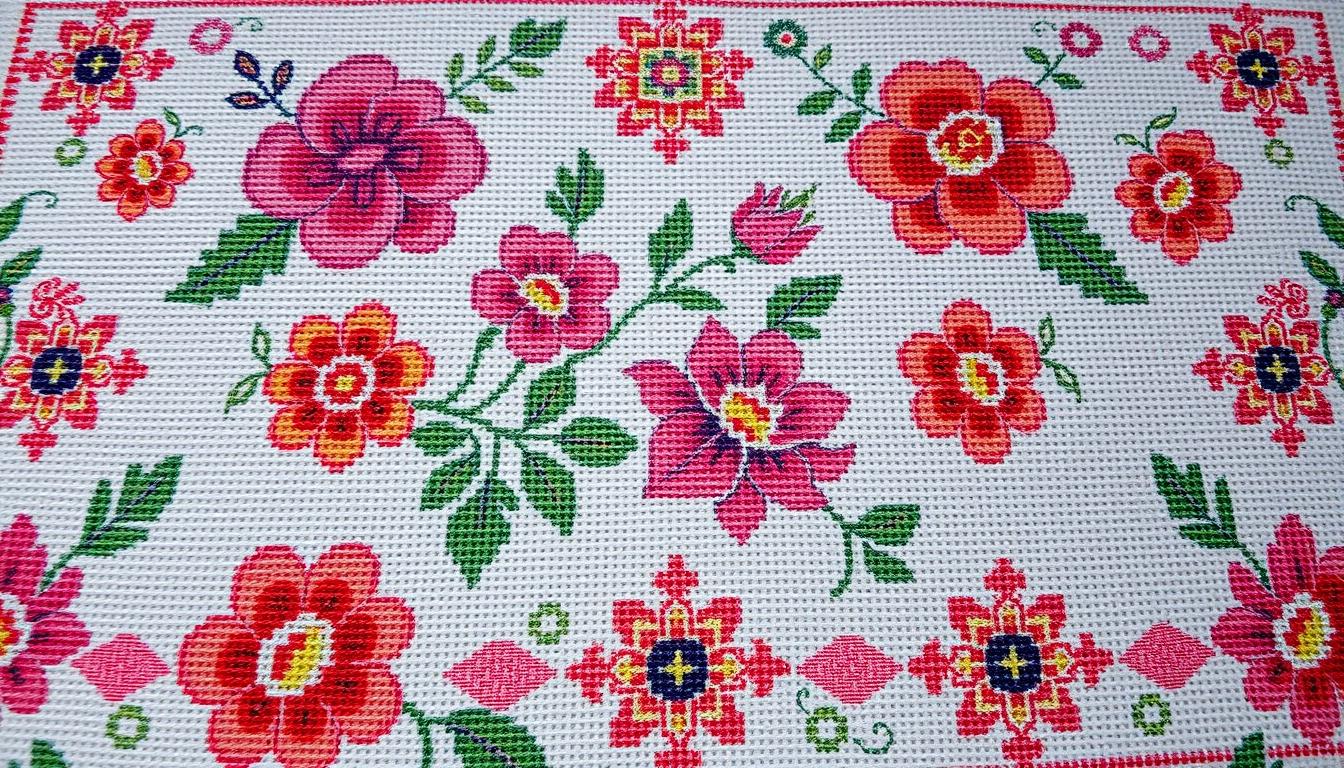
Patterns are key in cross stitch. They come in many styles, like traditional and modern. You can find them as black-and-white charts or colorful grids.
Whether you like classic flowers or modern shapes, tutorials are helpful. They teach you to read patterns, manage floss, and fix problems like frayed fabric.
Brands like Zweigart and Wichelt are great for fabric. Patterns range from simple to complex. Start small, be patient, and enjoy the process.
Selecting Your First Cross Stitch Project
Choosing your first cross stitch project can feel overwhelming. But, starting with simple designs is key. For beginners, we recommend free cross stitch patterns that use few colors and have straightforward designs.
Simple Patterns for Beginners
Beginners should start with a pattern that has 2,000 stitches or less. Most beginners can stitch 25 to 100 cross stitches per hour. This means a 2,000-stitch project can be finished in about 26 hours at an average rate of 75 stitches per hour.
The recommended size for a beginner project is no larger than an 8-inch square. This size is manageable and can be finished in a few weeks with regular stitching sessions.

Considerations for Size and Complexity
When looking at a project, check the grid size and stitch counts. The size of the finished project is key. Fabric should be at least 3 inches larger than the design on each side for borders. For example, working on 14 count white Aida fabric with a size 24 needle is a good start for newbies.
Also, consider the type of pattern—full coverage or non-full coverage. Full coverage patterns require stitching across the entire fabric. Beginners should aim for patterns using 3 to 10 colors to avoid feeling overwhelmed. The cost for a beginner’s project, including fabric, needles, and an embroidery hoop, is usually under $15.
| Pattern Criteria | Beginners Recommendations |
|---|---|
| Number of Stitches | Less than 2,000 |
| Stitch Rate | 75 stitches per hour |
| Project Size | 8-inch square |
| Number of Colors | 3 to 10 |
| Fabric Type | 14 count white Aida fabric |
| Cost of Supplies | Less than $15 |
With these guidelines, picking the right first project will boost your confidence. Start with cross stitch samplers and enjoy making beautiful art.
Preparing Your Fabric and Threads
Getting your materials ready is key in any cross stitch project. Knowing the differences in fabric and threads helps you choose the right tools for success.

Choosing the Right Fabric
The fabric you pick can greatly affect your project’s look. Beginners often choose Aida fabric because it has easy-to-count squares. Linen, however, offers a finer look but can be harder to work with.
Hand-dyed fabric adds a personal touch and unique colors. When stitching in a hoop, add 2 inches of fabric on all sides for tension. Cutting fabric too small is a common mistake.
Thread Types and Their Uses
Threads come in many types, each for different effects. Stranded cotton is the most used for counted cross stitch. It can be split into strands for different thicknesses. Silk threads add elegance and texture.
Metallic threads add sparkle and can be mixed with others for a dazzling look. Perlé cotton is great for texture. Wool yarns are used in canvaswork, with brands like Anchor Tapisserie and DMC Tapestry Wool being popular.
Organizing your threads is crucial to avoid tangles. Wind threads on bobbins or pegs and store by color. Keeping hands clean before stitching prevents oils from getting on your fabric. These steps will help you start your project smoothly and enjoyably.
The Printing Process for Cross Stitch Patterns
Creating your own cross stitch patterns lets you make unique designs. Printing these patterns uses old and new methods. This ensures your design looks great on fabric. Start by picking a design that fits your skill level and the project’s complexity.
How to Transfer Patterns to Fabric
After printing your cross stitch charts on good paper or cardstock, you need to put the pattern on fabric. There are a few ways to do this:
- Backstitch Method: This old way lets you stitch directly onto the fabric, following the pattern closely.
- Water-Soluble Stabilizers: Put the printed pattern on a water-soluble stabilizer, then stitch through both. Rinse the stabilizer away after stitching.
- Iron-On Transfer Papers: These papers let you iron the pattern onto fabric, giving a solid base for your stitches.
Using Graph Paper or Digital Tools
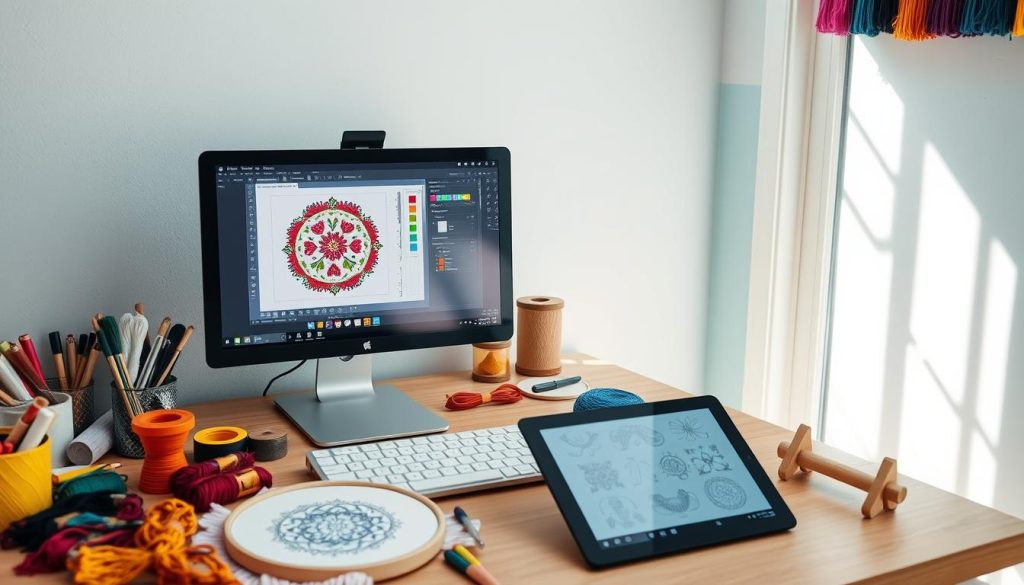
If you like digital work, many digital cross stitch tools and cross stitch software are out there. These tools make designing easier by letting you change sizes and tile patterns.
- Choosing Digital Formats: Many patterns come in PDF or image formats, making them easy to use in your software.
- Pattern Conversion: Some patterns might need to be changed to work with your software. Digital tools can help with this.
- Printing Considerations: Use high-quality paper for clear patterns. Check your ink and paper size, especially for detailed designs.

Using both old and new methods gives you precise results. From designing to stitching, digital tools make the process fun and efficient. Try out cross stitch software and other digital tools to improve your workflow.
Techniques to Enhance Your Cross Stitch Skills
Improving your cross stitch skills means learning both basic and advanced techniques. Understanding and using key techniques can make your projects look better and be of higher quality.
Mastering Basic Stitches
Learning the basic stitches is crucial. Essential stitches include the cross stitch and the backstitch. These stitches are the foundation for more complex projects.
The Danish method is a favorite for solid threads like DMC. Using 2 strands of floss on 14ct or 28ct fabric makes stitches neater than 3 strands, which can look bulky.
Using hoops or Q-Snaps helps keep tension even. This leads to more consistent results. Advanced stitchers suggest washing finished projects to improve ridges and remove stiffness.
Adding Color and Depth
Bringing color and depth to your projects means trying different cross stitch color combinations. Modern stitchers love using varied shades to make designs pop. For example, DMC Light Effects can add sparkle.
Techniques like “laying” and “railroading” help with consistent tension and professional stitches. Practice and patience are essential for mastering these skills. Grid large projects can save time and ensure accuracy.
Exploring different methods and tools opens up the world of modern cross stitch. Many advanced stitchers create their patterns with tools like spreadsheets for a personalized touch.
Troubleshooting Common Cross Stitch Issues
Mistakes in cross stitching are common, even for experts. Knowing how to fix these issues helps keep your work looking great. It also makes sure your projects move forward without trouble.
Fixing Mistakes in Your Work
One big challenge is putting stitches in the wrong place. This is called ‘frogging.’ To fix it, use a fine seam ripper or embroidery scissors to remove the wrong stitches. It’s best to avoid leaving thread on the back to keep your work neat.
Knots on the back of the fabric are another problem. To avoid them, start and end your stitches under other stitches or use a loop start. If you must carry the thread, keep it short to prevent a mess.
Missing stitches happen to many stitchers. To fix a missed stitch, use the ‘fill it’ method. Stitch over the missed area with the right color. This saves time and keeps your fabric intact.
Keeping Your Project Organized
Keeping your cross stitch materials and patterns organized is crucial. Use floss organizers and labeled thread holders to avoid color mix-ups. Cross stitch counting pins help you stay on track, especially with complex designs.
A clean and organized workspace prevents spills and accidents. Spills, like tea or coffee, can ruin your project. So, keep your area tidy and your materials stored well. This improves your work flow and the quality of your stitching.
