If you’re new to cross stitch or want to improve, knowing the best direction is key. Many suggest starting from the bottom left and moving up to the top right. This follows natural reading and pattern instructions. It also makes your work look neater and more even.
Keeping your stitches in one direction is very important. This is especially true in a craft that values detail and precision. Whether you’re using Aida cloth or linen, keeping your stitches uniform makes your work look better and feel more professional.
Stitching can be calming, but don’t forget to twist your thread now and then. This helps prevent your stitches from becoming thin or uneven. With practice and focus on your technique, you’ll get better at cross stitch.
Key Takeaways
- Stitching from bottom left to top right is commonly recommended for cross stitch.
- Uniform direction throughout enhances your project’s consistency and appearance.
- Twist your thread periodically to prevent thinning and uneven stitches.
- Even weave fabrics like Aida or linen are ideal for cross stitch projects.
- Consistency in the number of strands used ensures smooth texture and coverage.
Understanding Cross Stitch Basics
Starting your cross stitch journey? Knowing the basics is key to creating beautiful designs. This guide will introduce you to the essential concepts and techniques to begin with.
What is Cross Stitch?
Cross stitch is a form of embroidery that uses X-shaped stitches. It’s easy to learn, making it great for beginners and experts. You’ll use fabrics like Aida, evenweave, and linen, which have a grid to guide your stitches.
Aida cloth, especially 14 count, is a favorite for its structure. You’ll use DMC embroidery floss, which you split into two strands for stitching.
Key Tools and Materials
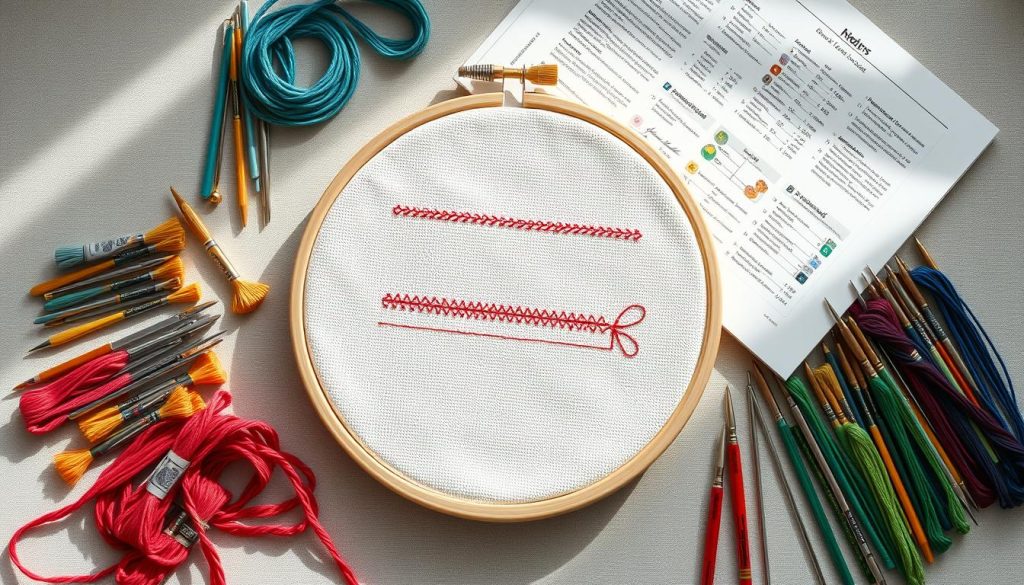
To start, you’ll need various cross stitch supplies. Here are the must-haves:
- Fabric: Aida cloth (14 count is most common), evenweave, or linen.
- Floss: DMC embroidery floss, typically used with two strands per stitch.
- Needles: Blunt-tipped tapestry needles suitable for the chosen fabric.
- Hoops: To keep the fabric taut while stitching.
- Scissors: Small, sharp scissors for cutting threads.
Patterns come with color keys or legends. These symbols help you choose the right floss colors. This ensures your cross stitch designs are detailed and colorful.
Basic Stitches and Techniques
Learning the basic stitches and techniques is vital. They help you create uniform and appealing patterns. The process involves following a grid where each square on the pattern matches a square on the fabric. Here are some key points:
- X-Stitch: Each X-shaped stitch is formed by making a series of half stitches in one direction (/ / / /), followed by completing the X by stitching back in the opposite direction (\ \ \ \ \).
- Threading and Splitting Floss: Cut a manageable length of floss (from elbow to fingertips) and split the six individual strands into two strands before stitching. Patterns often require stitching with two strands of floss for the best visual effect.
- Starting Rows Without Knots: To avoid bulkiness, starting rows without making knots is recommended. Techniques for this include weaving the thread tails under subsequent stitches.
Learning these foundational techniques will make your cross stitching journey fun. It will also prepare you to tackle more complex free cross stitch patterns with confidence.
The Importance of Direction in Cross Stitch
The direction of your stitches in cross-stitching is key to your work’s look and feel. It affects both the quality and the visual appeal of your projects.
How Direction Affects Stitch Quality
Keeping your stitches in the same direction makes your work look neat and strong. The American technique, for example, starts with the bottom half of each stitch. Then, it moves to the top half on the way back. This method ensures your stitches are even and look polished.
Techniques like railroading also help by preventing thread from twisting. This adds to the overall quality of your cross stitch.
Visual Aesthetics: Direction Matters
The direction of your stitches greatly impacts the look of your cross stitch. Traditionally, stitches are done from left to right. This helps highlight certain parts of your design, like petals and leaves.
Trying different stitch directions can make your designs look more natural. Satin stitches, when used right, can make your work look like it’s moving.

The angle of your stitches can also shape your design. For detailed patterns, paying attention to direction is vital. It adds texture and lines to your work.
Different techniques, like the Danish and European methods, have their own ways of doing things. But, they all agree on the importance of consistent top stitch direction. This ensures your work looks professional and cohesive.
As you get better at cross-stitching, experimenting with stitch direction can lead to amazing results. It can make your work look even better in terms of quality and visual appeal.
Choosing the Right Fabric for Your Project
Starting a cross stitch project? The right fabric is key. Aida cloth, linen, and more each have their own perks. Let’s explore which one is best for you.
Types of Fabric Suitable for Cross Stitch
Aida cloth is a favorite for its grid pattern. It makes counting threads easy. It’s made of 100% cotton, with counts from 6 to 14. Beginners often start with 8-count Aida.
Evenweave fabrics blend cotton and rayon. They come in counts of 25, 28, and 32. A 28-count evenweave is like a 14-count Aida but finer. Evenweave requires counting two threads over, for even stitches.
Linen adds a luxurious touch to cross stitch. It’s made from flax and has counts from 28 to 50. Linen’s uneven threads add natural texture.
Fabrics like Aida and linen come in various sizes. You can find them in yard fractions or pre-made items. Stitching bands are great for making bookmarks and more.
Considerations for Fabric Direction
The fabric’s weave direction affects your stitching and project look. Choose a fabric that aligns well with your pattern. Aida’s grid makes it easy to follow the direction.
Linen and evenweave fabrics need more attention to direction. Their finer threads require consistent stitching. This keeps your project looking neat and even.
Choosing the right fabric depends on your skill and project needs. Whether it’s Aida, evenweave, or linen, knowing your fabric’s traits will make your cross stitch better.
Proper Techniques for Threading and Stitching
Learning the right way to thread and stitch is key to making your cross stitch look great. It’s important to thread your needle correctly and keep your stitches going in the same direction. This will make your work look even and professional.
Threading Your Needle Correctly
Threading your needle right is a basic step in cross stitch. Many stitchers suggest starting with a knotless loop, especially with two strands of floss on 16ct or 32ct fabric. This method helps you avoid lumps and ensures a smooth start.
It’s also important to keep the thread tension even. You can use tools like laying tools or railroading to help with this. This way, your stitches will look consistent and even.

How to Maintain Direction Consistency
Keeping your stitches going in the same direction is crucial for a uniform look. You can use the Danish method or stitch one leg at a time. The key is to practice regularly to build muscle memory.
Trying different threading techniques and keeping your stitches consistent will help you get even, professional-looking stitches. Choose the right fabric counts and evenweave fabrics for better results. Also, take part in cross stitch tutorials to improve your skills and achieve the best results.
Deciding on a Pattern: Direction Play
Choosing the right cross stitch charts is key to bringing your project to life. Whether you’re adapting patterns or considering the orientation, knowing these details is crucial. It ensures a smooth stitching experience.
Evaluating the Orientation of Patterns
When picking a cross stitch pattern, look at the suggested orientation. Some charts follow a traditional direction, while others offer more flexibility. Making personal adjustments can make the pattern fit your style better, improving both ease and look.
Adapting Patterns to Your Direction Preference
Adapting patterns to your preferred direction is a creative part of cross stitching. By changing the flow of your stitches, you can add your unique style. Here are some key things to think about:
| Consideration | Details |
|---|---|
| Thread Count | Use three threads for standard stitches, two for finer details, and four for chunky sections. |
| Fabric Count | Start with lower Aida counts like 8 or 10 for easier stitching; move to 12, 14, or 16 as you get better. |
| Pattern Simplicity | Beginners can start with projects under 2,000 stitches, finishing them in a few weeks. |
| Stitch Count | Estimate completion time by your stitching speed: 75-100 stitches per hour is a good starting point. |
| Design Complexity | Full coverage patterns are detailed and take a lot of time; choose non-full coverage for a simpler project. |
| Floss Quality | Use high-quality skeins from brands like DMC for durable and vibrant stitches. |
By considering these factors, you’re on your way to creating beautiful and enjoyable cross stitch projects. Trying out different charts and orientations can help you discover new techniques and improve your skills.
Tips for Avoiding Common Direction Mistakes
Keeping your cross stitch project looking professional is key. We’ll share tips to help you avoid mistakes. This will make your project look great.
Misaligned Stitches: Prevention Strategies
Marking the center and edges of your fabric is crucial. It helps keep your stitches straight. Use erasable markers to avoid permanent marks.
- Start your stitches in the same direction for a uniform look. This makes a big difference in your cross stitch’s appearance.
- Use 2 strands of embroidery floss for cross stitch. This ensures a smooth finish. Most floss has 6 strands, but only use 2 for cross stitch.
- Wash your hands before stitching. This prevents oils and odors from getting on your fabric.

Troubleshooting Direction Errors
Fixing direction mistakes requires careful steps. Here are some tips to help:
- Remove incorrect stitches gently to avoid damaging the fabric. A seam ripper can be helpful.
- Re-stitch following the correct direction. Use your marked centers and edges as guides.
- Keep fabric edges from fraying, especially with evenweave fabrics. They fray more than Aida fabric.
Working in good light helps avoid mistakes. It reduces eye strain and improves accuracy. Consider a daylight lamp for better lighting.
Advanced Cross Stitch Techniques
Looking to make your cross stitch projects more exciting? Try advanced techniques. They let you add unique textures and depth to your work. This makes your artwork truly stand out.
Unique Directional Stitches to Experiment With
Discovering new stitches can really boost your creativity. Try the Lazy Daisies, Smyrna Cross, and Algerian Eyelet for different textures and patterns. The Rhodes Stitch or Rhodes Heart in various directions can give your design a bold, artistic flair.
These advanced methods let you create rich, detailed textures. They add depth and interest to your work.
- Lazy Daisies: Perfect for adding florals with a textured effect.
- Smyrna Cross: Ideal for intricate pattern work.
- Algerian Eyelet: Adds visual interest through openwork.
- Diamond Eyelet: Enhances the geometric elements in your project.
- Rhodes Stitch/Heart: Creates a bold, raised texture.
- Jessica Stitch: A complex technique for advanced embellishments.
These stitches are not just for looks; they also improve your precision and creativity. Use size 28 needles and two strands of thread on 18 count Aida fabric for detailed work. This might cause your needles to break often, but it’s worth it for the quality.
When to Break the Rules
Advanced cross stitch is about mastering techniques and knowing when to break the rules. Using experimental cross stitch techniques means sometimes changing traditional stitch directions. This can help you achieve the look you want.
For example, you can park threads after a few stitches and pick up where you left off. This makes your stitching more flexible and spontaneous.
“The practice of knotting off threads when they run out and marking patterns to indicate parked threads provides an excellent method for organizing your progress and ensuring a seamless resumption of work.”
Also, use different colors for parking threads and stitches to keep track of your work. This makes stitching more enjoyable. With help from experienced crafters, you can confidently try new things and improve your cross stitch skills.
Conclusion: Your Cross Stitch Journey
The cross stitch journey is always changing, shaped by your experiences and likes. As you dive deeper, it’s key to show your personal style. Your unique touch will make each piece special and show who you are.
Embracing Your Personal Style
Every stitcher has a style that’s all their own. This makes cross stitching very rewarding and fulfilling. By trying out different techniques, you can explore new areas in your craft.
Letting your creativity guide you not only makes your work better but also helps you relax. Remember, there’s no one “right” way to do cross stitch. It’s all about your own way.
Resources for Further Learning
To keep improving, it’s important to use many cross stitch learning resources. Books, online tutorials, and forums are full of useful information. Using tools like John James Twin Pointed Quick Stitch needles and different fabrics can really help your skills.
Being part of a community is also key. Joining online forums, local groups, and stitch-alongs can be very helpful. It gives you support and new ideas to try.
Your cross stitch journey is about learning and showing who you are. With so many resources and a supportive community, you can always get better at this timeless craft. So, go ahead and show your style, use the resources available, and keep stitching!
