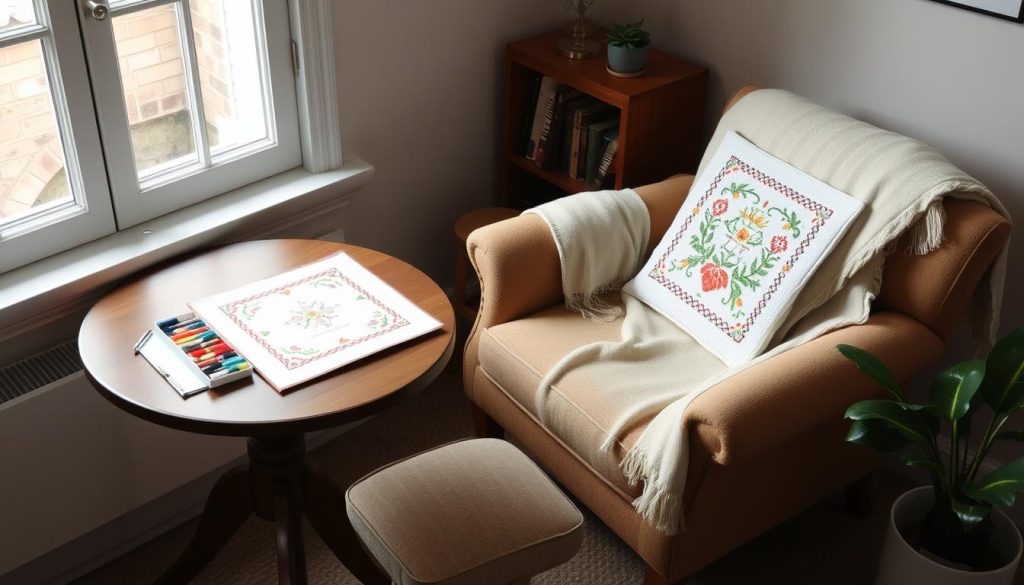
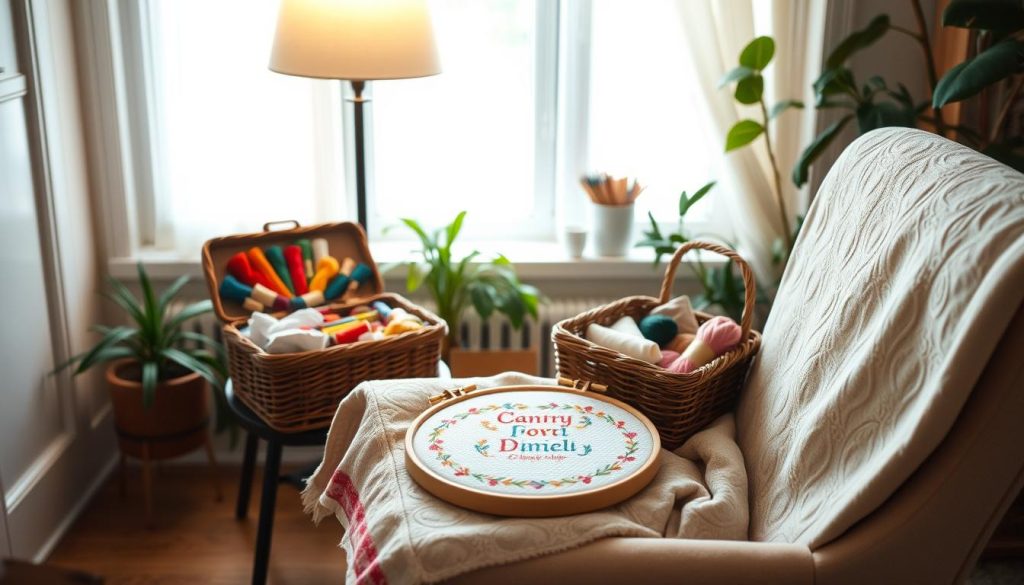
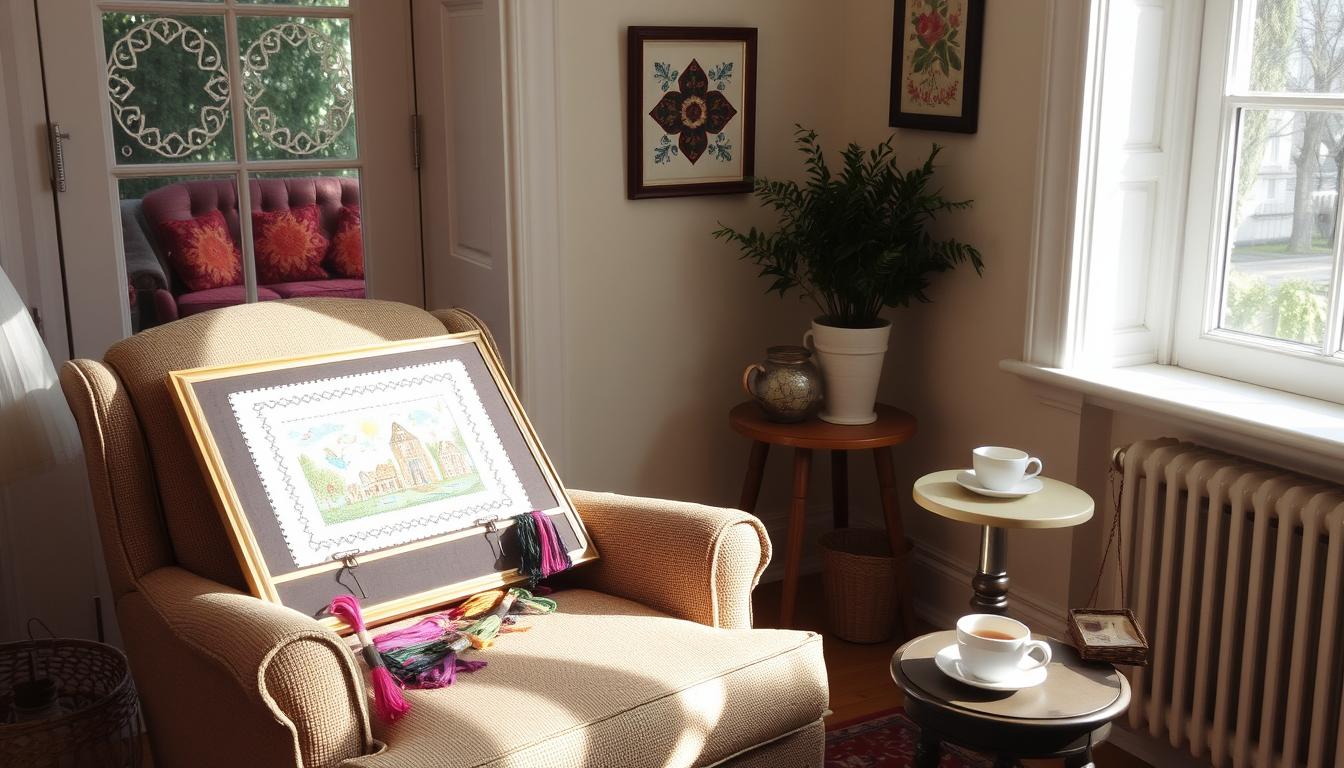
Choosing the right position for cross stitching can greatly improve your experience. Whether you’re learning new techniques or following beginner tutorials, setting up your workspace correctly is key. The right position can make you more comfortable and help you stitch more accurately.
A Facebook poll showed that starting from the center is the most popular choice. It allows for balanced stitching. Some stitchers prefer starting in a corner for better clarity and precision. Others find starting from the center upper left or right helps avoid common issues.
Regardless of your starting point, being consistent is important. Using grid lines can help you stitch more accurately. For beginners, a How to Cross Stitch Course can be very helpful. Events like the 2020 Mystery Galaxy stitch-a-long also offer learning and community opportunities.
Improving your cross stitch setup is more than just where you start. Learning to find the fabric’s center, secure it in a hoop, and manage your thread are all important. Making sure each half stitch is in the same direction keeps your work looking neat. Strategies like completing half stitches before the final cross stitches can also help.
Key Takeaways
- Most cross-stitchers prefer starting from the dead center.
- Starting in a corner allows for greater clarity and precision.
- Using grid lines is crucial for maintaining accuracy.
- Joining cross stitch tutorials and courses can enhance your skills.
- Consistency in stitch direction maintains a neat appearance.
Importance of the Right Position for Cross Stitch
Finding the right position for cross stitch is key for a good experience. It doesn’t matter if you like detailed designs or simple patterns. The right posture and tools make a big difference.
Why Comfort Matters
Comfort is important because stitching can strain your back, neck, and wrists. An ergonomic setup helps avoid injuries and keeps you alert. You’ll also need a comfy spot to handle needles of sizes 13 to 28.
Using supportive chairs and footrests boosts comfort during long sessions. Whether you’re using embroidery needles or working with evenweave and linen, a good seat lets you focus better.
Effects on Precision and Productivity
The right position boosts your stitching precision and productivity. A stable setup is crucial for tools like Q-Snaps and embroidery hoops. Without it, even small discomfort can lead to mistakes.
Using tools like the John James Twin Pointed Quick Stitch needle works better when you’re comfortable. This lets you use materials like six-strand embroidery floss more effectively. It improves your work’s quality and how fast you finish projects.
| Tool | Sizes | Benefits |
|---|---|---|
| Tapestry Needles | 13-28, 22-28 most common | Wide range for various fabric types, reduces fraying |
| Embroidery Hoops | 3” to 12” | Portability, fabric tension control, decorative finishing |
| Q-Snaps | 6”, 8”, 11”, 17” | Adjustable, superior fabric tension, larger surface area |
| Embroidery Floss | Six strands per skein, typically 8 yards | Versatile for various fabric types, enhances detail |
Evaluating Your Current Setup
Checking your cross stitch setup is key for better comfort and work speed. Looking closely at your crafting area can greatly improve your stitching time. It makes your sessions more fun and productive.
Start by looking at your physical workspace. Make sure your chair supports good posture and your work area is at a comfy height. Many stitchers use ergonomic chairs and tables to avoid strain. A good chair lets you stitch for longer without pain.

Then, set up your lighting right to avoid eye strain and see better. Good light is crucial, especially for detailed projects like the “Orchidaceae” design. This big project needed over three years to finish and has 93 colors. The right light helps you see different shades and stitches clearly.
Also, organize your cross stitch supplies well. Keeping threads, needles, and patterns tidy saves time and reduces stress. Use storage like thread organizers or boxes to stay efficient. Buying threads of the same color at once helps keep your project colors consistent.
Studies show that side-to-side eye movements during activities like cross stitching can significantly boost memory. Regular participation in social or leisure activities such as cross stitching has been associated with a lower risk of subsequent dementia.
For those into DIY cross stitch, picking the right thread count is crucial. Different counts, like 14 and 22, depend on your project’s size and detail. Also, add 6 inches to the thread count for framing to have enough blank fabric.
- 14 count – 1600 stitches per skein
- 16 count – 1800 stitches per skein
- 18 count – 2000 stitches per skein
- 20 count – 2200 stitches per skein
- 22 count – 2400 stitches per skein
In short, a detailed check of your cross stitch setup can boost comfort and stitching quality. Small changes to your space can make each session better and more fun.
Choosing the Right Chair
Finding the right chair is key for long cross stitching sessions. It keeps you comfortable and focused on your craft. Let’s look at what makes a chair perfect for cross stitching and what features to look for.
Supportive Chairs for Long Sessions
A supportive chair is essential for long cross stitch activities. The Boliss Ergonomic Sewing Chair is a great choice. It supports up to 400 lbs and has a large, curved seat for comfort.
The chair’s breathable mesh back keeps you cool during long sessions. Its metal frame is durable and stable. Even after eight months, users say it feels like new.
Adjustable Features to Look For
Adjustability is crucial in the best cross stitch chairs. The Boliss chair has adjustable armrests and a footrest. These features let you customize your seating for a healthy posture.
Look for chairs that let you adjust the seat height and back angle. These features help keep you comfortable and reduce back and shoulder strain. A good chair should also hold all your stitching accessories, making it easy to access your tools.
Here’s a comparison of a few important features:
| Chair | Weight Capacity | Adjustable Features | Materials | Customer Feedback |
|---|---|---|---|---|
| Boliss Ergonomic Sewing Chair | 400 lbs (500 lbs for shorter version) | Armrests, Footrest, Height, Back Angle | Molded Foam, Breathable Mesh, Metal Frame | Highly recommended, feels brand new even after 8 months |
Utilizing Cross Stitch Stands and Frames
To make your cross-stitching better, using cross stitch stands and frames is key. They help reduce arm and back strain. This lets you focus more on your designs and less on discomfort.
There are many cross stitch stands to choose from. You can find Q-snaps, scrolls, lap stands, ergo stands, Z-lap frames, and Lowery stands. Each is designed for different project sizes and comfort levels. Q-snaps and scrolls are favorites for their good price and effectiveness, though scrolls might cost more.
If you have little space, lap stands or compact frames are perfect. They fit well in small areas and offer the stability you need.
Choosing a stand also depends on your health. For example, people with sciatic nerve issues or bad knees need stands that won’t make their problems worse. Comfort and being ergonomic are key to avoid health issues.
Embroidery hoops are very popular for cross stitching. They come in many sizes and are easy to use. Wood hoops, especially beech wood, are recommended for their quality and comfort. There are also flexi hoops and hoops with spring tension for more options.
Plastic clip frames, like Q-Snap frames, are available in different sizes. They keep your fabric tight while you stitch. Stitching by hand can be faster but might not be as neat or consistent without the tension from stands and frames.
There are many resources to help you learn and improve your cross-stitch skills. Videos and blogs are great for both beginners and experienced stitchers.
| Type | Features | Suitability |
|---|---|---|
| Q-snap frames | Plastic clip frames, adjustable | Versatile, fits various project sizes |
| Scroll stands | Wood/metal options, wider range | Larger, more complex projects |
| Lap stands | Compact, space-saving | Limited spaces, ergonomic benefits |
| Ergo stands | Ergonomically designed | Users with health concerns |
| Lowery stands | Sturdy metal frame | Wide range of stitchers, highly stable |
Lighting Tips for Cross Stitch
Good lighting is key for cross stitching to prevent eye strain and ensure colors look right. Look at both portable and fixed lights to find what works best for you.
Choosing the Best Lighting
Having the right light is crucial for comfort and accuracy. It’s best to have two lights: one for the room and another for your stitching area. The Veriflux needlepoint floor lamp is great for home use, mimicking noon sun.
The Ottlite is another excellent choice. It has 3x magnification and daylight illumination, available as a floor or table lamp.
Portable vs. Fixed Lighting Solutions
Choosing between portable and fixed lights can greatly impact your stitching. A clip-on light is a top portable pick, with three brightness levels and a long-life battery. There’s also a neck light with six brightness settings, three of which are great for low-light work.
If you prefer a fixed light, a home floor lamp like the Veriflux is strong and steady. It’s perfect for detailed work. A needlepoint light with a magnifier also helps avoid squinting, making your stitching easier.
For DIY fans, adding LEDs to your cross-stitch can be exciting. You can use the LilyPad Arduino to create a circuit with LEDs. This makes for a fun electronics project. Just plan your LED placement and use conductive threads to avoid short circuits.
Essential Tools for Cross Stitch Comfort
Comfort is key when you’re cross-stitching. The right tools can make a big difference. Here are some important tools to help you stay comfortable and work efficiently.

Back and Wrist Braces
A cross stitch back brace helps prevent back pain during long sessions. It keeps your back straight, reducing discomfort and injury risks. A cross stitch wrist brace also helps, supporting your wrist and preventing strain.
Footrests and Cushions
Footrests and cushions are also vital for comfort. An ergonomic footrest keeps your feet up, improving blood flow. A cushioned seat eases pressure on your back and hips. A good cushion can make your stitching time more enjoyable and productive.
Looking for the best cross stitch comfort tools? Here’s a quick guide:
| Tool | Benefit | Popular Brands |
|---|---|---|
| Back Braces | Reduces back strain, encourages proper posture | Mueller, ComfyMed |
| Wrist Braces | Prevents repetitive strain injuries | Futuro, Wellgate |
| Footrests | Enhances circulation, promotes comfort | Mind Reader, ComfiLife |
| Seat Cushions | Reduces pressure on lower back and hips | Everlasting Comfort, Purple |
Best Practices for Maintaining Good Posture
Keeping good posture while cross stitching is key for comfort and health. Here are some top cross stitch ergonomic tips to help you relax and avoid strain during stitching.
“Regular stretching, ergonomic workspace setup, and good lighting are essential for maintaining good posture and preventing injuries while spending hours stitching.”
To set up the right cross stitch posture:
- Make sure your chair supports your back well. Look into ergonomic chairs with adjustable parts.
- Put your stitching project at a height that’s easy to reach. This avoids leaning forward and keeps your neck from getting strained.
- Use a lap or floor-standing frame for your work. It can make stitching faster and keep your posture better.
Also, adding these cross stitch ergonomic tips to your routine will help your posture:
- Take breaks every 20-30 minutes to stretch. This is a tip from 70% of experienced cross-stitchers.
- Place your chart at eye level with a flexible clip arm. This lets you track your progress without breaking your flow.
- Manage your lighting well. Make sure your workspace is bright to avoid eye strain and make stitching more comfortable.
By following these best practices, your cross stitch sessions will stay fun and without pain. Whether you’re using a 6-inch wooden or plastic hoop or stitching without one, focusing on cross stitch posture will improve your accuracy and work speed.
Conclusion
Mastering cross stitch is a journey that needs focus and a love for comfort. The right setup and tools make a big difference. A good chair and cross stitch stands are key. So is the right lighting and ergonomic tools.
Mistakes happen, like stitching the wrong way or making extra stitches. Back-stitch parts can be tough. But patience and following instructions help improve your skill.
Choosing the right materials is important for your budget. Cross stitch kits cost between $5-$10. Fabric and floss prices vary. Better materials like hand-dyed linen and specialty threads make your project better but cost more.
Even though cross stitch needs little space, it’s perfect for small homes. These tips aim to make your cross stitch journey better. With the right setup and budgeting for materials, you’re ready for success in this craft.
