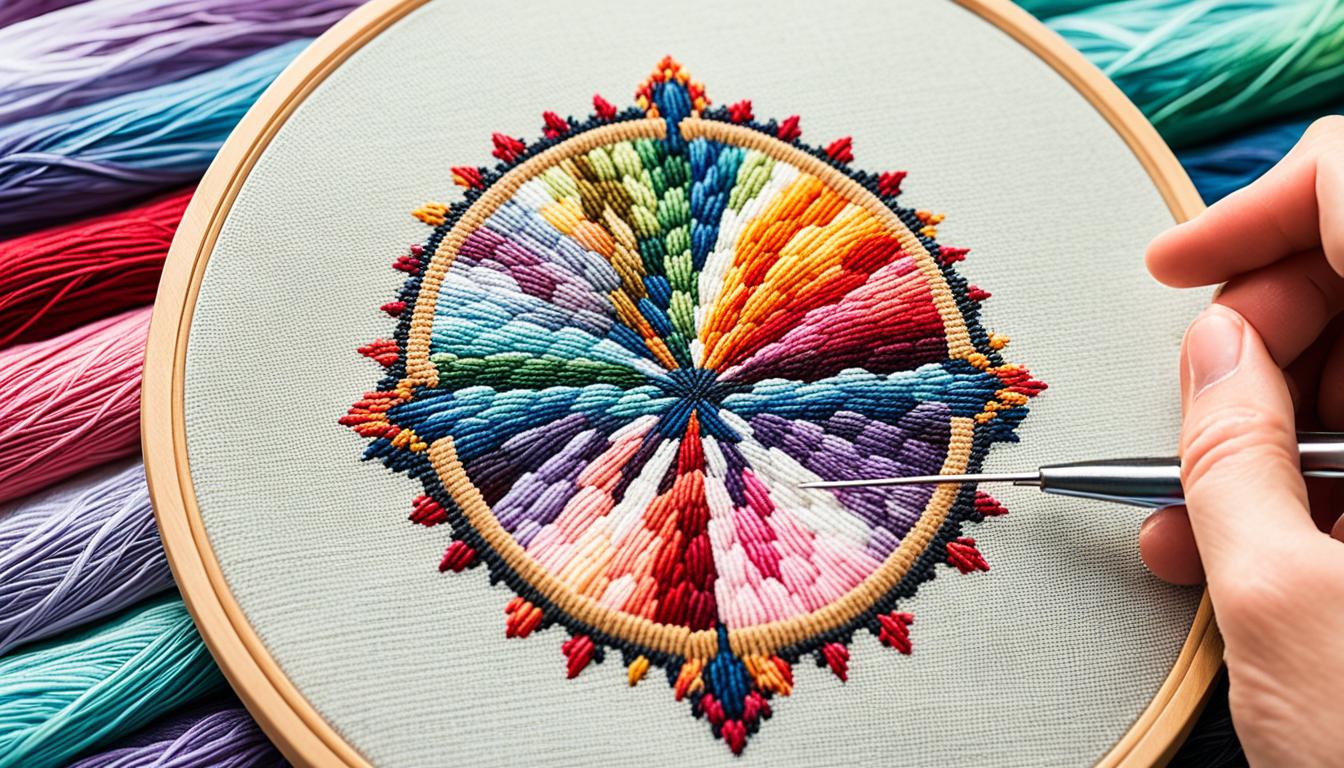
Have you ever thought about turning your crossstitching patterns into needlepoint designs? It’s a question that strikes the minds of those who enjoy both crafts. The truth is, the answer is very exciting. Turning those patterns into needlepoint is not only doable but breathtaking.
Adapting crossstitching to needlepoint requires recognizing their differences and making some changes. If you’re new or experienced in stitching, this guide has the secrets you need. It shows how to turn your favorite crossstitching pieces into impressive needlepoint beauties.
Key Takeaways
- Converting crossstitching patterns to needlepoint is achievable with the right techniques.
- Look for designs with larger blocks of color and fewer intricate details for easier adaptation.
- Choosing the appropriate canvas is vital for a successful project.
- Understand the differences between half and quarter stitches in crossstitching versus needlepoint.
- Practical tips can help avoid common pitfalls and ensure a smooth transition from crossstitching to needlepoint.
With these tips and insights, you’re ready for a fresh creative adventure. Transform your cross stitch masterpieces into stunning needlepoint artwork. Start exploring and opening up new creative doorways.
Understanding the Basics of Cross Stitch and Needlepoint
To adapt crossstitching patterns to needlepoint, first know their key differences. Cross stitch uses Aida fabric to create patterns. But needlepoint works on rigid canvas, allowing more stitch variety.
What is Cross Stitch?
Cross stitch involves sewing on Aida fabric in straight lines. It’s great for making symmetrical patterns with its evenly spaced holes. Beginner crossstitching starts with easy designs. As you get better, you can try more intricate patterns like crossstitching alphabets.
You count squares to know where to place stitches. This method is called counted cross stitch. If you’re new, you can find plenty of guides online. These will help you no matter your skill level.
What is Needlepoint?
Needlepoint uses a different canvas. This canvas is known for being tougher and offering many stitch options. It also lets you add more types of threads, like wool and metallic ones. This makes needlepoint designs really shine.
Needlepoint canvases can come pre-printed with a design. This differs from crossstitching, where you always start with a blank canvas. There are many stitch types in needlepoint, but you’ll probably start with the half cross stitch. Using several stitch types is common. It makes your project look better and keeps the canvas from stretching.
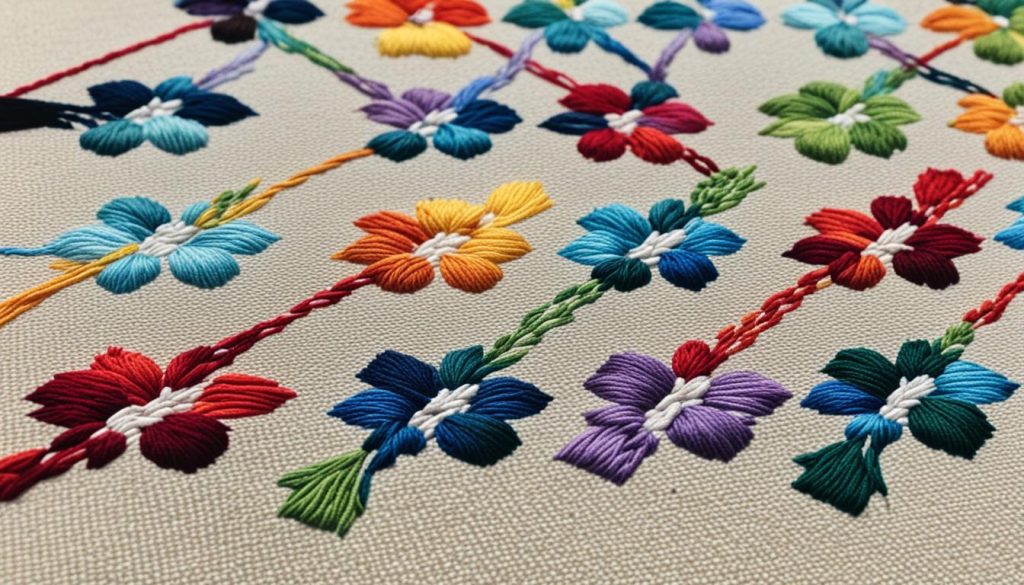
Needlework has been around since 1500 B.C. But modern needlepoint fits the trends of the 1600s. By knowing the differences between crossstitching and needlepoint, you can choose the best technique for each design.
| Aspect | Cross Stitch | Needlepoint |
|---|---|---|
| Fabric Type | Aida, Evenweave (e.g., Zweigert Aida) | Mono Canvas (e.g., Zweigert Mono) |
| Stitch Method | Counted Stitches | Stitch-Painted Canvas, Variety of Stitches |
| Threads Used | Cotton, Silk (Stranded) | Cotton, Wool, Silk, Metallic, Ribbon |
| Typical Floss | Cotton Embroidery Floss | Variety including Glitter Fibers |
Choosing the Right Cross Stitch Pattern for Needlepoint
Selecting the right crossstitching pattern for needlepoint is key. You need to look at how detailed the design is and if it could work well in needlepoint. This way, you keep the design’s beauty when you switch from cross stitch to needlepoint.
Evaluating the Design
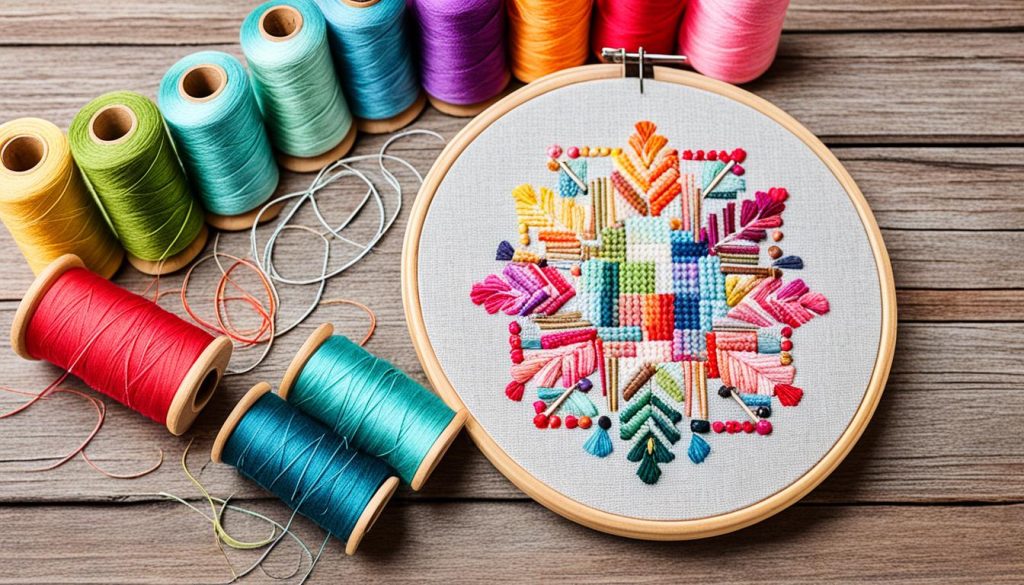
Start by choosing an overall design that suits needlepoint. For instance, Prairie Schooler’s charts, now hand-painted canvases by Stitch-its, are detailed yet adaptable. Choose patterns with big areas of color as they’re easier to work with. Also, consider designs with flowers, animals, or quotes as they set a good theme for your project.
Checking Fabric Size and Color Changes
Make sure the fabric size in the crossstitching pattern matches up or can be adjusted to the needlepoint canvas. Zweigart Mono canvas comes in different spaces, from 10 to 18 holes per inch. This makes it good for various cross stitch fabric sizes. Count the color changes and the use of special stitches in the pattern. These affect how easy it is to switch from crossstitching to needlepoint. To add more interest, use different threads like Neon Rays or Dinky Dyes silk/wool. They can make the crow and cat in your design more defined or add sparkle to your flowers.
“The key to a successful adaptation from crossstitching to needlepoint lies in thoughtful pattern selection and meticulous attention to detail.”
Selecting the Appropriate Canvas
Choosing the right canvas type is key when turning crossstitching into needlepoint. We look at Penelope canvas, colored canvas, and painting strategies. These help make your cross stitch projects for home decor look great.
Penelope Canvas for Intricate Designs
Penelope canvas is great for detailed designs like those for babies or weddings. It has a double mesh, allowing for finer work. You can use half and quarter stitches easily. This keeps your needlepoint projects as detailed as the original crossstitching.
Using Colored Canvas for Better Coverage
Colored canvas works well for projects needing better thread coverage, like Christmas or Halloween patterns. It hides the gaps between stitches, making the look smoother. Pick a color that goes well with your pattern. This improves your needlepoint project’s overall look.
Painting the Canvas
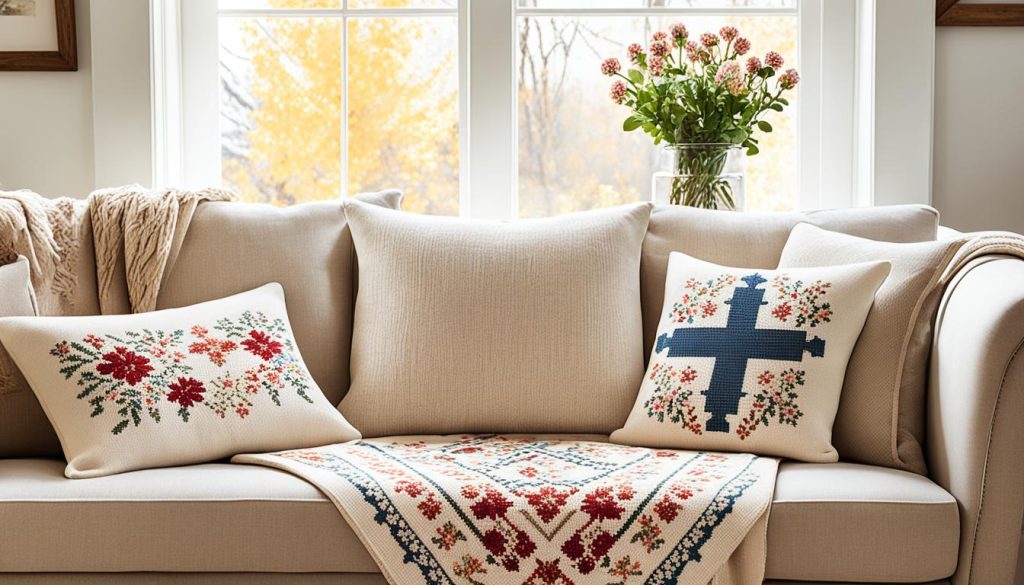
Painting your canvas is a creative way to make your needlepoint unique. This method is great for big designs, like those for home decor. It hides unstitched parts and lets you add shading and gradients. This makes your piece look deeper and more realistic.
| Canvas Type | Details | Suitable Patterns |
|---|---|---|
| Penelope Canvas | Double mesh allowing for different fabric counts | Cross stitch baby patterns, cross stitch wedding patterns |
| Colored Canvas | Available in various colors to mask gaps between stitches | Cross stitch Christmas patterns, cross stitch Halloween patterns |
| Painted Canvas | Custom painted to match design for a seamless look | Cross stitch home decor |
Adapting Cross Stitch Patterns to Needlepoint Techniques
Changing cross stitch designs into needlepoint can be fun. Make sure to handle partial stitches well. Pick the right substitutes for a great look.
Dealing with Half and Quarter Stitches
Adapting stitches like half and quarter ones can be tricky. Try using Penelope canvas. It’s good for these special stitches. It has pairs of threads that separate. This gives you better coverage. Choose ecru-colored canvas to hide specks under the stitches. This makes your project look neat.
Consider Half Cross Stitches
Using 14- or 18-mesh canvases? Try half cross stitches. They are easier than basketweave. Stitch them in rows for a clear pattern. Adding more fiber makes them look better. Check out cross stitch forums, cross stitch blogs, and crossstitching YouTube channels. You’ll find tips and tricks there.
The table below shows the differences between cross stitch and needlepoint:
| Aspect | Cross Stitch | Needlepoint |
|---|---|---|
| Thread Texture | Cotton embroidery floss | Various fiber textures, including wool and silk |
| Number of Color Changes | Higher due to detailed patterns | Lower, but threads can vary significantly in texture |
| Stitch Variety | Primarily cross stitches | Wide variety including tent, basketweave, and more |
Reading cross stitch magazines and joining cross stitch communities is helpful. You’ll learn cool ways to make your needlepoint stand out.
Practical Tips for Successful Adaptation
Changing cross stitch patterns into needlepoint can be fun but challenging. Here are tips to help you make a perfect switch.
- Evaluate Design Complexity: Start by looking at how hard your cross stitch pattern is. Patterns with big, simple color areas are the best to start with.
- Select the Right Fabric and Canvas: It’s key to know the different fabrics in cross stitch. The usual counts are 14, 16, and 18. Pick a 25ct evenweave for detailed designs. This helps when picking a canvas for needlepoint.
- Adjust to Fabric Type: Changing the fabric type can change your final work’s size and texture. Make sure to re-calculate the stitches per inch on your new fabric.
- Thread Management: Normally, use two thread strands in your cross stitch. Don’t pull too hard on the threads to avoid puckering.
- Hoop Usage: A hoop can make your work easier and keep the tension even.
Being organized is key to making your project a success. Use a table to remember important tips. This helps keep things clear and your project on track.
| Aspect | Tip |
|---|---|
| Design Complexity | Choose designs with simpler, larger color blocks. |
| Fabric and Canvas | Know fabric counts well and pick the right canvas. |
| Thread Management | Stick to two strands of thread and don’t pull too hard. |
| Hoop Usage | A hoop is useful to keep the tension even. |
Look deeper into cross stitch’s history for more than just techniques. Vintage and modern patterns and books can inspire you. They offer ideas and color schemes that can make your needlepoint stand out. Understanding these aspects enriches your needlepoint experience.
Conclusion
Transforming cross stitch into needlepoint is a journey filled with creativity. It lets you explore new ways to bring designs to life. Each project brings its own set of challenges and rewards. You can get materials from online shops or create your own designs. The joy comes from turning simple patterns into intricate needlepoint art.
Success depends on reading instructions carefully and choosing the right canvas. Don’t worry if moving from cross-stitch to needlepoint seems hard at first. It’s normal to make mistakes, like stitching in the wrong direction. These early errors teach you valuable lessons in the craft.
Cross stitching does more than just improve your home decor. It also boosts your mental health and creativity. The act of stitching is calming and meditative. It sharpens your mind and hands. Making gifts by hand strengthens your bonds with others. It adds heart to your creations.
Whether you’re buying supplies on sale or looking for deals, combining these crafts is rewarding. You now have the tools to make special projects. These projects bring together the best of both worlds, making your art unique and your spirit happy.
