If you love CROSS STITCH, a simple, consistent system for your supplies can change how you stitch. This guide shows practical cross stitch organization. It reduces mistakes, saves time, and keeps your momentum on cross stitch projects.
These tips are useful whether you’re a beginner or tackling a large counted cross stitch piece. We’ll cover workspace setup, thread and DMC floss storage, and fabric care. You’ll also learn about tool maintenance, gridding strategies, and digital helpers like Pattern Keeper.
Keeping supplies tidy also supports the therapeutic side of needlework. When your tools and threads are in order, you’re more likely to keep stitching. You’ll enjoy embroidery inspiration instead of hunting for a missing needle.
This series focuses on stitchers in the United States who want actionable cross stitch tips and needlework tricks. Later sections include low-cost, practical solutions. These use common brands like DMC floss as examples.
Key Takeaways
- Good cross stitch organization reduces errors and speeds up your work.
- Start with a dedicated workspace and simple storage for DMC floss and threads.
- Protect Aida and evenweave with proper folding and storage to avoid creases.
- Maintain needles and tools to extend their life and improve stitching comfort.
- Combine physical systems with Pattern Keeper and apps for a hybrid workflow.
Why Organization Matters for Cross Stitch Workflow
Being organized saves time looking for DMC floss, needles, or scissors. When everything is in order, you can switch colors quickly and keep your stitches even. This makes your stitches look better and helps with backstitching for clearer lines.
Labeling skeins with pattern keys helps avoid mistakes. Sorting by color and number prevents wrong colors and miscounts. A tidy workspace also means fewer lost needles and tangled threads.
Gridding your fabric before starting helps you stay on track. Marked intersections and numbered edges keep your design centered. Stitching in blocks limits counting errors.
For big projects, break charts into sections. Use a checklist or app to track progress. Grouping similar shades together makes thread changes quicker and keeps projects manageable.
Make a routine for keeping supplies in order. Replace dull needles, wind floss, and store fabrics right. These habits protect your work and make advanced techniques easier.
| Area | Common Problem | Organizational Fix | Benefit |
|---|---|---|---|
| Thread management | Colors mixed or lost | Label bobbins by DMC number and color family | Faster color swaps, fewer cross stitch mistakes |
| Workspace layout | Cluttered table, lost tools | Designate zones for tools, threads, and pattern | Improved speed and accuracy during sessions |
| Fabric handling | Creases and misalignment | Roll or store flat; grid fabric before stitching | Better placement for counted cross stitch, fewer reworks |
| Progress tracking | Lost place in large charts | Use checklists or a digital app for segments | Clear milestones, reduced miscounts on long projects |
| Finishing details | Uneven backstitching and outlines | Keep a separate kit for backstitching techniques and needles | Smoother outlines and polished final results |
Setting Up a Dedicated Stitching Zone with CROSS STITCH in Mind
Make a small area for starting and stopping projects without clearing the table. A dedicated space for cross stitch makes it easier to get back to work. Choose a craft table, a lap-friendly tray, or a cozy corner in a living room to keep your project handy.

Find a flat, stable surface for leaving fabric overnight. If space is limited, a compact desk near shelves works well. Keep your cross stitch tools within reach to avoid wasting time searching.
Choosing the right workspace for cross stitch projects
Look for a spot with room for your project and storage for supplies. A craft table with drawers or a small dresser beside your chair is ideal. If you stitch on the couch, add a side table for threads and a basket for patterns.
Lighting, seating, and ergonomic tips to avoid fatigue
Use daylight-balanced LED task lighting or a magnifying lamp for detailed work. Place the light to reduce shadows and glare. A chair with lumbar support helps maintain good posture during long sessions.
For ergonomic stitching, keep wrists neutral and shoulders relaxed. Alternate between sitting and standing if possible. Take short breaks, stretch your hands and neck, and switch tasks every 30 to 45 minutes to reduce strain.
Storing frames, hoops, and finishing tools for easy access
Organize cross stitch frames and hoops in vertical racks or on pegboards to prevent warping. Use labeled bins or drawer dividers for finishing tools like irons, seam gauges, and framing supplies. Keep scissors, needle minders, and a small project kit within arm’s reach.
| Item | Best Storage | Why it Helps |
|---|---|---|
| Embroidery hoops | Wall-mounted rack or vertical bin | Prevents warping and keeps sizes visible |
| Cross stitch frames (Q-snaps, scroll frames) | Stacked on shelf with dividers | Easy access for mid-project mounting and safe storage |
| Scissors & needle minders | Small tray by chair or magnetic strip | Reduces interruptions during stitching |
| Finishing tools (iron, seam gauge) | Labeled drawer or bin near workspace | Speeds final steps and protects tools |
| Beginner cross stitch kits | Clear box with pattern pocket | Keeps kit components together for quick starts |
| Cross stitch tools (needles, thread organizers) | Small divided cases or hanging pouches | Prevents tangles and keeps colors sorted |
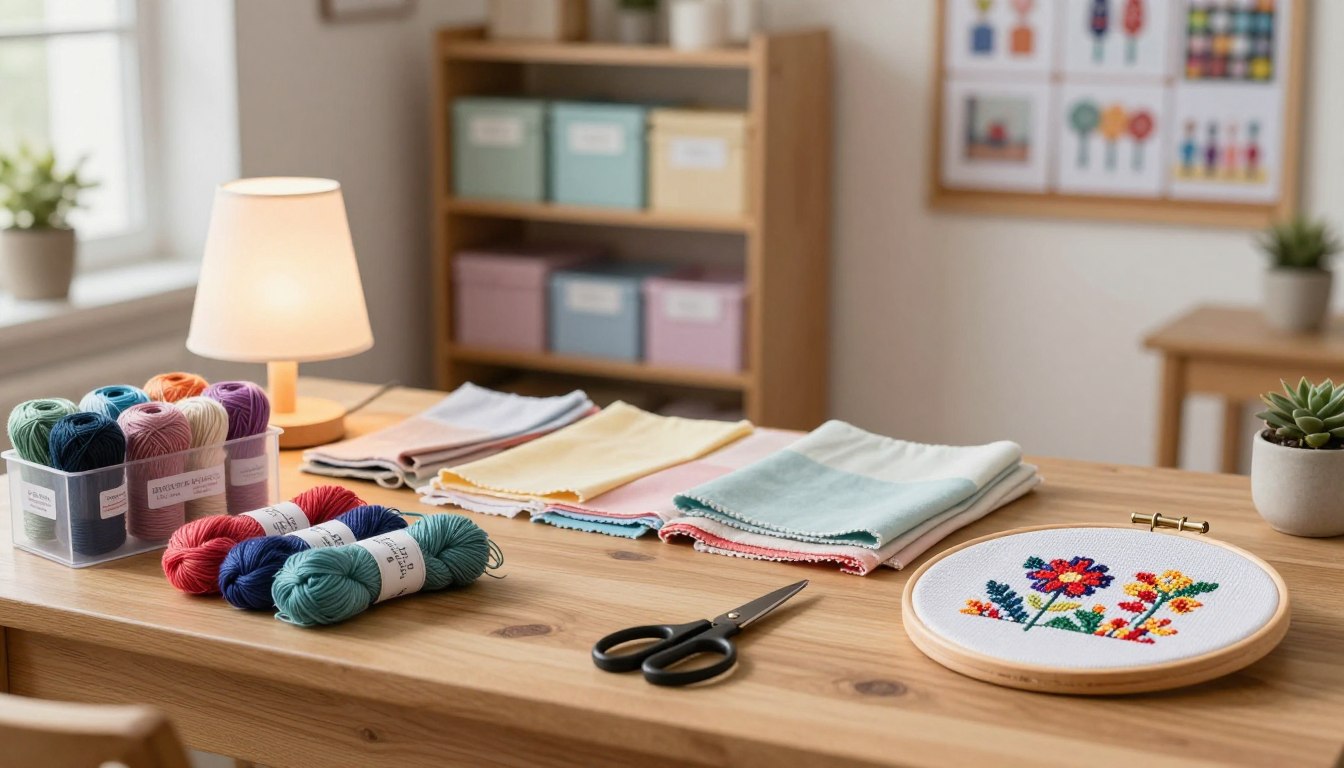
Sorting and Storing Threads, Floss, and DMC Floss
Good thread storage makes your stitching faster and colors more vibrant. Start by sorting colors into families. Decide which skeins are ready for your project. This saves time when you switch shades in your cross stitch patterns.
Choose a main method and add more as needed. Use bobbins for partial skeins, keep full DMC floss on original skeins or in tubes. Place matching sets in clear boxes for easy access. This reduces tangles and fading while you work.
Methods for organizing skeins and bobbins
Wind full DMC floss onto plastic or cardboard bobbins and mark the color number on each. Store bobbins in boxes or drawers so you can easily find a shade. For big collections, use skein racks and pegboards to keep skeins visible and untangled.
Use small plastic tubes for delicate skeins. They protect from dust and let you seal partial lengths for later. Keeping bobbins by color family cuts down lookup time while following cross stitch patterns.
Labeling systems that match color keys
Match labels to the pattern color key by writing DMC or brand numbers on each bobbin, bag, or sticker. Place a printed color key inside your project box for quick reference. Printable floss organizers make this fast and repeatable for every new piece.
Number labels help when shades look similar under different light. Mark values and symbols that mirror your pattern chart to avoid miscounts and color mistakes during long sessions.
Using affordable supplies and repurposed items
Repurpose toilet paper rolls to hold partial skeins or to separate shades in a drawer. Clear photo storage boxes and bead organizers make inexpensive thread storage solutions. Kitchen drawer dividers and small craft bins work well for project-specific floss packs.
Try inexpensive plastic tubes for single skeins and label them with DMC numbers. Use small zip bags for leftover lengths and keep related threads together in a labeled bin. These embroidery hacks keep your space tidy without adding cost.
| Item | Best for | Benefits |
|---|---|---|
| Plastic bobbins | Partial skeins | Prevents tangles, easy to label with DMC floss numbers |
| Clear compartment boxes | Organized thread storage | Quick visual access, stackable, dust protection |
| Skein racks / pegboards | Full skeins and large collections | Shows entire color range, ideal for skein organization |
| Plastic tubes | Single skeins and delicate floss | Protects from UV and dirt, compact for travel |
| Repurposed toilet paper rolls | Budget-friendly separation | Low cost, simple to label, great for partial skeins |
| Printable floss organizers / sticker labels | Matching patterns to color keys | Speeds matching to cross stitch patterns, reduces mistakes |
Organizing Fabrics, Aida, and Cross Stitch Fabric Choices
Good fabric storage saves time and protects your work. Follow simple steps to keep cross stitch fabric ready for any project. This guide covers folding, storage options, and gridding tactics for both large and small projects.
Folding, rolling, and storing Aida and evenweave to prevent creases
Store Aida fabric flat when possible. Flat storage prevents hard creases. If space is tight, roll Aida and evenweave around wide cardboard tubes. Rolling reduces permanent fold lines and keeps the weave smooth for stitching.
If you must fold, follow the fabric grain and use a low-heat iron with a pressing cloth before you start. Label each piece with size, count (14ct, 16ct, 18ct), and the intended project name. This way, you can easily find the right cloth for any project.
Choosing storage based on fabric type and project size
Pick storage that matches fabric type. Use acid-free envelopes or clear plastic sleeves for small cut pieces and single motifs. Keep long bolts or multiple repeats in wide archival boxes or long tubes to prevent bending and dust.
For active projects, use a project bag with clipped excess fabric and a rigid backing board. This protects the stitched area during transport and keeps your cross stitch projects neat between sessions.
Gridding strategies and tools to keep fabric ready for stitching
Pre-grid to cut down on counting errors. Basting thread, water-soluble pens, or Hera markers create temporary guides that line up with pattern grids. Mark every ten squares to match pattern charts and speed up layout checks.
Store gridding tools with the fabric so your workspace is ready. Keep washable marker pens capped and the basting thread in a small pouch with the cloth. Good evenweave storage and clear cross stitch gridding habits make starting sessions faster and reduce mistakes for both beginner cross stitch and complex pieces.
Tools, Needles, and Accessories: Practical Storage and Maintenance
Keeping your cross stitch tools tidy makes your sessions more enjoyable. Use simple systems to protect your supplies and make them easy to find. These small habits save you time and reduce frustration.
Storing needles, scissors, needles minders, and threaders
Organize needles by type and size in labeled books or magnetic holders. This way, you can quickly find the right needle for your project.
Store small sharp scissors in a protective sheath. Hang them on a pegboard hook or put them in a scissor pocket in your bag. Keep needles minders and threaders in a tray so they’re always visible.
Maintaining tools and extending their lifespan
Wipe scissors blades clean after each use. If needed, oil the pivot points to keep them sharp. Replace needles when they start to lose their tip to avoid fabric damage.
Store metal tools in airtight containers with silica gel to prevent rust. Keep your supplies dry and clean to make them last longer and work better.
Organizing cross stitch tools for quick access during sessions
Make a compact caddy or tray with essentials like scissors, a needle threader, spare needles, a ruler, pins, and a stitch marker. Label each compartment for easy identification.
For stitching on the go, use a portable organizer or zipper pouch. When your tools are in the same place, you spend less time searching and more time stitching.
- Needle storage: magnetic strips, labeled books, small tins
- Scissors maintenance: clean blades, oil pivot, store in sheath
- Needles minders and threaders: shallow trays, front pockets
- Project setup: caddy with essentials for fast access
Digital Organization: Pattern Keeper, Apps, and Project Tracking
Digital tools can change how you manage cross stitch projects. Apps help you keep charts, mark progress, and avoid paper clutter. A digital setup supports both small and large projects, blending with your physical system.

You can import cross stitch patterns into Pattern Keeper from .xsd files or convert from PDF and JPG. On a tablet, you zoom, highlight colors, and tap to mark completed stitches. Regular backups to cloud storage protect your work and make tracking easy when switching devices.
Digital cross stitch tracking reduces miscounts by letting you filter or highlight one color at a time. Undo and redo features fix accidental marks without erasing paper. For complex grids, jumping between sections reduces mistakes and keeps you motivated.
Pairing apps with printed references gives you the best of both worlds. Keep pre-sorted floss packs and labeled bobbins near your station. Carry a small binder with a printed color key while stitching from the tablet. This hybrid workflow strengthens cross stitch organization and makes sessions smoother.
When you treat tracking as part of your crafting routine, it becomes a habit. This habit supports accuracy, speeds up progress, and enhances the calm many stitchers find in cross stitch therapy. Use Pattern Keeper and similar apps to stay organized without losing the tactile pleasure of stitching.
Conclusion
Setting up a dedicated stitching zone and using simple organization strategies can really help. Start by sorting threads like DMC floss and storing fabrics carefully. Keep needles and scissors in one tidy place.
Small hacks, like using toilet paper rolls or clear boxes, can make a big difference. They help keep your workspace organized and efficient.
Combine physical systems with digital tools like Pattern Keeper to track your progress. This helps avoid mistakes and keeps you on track. Using both physical and digital methods makes complex projects easier to finish.
Start with one area, like threads or fabric, and then add more. Find storage that fits your space and budget. Use affordable solutions, maintain your space, and add digital tools for a smooth workflow.